Event Menu
Setup a Menu available for Events in RMS.
Event Menus are preset menus that can be assigned to an Event Task or an Event.
-
Information
-
Setup
- Add Button
Information
Event Menus are preset menus that can be assigned to an Event Task or an Event.
A Menu can be assigned to an Event Task to automatically populate on an Event Order when that task is selected or be manually selected when creating an Event and will display on the Event Runsheet and Event Order.

A subscription to the Event Management module is required to use this feature.
Enterprise customers can assign a Menu to multiple Properties in the 'Properties' tab.

System Administrators will require Security Profile access to use this feature.
-
Setup
- Add Button
Setup
Have your System Administrator complete the following.
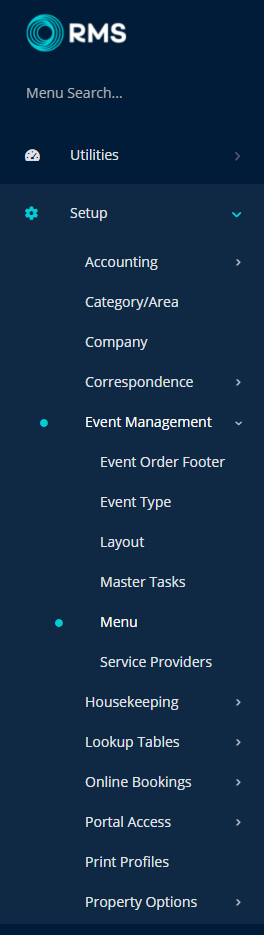
- Go to Setup > Event Management > Menu in RMS.
- Select the
 'Add' icon.
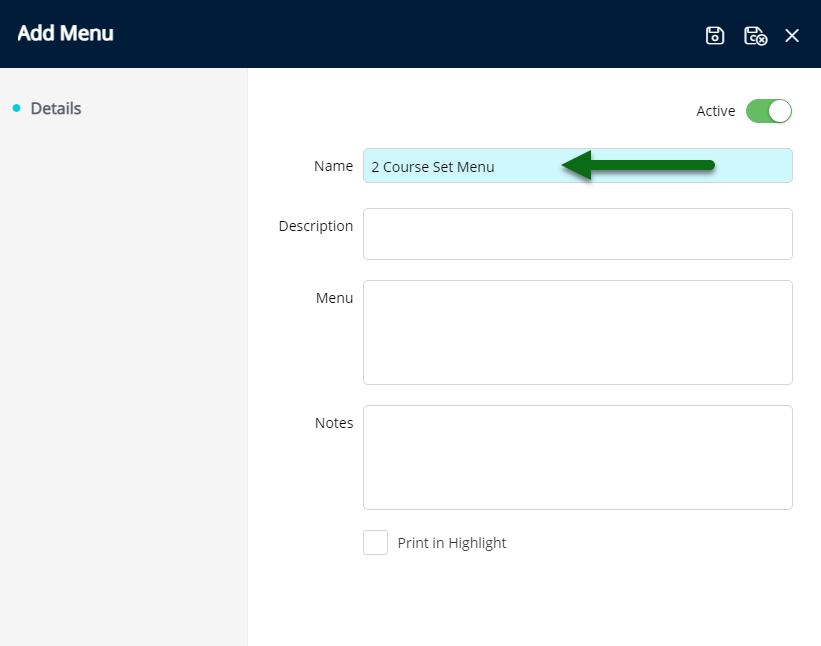
 - Enter a Menu Name.
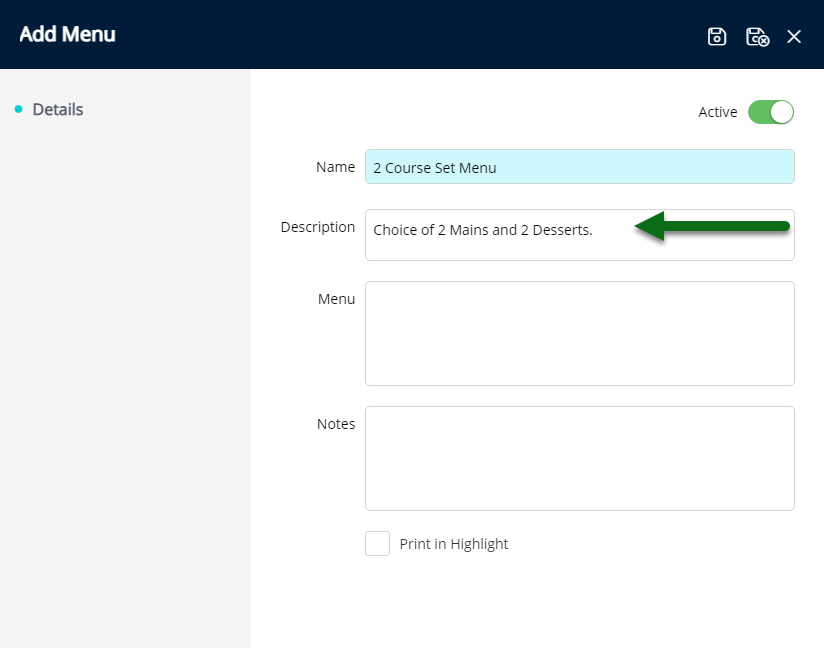
- Enter a Short Description.
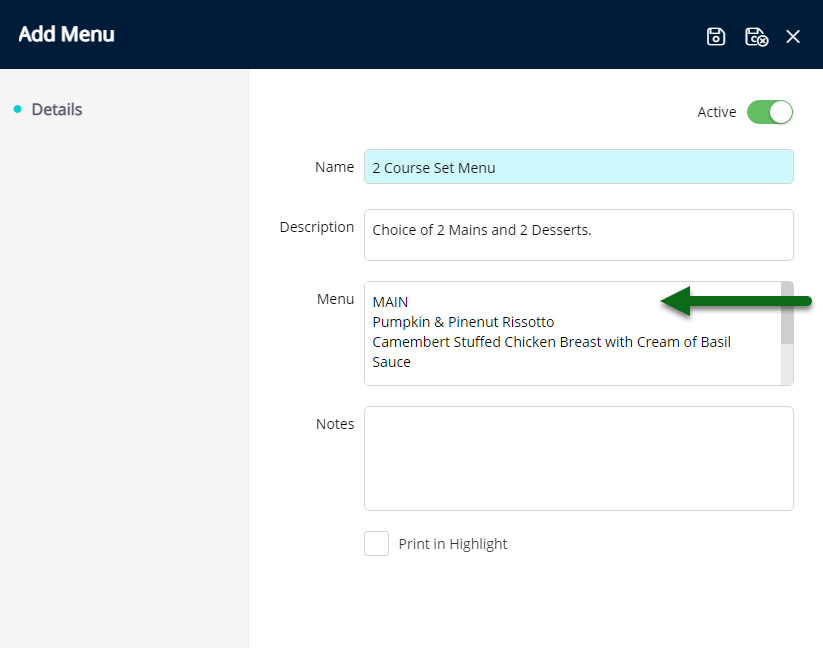
- Enter the Menu Details.
- Optional: Enter Menu Notes.
- Optional: Select the checkbox 'Print in Highlight'.
- Save/Exit.

'Print in Highlight' will display the Menu Name in bold on the Event Order and Event Runsheet.
Enterprise customers can assign a Menu to multiple Properties in the 'Properties' tab.
-
Guide
- Add Button
Guide
Go to Setup > Event Management > Menu in RMS.
Select the ![]() 'Add' icon.
'Add' icon.

Enter a Menu Name.
Enter a Short Description.
Enter the Menu Details.
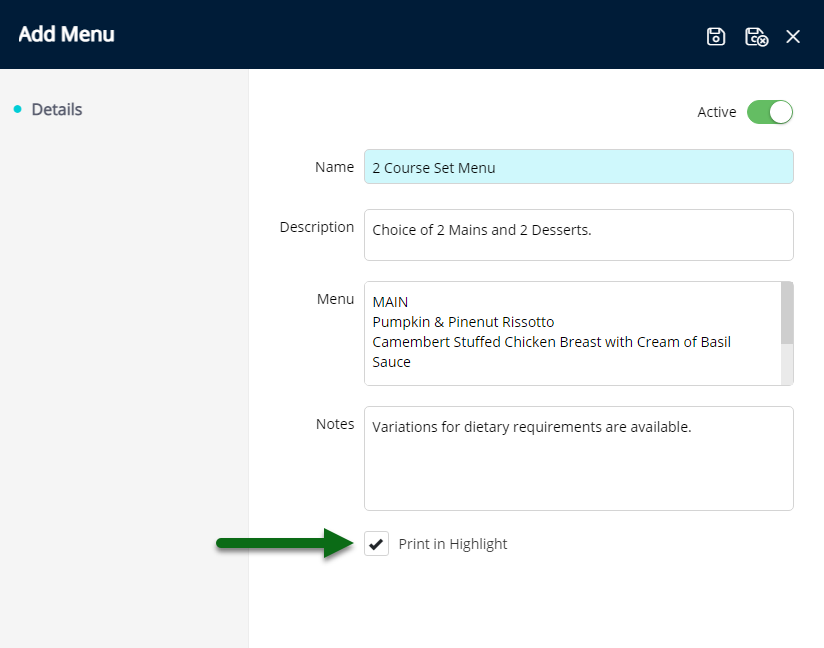
Optional: Enter Menu Notes.

Optional: Select the checkbox 'Print in Highlight'.
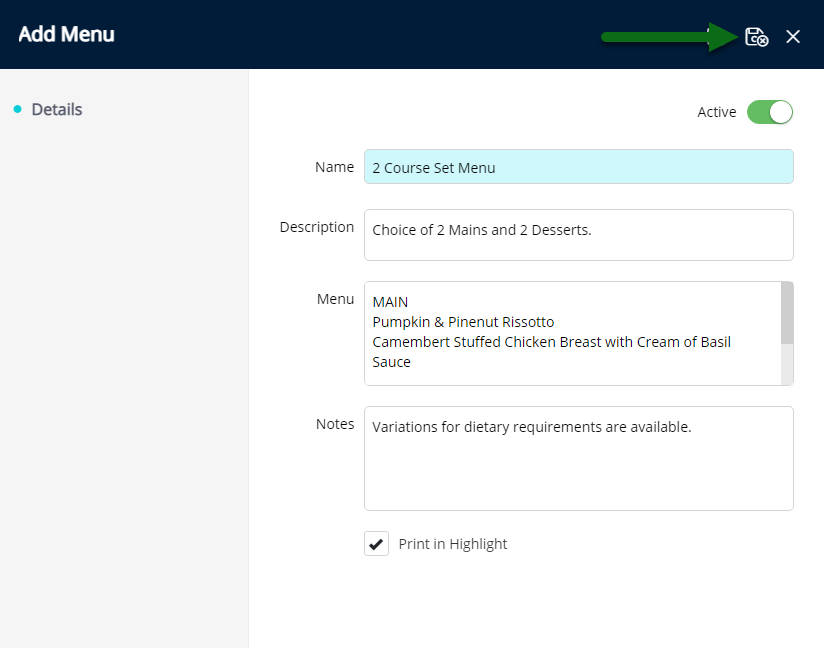
Select 'Save/Exit' to store the changes made and leave the setup.
The Menu will be available for selection when setting up an Event Master Task or when adding an Event Task to an Event.
Setup
Have your System Administrator complete the following.
- Go to Setup > Event Management > Menu in RMS.
- Select the 'Add' icon.
- Enter a Menu Name.
- Enter a Short Description.
- Enter the Menu Details.
- Optional: Enter Menu Notes.
- Optional: Select the checkbox 'Print in Highlight'.
- Save/Exit.
'Print in Highlight' will display the Menu Name in bold on the Event Order and Event Runsheet.
Enterprise customers can assign a Menu to multiple Properties in the 'Properties' tab.
-
Guide
- Add Button
Guide
Go to Setup > Event Management > Menu in RMS.
Select the ![]() 'Add' icon.
'Add' icon.
Enter a Menu Name.
Enter a Short Description.
Enter the Menu Details.
Optional: Enter Menu Notes.
Optional: Select the checkbox 'Print in Highlight'.
Select 'Save/Exit' to store the changes made and leave the setup.
The Menu will be available for selection when setting up an Event Master Task or when adding an Event Task to an Event.