Insert a Table into a Form Letter
November 9th, 2020
Steps Required
Have your System Administrator complete the following.
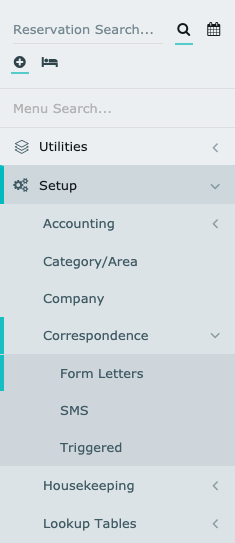
- Go to Setup > Correspondence > Form Letters in RMS.
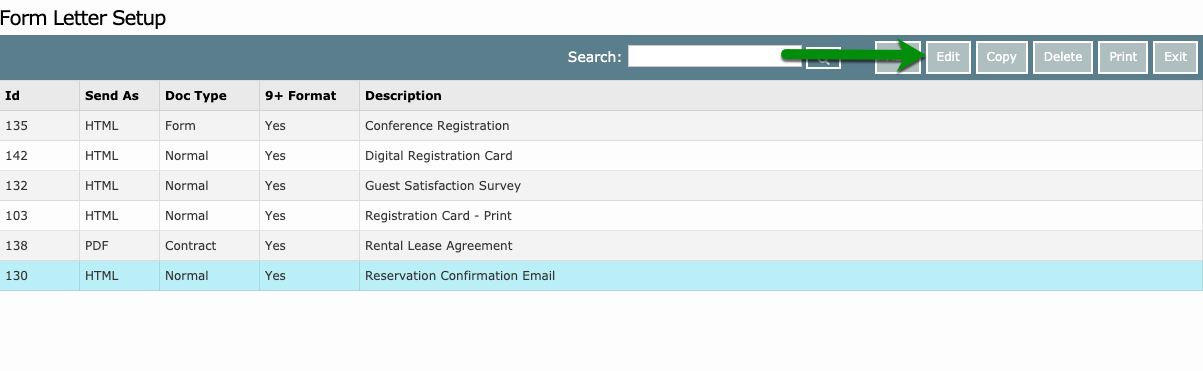
- Select a Form Letter and choose 'Edit'.
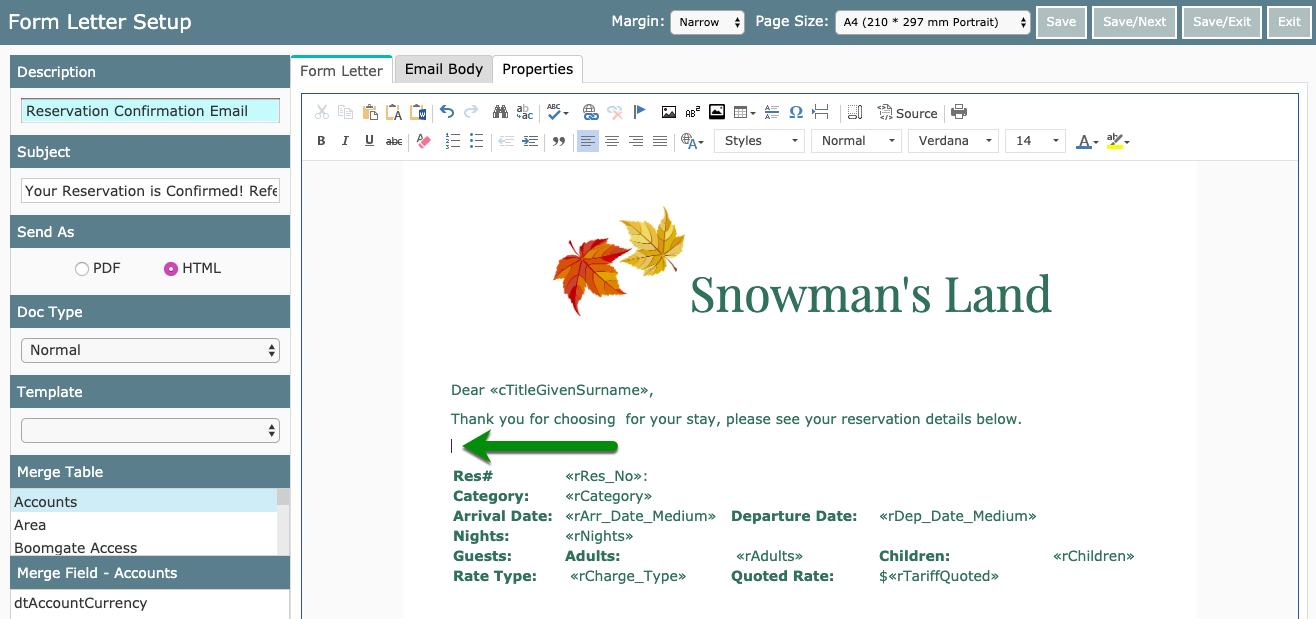
- Place Cursor in location where the Table is required.
- Select the Table icon.
- Select the number of Rows & Columns required.
- Insert the text or images required into the Table.
-
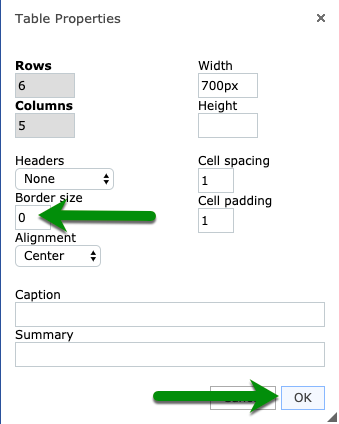
Optional: Right Click the Table and select 'Table Properties'.
- Set Border to '0' and choose 'Ok'.
- Save/Exit.
Visual Guide
Go to Setup > Correspondence > Form Letters in RMS.
Select a Form Letter and choose 'Edit'.
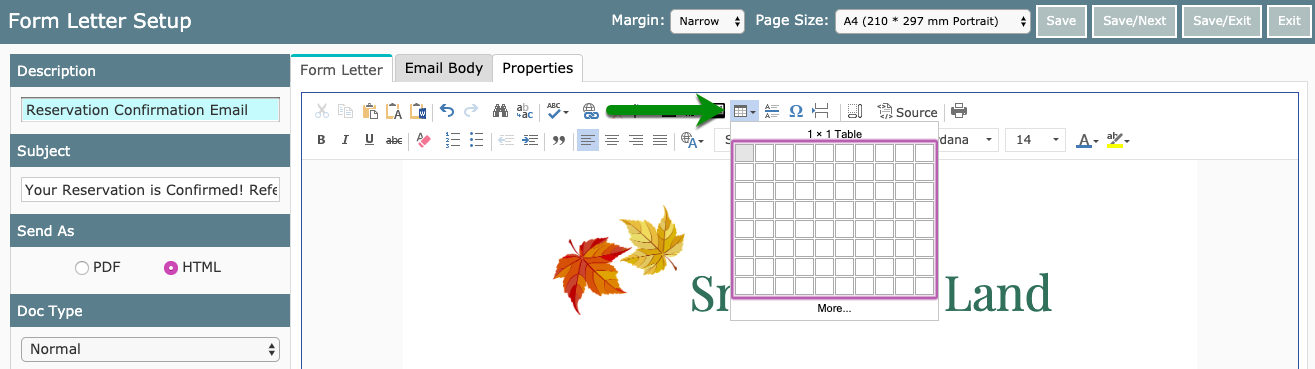
Place Cursor in location where the Table is required.
Select the Table icon.
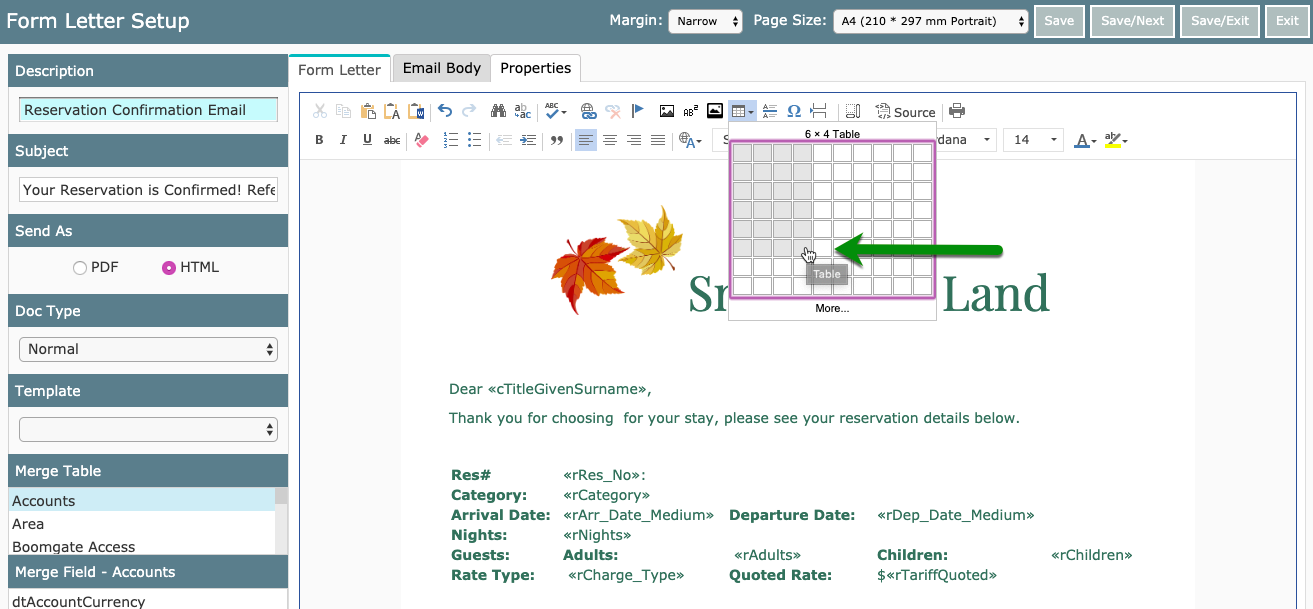
Select the number of Rows & Columns required.
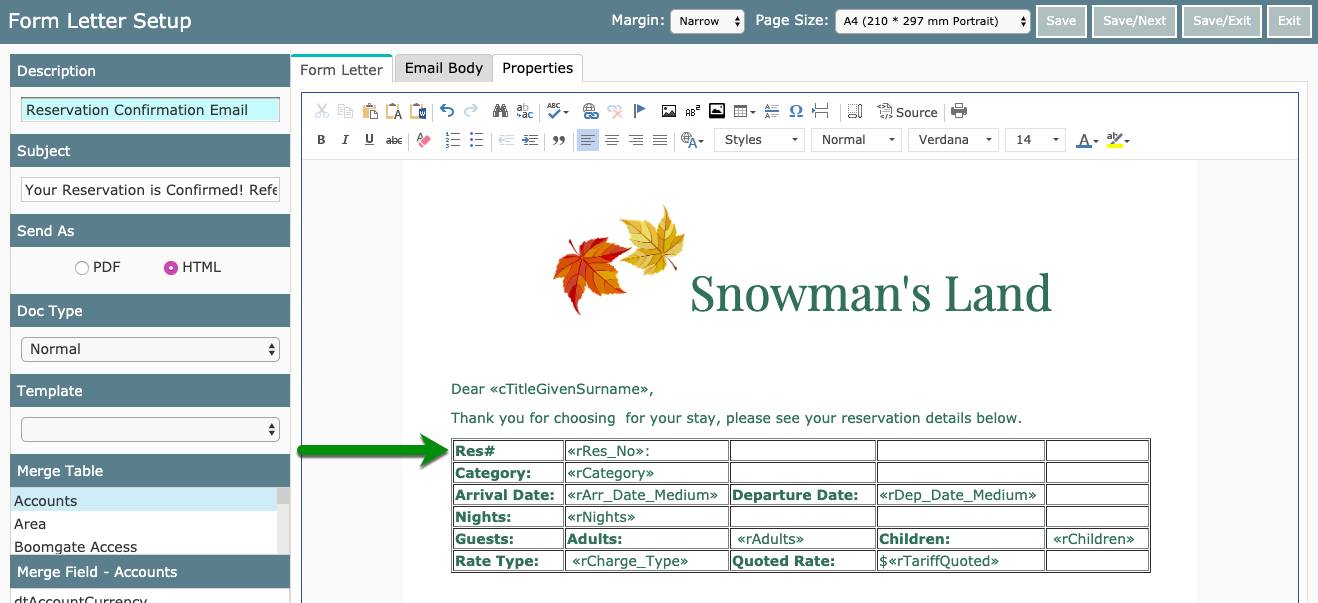
Insert the text or images required into the Table.
Optional: Right Click the Table and select 'Table Properties'.
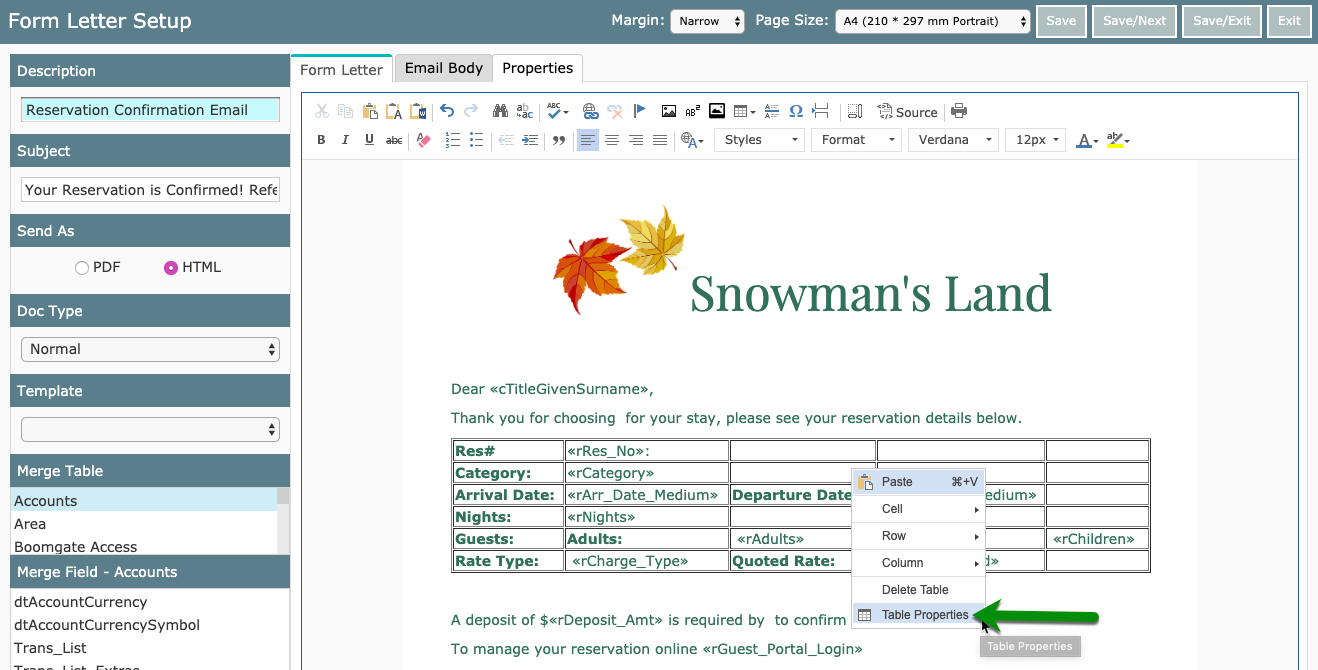
Set Border to '0' and choose 'Ok'.
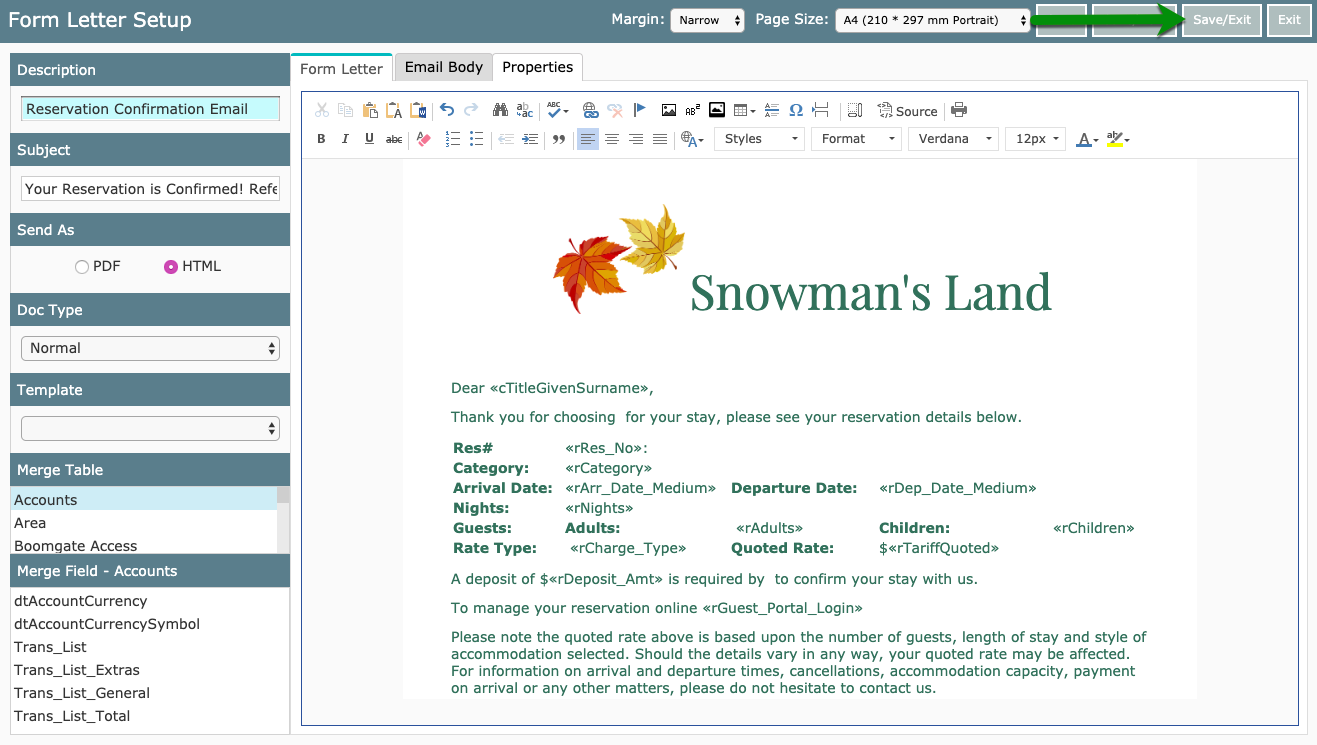
Select 'Save/Exit' to store the changes made.