Configure Statements
Steps to configure property statements in RMS.
Steps Required
Have your System Administrator complete the following:
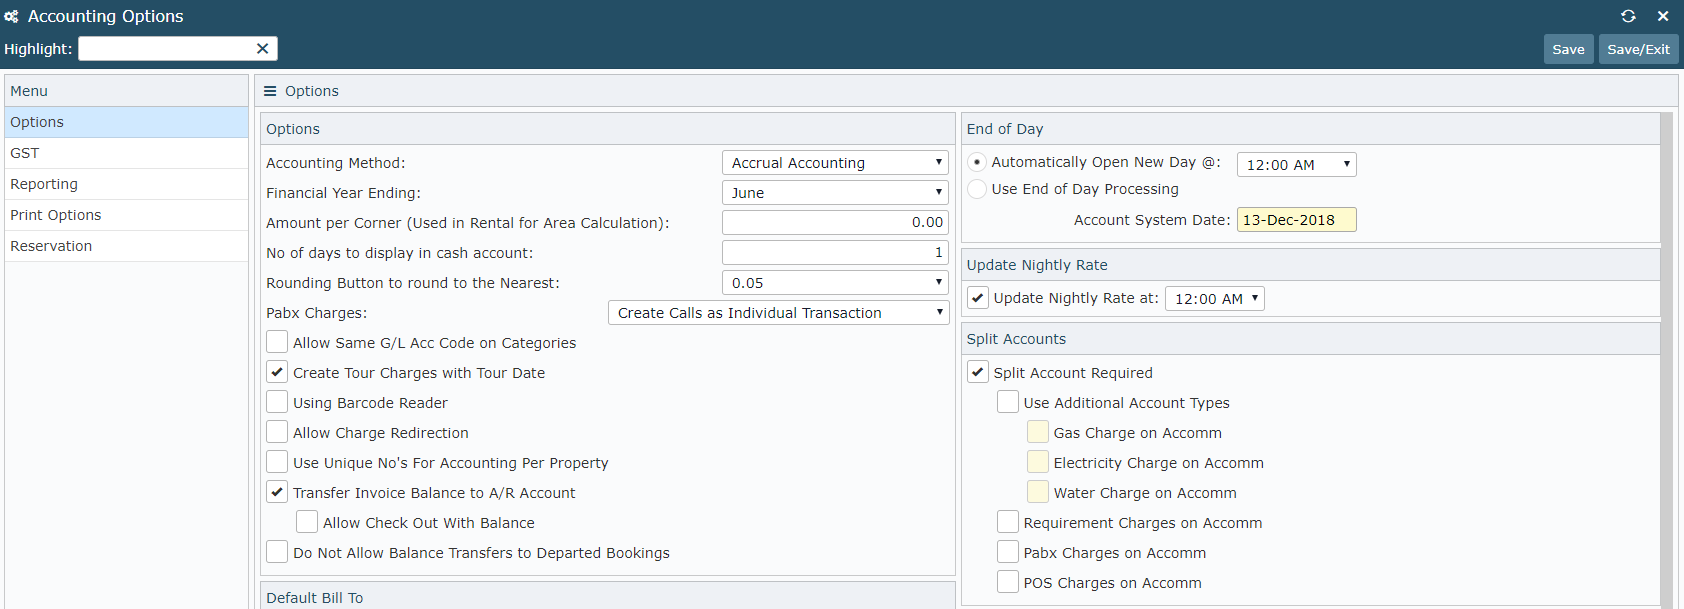
- Go to Setup > Accounting > Accounting Options in RMS.
- Navigate to 'Print Options'.
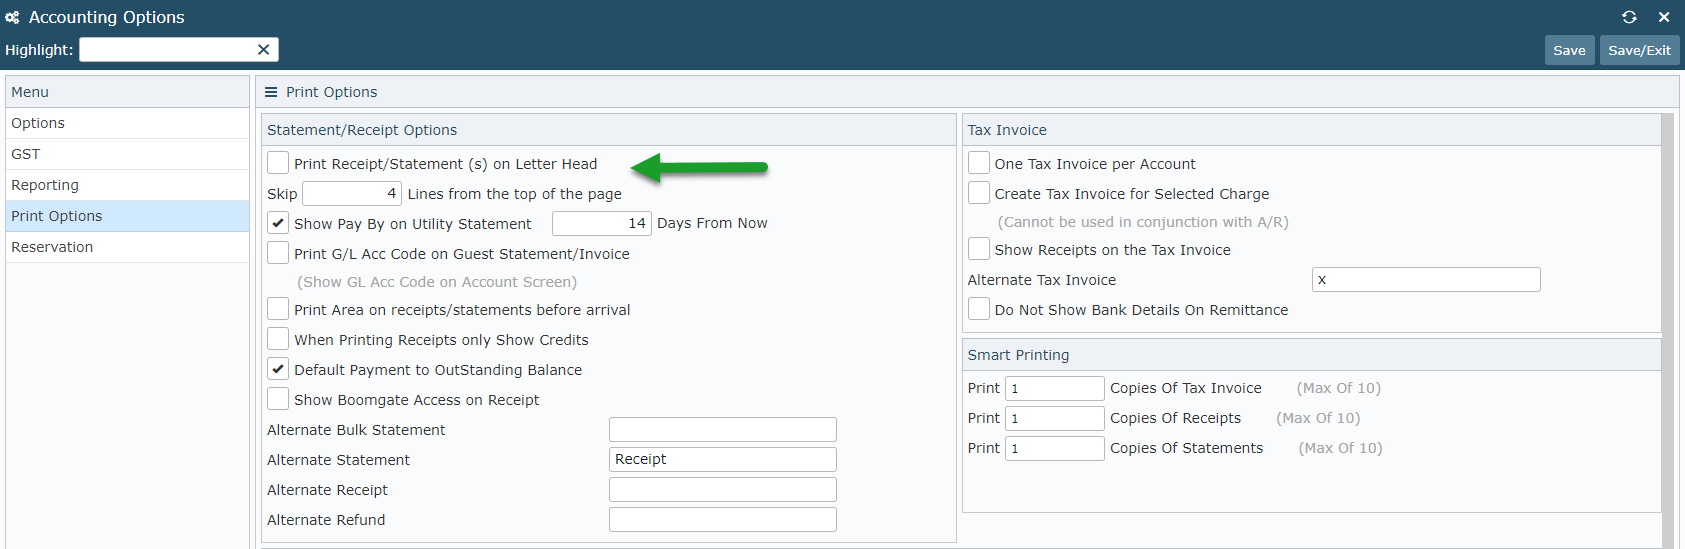
- Select required Statement Options.
- Select the 'Statement' tab.
- Enter Statement Notes.
- Enter Statement Email Body.
- Save/Exit.
Visual Guide
Go to Setup > Accounting > Accounting Options in RMS.
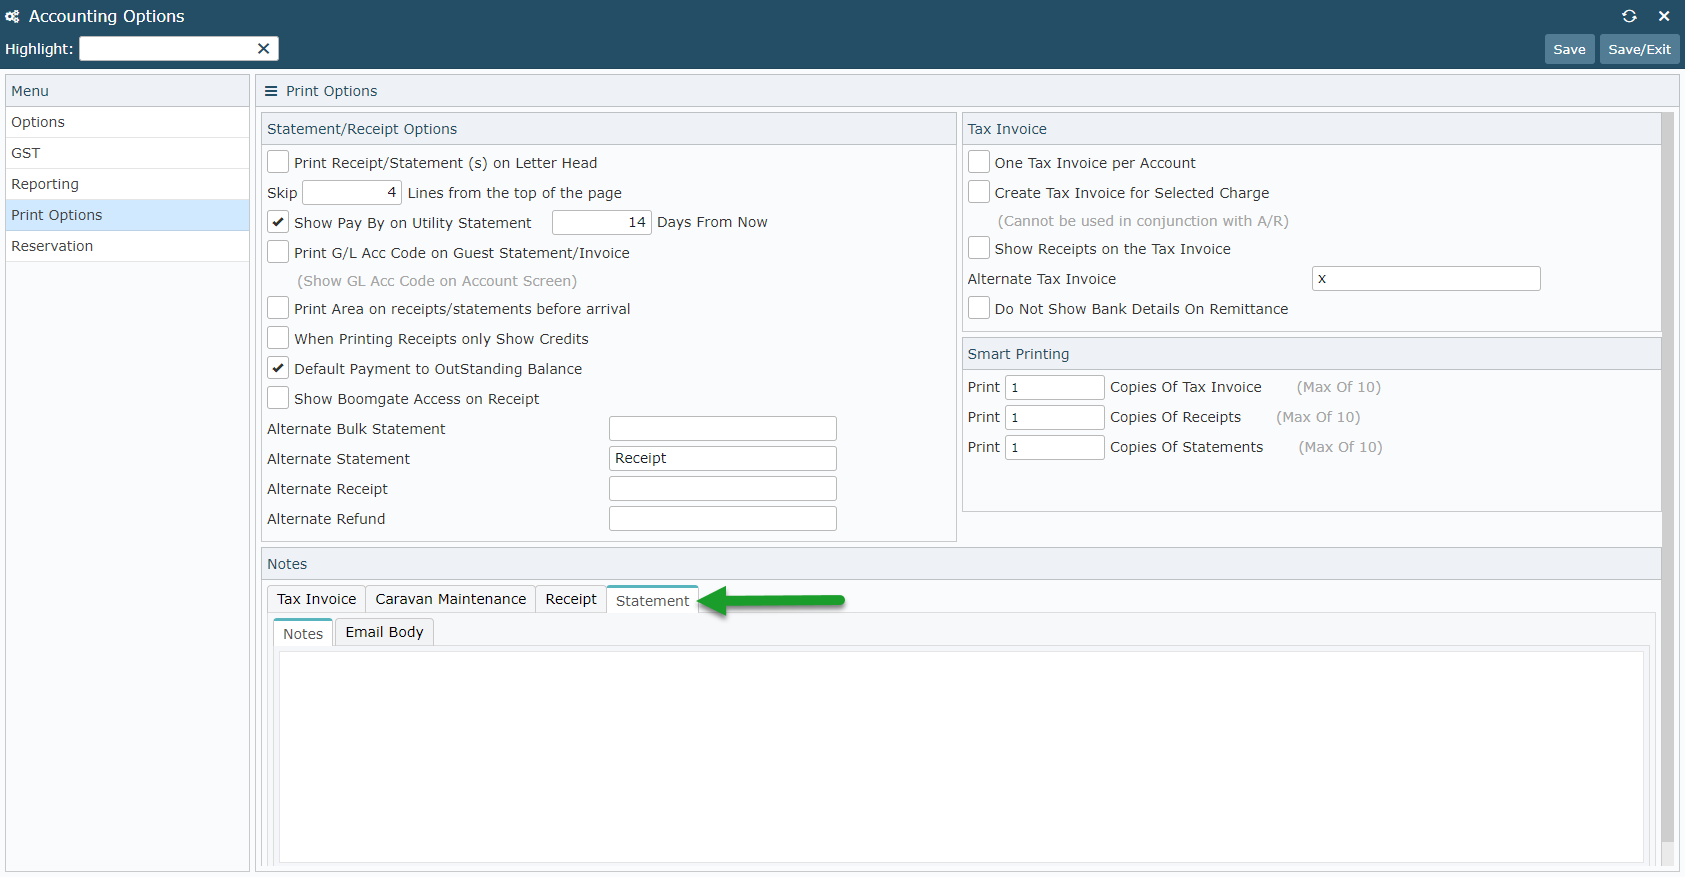
Navigate to the 'Print Options' tab.
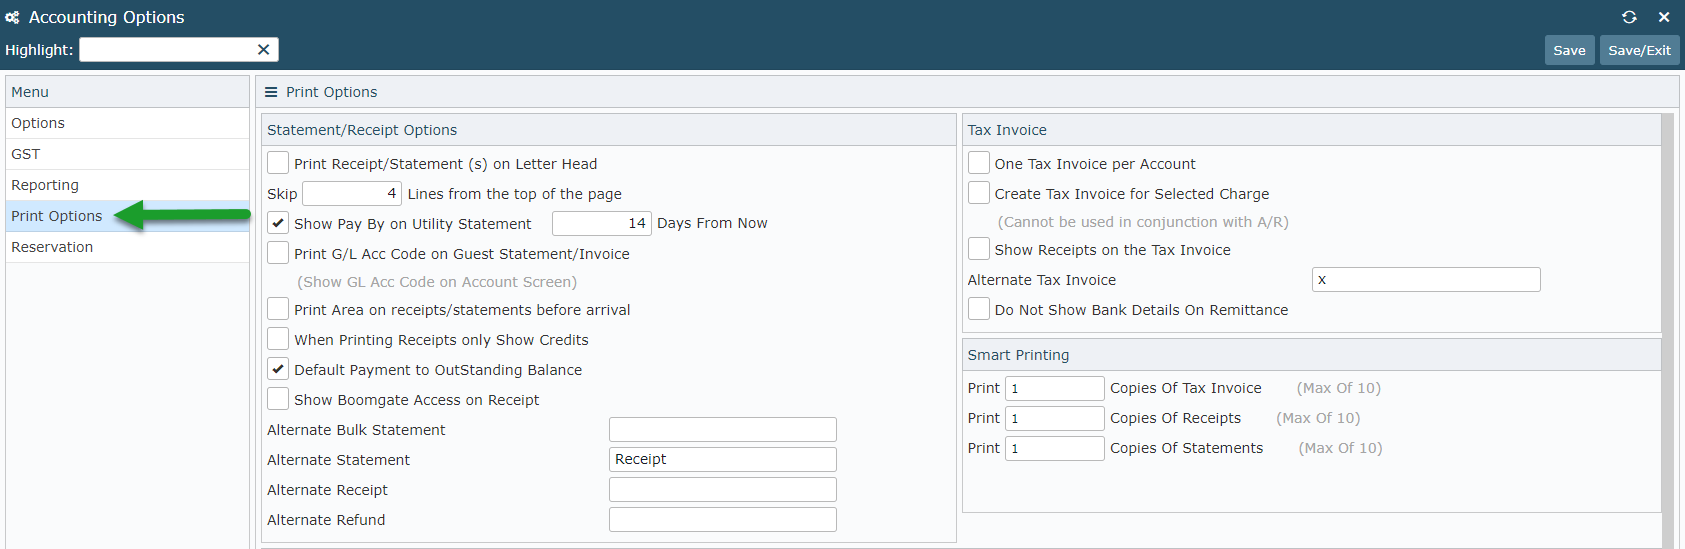
Select the required options for the property's statements.
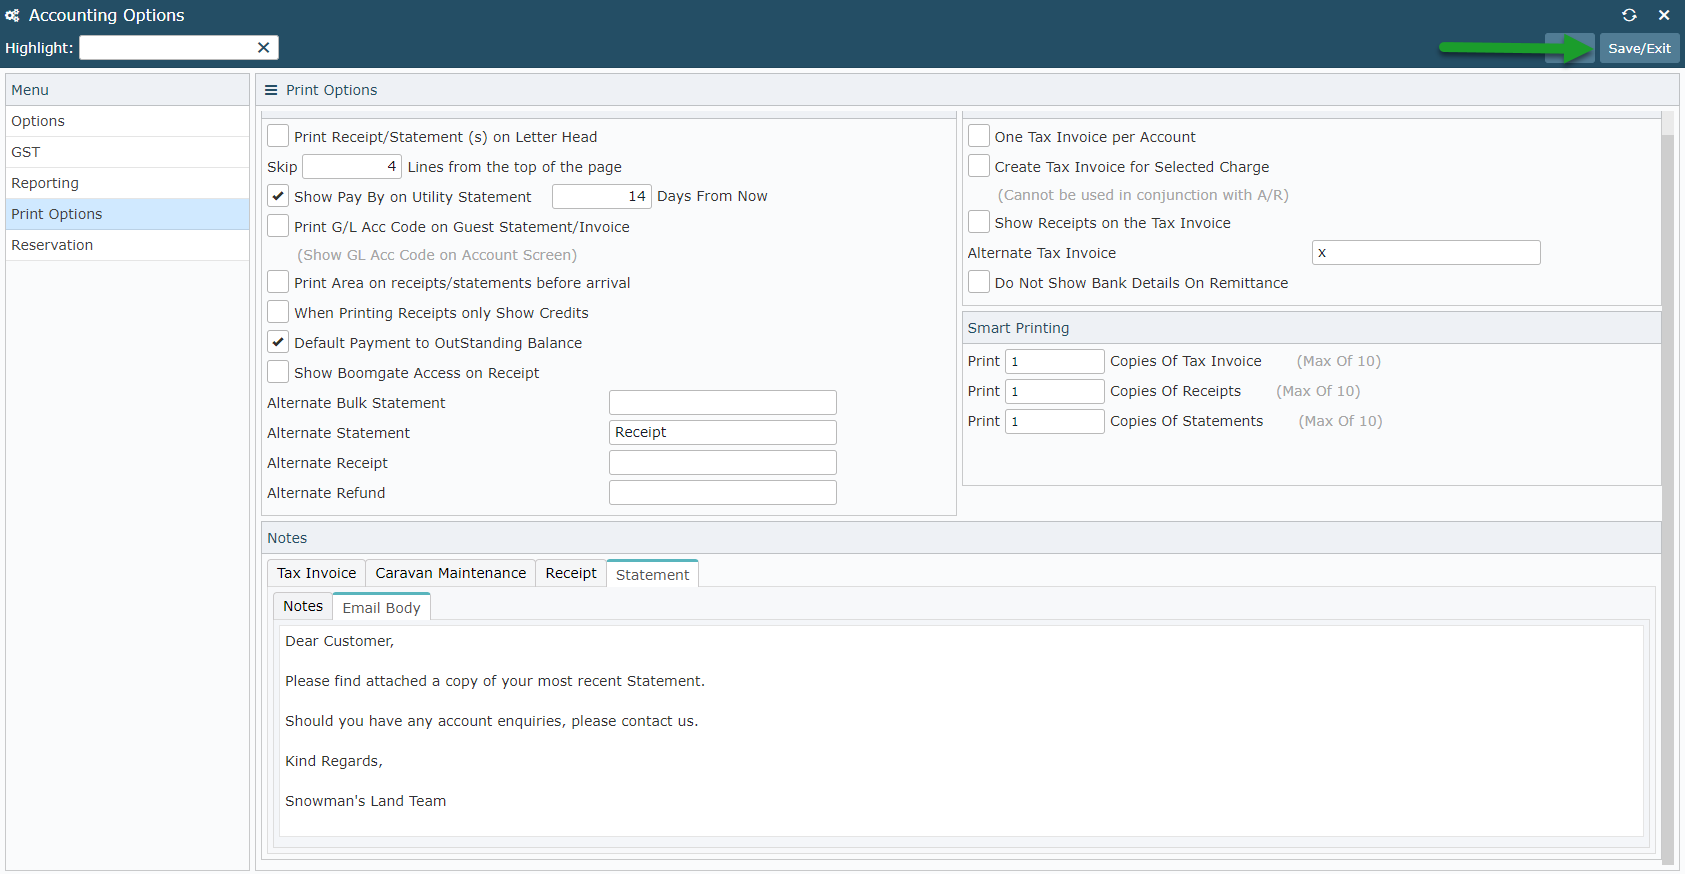
Select the 'Statement' tab.
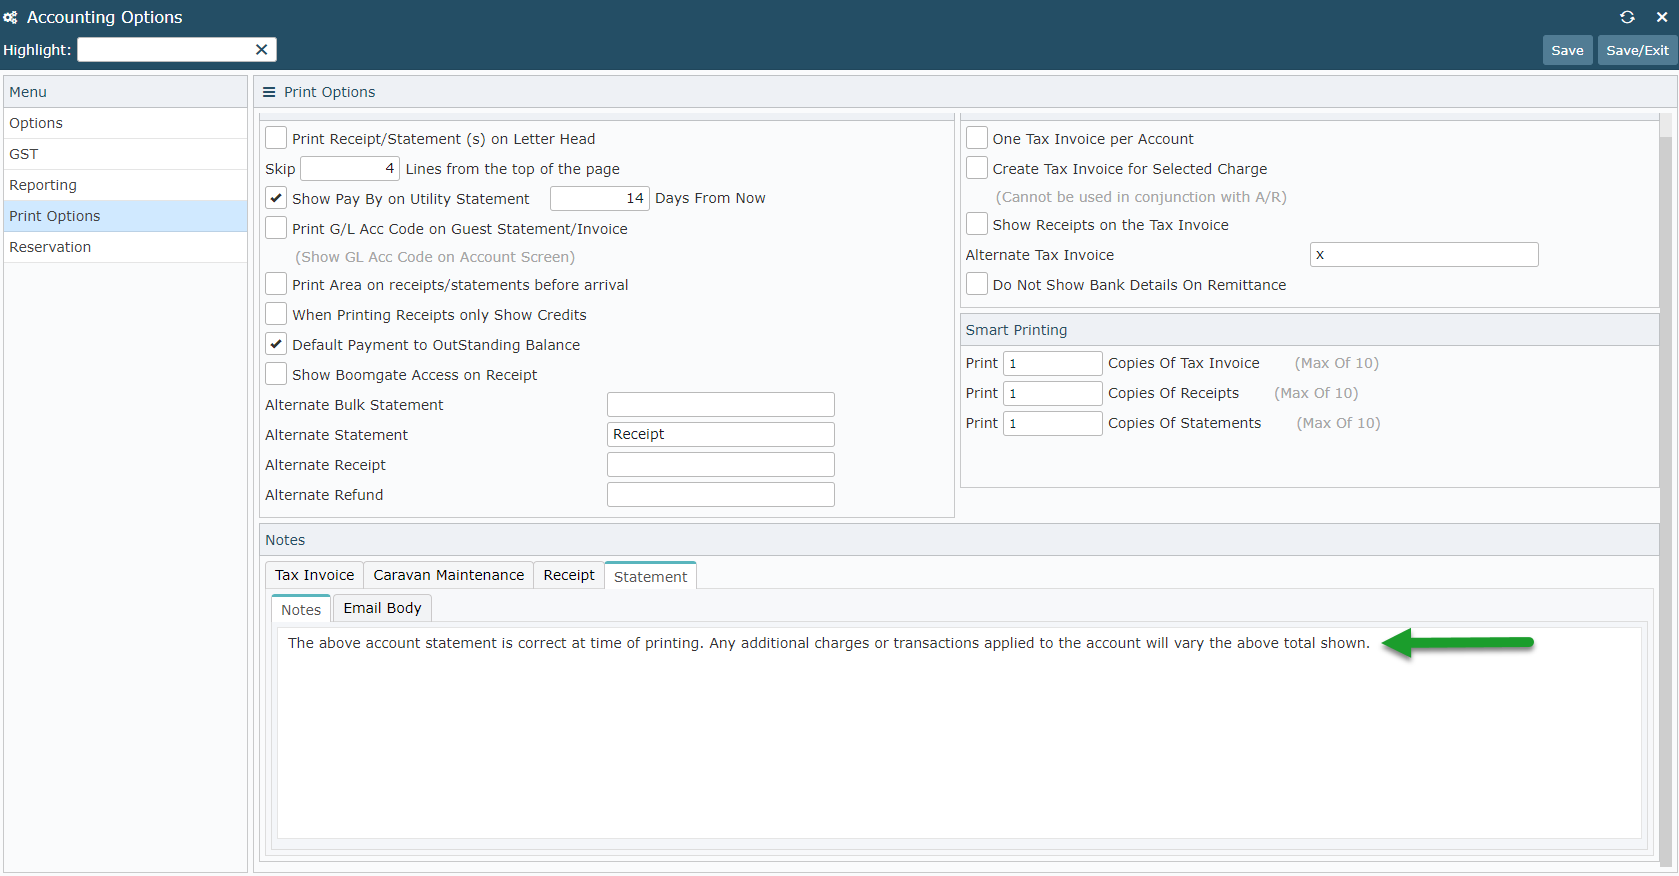
Enter any notes to display on the bottom of generated statements.
Select the 'Email Body' tab and enter the text to be displayed in the email for statements emailed from RMS.
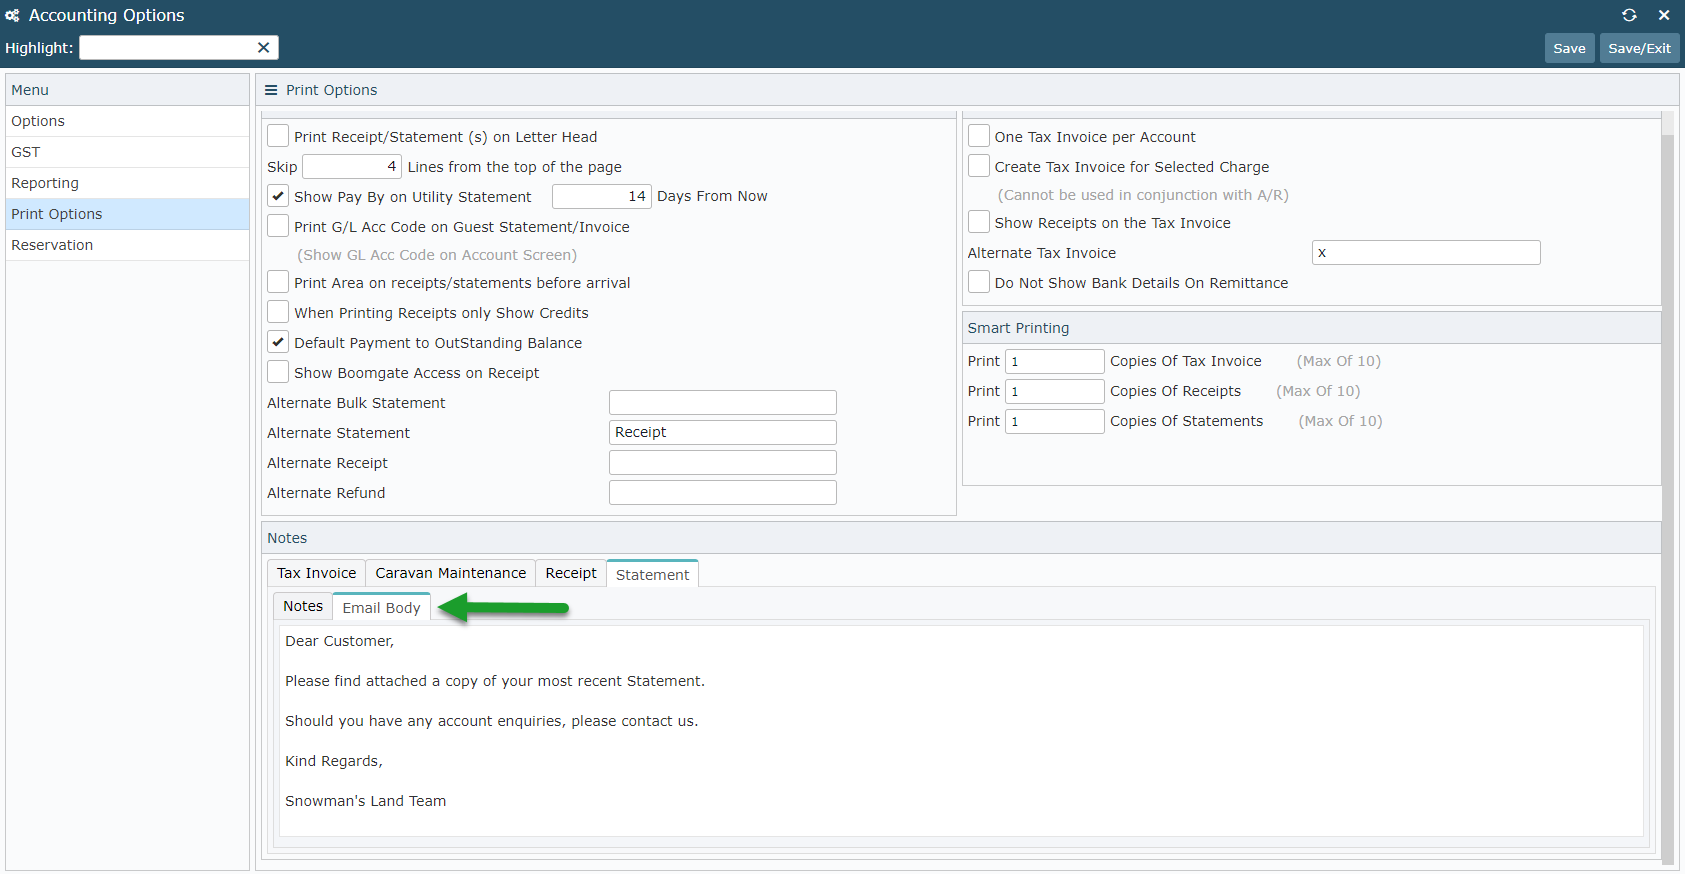
Select 'Save/Exit' to store the changes made.