Setup a Stock Category
Setting up Stock Categories for Stock Control in RMS.
Steps Required
Have your System Administrator complete the following.
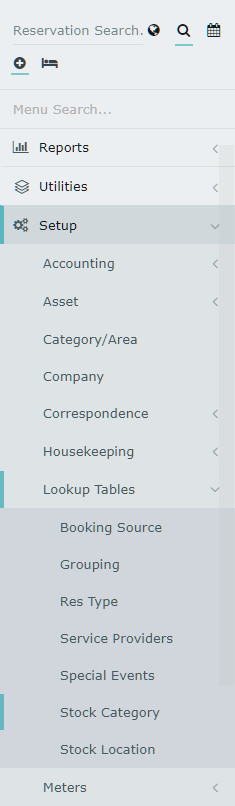
- Go to Setup > Lookup Tables > Stock Category in RMS.
- Select 'Add'.
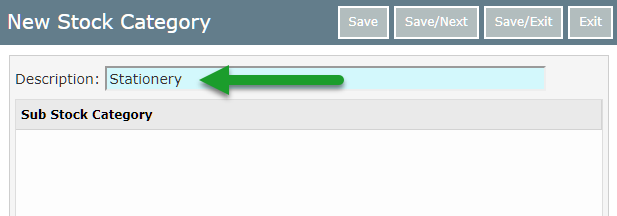
- Enter the Stock Category Description.
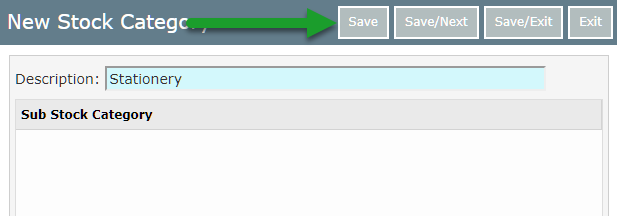
- Save.
- Select 'Add'.
- Enter the Sub Stock Category Description.
- Save.
- Repeat as necessary.
- Save/Exit.
Visual Guide
Go to Setup > Lookup Tables > Stock Category in RMS.
Select 'Add' to create a new Stock Category.

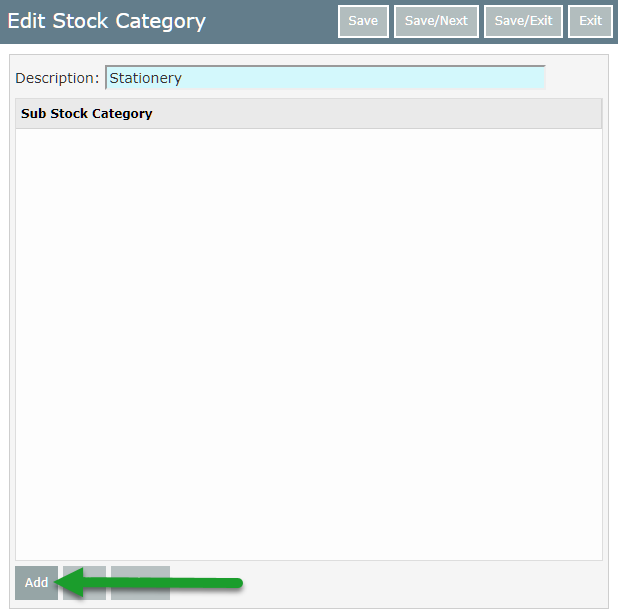
Enter the Stock Category Description.
Select 'Save' to create the Stock Category in RMS.
Select 'Add' to create a Sub Stock Category.
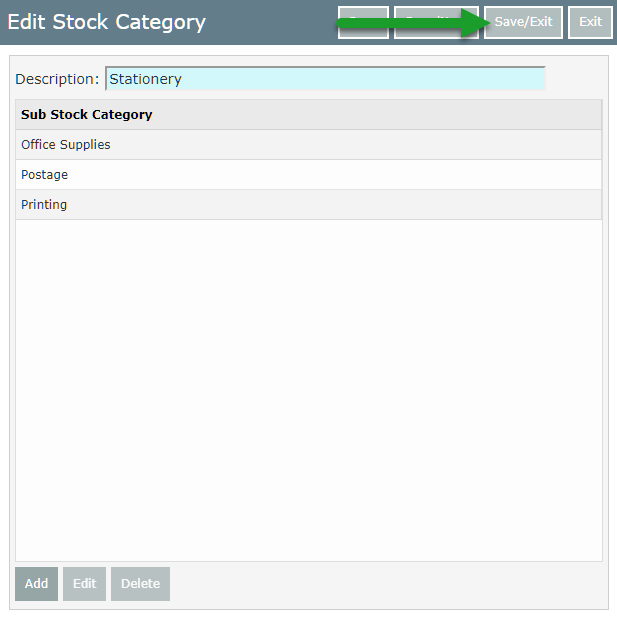
Enter the Sub Stock Category Description.

Select 'Save/Next' and repeat as necessary.

Select 'Save/Exit' to store the changes made in RMS.
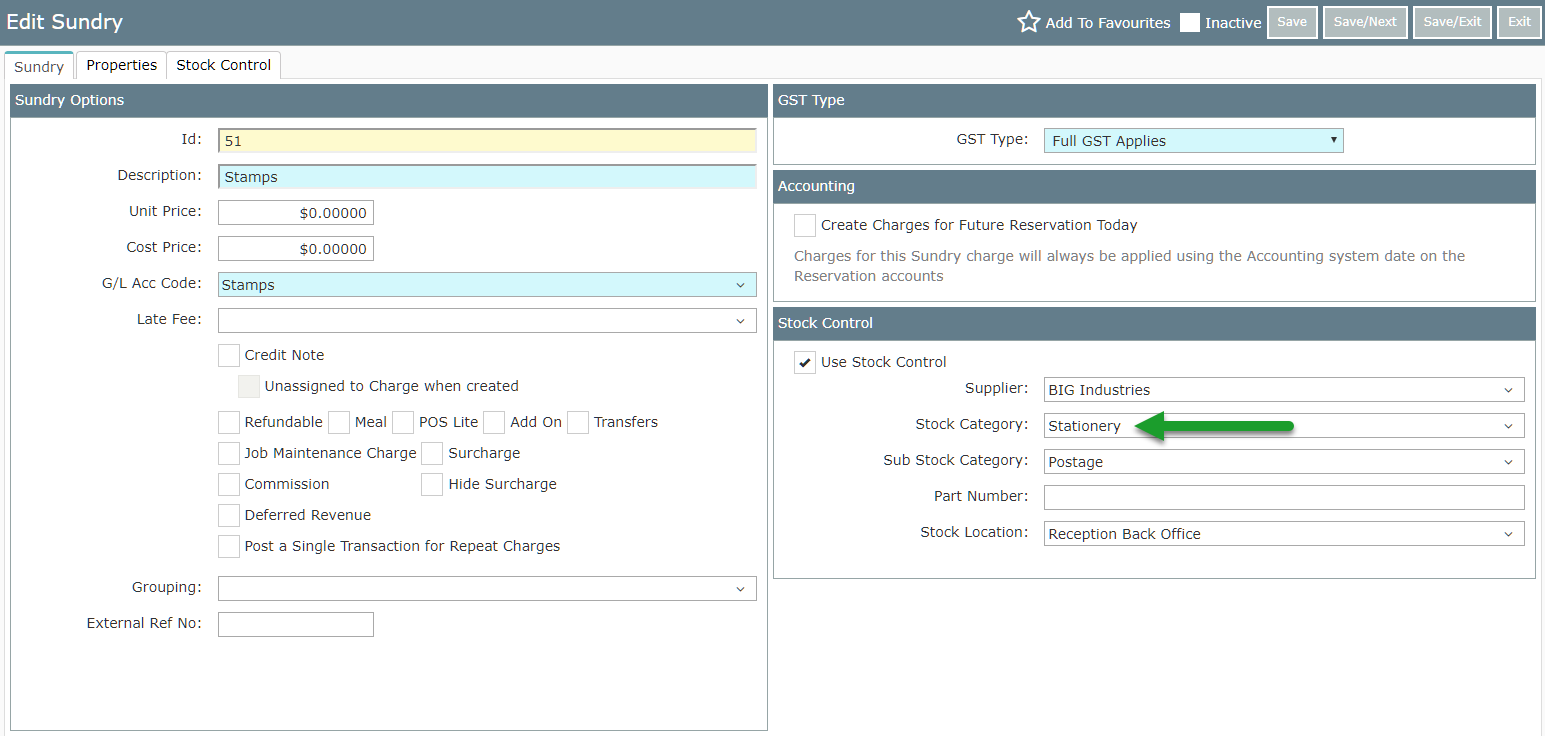
 This Stock Category can now be selected on Sundry Charge Setup for use with Stock Control.