Tax Invoice
Create a Tax Invoice on an account in RMS.
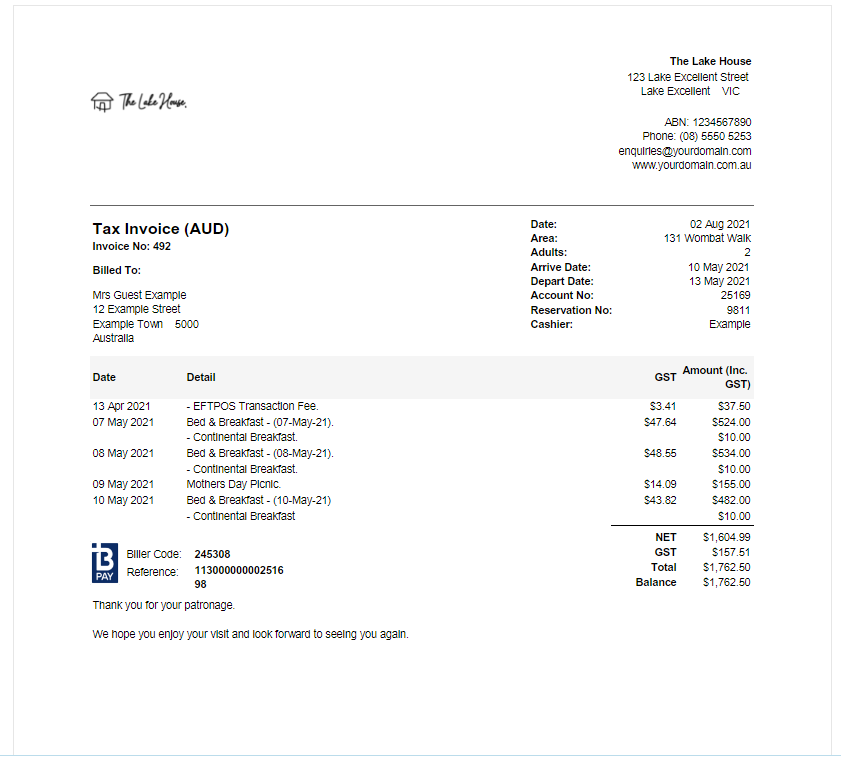
A Tax Invoice is an itemised invoice of taxable charges on an account with a unique Invoice Number.
-
Information
-
Use
- Add Button
Information
A Tax Invoice is an itemised invoice of taxable charges on an account with a unique Invoice Number.
All transactions itemised on a Tax Invoice will be locked from changes unless the Tax Invoice is cancelled.
A list of all Invoice Numbers for cancelled Tax Invoices can be viewed using the Invoice List report.
The Account Bill To will determine the party listed on the Tax Invoice as responsible for payment.
A Tax Invoice must be created to finalise the account and transfer the outstanding balance to Accounts Receivable for a Company or Travel Agent.
Tax Invoices created on an account where the reservation includes a Voucher Number will display the Voucher Number on the Tax Invoice.

A standard Tax Invoice layout is included in the base RMS subscription that will display the Property Logo and any local government tax requirements.
Custom Tax Invoice layouts incur a development cost and can be arranged by contacting RMS Sales.
Account Types 'Accomm' and 'Extras' are default System Labels that can be customised.

Users will require Security Profile access to use this feature.
-
Use
- Add Button
Use
- Go to Accounting > Quick Account Access in RMS.
- Enter the Account or Reservation Number.
- Select 'Go to Account'.
- Select 'Invoice'.
- Select 'Create Invoice' and choose 'Print' or 'Email'.
- Print: Select 'Print' on the browser's print dialogue box.
- Email: Select or enter the email recipients and choose 'Email/Exit'.

The Account Bill To will determine the party listed on the Tax Invoice as responsible for payment.
The Tax Invoice will be allocated a unique identifying number and all transactions itemised on the Tax Invoice will be locked from changes unless the Tax Invoice is cancelled.
Only transactions not currently allocated to a Tax Invoice will be included on a new invoice except Receipts. Receipts are not included on a Tax Invoice by default.
Selecting 'Print' will generate the Tax Invoice on screen and automatically open a browser print dialogue box to send the Tax Invoice to the selected printer.
-
Guide
- Add Button
Guide
Go to Accounting > Quick Account Access in RMS.

Enter the Account or Reservation Number.

Select 'Go to Account'.

Select 'Invoice'.

Select 'Create Invoice' and choose 'Print' or 'Email'.

Print: Select 'Print' on the browser's print dialogue box.
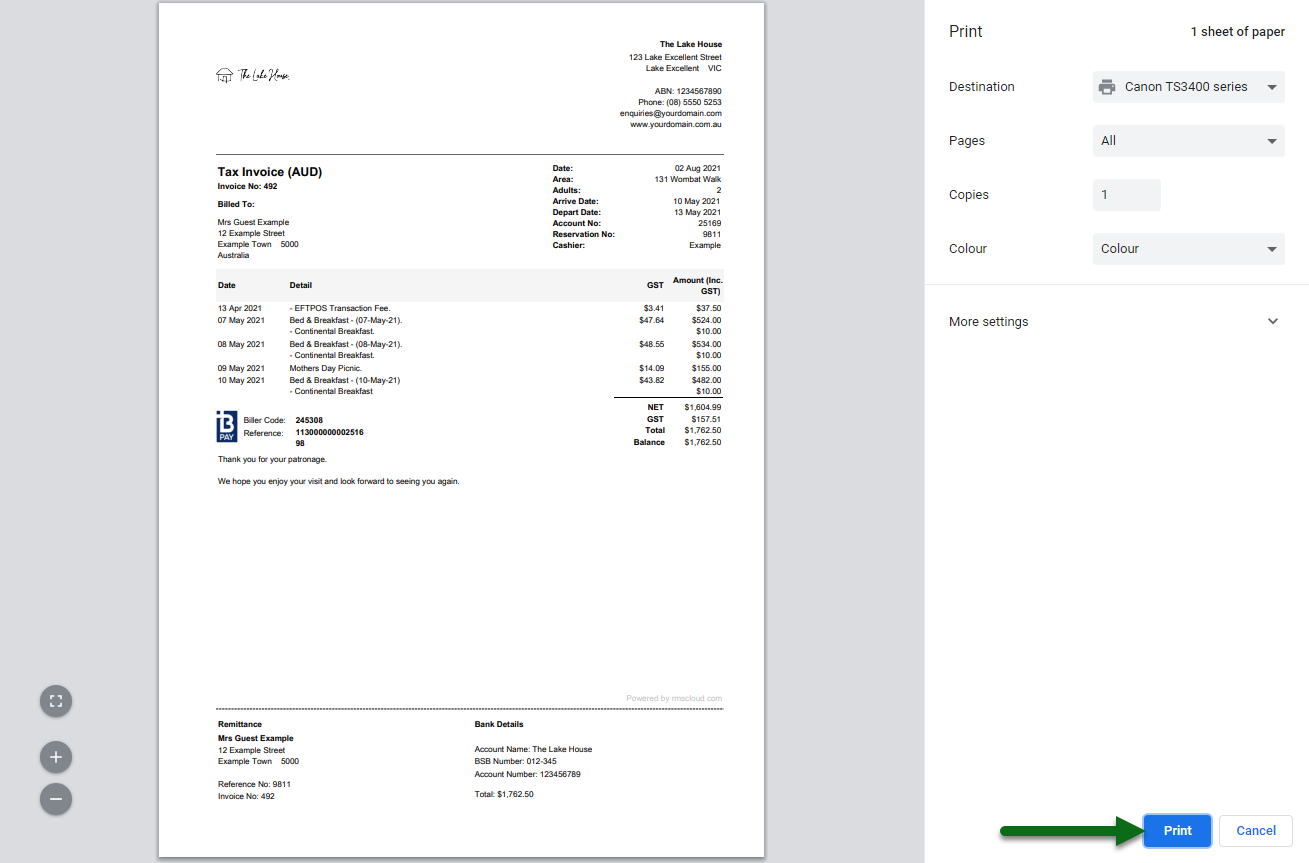
The Tax Invoice will be generated on screen and the Internet browser's print dialogue box automatically opened to send the generated Tax Invoice to the selected printer.
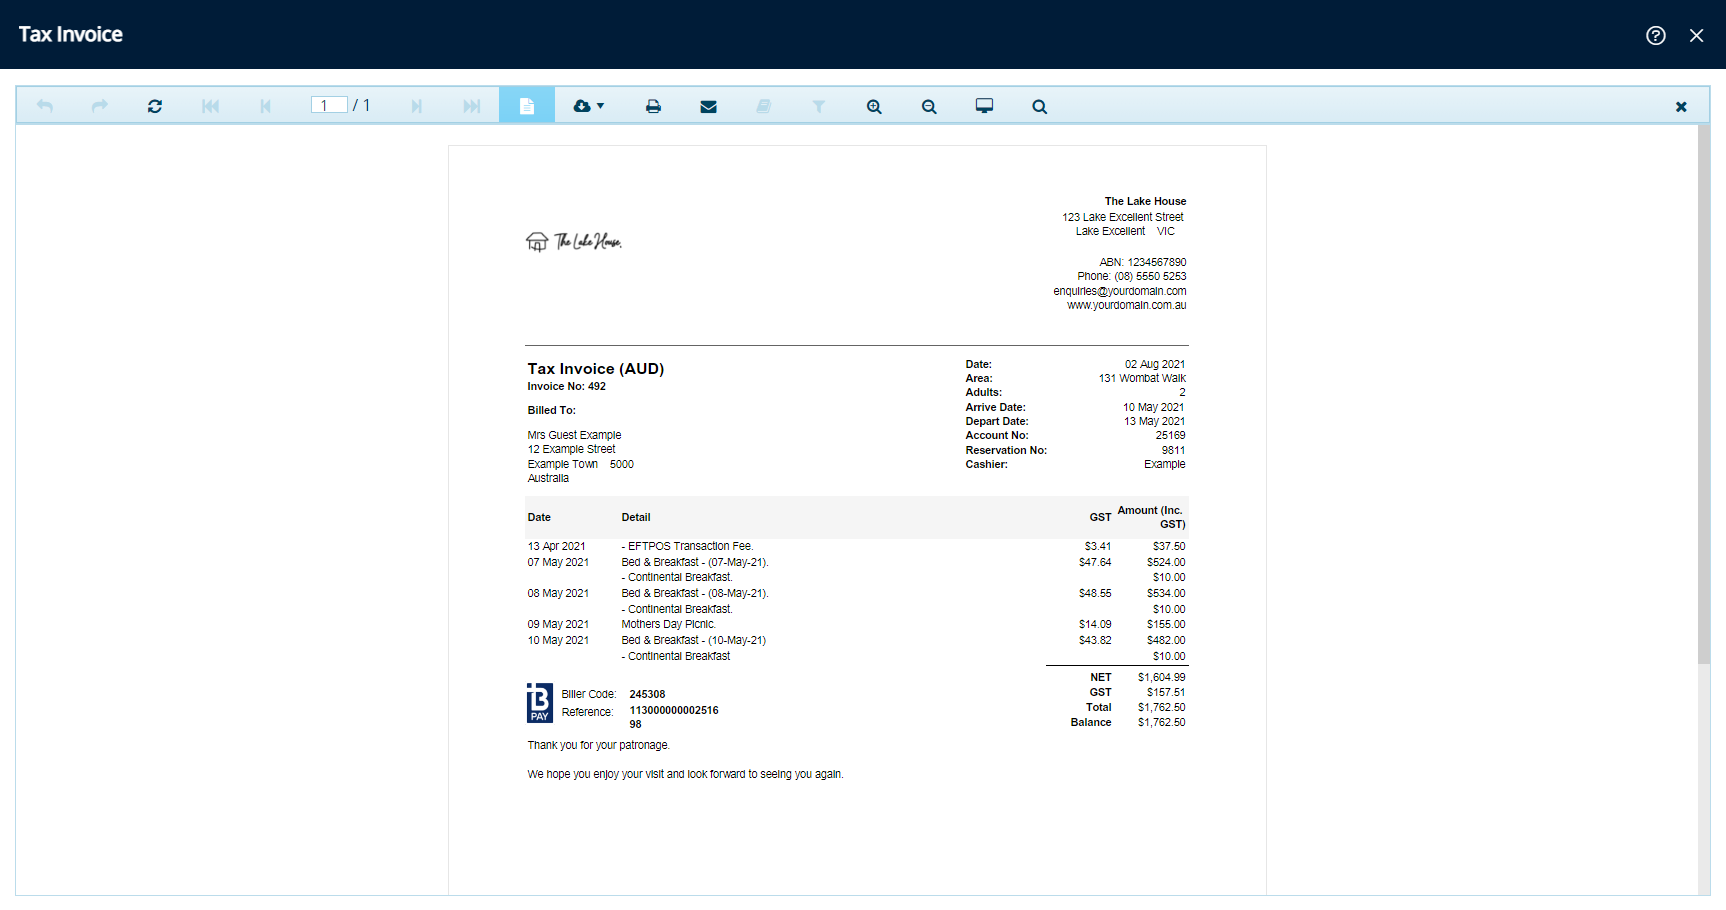
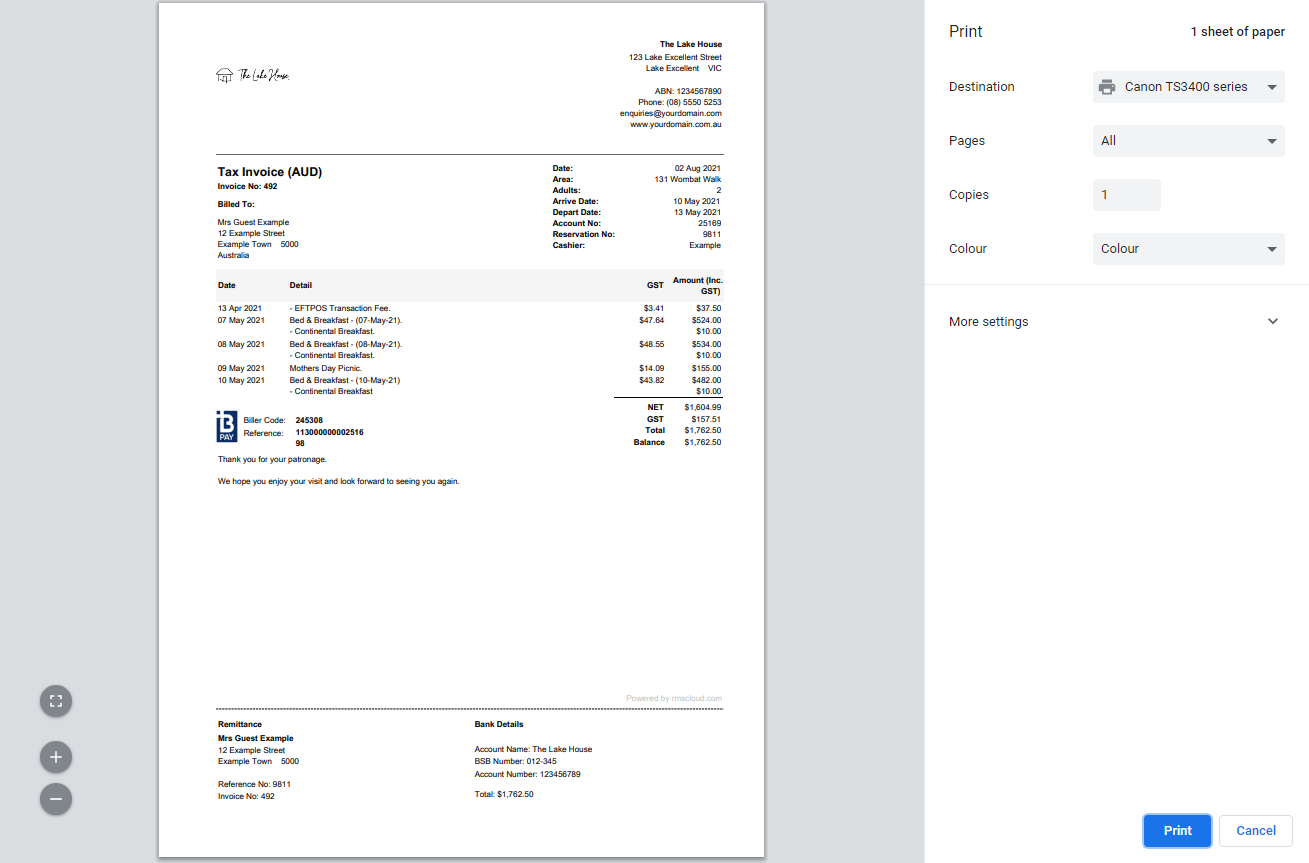
Email: Select or enter the email recipients and choose 'Email/Exit'.
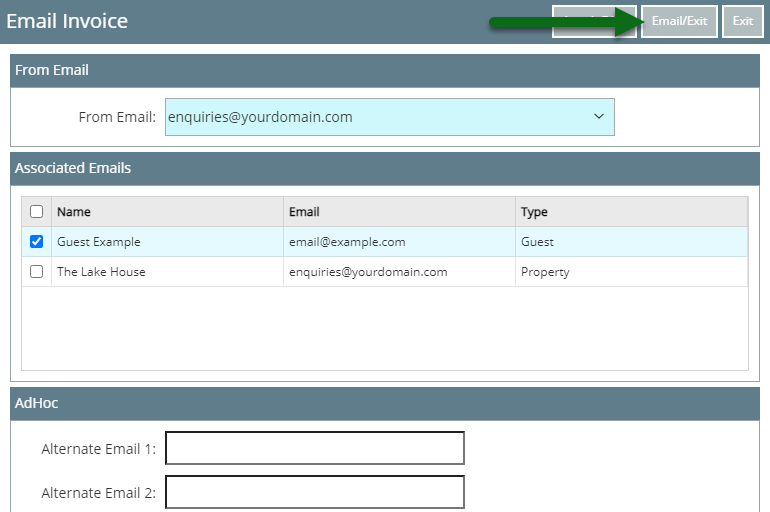
The Tax Invoice will be emailed to the selected recipients.
Use
- Go to Accounting > Quick Account Access in RMS.
- Enter the Account or Reservation Number.
- Select 'Go to Account'.
- Select 'Invoice'.
- Select 'Create Invoice' and choose 'Print' or 'Email'.
- Print: Select 'Print' on the browser's print dialogue box.
- Email: Select or enter the email recipients and choose 'Email/Exit'.

The Account Bill To will determine the party listed on the Tax Invoice as responsible for payment.
The Tax Invoice will be allocated a unique identifying number and all transactions itemised on the Tax Invoice will be locked from changes unless the Tax Invoice is cancelled.
Only transactions not currently allocated to a Tax Invoice will be included on a new invoice except Receipts. Receipts are not included on a Tax Invoice by default.
Selecting 'Print' will generate the Tax Invoice on screen and automatically open a browser print dialogue box to send the Tax Invoice to the selected printer.
-
Guide
- Add Button
Guide
Go to Accounting > Quick Account Access in RMS.

Enter the Account or Reservation Number.

Select 'Go to Account'.

Select 'Invoice'.

Select 'Create Invoice' and choose 'Print' or 'Email'.

Print: Select 'Print' on the browser's print dialogue box.

The Tax Invoice will be generated on screen and the Internet browser's print dialogue box automatically opened to send the generated Tax Invoice to the selected printer.


Email: Select or enter the email recipients and choose 'Email/Exit'.

The Tax Invoice will be emailed to the selected recipients.
