Groups (Group Allotments)
Set up named allotments that can be used for a company, travel agent, or group reservation in RMS.
Table of Contents
Key FeaturesOptionsSetupProperty AccessGroup AllotmentsAdditional Reservation DetailsCompany, Travel Agent, or Wholesaler AccessA Group is a named allotment that can be used for a company, travel agent, or party of guests travelling together on a group reservation.
The allotment of inventory can be set at a property, category, or area level with access to set rates and a unique code to enter and book on the RMS Internet Booking Engine.
Property allotments reserve inventory for the named group at the nominated property without limitations on the category or area booked. Category allotments limit the named group to a set number of inventory within the specified categories only, and an area allotment reserves specific areas that are only to be used by the named group.
Groups can be used to create and manage inventory allotments for guests travelling together as part of the same event or tour group. They can be guaranteed or non-guaranteed with access to specific rates. A guaranteed allotment will preserve the entered inventory for consumption by the named group until the prescribed release back period opens up any unused allotments to unrestricted use.
Groups include multiple features to define the entities that can consume the reserved inventory and automate specific reservation details for the named group.
Options
Groups include the following tabs and options to set up and manage additional information, allotments, and reservation details for the named group:
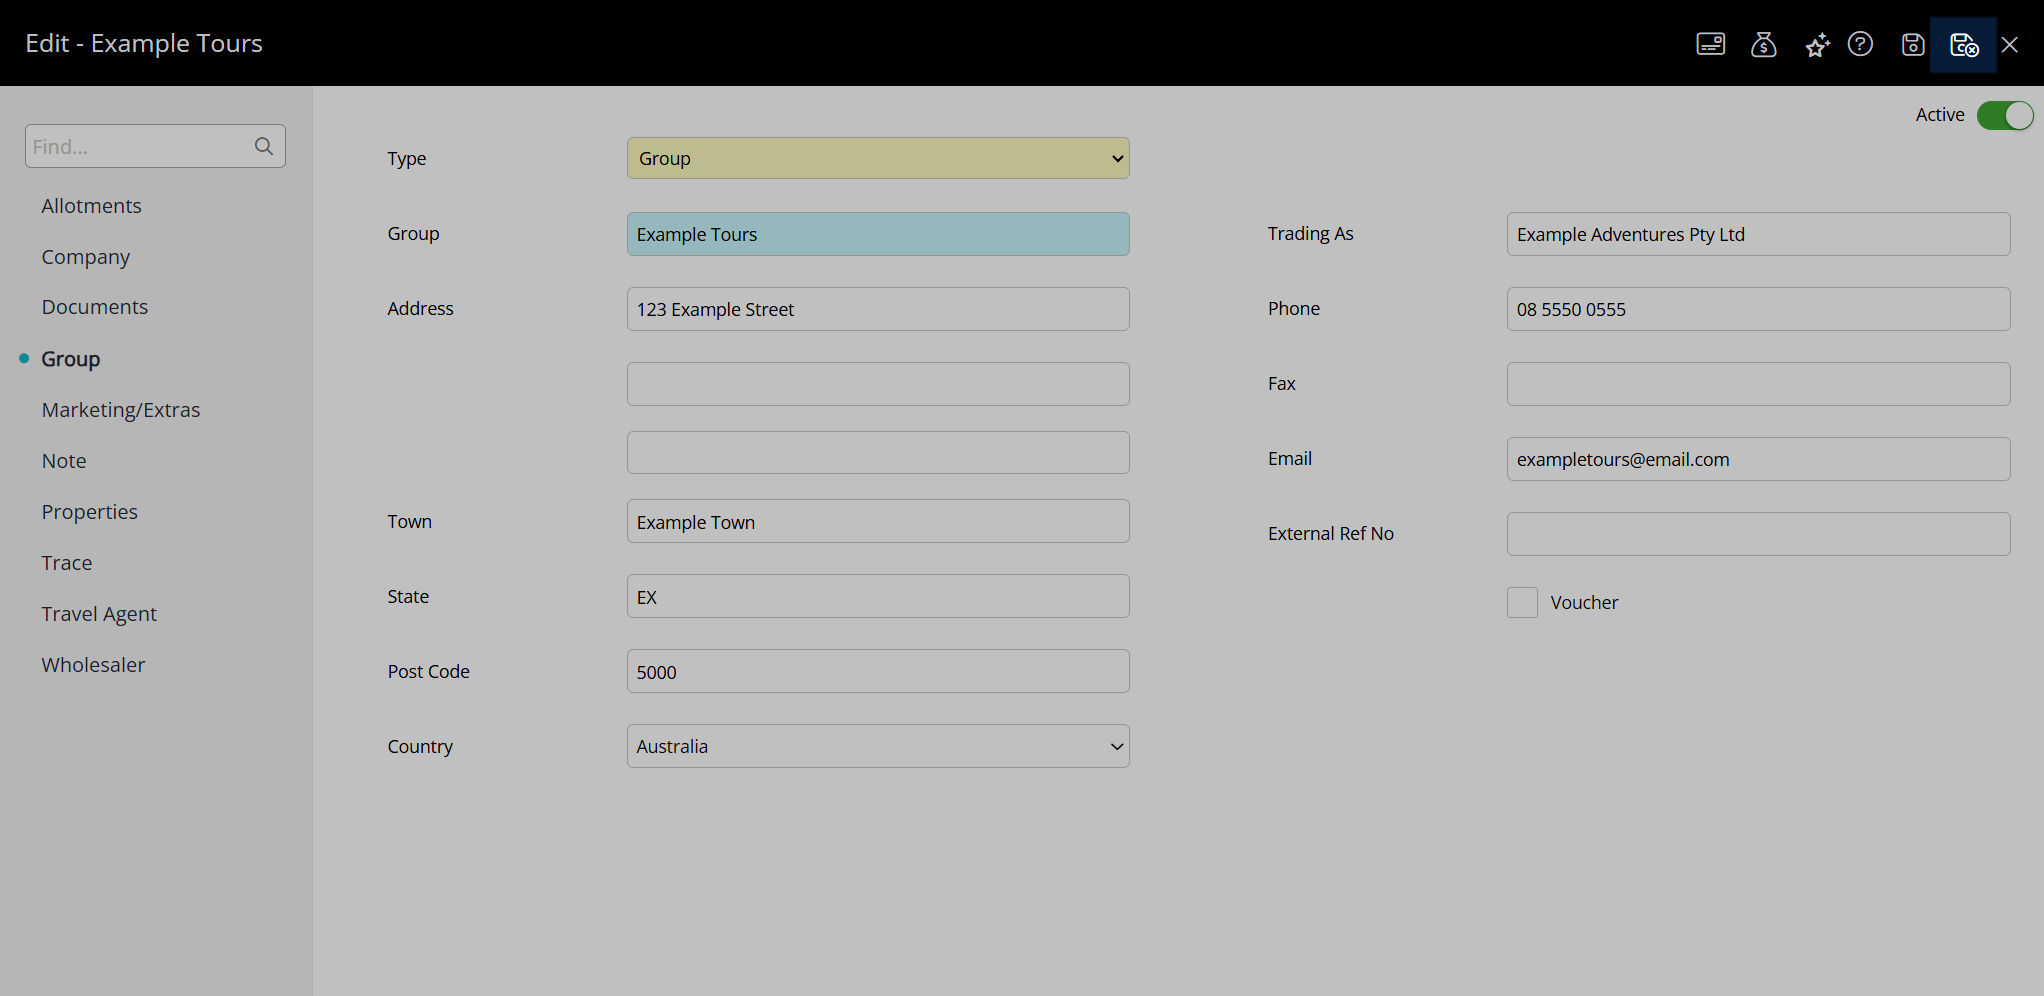
Group
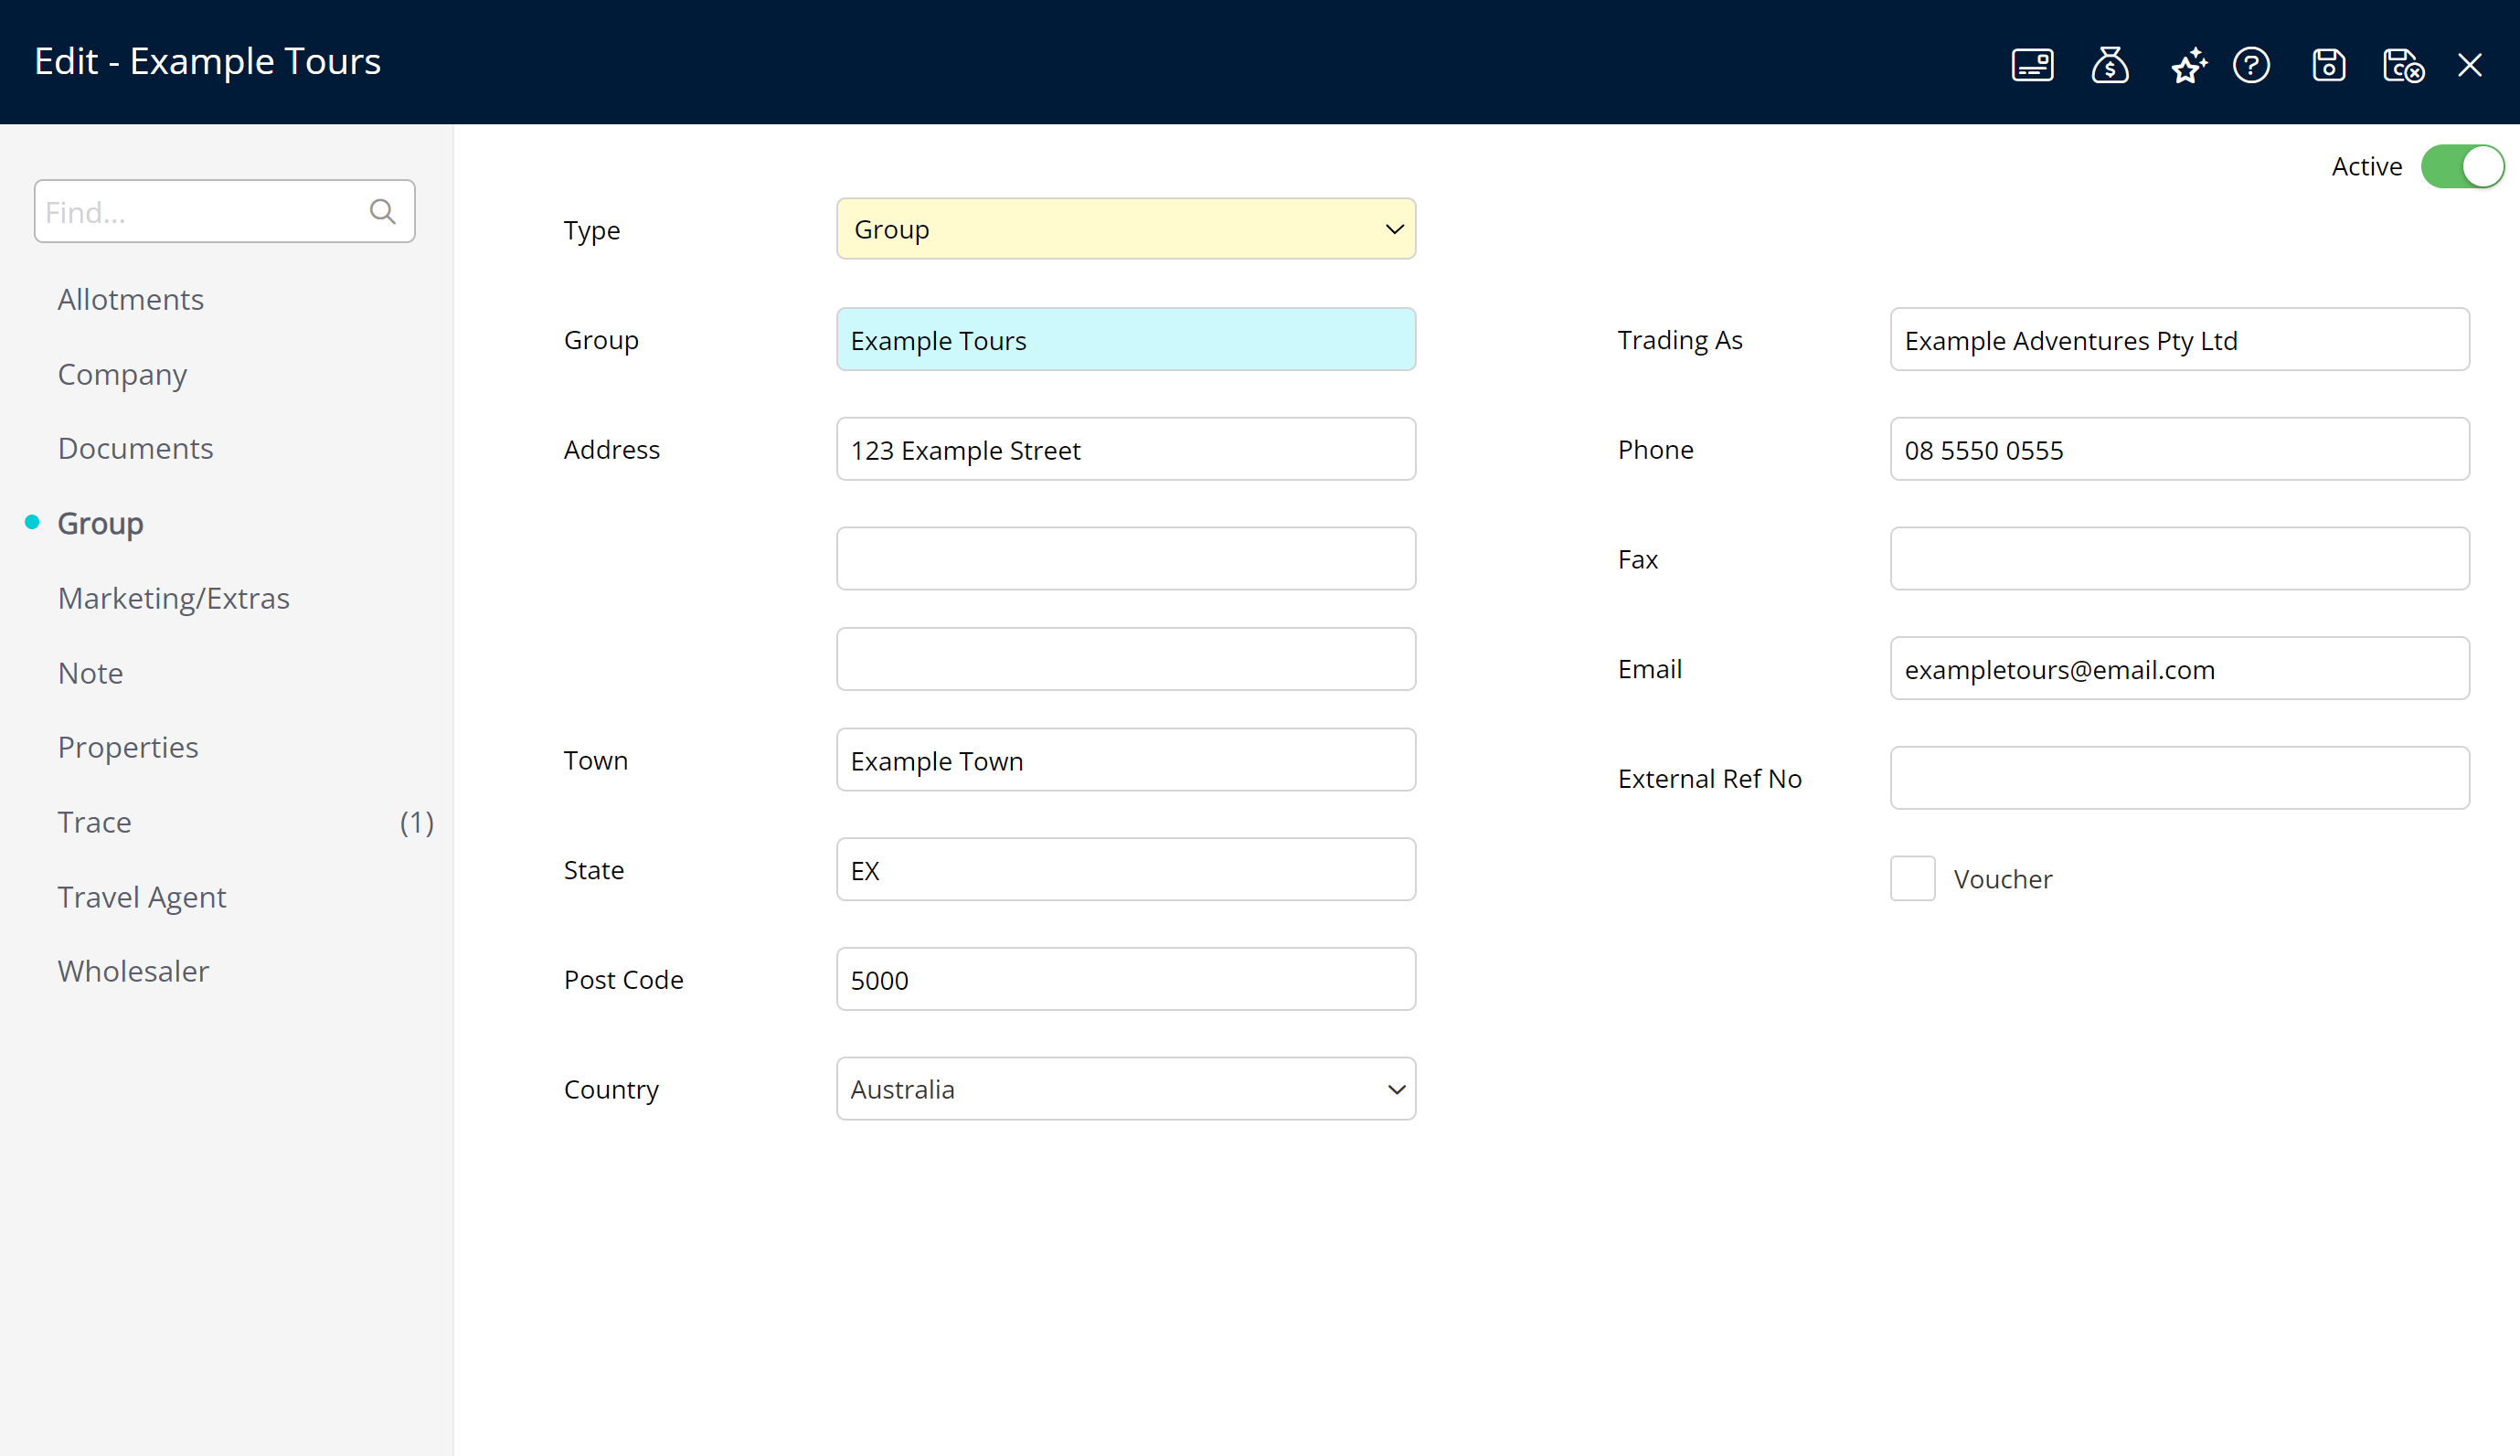
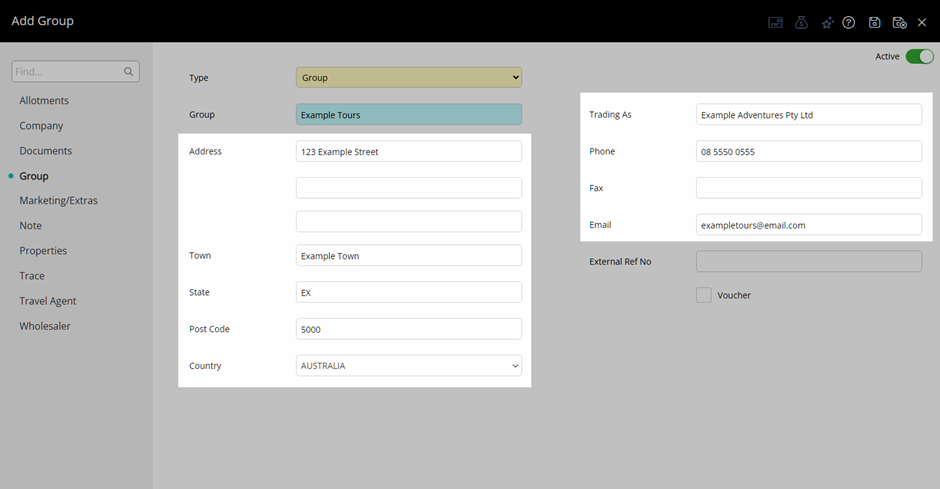
The 'Group' tab includes the key details for the named group, including contact information.
These details can be used to determine who is responsible for the named group or the point of contact outside of individual reservations.
Account
The  'Group' account is the accounts receivable and commission accounts for the named group.
Accrual accounting properties using Accounts Receivable can view the details of invoiced reservations and any commissions owed or paid for the named group here.
DeleteCredit Card Token
A 'Group' can be set up with its own  Credit Card Tokens when using a payment gateway in RMS.
Group tokens will become available on the reservation account when this 'Group' is selected.
DeleteAllotments
Group allotments reserve inventory for the named group and can be set at a property, category, or area level.
Property allotments reserve inventory for the named group at the nominated property without limitations on the category or area booked. Category allotments limit the named group to a set number of inventory within the specified categories only, and an area allotment reserves specific areas that are only to be used by the named group.
Multiple allotments can be created for the same named group with different or overlapping date ranges or set permanently. The inventory allotment can be guaranteed or non-guaranteed to the group, with guaranteed allotments preserving the entered inventory values to only be consumed by the named group until the designated release back period. On release, any unused inventory from a guaranteed allotment will be available for unrestricted use in RMS.
The release back on an allotment determines how close to the reservation arrival the inventory will be held for the named group and when any unused inventory from the allotment will be returned to unrestricted use.
Each allotment can be assigned access to different rates, with the option to include requirements that will automatically be added to the reservation when this 'Group' allotment is used. Allotments can also be limited to only the prescribed inventory, with no access to 'house availability' for the named group.
The 'Allotment Description' entered for each allotment on a 'Group' can be used as a promotional code on the RMS Internet Booking Engine to enable online booking of reserved inventory for the named group.
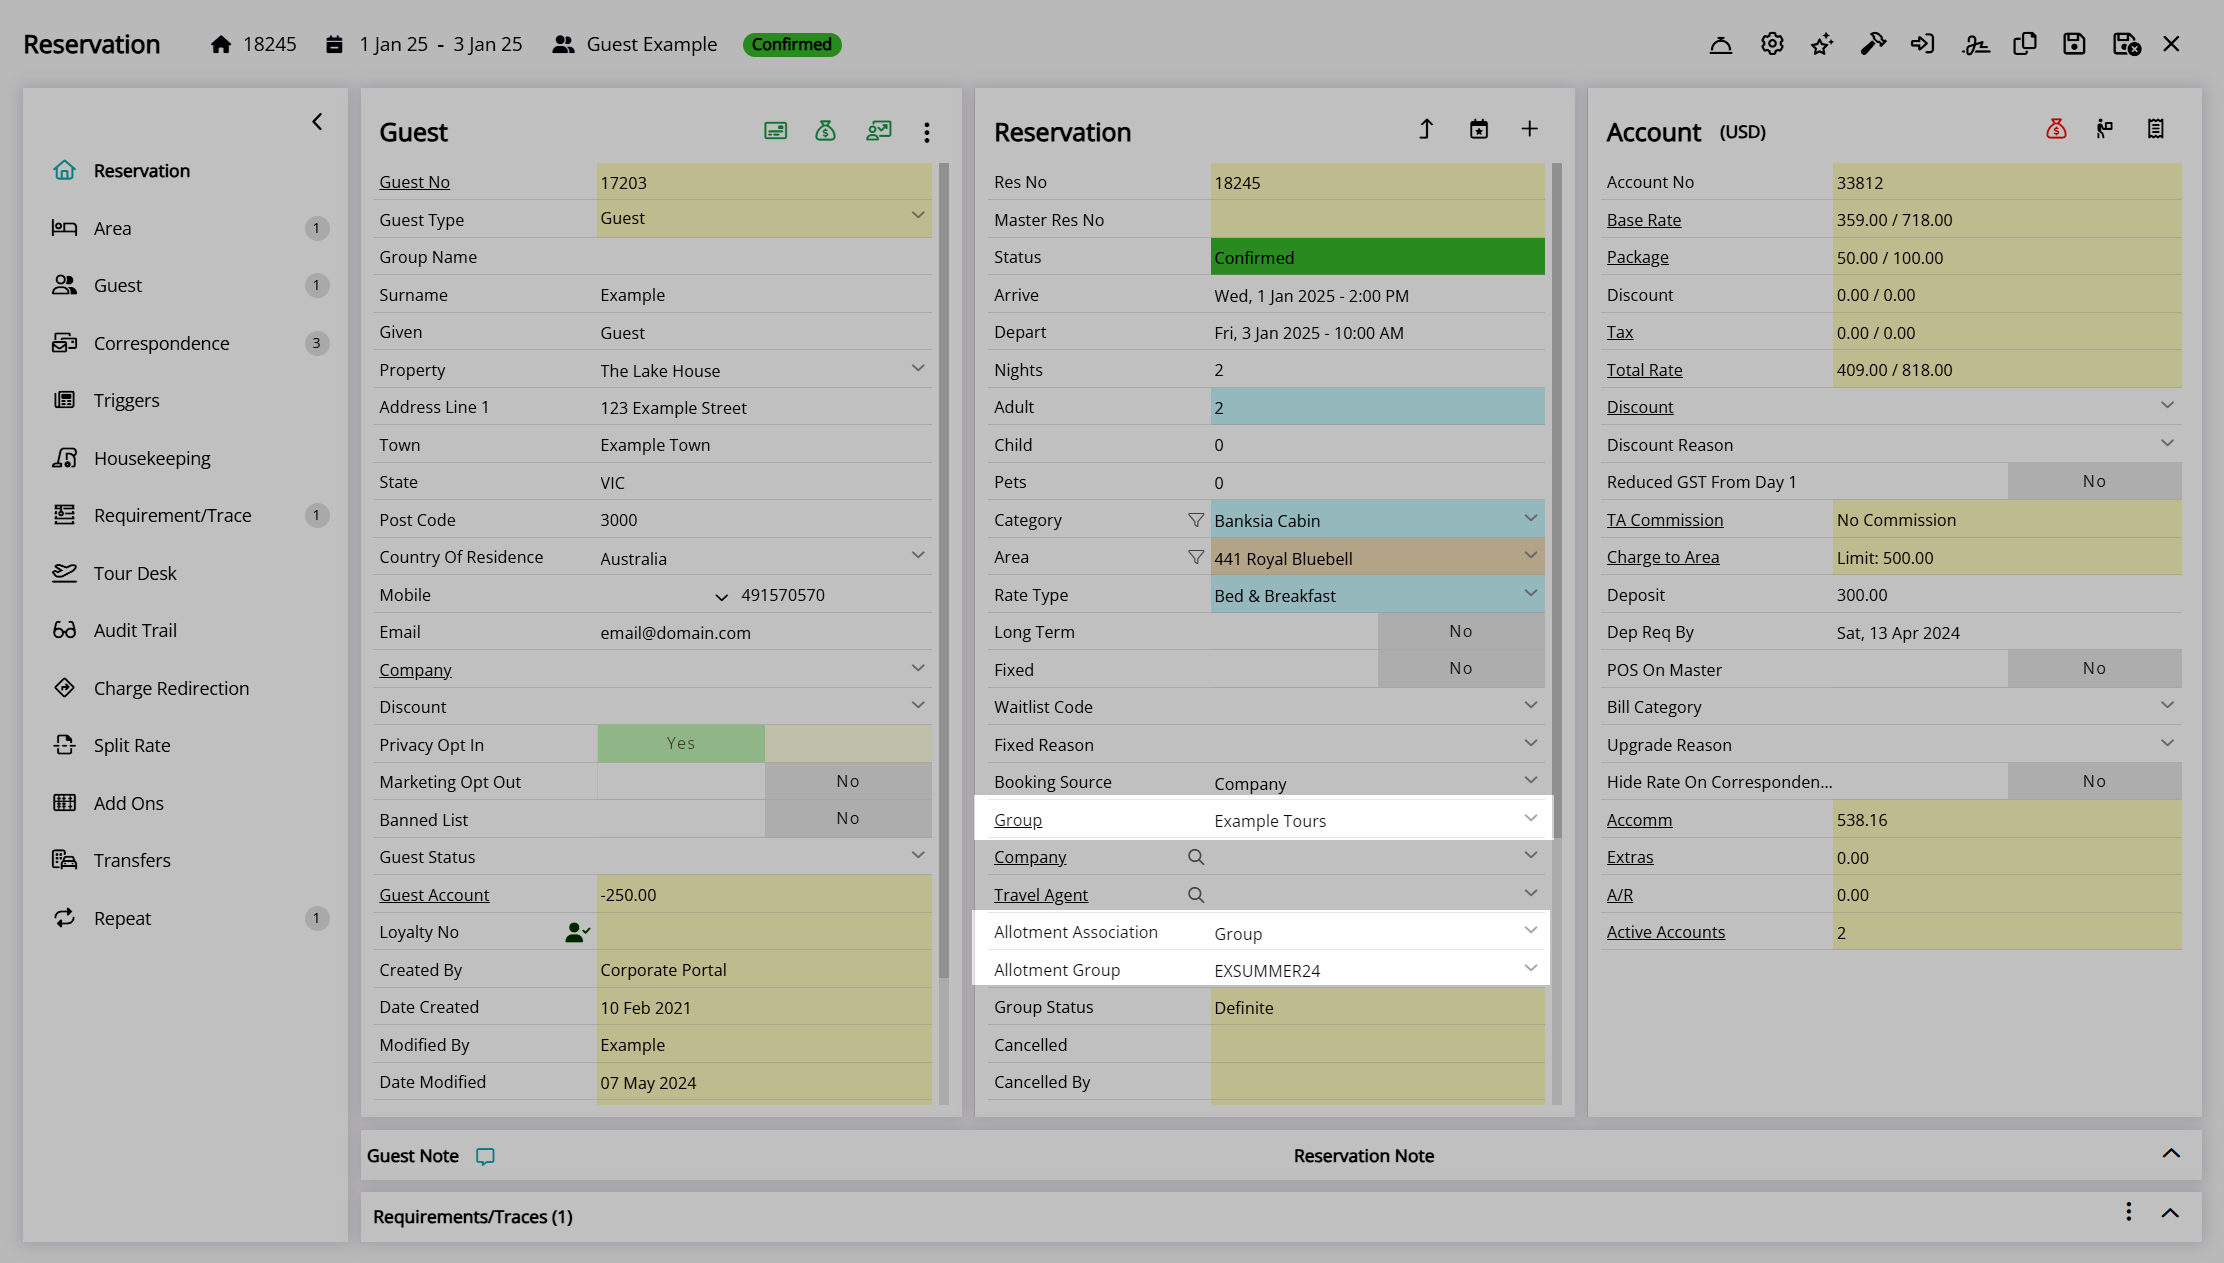
Reservations will only be deducted from the prescribed inventory allotment when the 'Group' and 'Allotment Association' are selected on the reservation. The 'Allotment Association' on the reservation determines which of the group's allotments the reservation contributes to and enables more advanced group allotment management in RMS.
DeleteCompany
A 'Group' can be set up only to be accessible to one or more selected companies.
When a company is assigned to a 'Group', the allotment and group features will only become available for reservation selection when the allocated company is selected.
The company allocation is at the 'Group' level and will enable that company access to any of the allotments set up on the named group.
DeleteDocuments
Record keeping of external documents, including purchase orders, invoices, or correspondence, can be saved and recorded on the group's 'Documents' tab.
Each 'Received In' record on the 'Documents' tab includes a date and time selection, activity, note, and attachment.
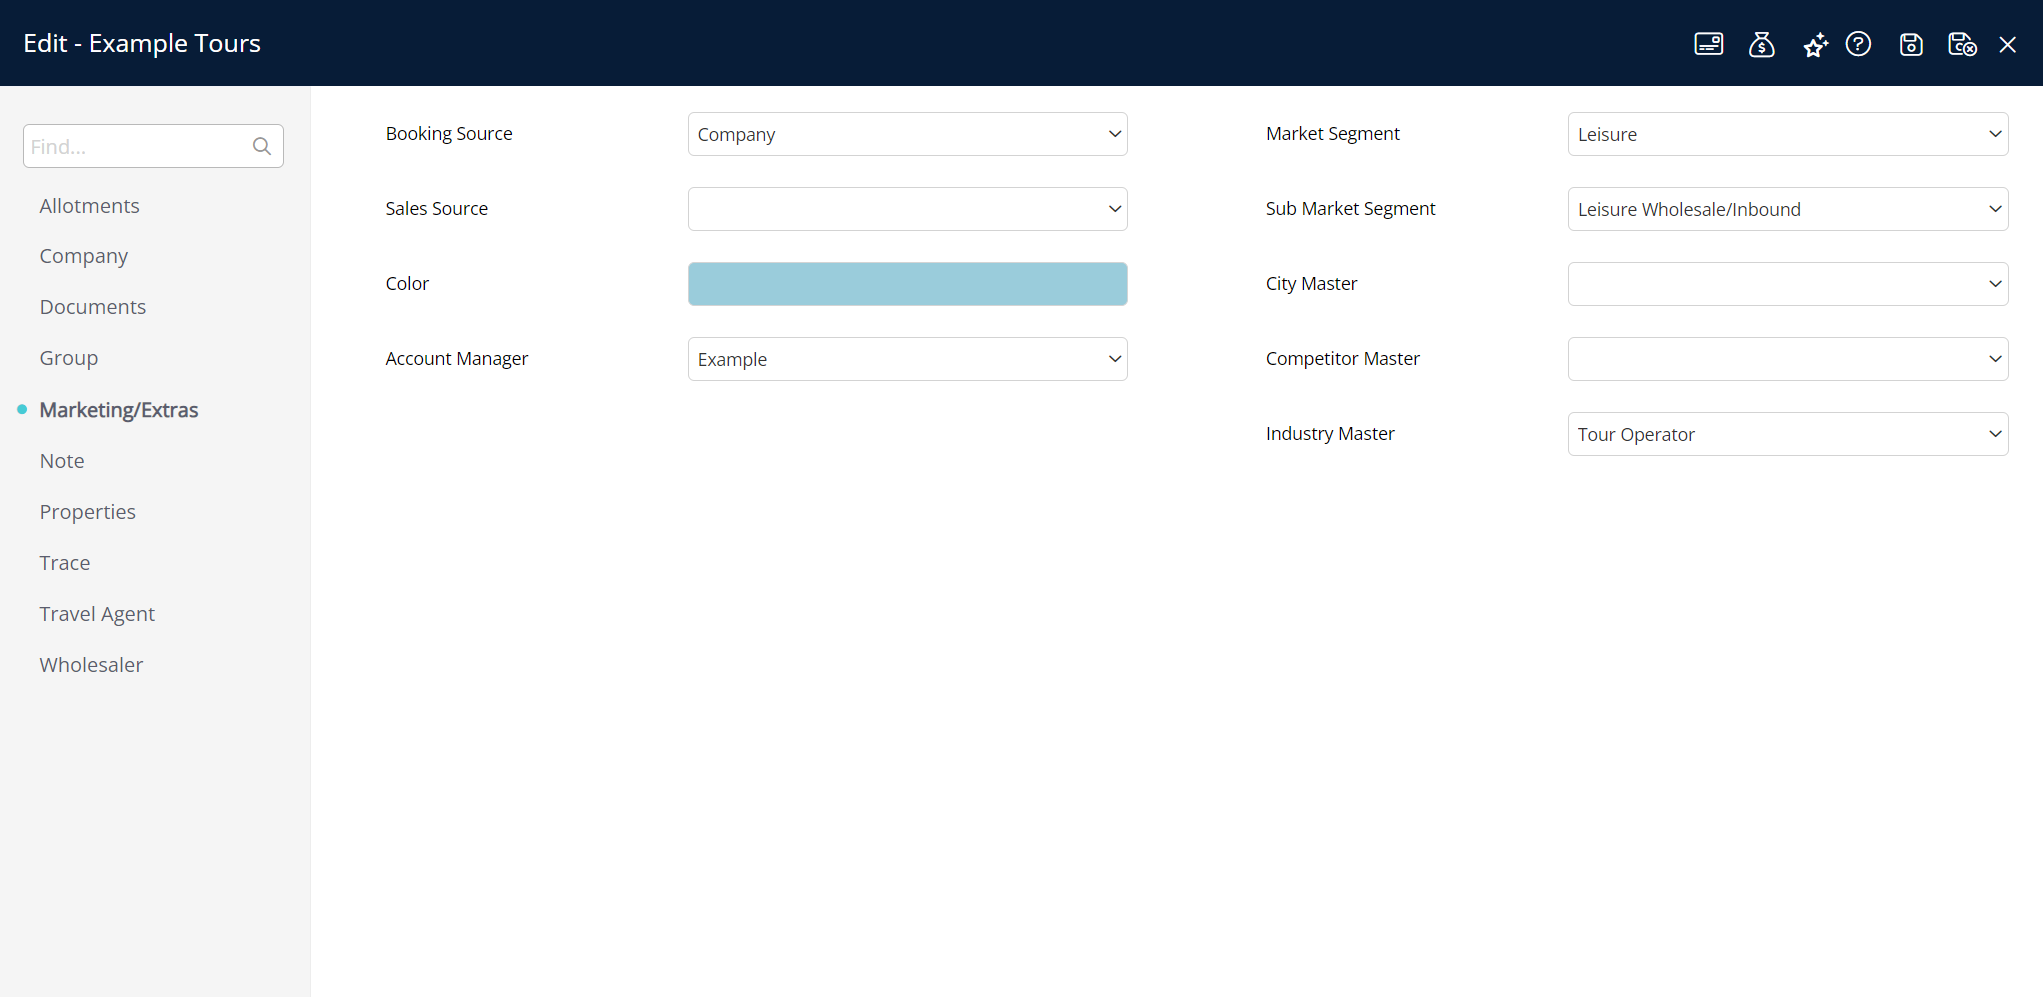
DeleteMarketing/Extras
Additional 'Group' details that will apply to the reservation when the group is selected include a Booking Source, Market Segment, City Master, Competition Master, and Industry Master, as well as a colour selection to represent reservations belonging to this named group on the Booking Chart.
DeleteNote
The 'Notes' tab enables recording reservation and billing notes for the named group that can be set per property.
These notes will be visible on the 'Group' and in the reservation notes when this 'Group' is selected on the reservation or any correspondence where these merge fields are used.
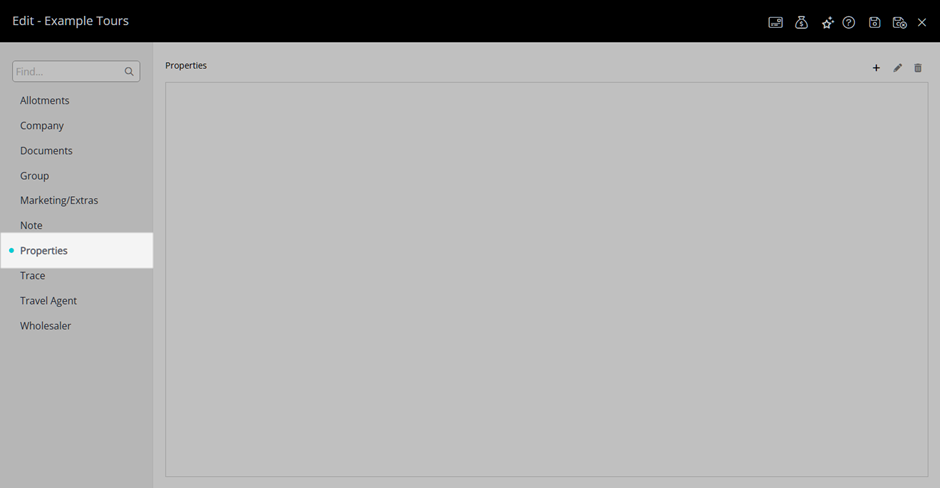
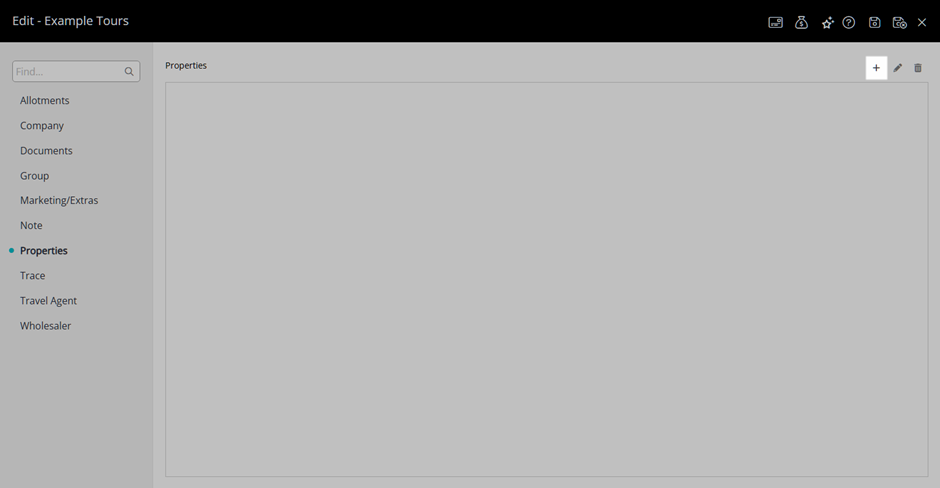
DeleteProperties
Enterprise customers must define which property or properties a named group is used by in addition to any allotments using the 'Advanced Property Selection' on the 'Properties' tab.
DeleteTrace
A group trace is an inter or intra-departmental note that can be tracked and managed on the 'Group' or To Do Chart and is used to communicate or delegate tasks to a Department.
Traces can be added to the 'Group' for a specific department or user with a notification sent in the message centre, which can include a due date or be set with a repeat frequency for recurring tasks.
A group trace can be viewed and managed on the 'Trace' tab of the 'Group' or on the To Do Chart and marked as 'Completed'.
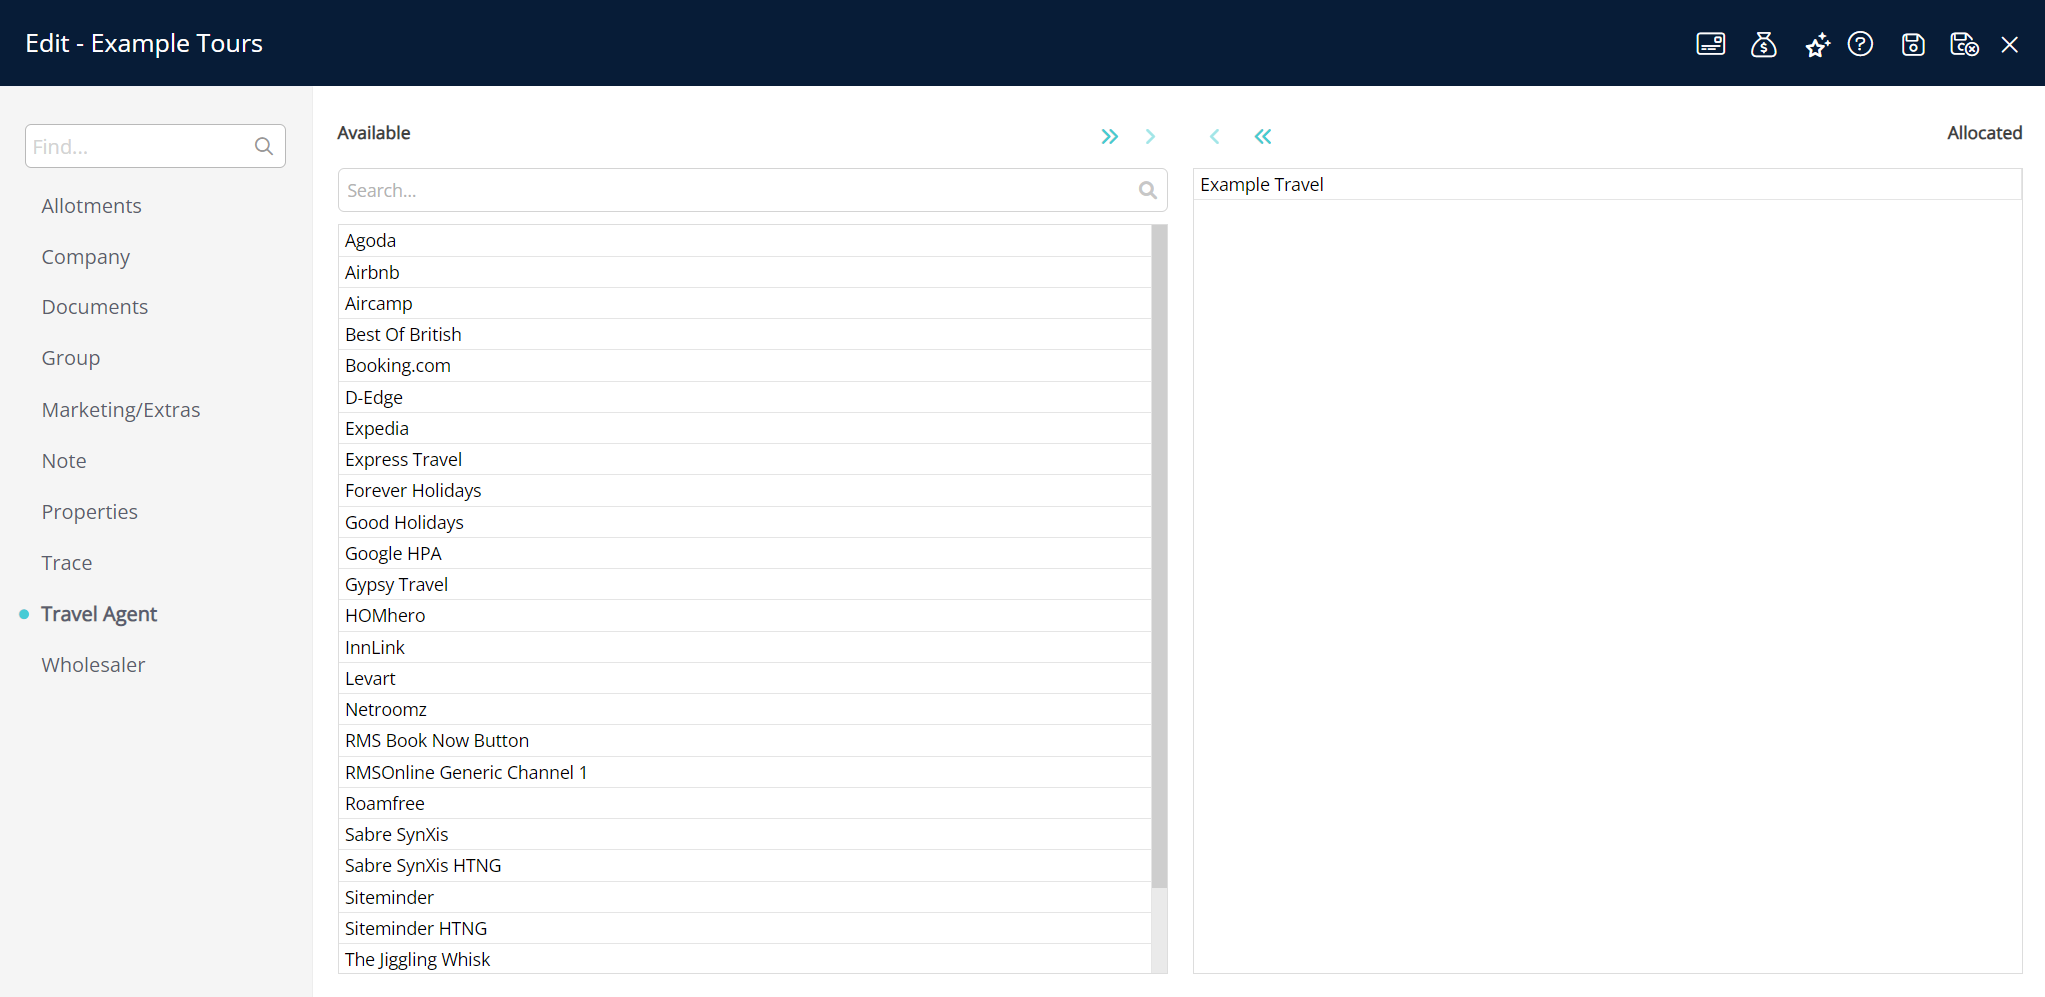
DeleteTravel Agent
A 'Group' can be set up only to be accessible to one or more selected travel agents.
When a travel agent is assigned to a 'Group', the allotment and group features will only become available for reservation selection when the allocated travel agent is selected.
The travel agent allocation is at the 'Group' level and will enable that company access to any of the allotments set up on the named group.
DeleteWholesaler
A 'Group' can be set up only to be accessible to one or more selected travel agents set up as the type of 'Wholesaler'.
When a travel agent is assigned to a 'Group', the allotment and group features will only become available for reservation selection when the allocated travel agent is selected.
The travel agent allocation is at the 'Group' level and will enable that company access to any of the allotments set up on the named group.
DeleteSetup
- Go to Reservations > Groups in RMS.
- Select the
 'Add' icon.
 - Enter a Group Description.
- Optional: Enter Contact Details.
- Save.
- Select the Group Access and choose the
 'Apply/Exit' icon.
 - Set up Property Access.
- Set up Group Allotments.
- Optional: Set up Additional Reservation Details.
- Optional: Set up Company, Travel Agent, or Wholesaler Access.
- Save/Exit.
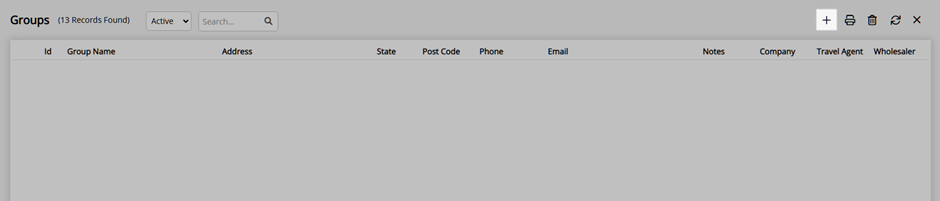
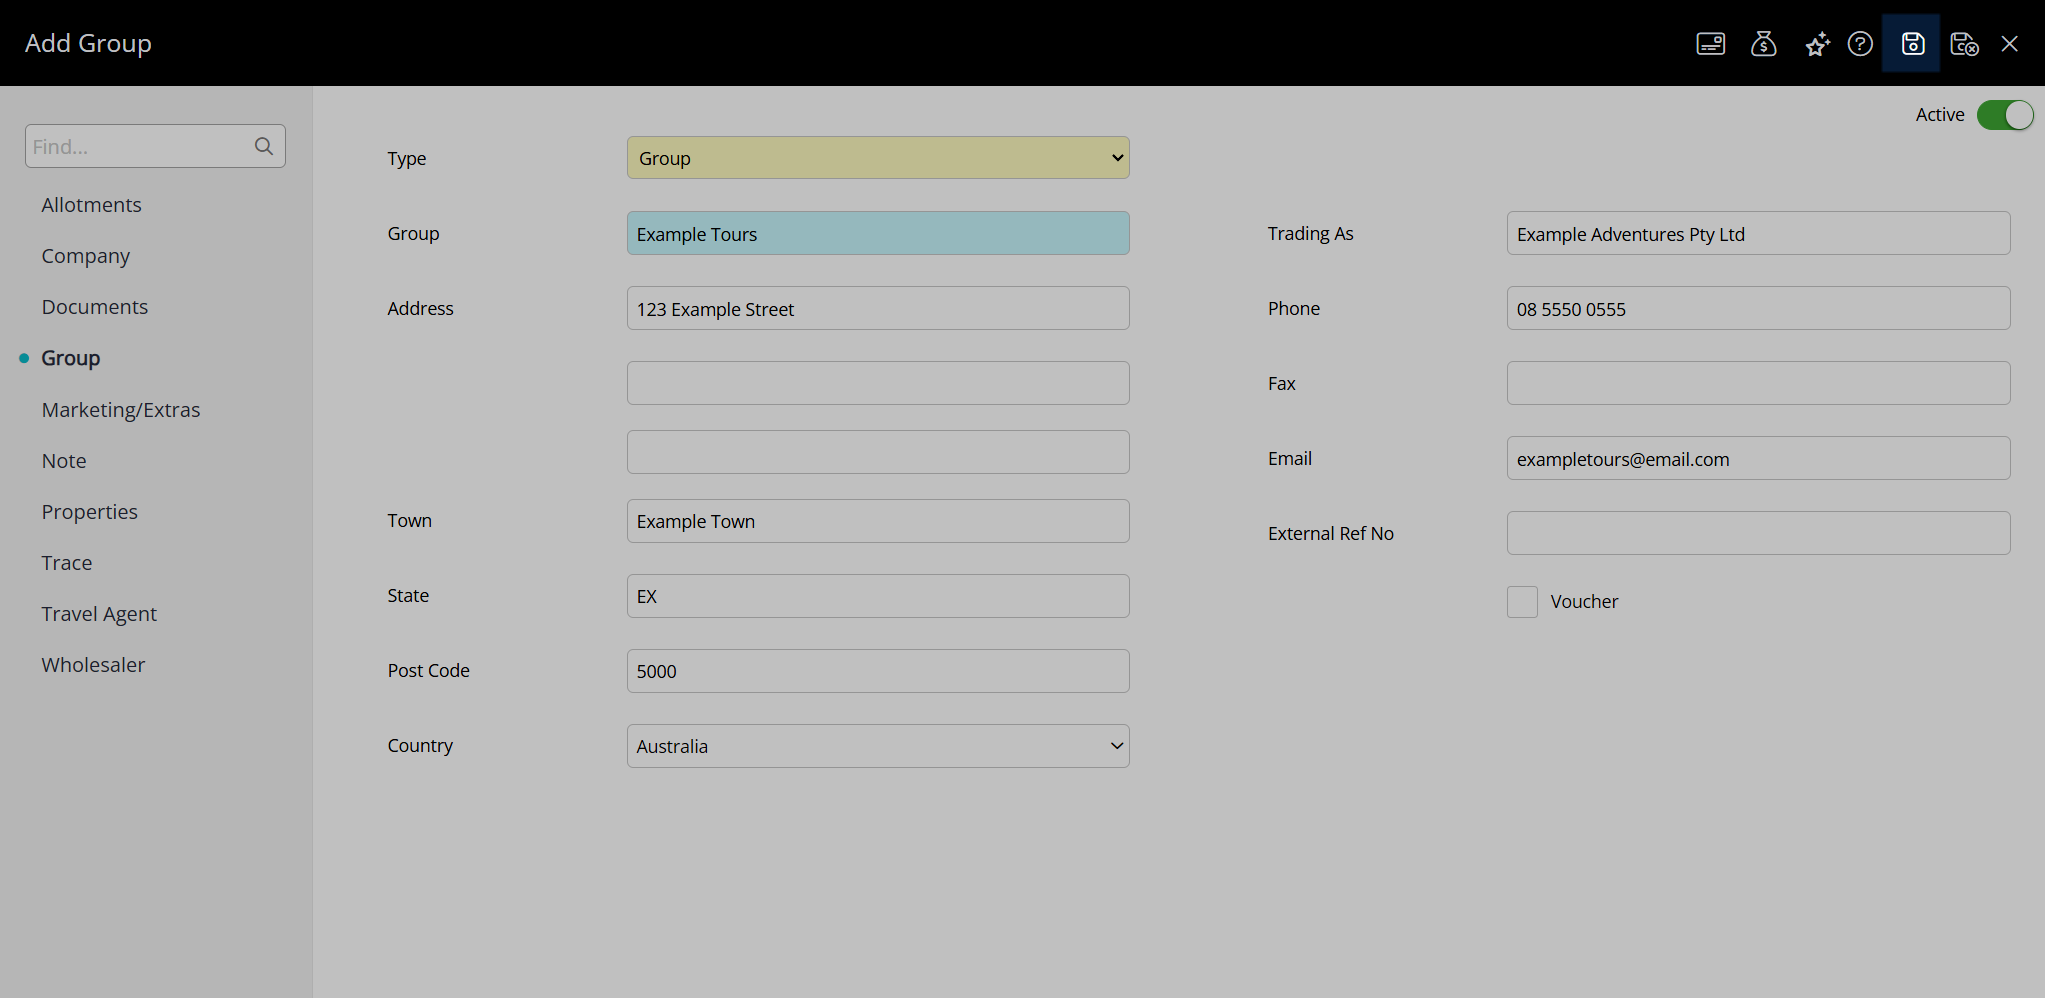
Go to Reservations > Group Allotments in RMS.

Select the ![]() 'Add' icon.
'Add' icon.
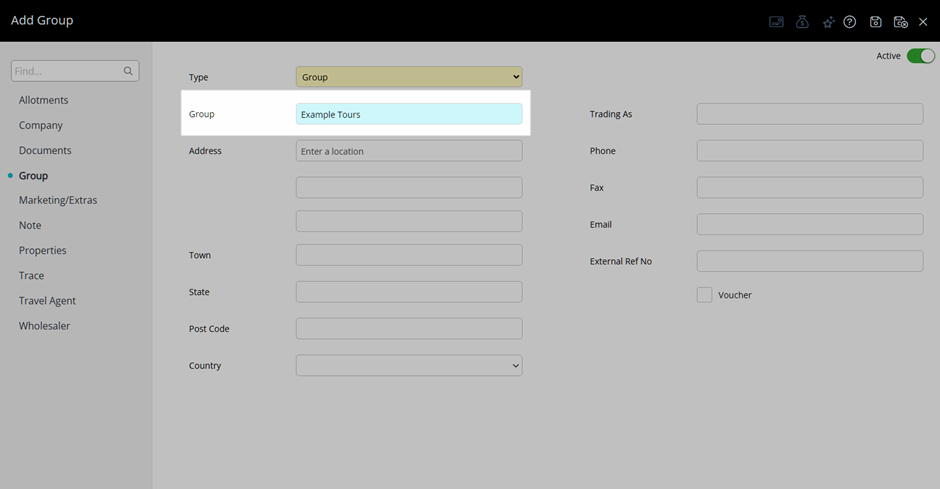
Enter a Group Description.
Optional: Enter Contact Details.
Select the  'Save' icon to store the changes made and create the 'Group'.
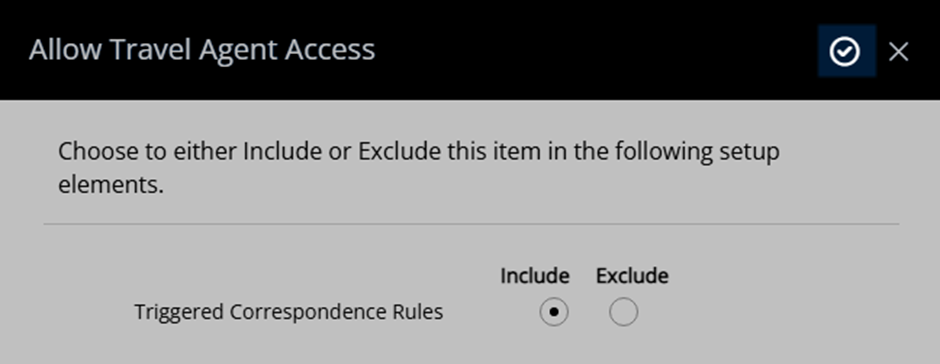
Select the Group Access and choose the ![]() 'Apply/Exit' icon.
'Apply/Exit' icon.
Set up Property Access.
Set up Group Allotments.
Optional: Set up Additional Reservation Details.
Optional: Set up Company, Travel Agent, or Wholesaler Access.
Select the  'Save/Exit' icon to store the changes made and leave the setup.
Property Access
- Go to Reservations > Groups in the side menu of RMS.
- Select the
 'Edit' icon on an existing Group.
 - Navigate to the 'Properties' tab.
- Select the
 'Add' icon.
 - Select a Property and choose the
 button.
 - 'Apply/Exit'.
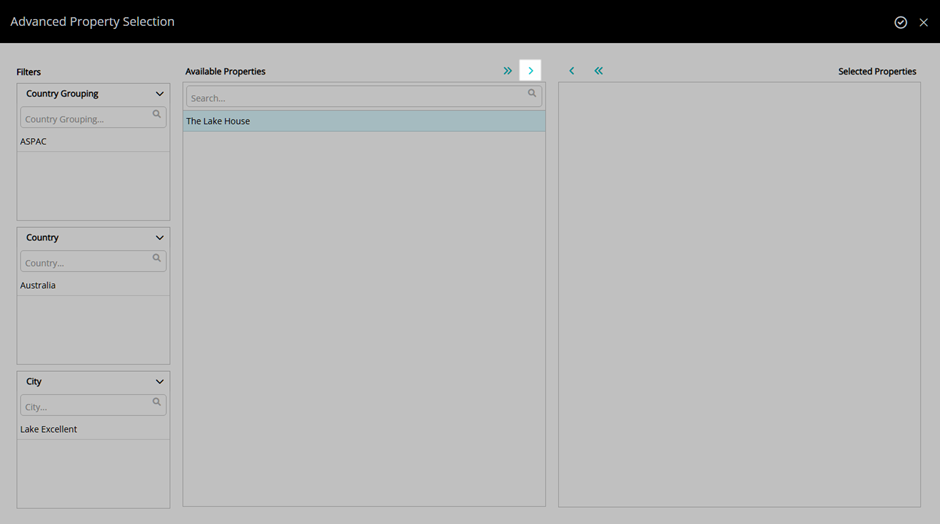
Go to Reservations > Groups in the side menu of RMS.

Select the ![]() 'Edit' icon on an existing Group.
'Edit' icon on an existing Group.

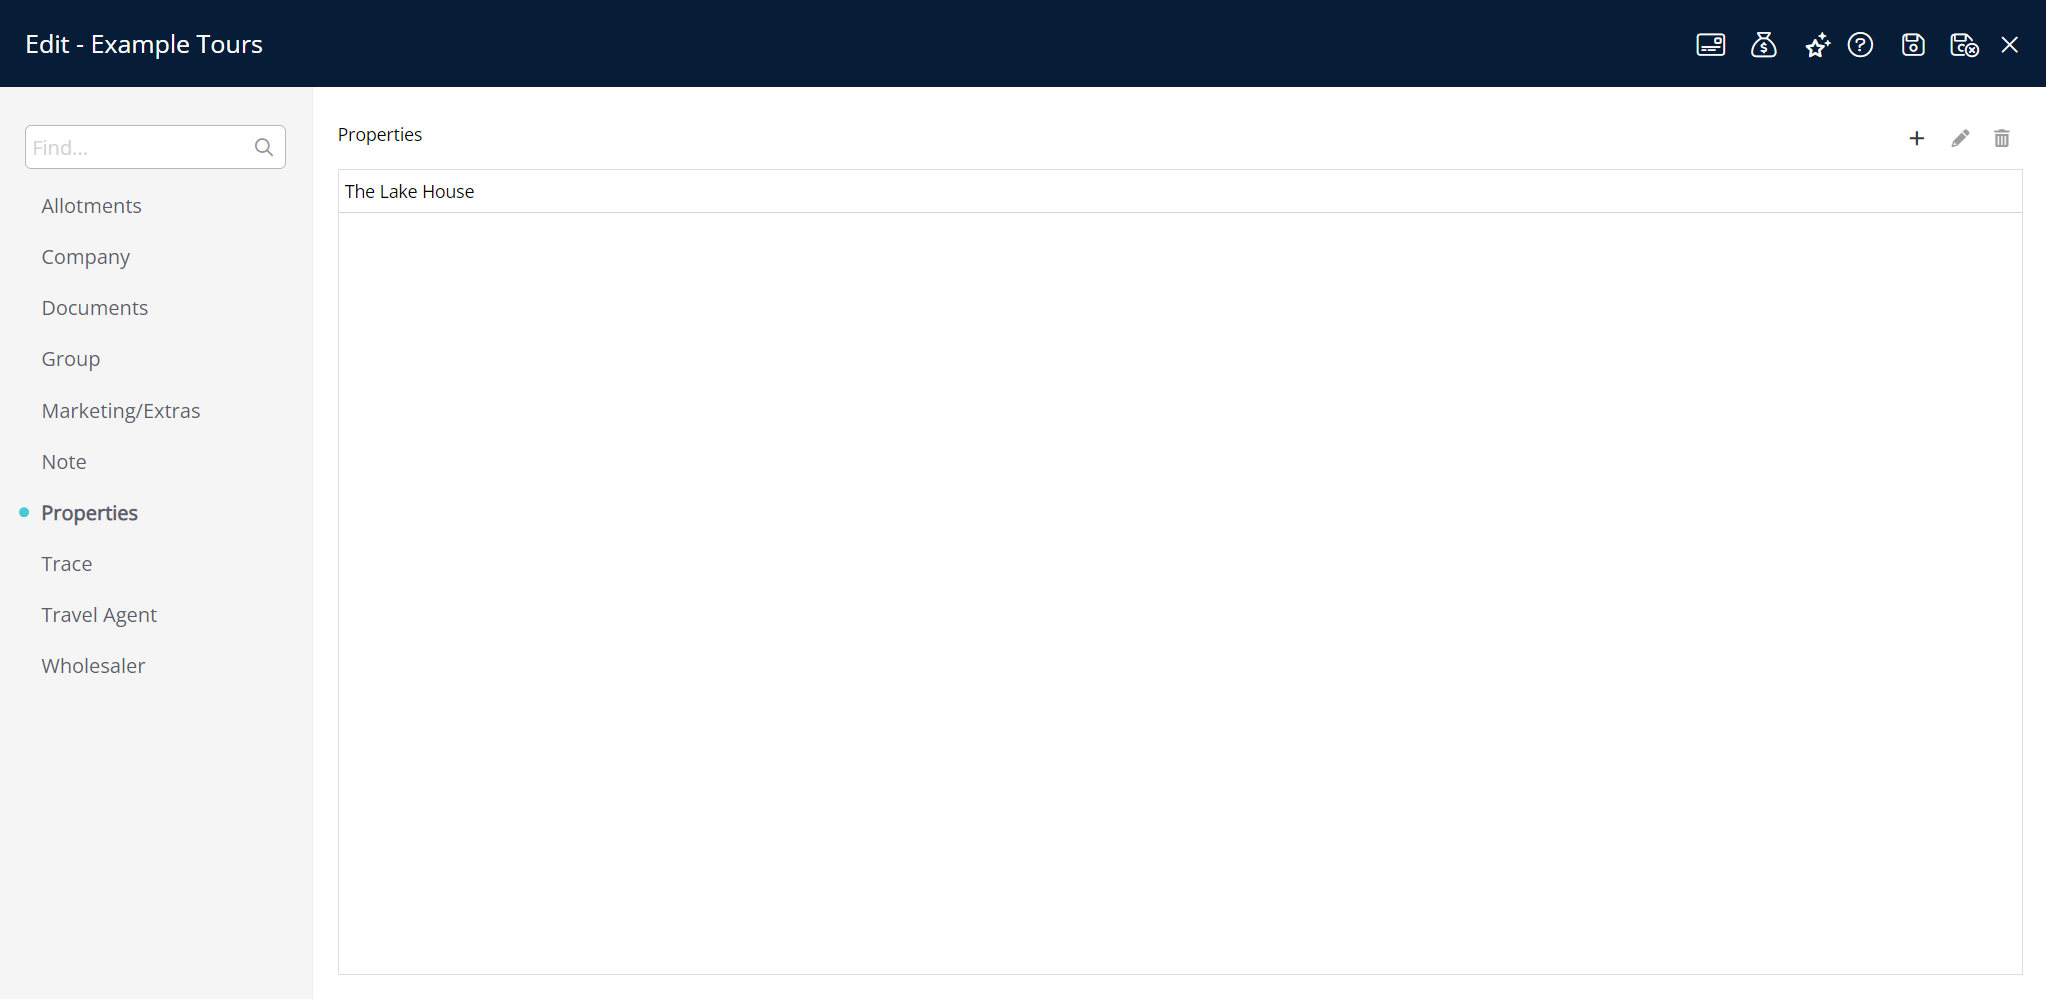
Navigate to the 'Properties' tab.
Select the ![]() 'Add' icon.
'Add' icon.
Select a Property and choose the  button.
Select the  'Apply/Exit' icon to store the changes made and return to the Group.
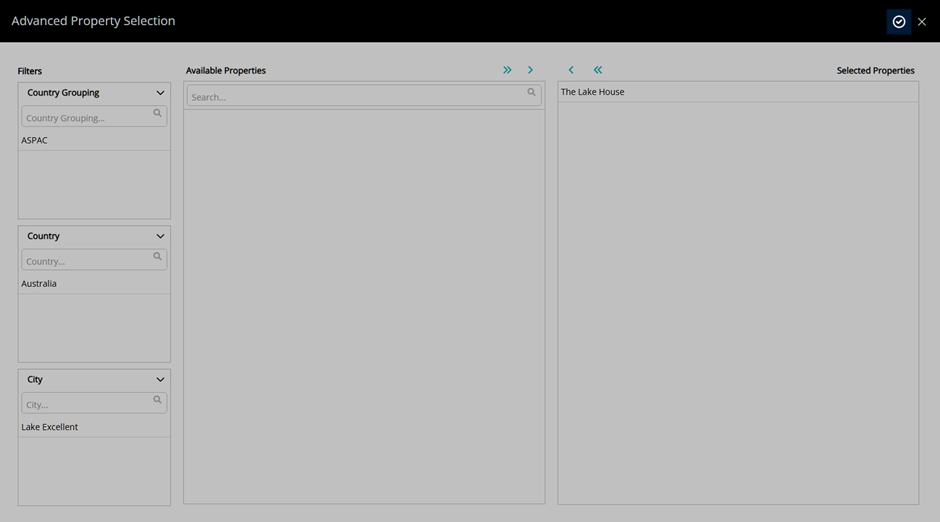
The selected properties will now be allocated to the Group and will determine the available inventory for allotments.

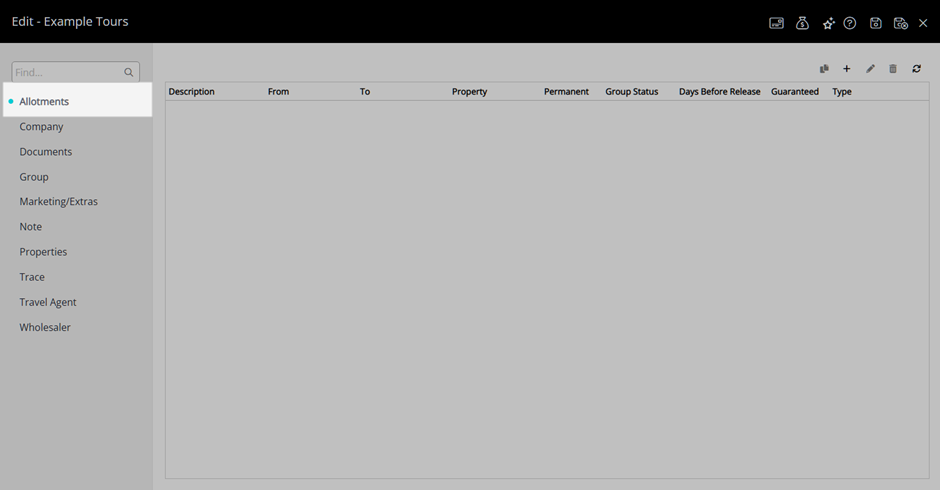
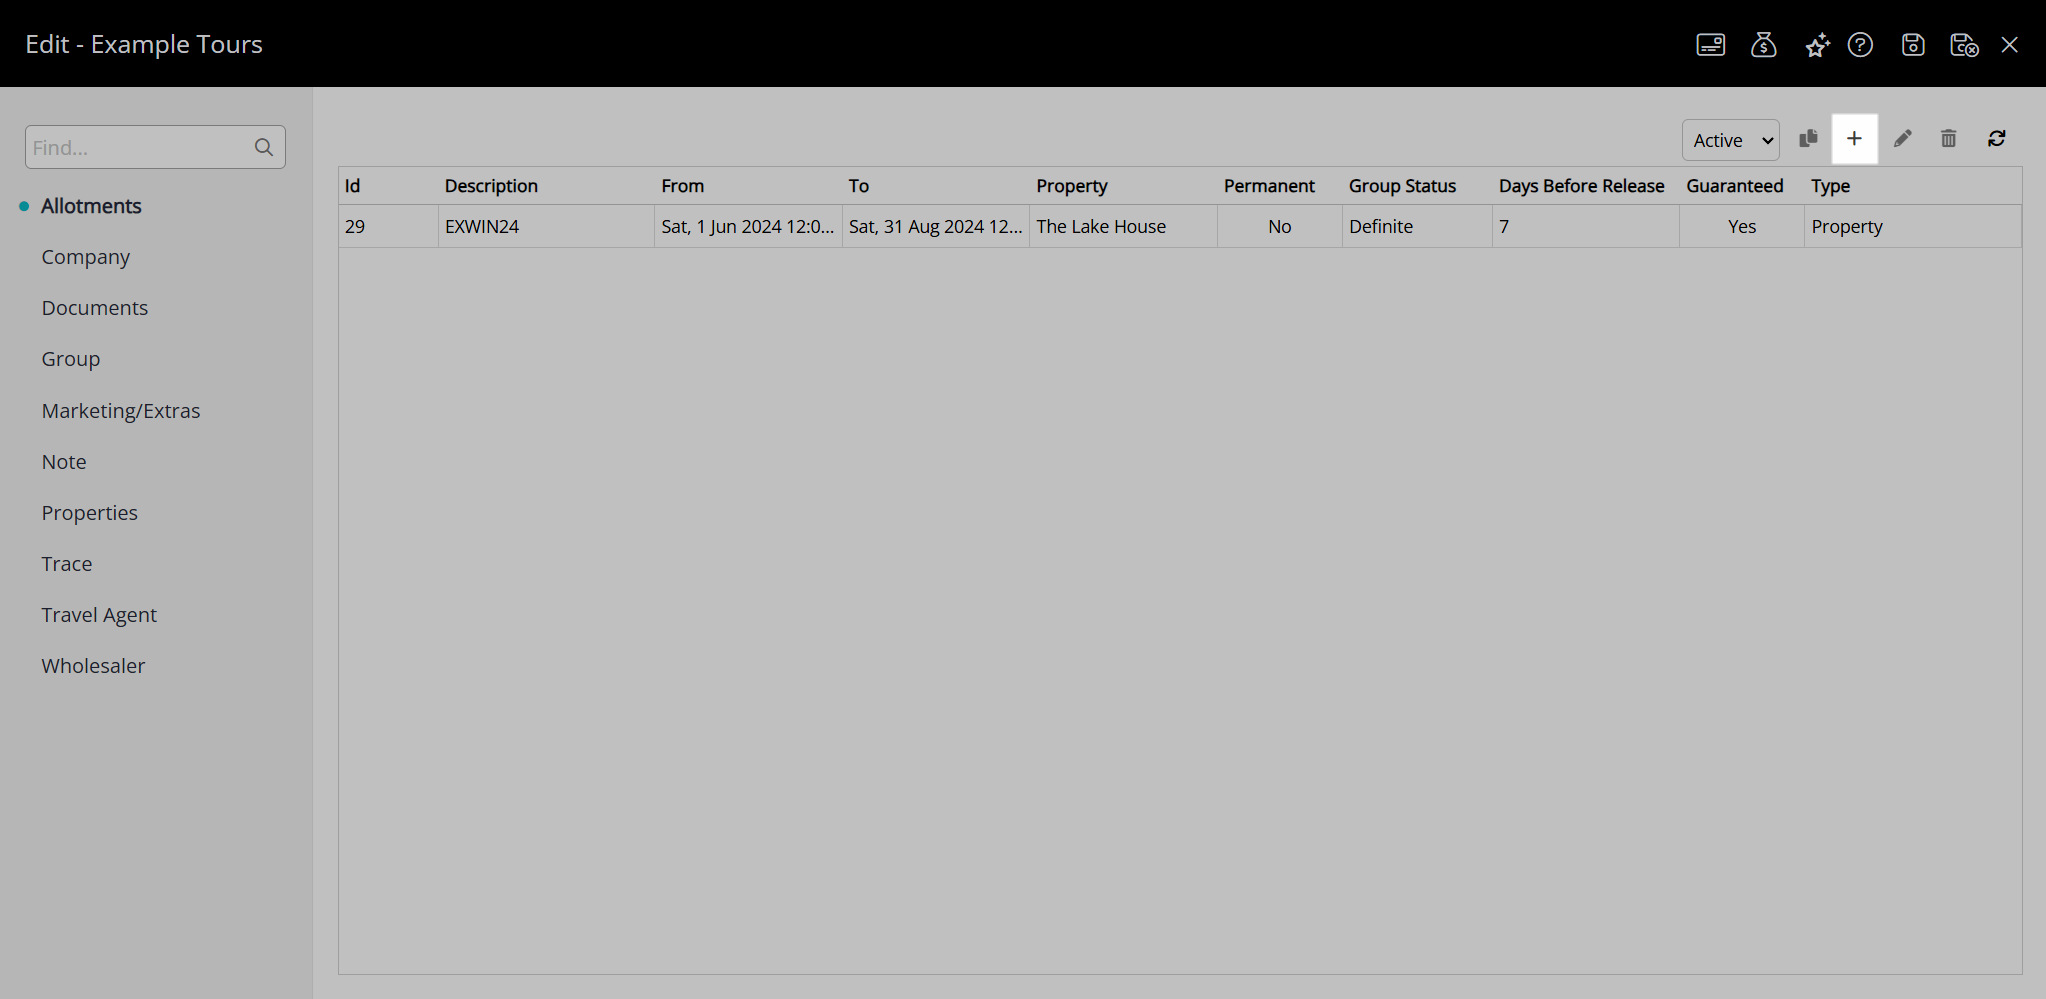
Group Allotments
- Go to Reservations > Groups in the side menu of RMS.
- Select the
 'Edit' icon on an existing Group.
 - Navigate to the 'Allotments' tab.
- Select the
 'Add' icon.
 - Select a Date Range or the 'Set Permanently' checkbox.
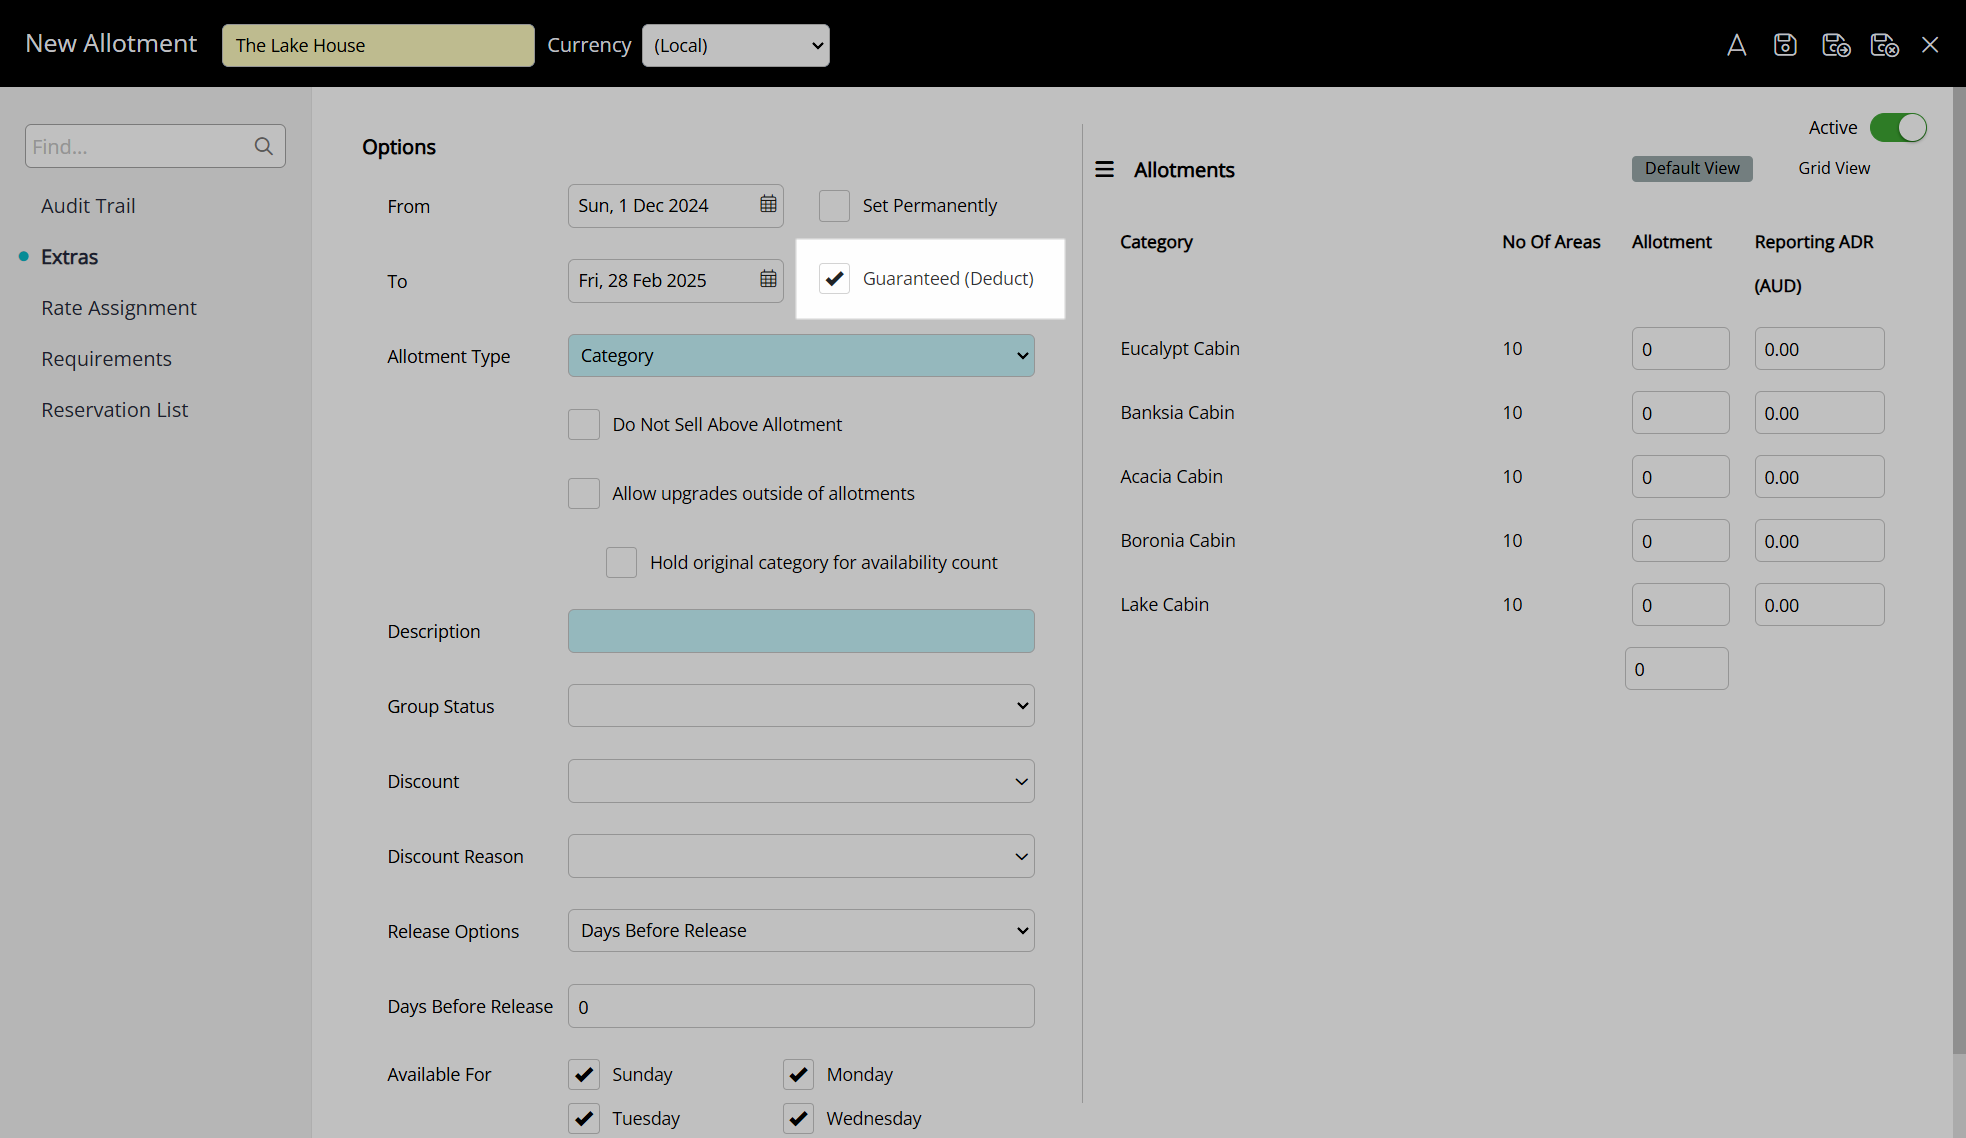
- Optional: Select the 'Guaranteed' checkbox.
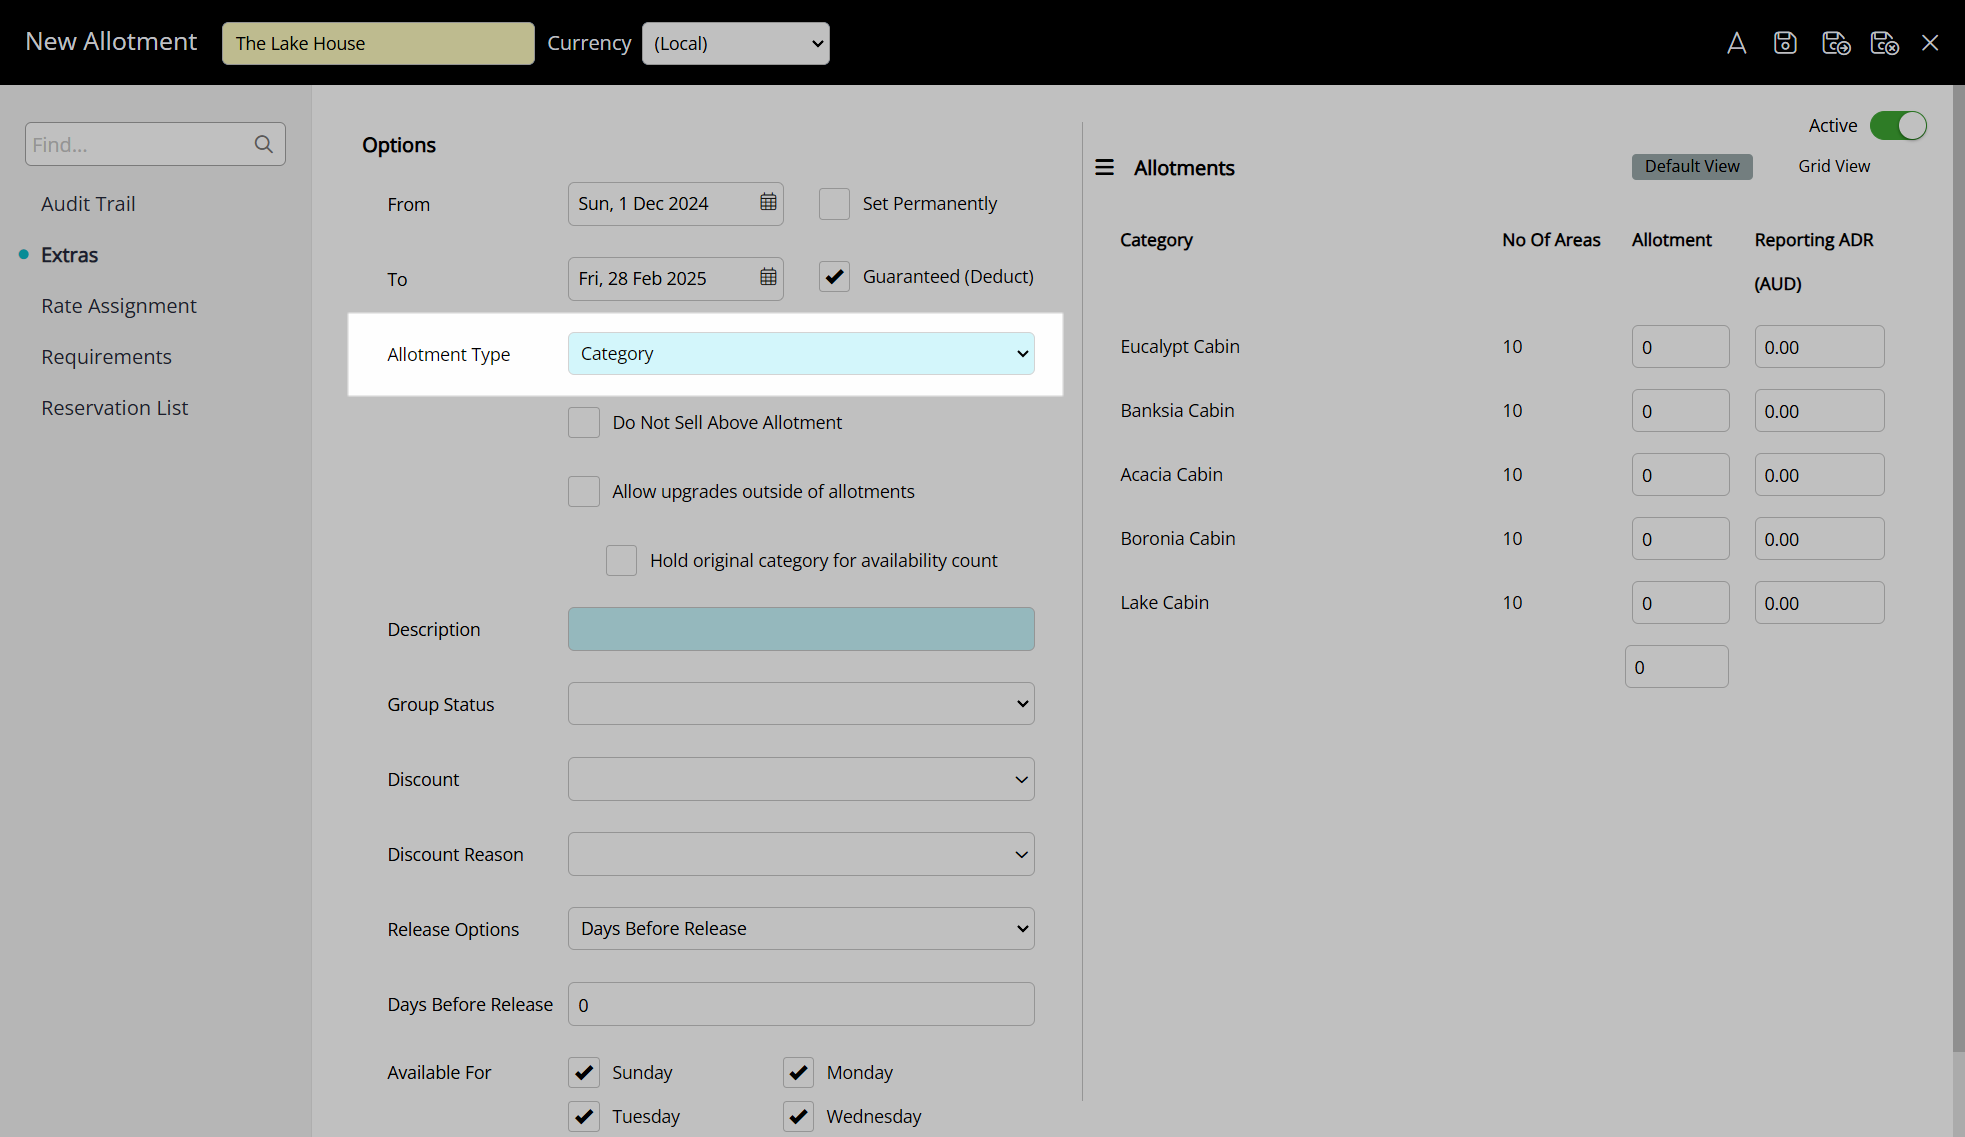
- Select an Allotment Type.
- Optional: Select the 'Do Not Sell Above Allotment' checkbox.
-
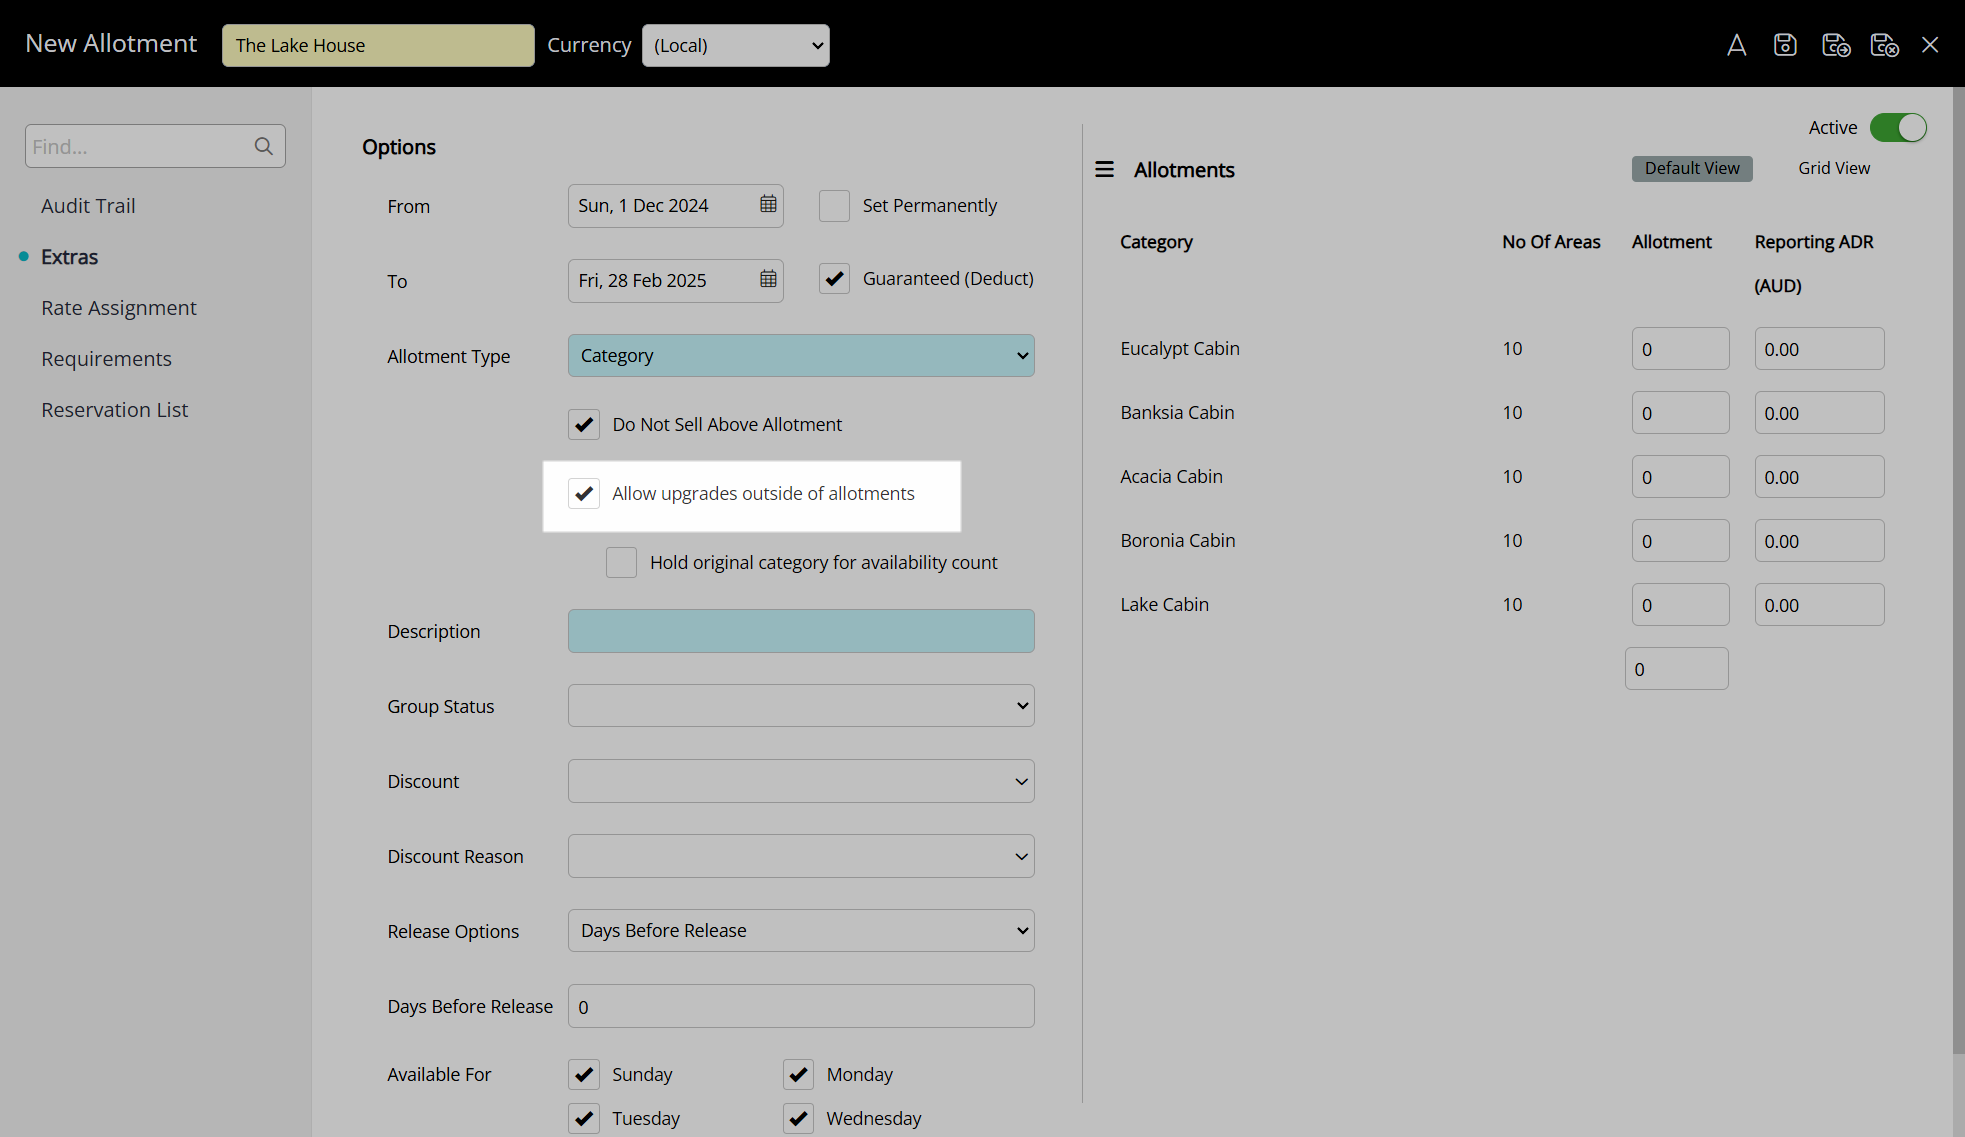
Optional: Select the 'Allow Upgrades Outside of Allotments' checkbox.
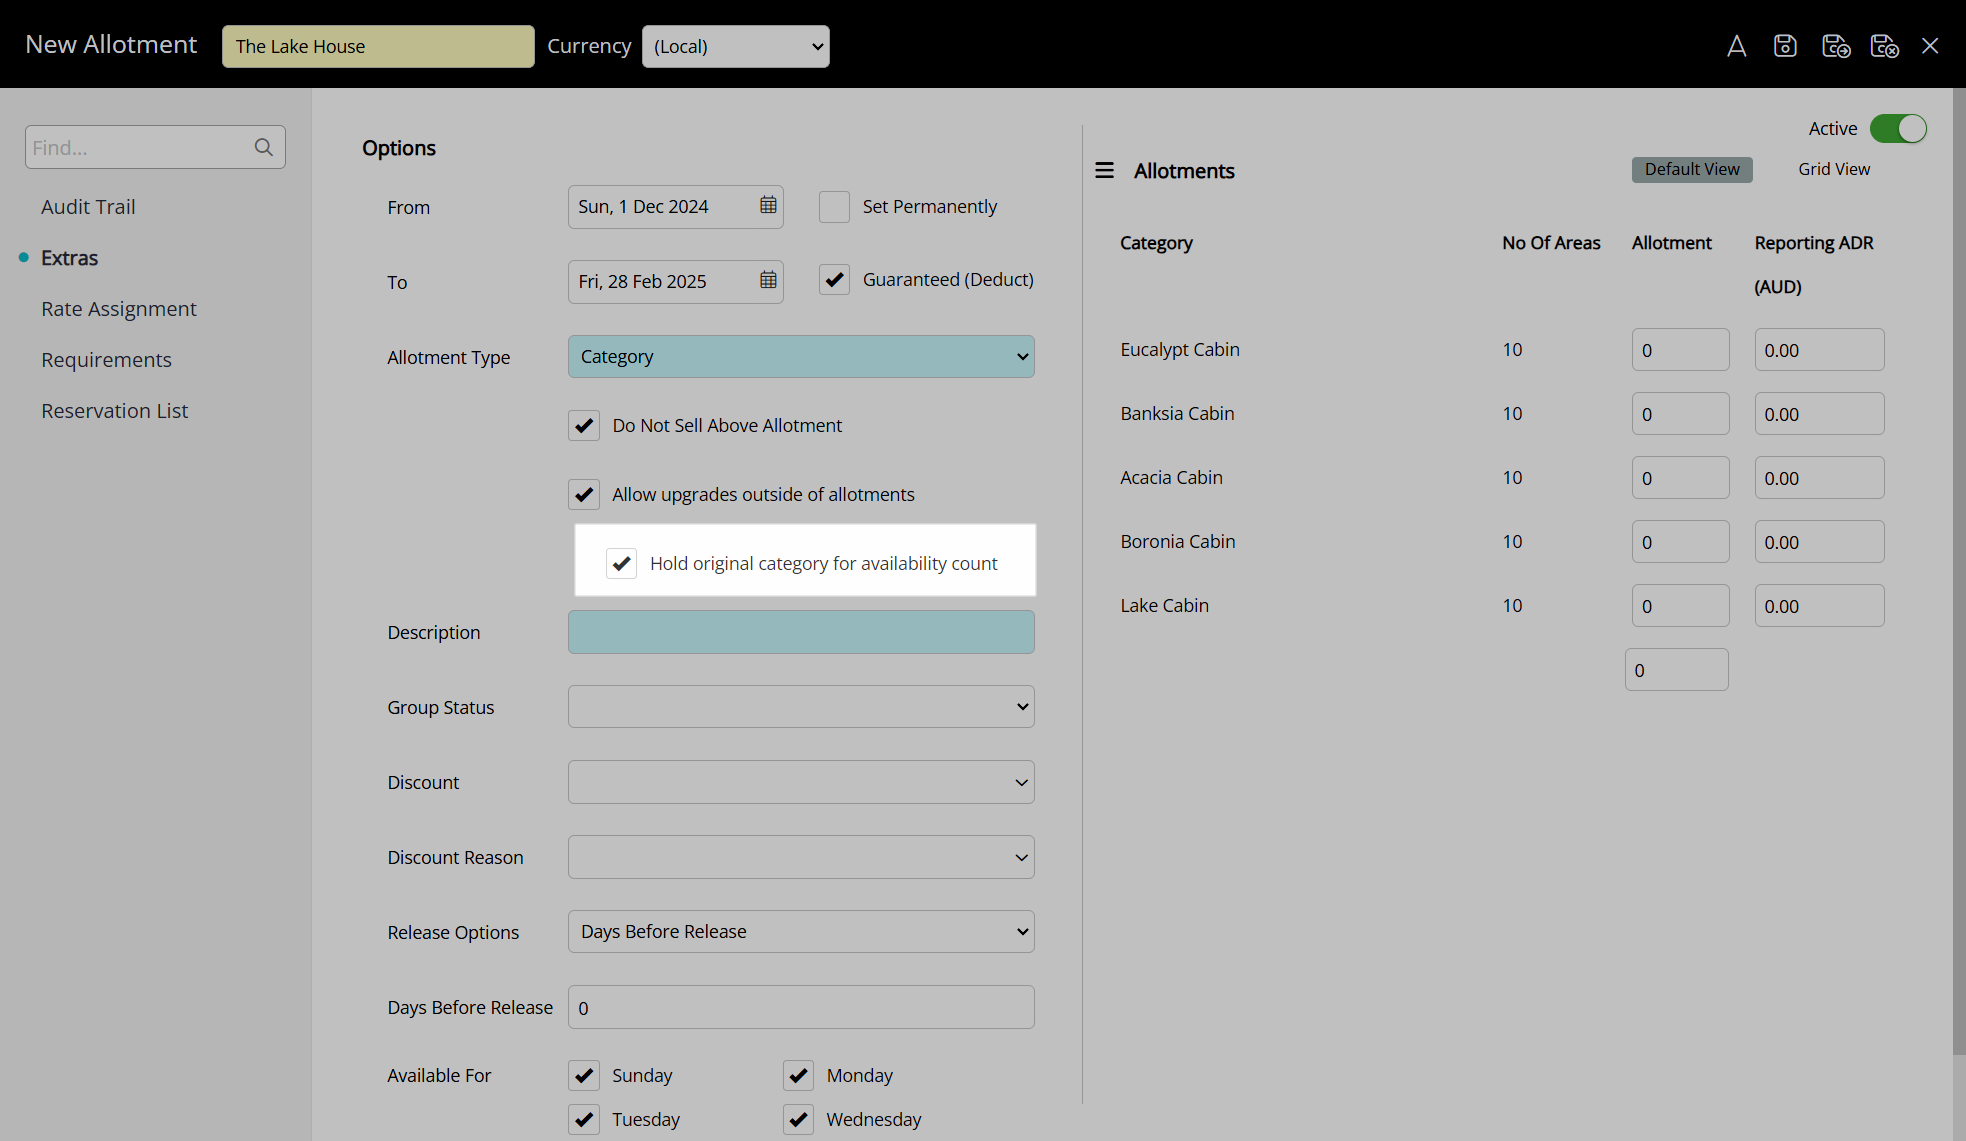
- Optional: Select the 'Hold Original Category for Availability Count' checkbox.
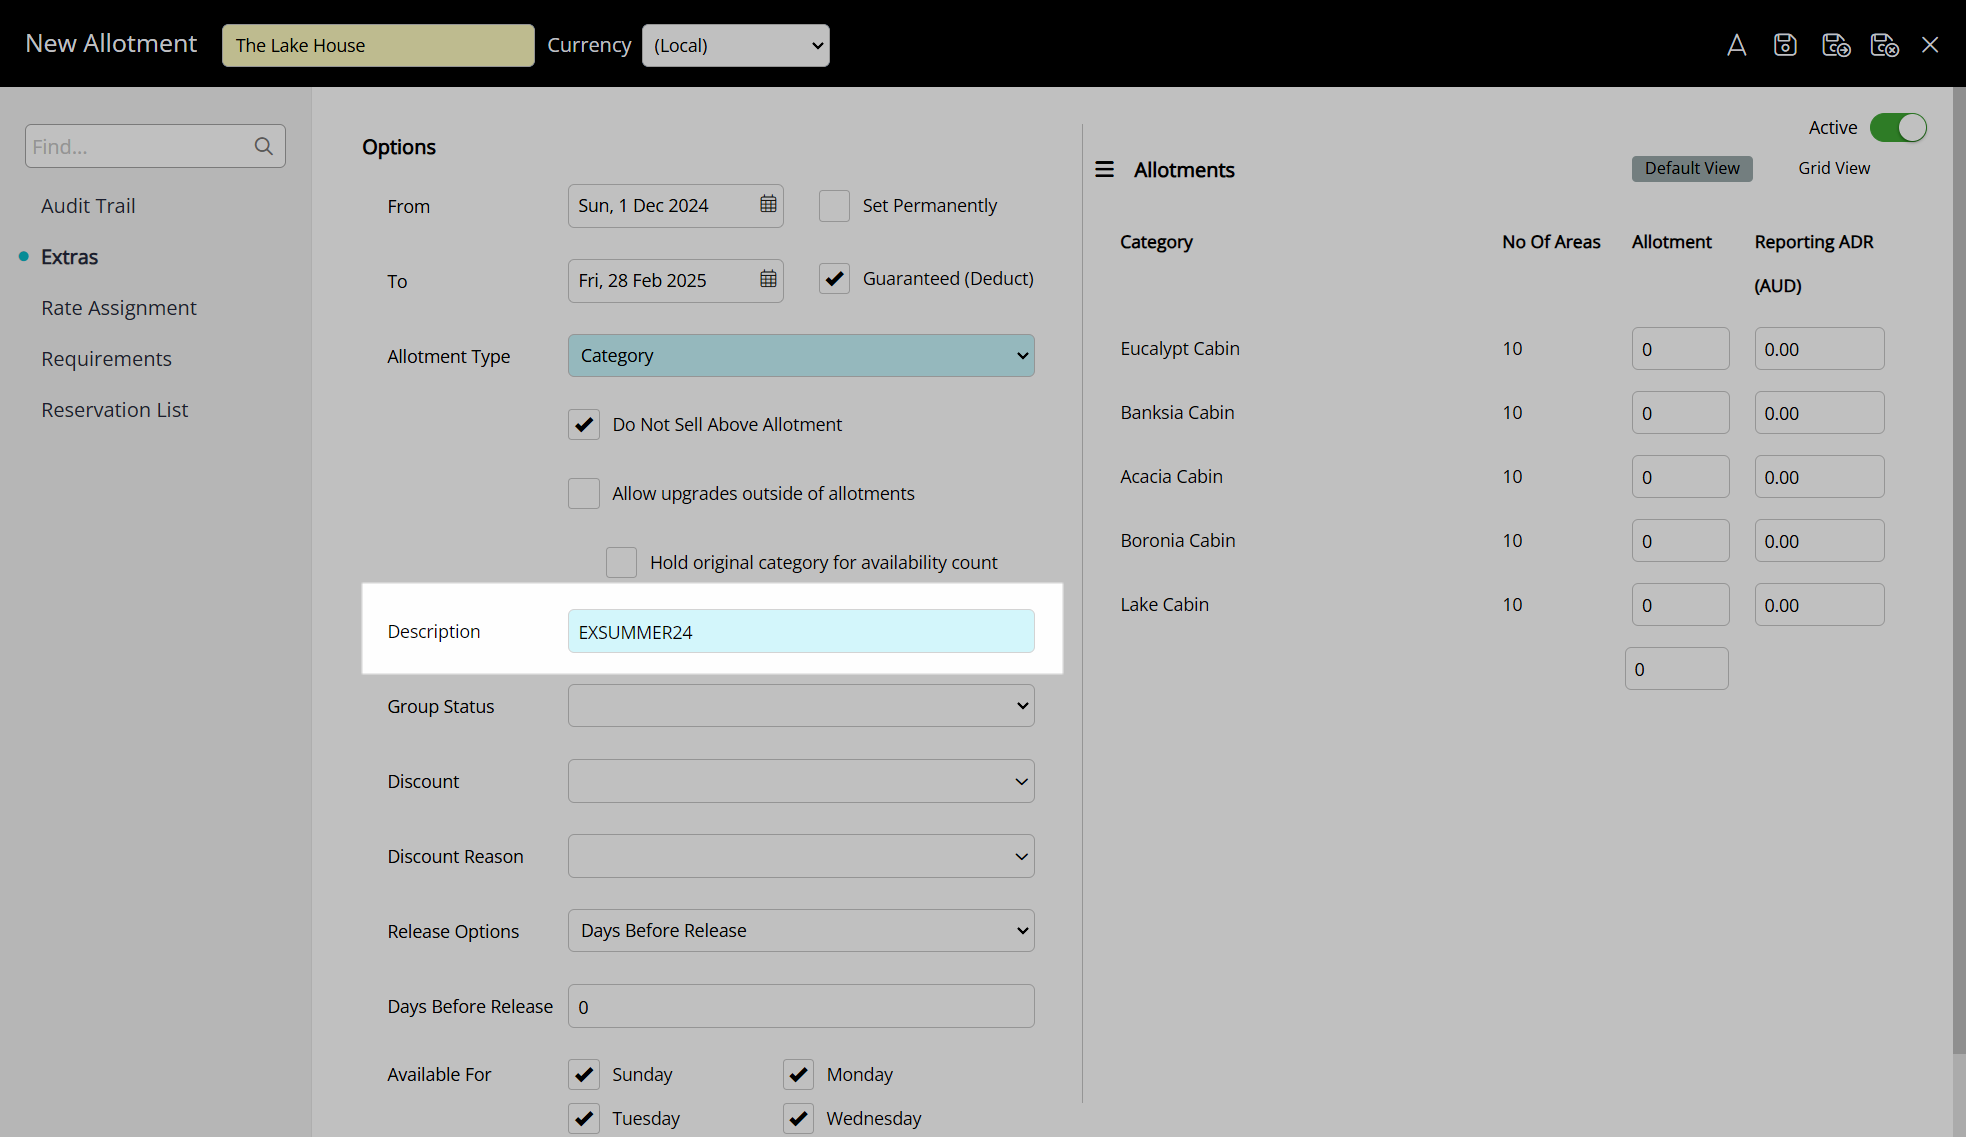
- Enter a Description.
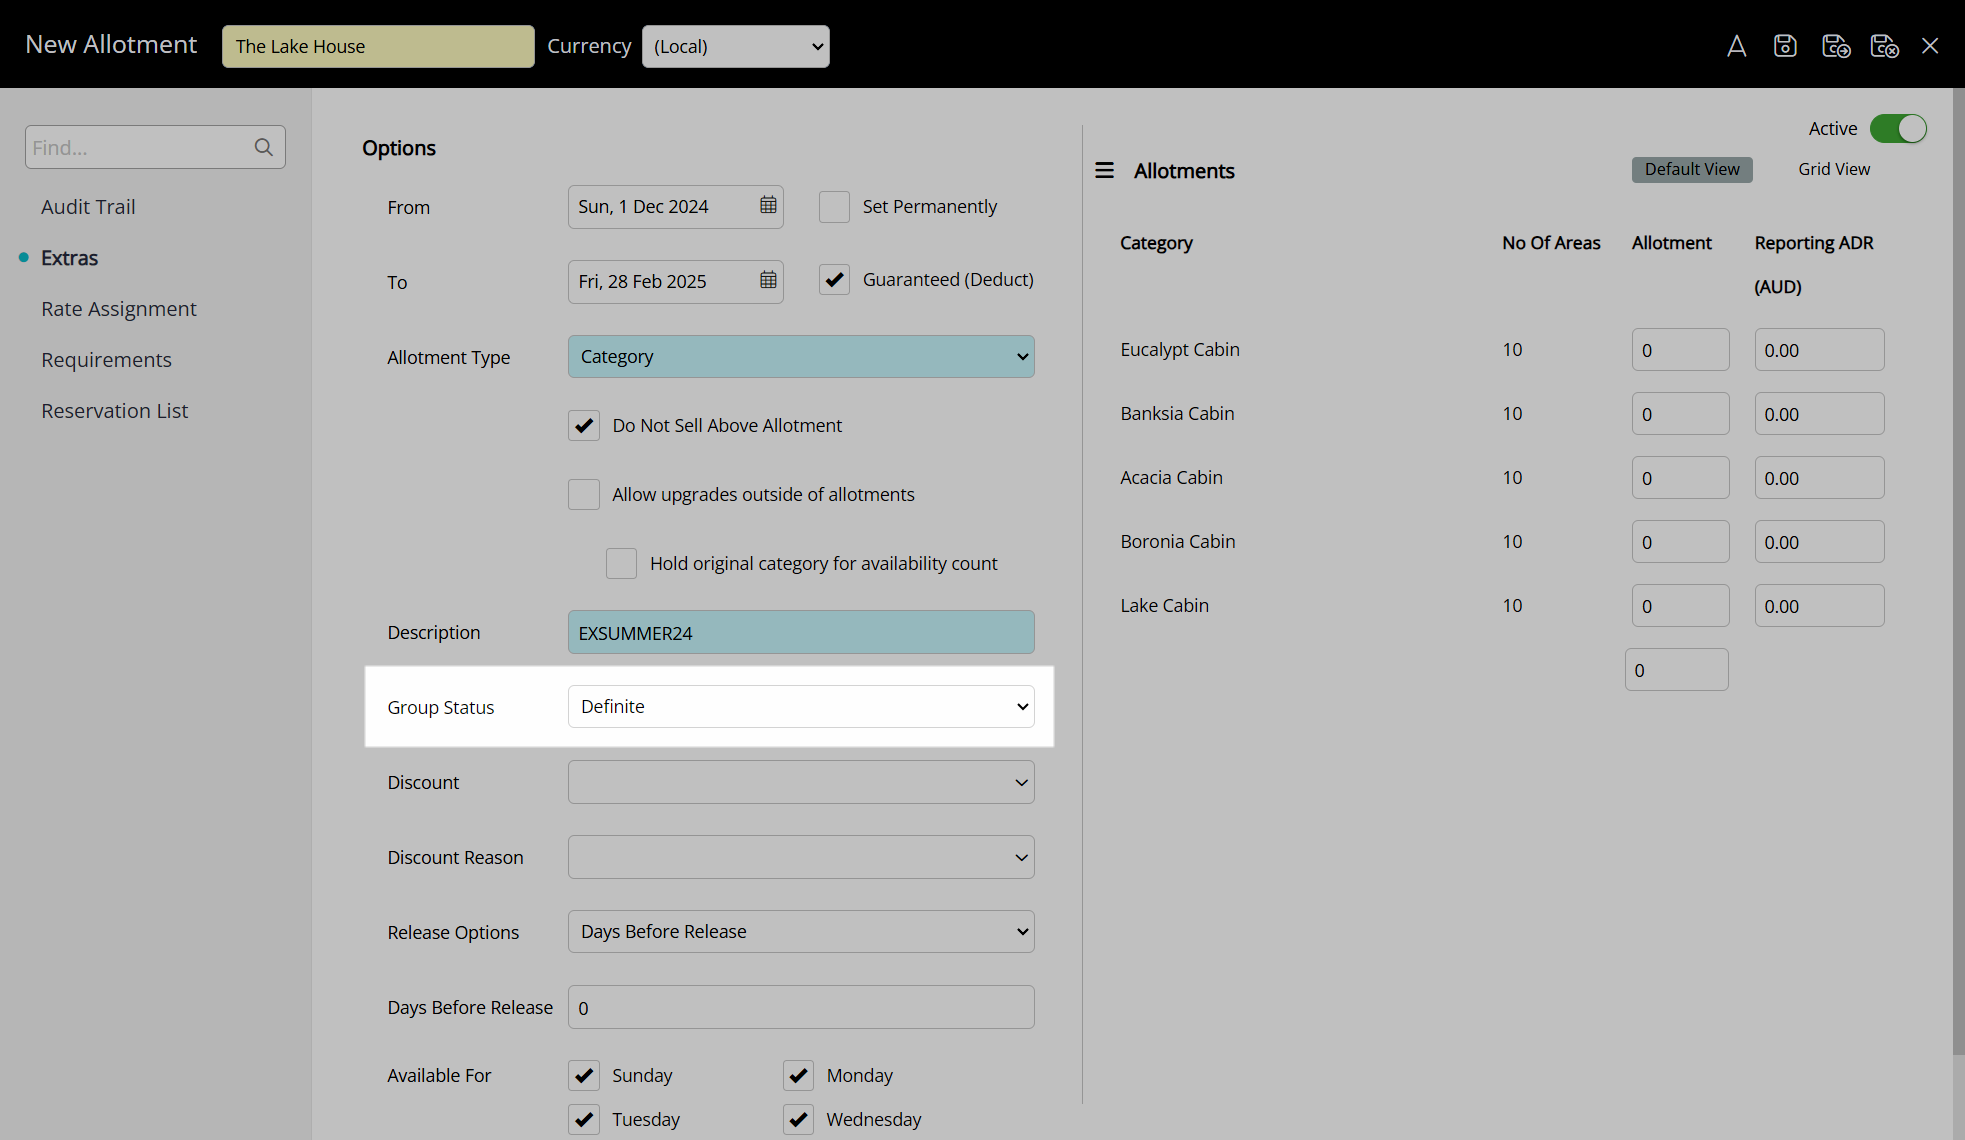
- Select a Group Status.
- Select a Release Option.
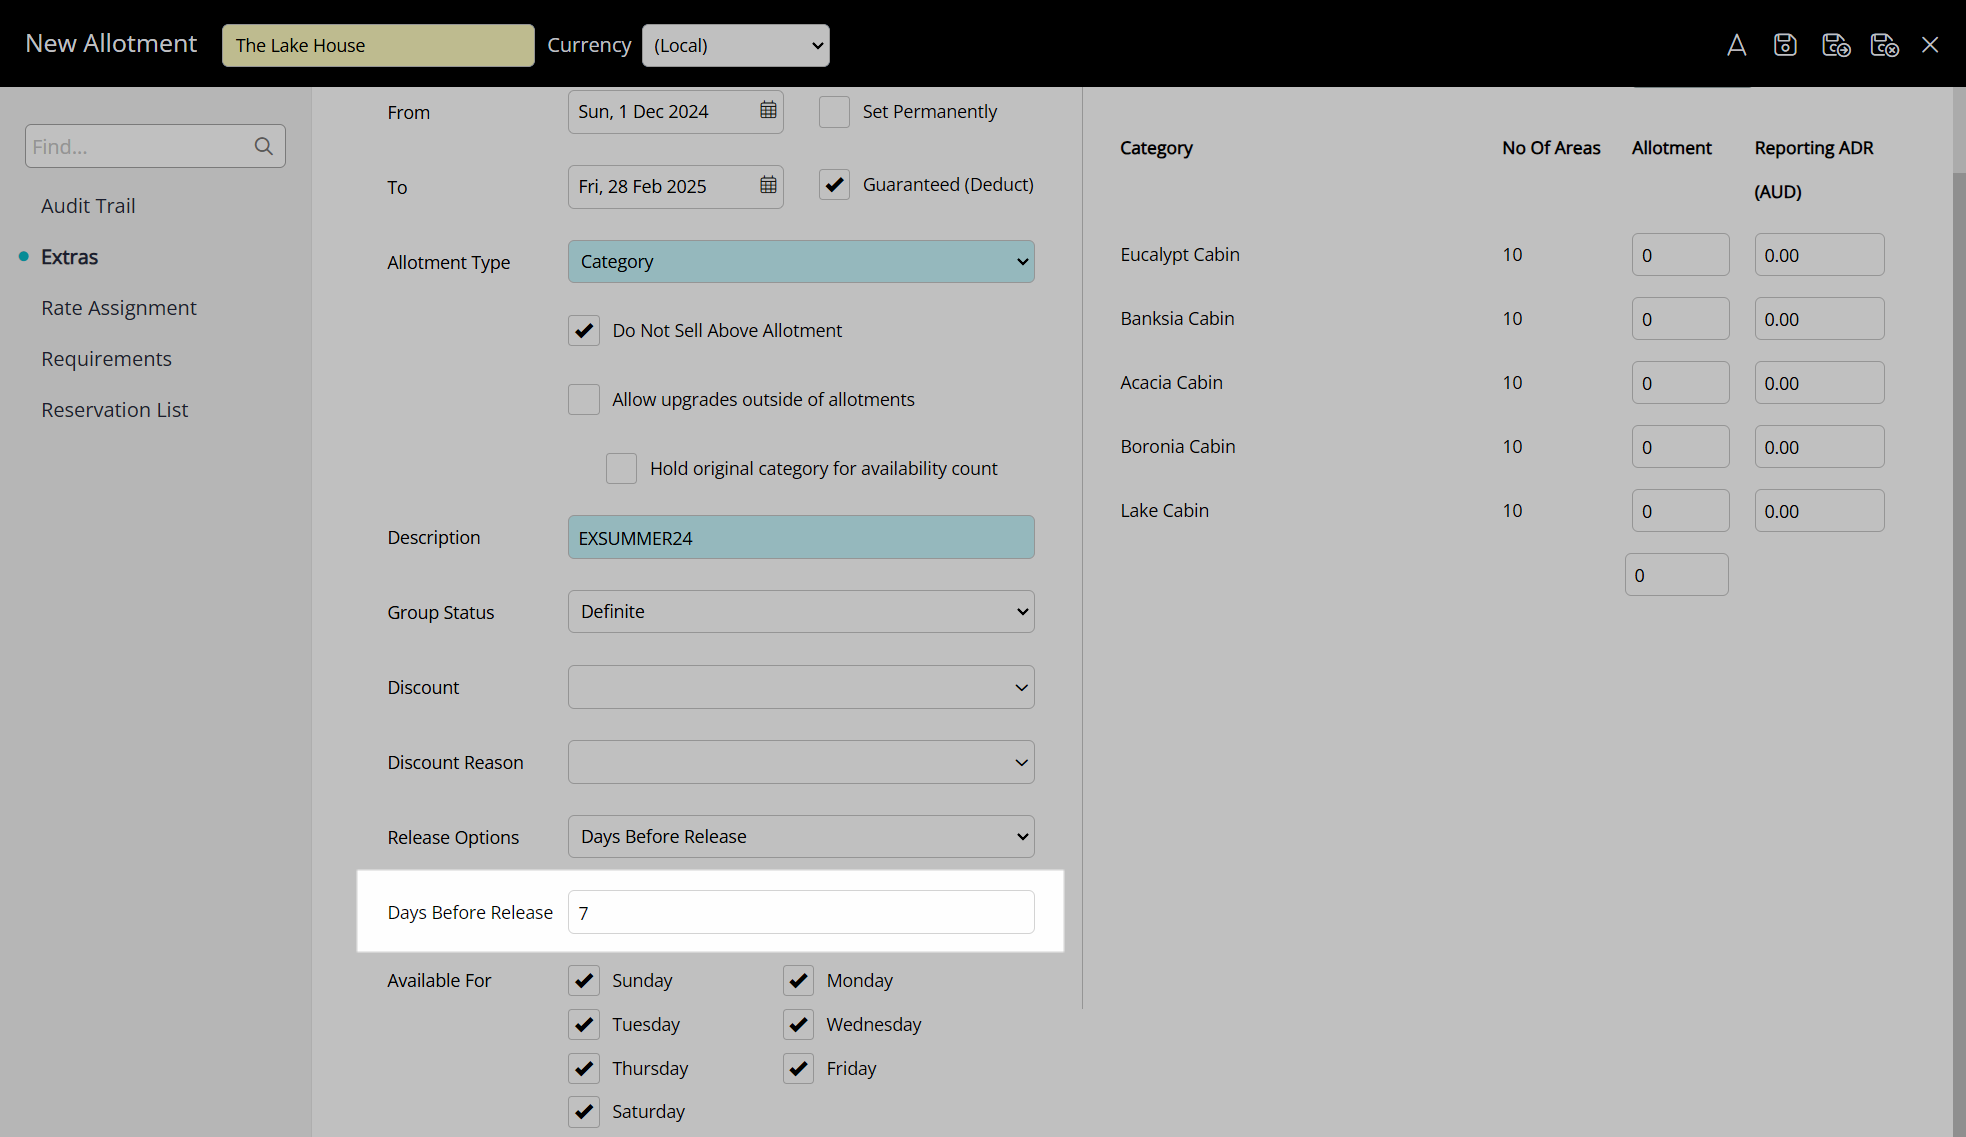
- Select a Release Date or enter the Days Before Release.
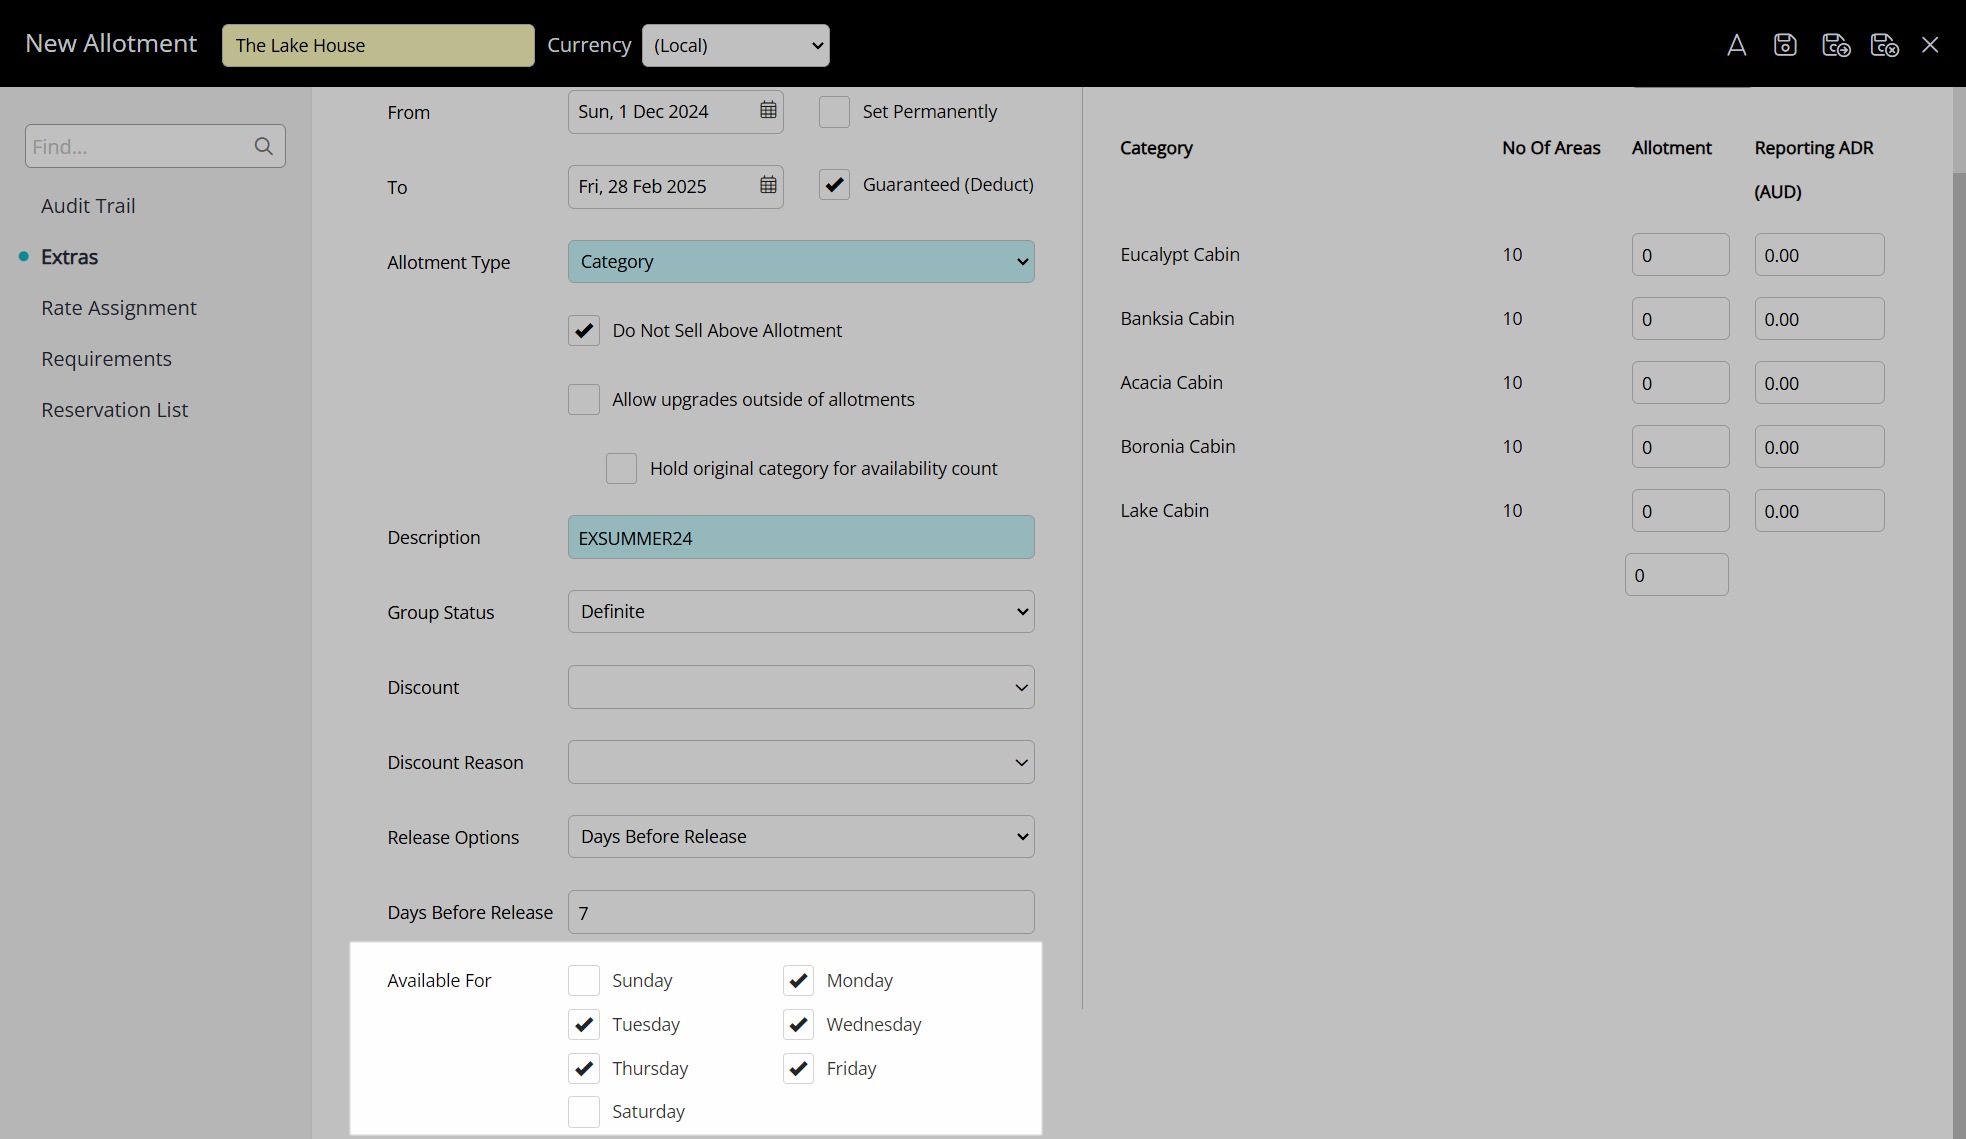
- Optional: Select the 'Days of the Week' checkboxes to exclude days.
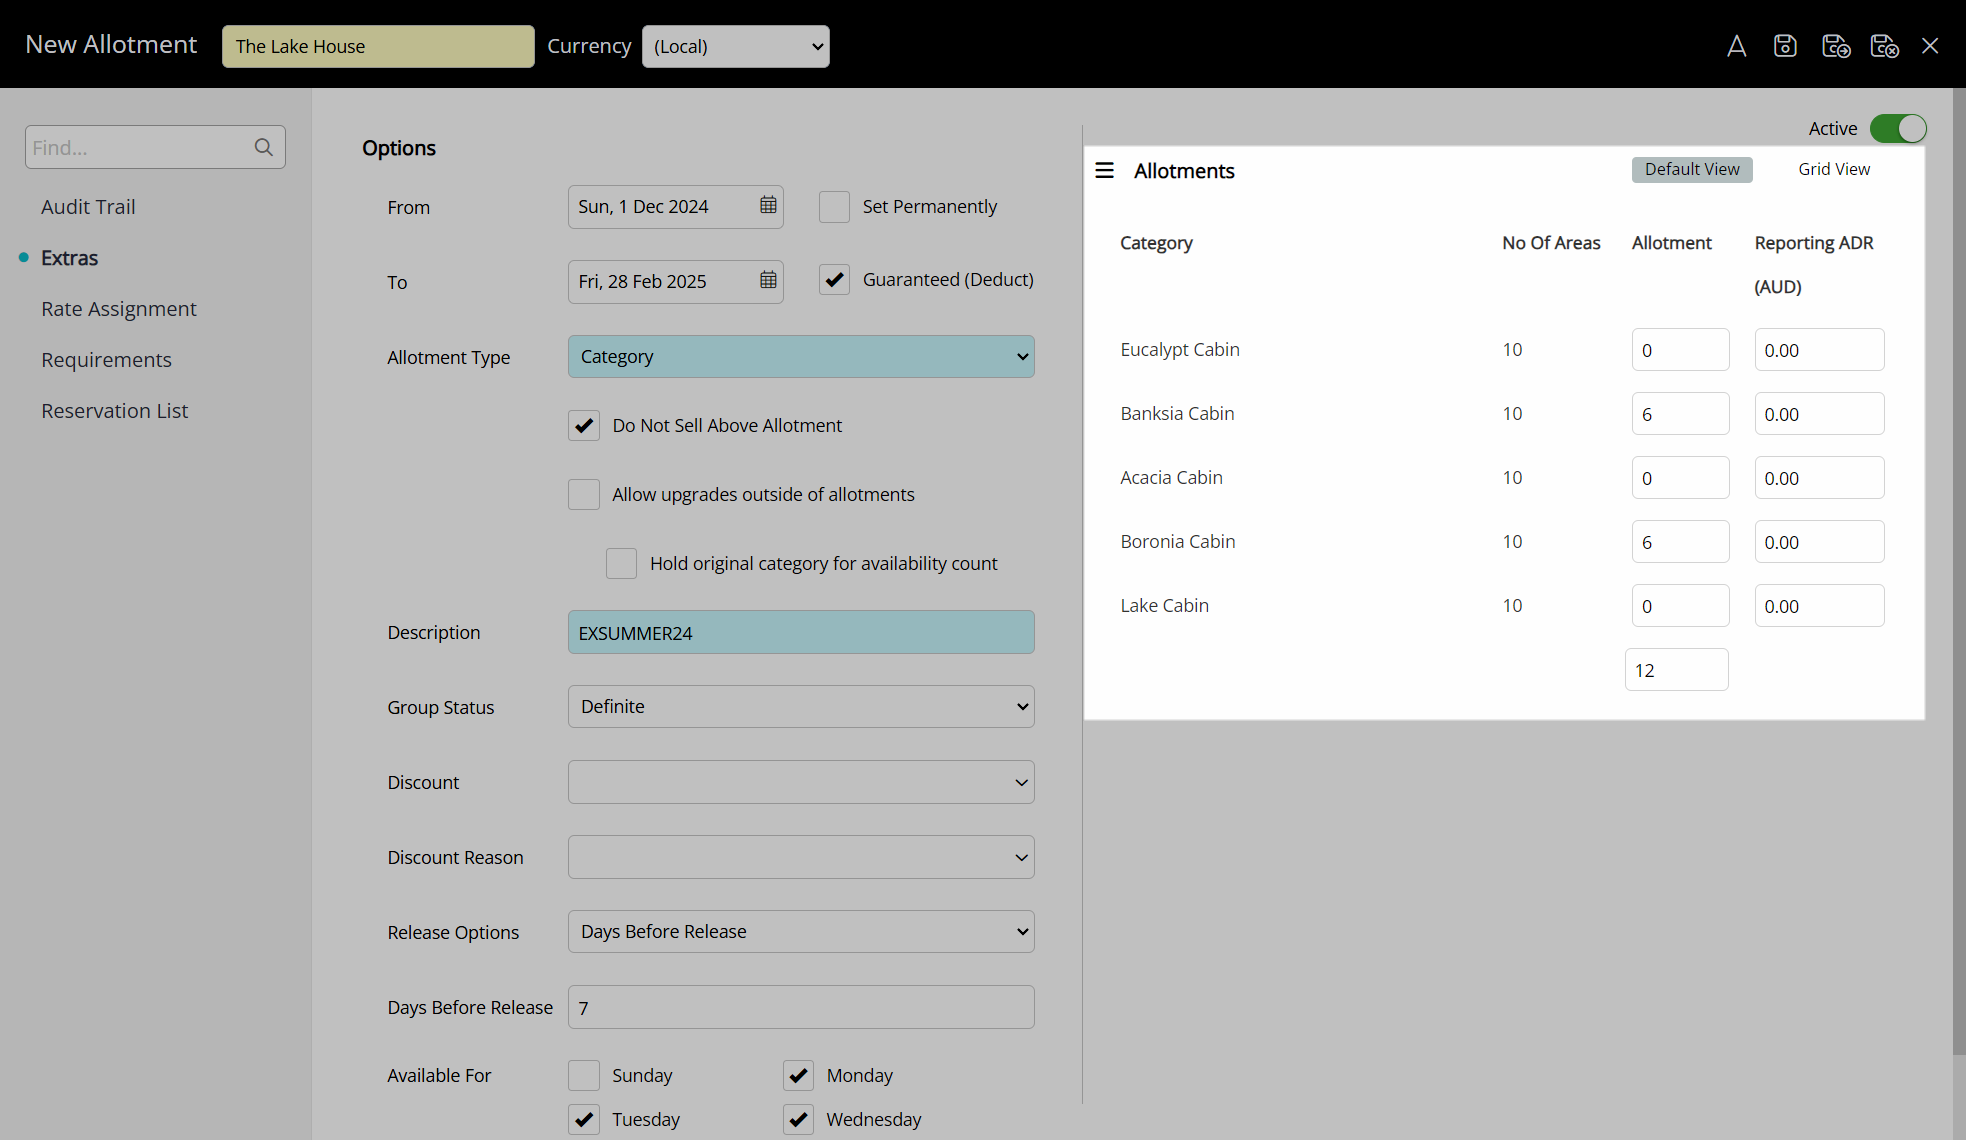
- Enter the Inventory Allotment.
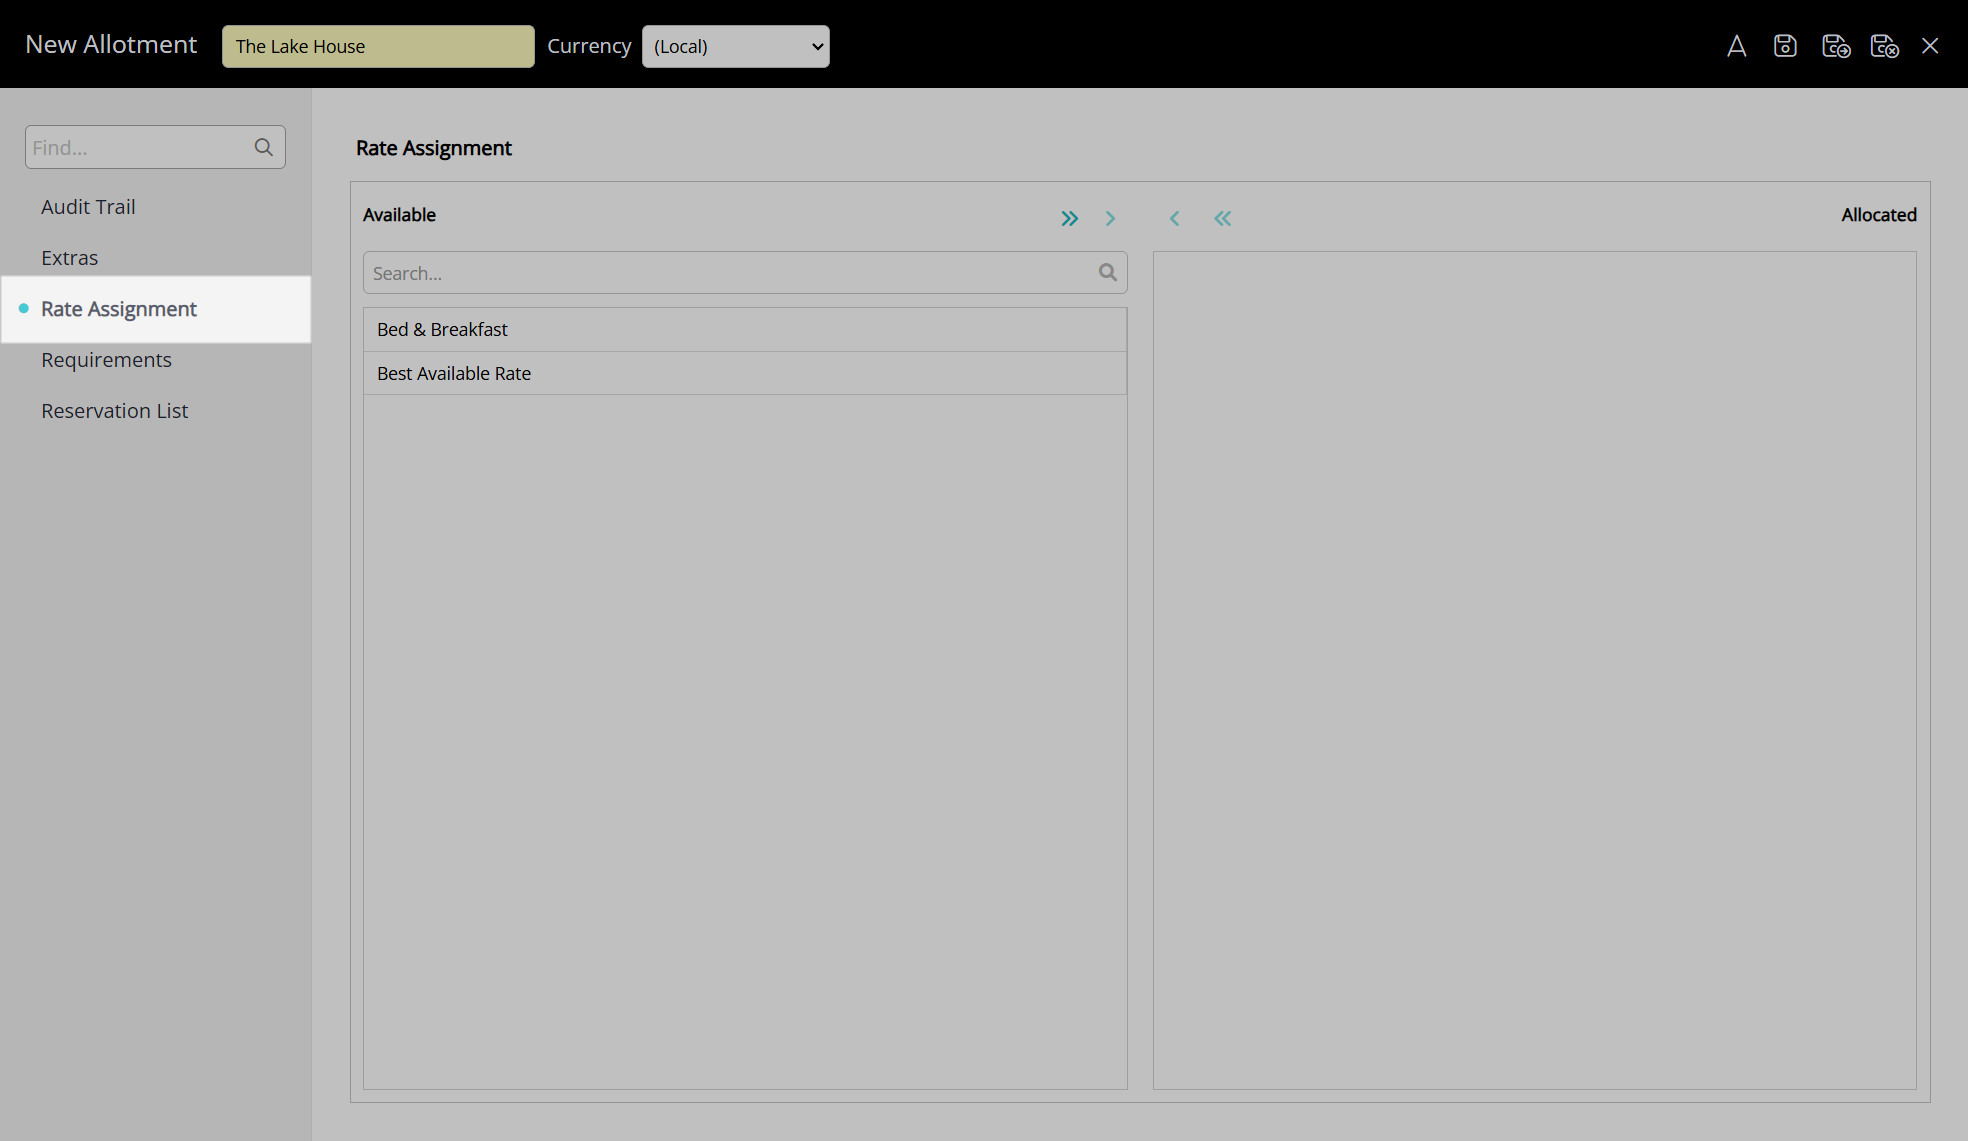
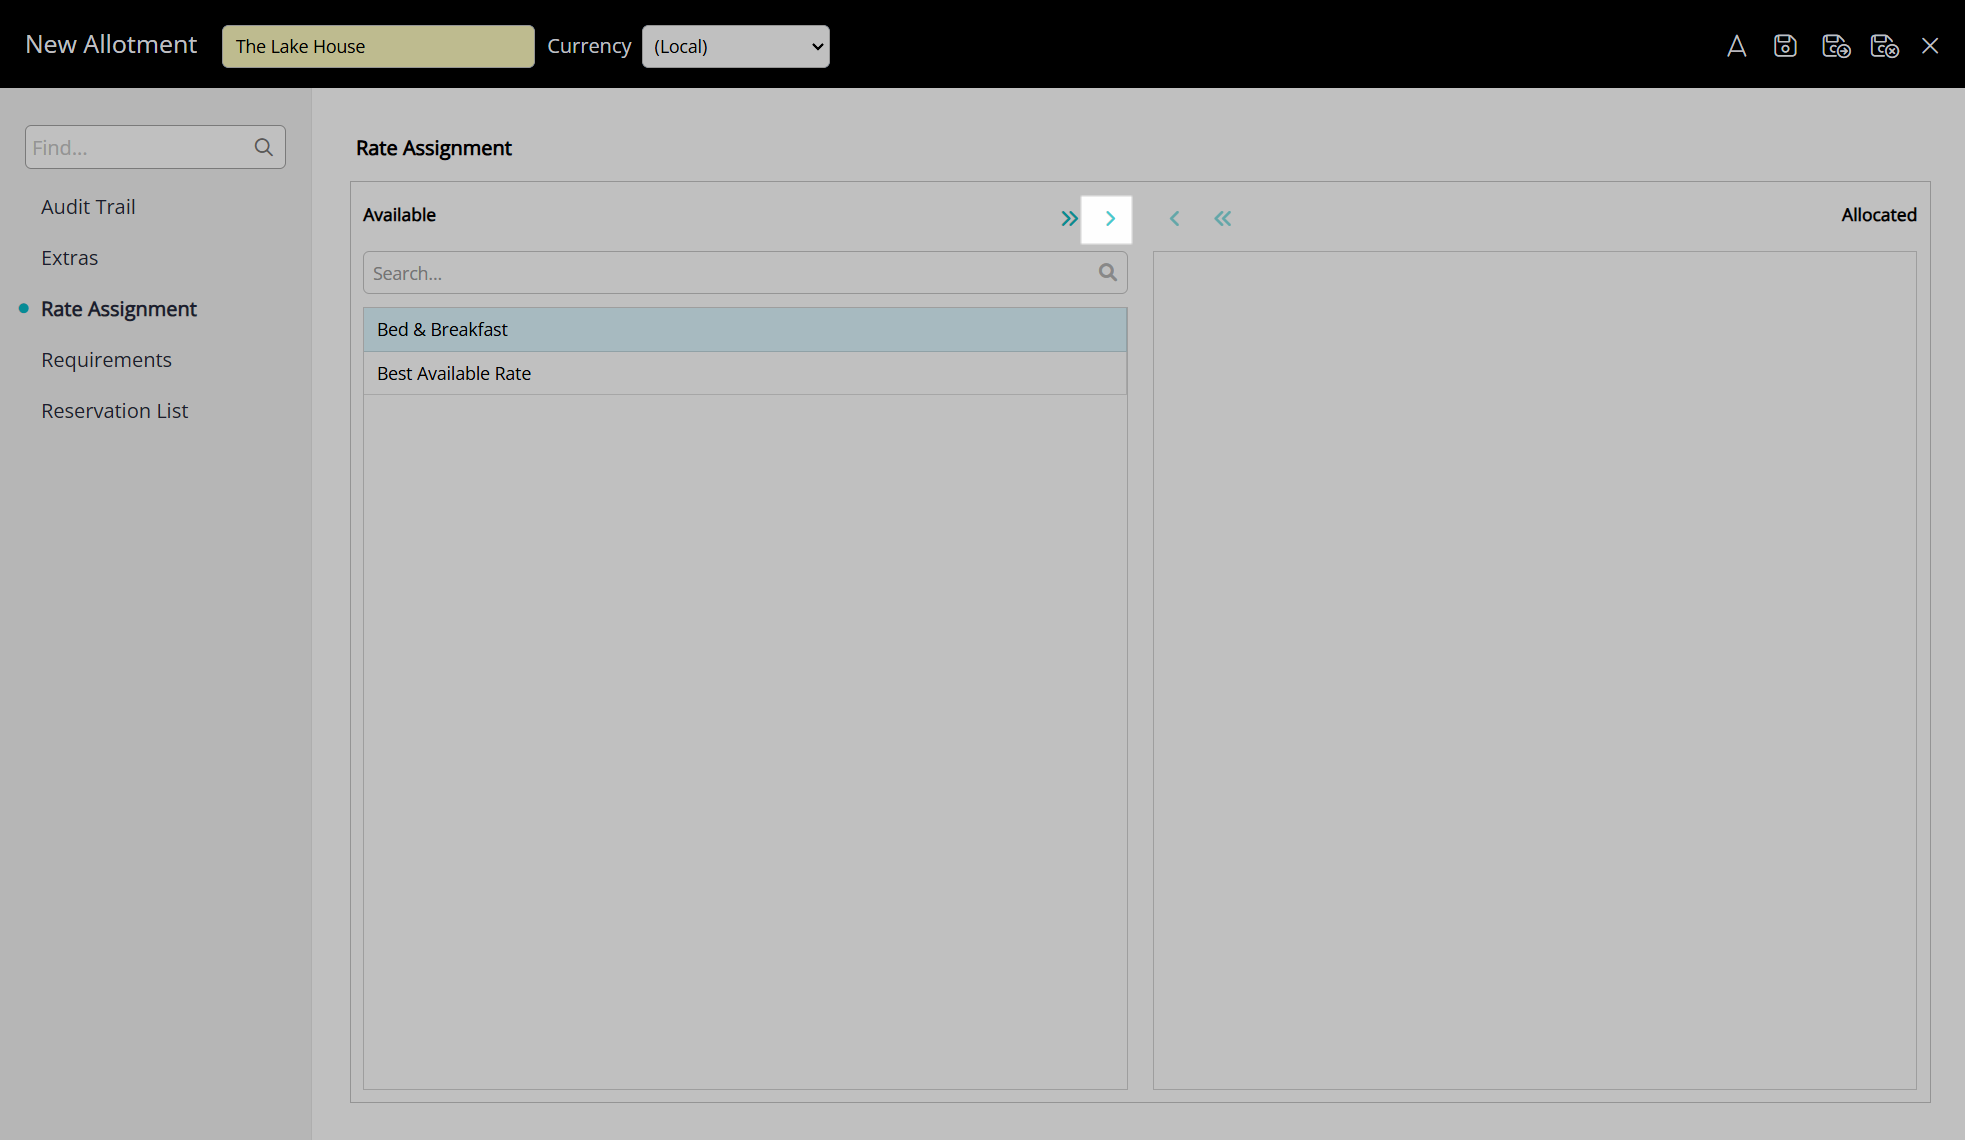
- Navigate to the 'Rate Assignment' tab.
- Select a Rate Type and choose the
 button.
 - Save/Exit.
Go to Reservations > Groups in the side menu of RMS.

Select the  'Edit' icon on an existing Group.

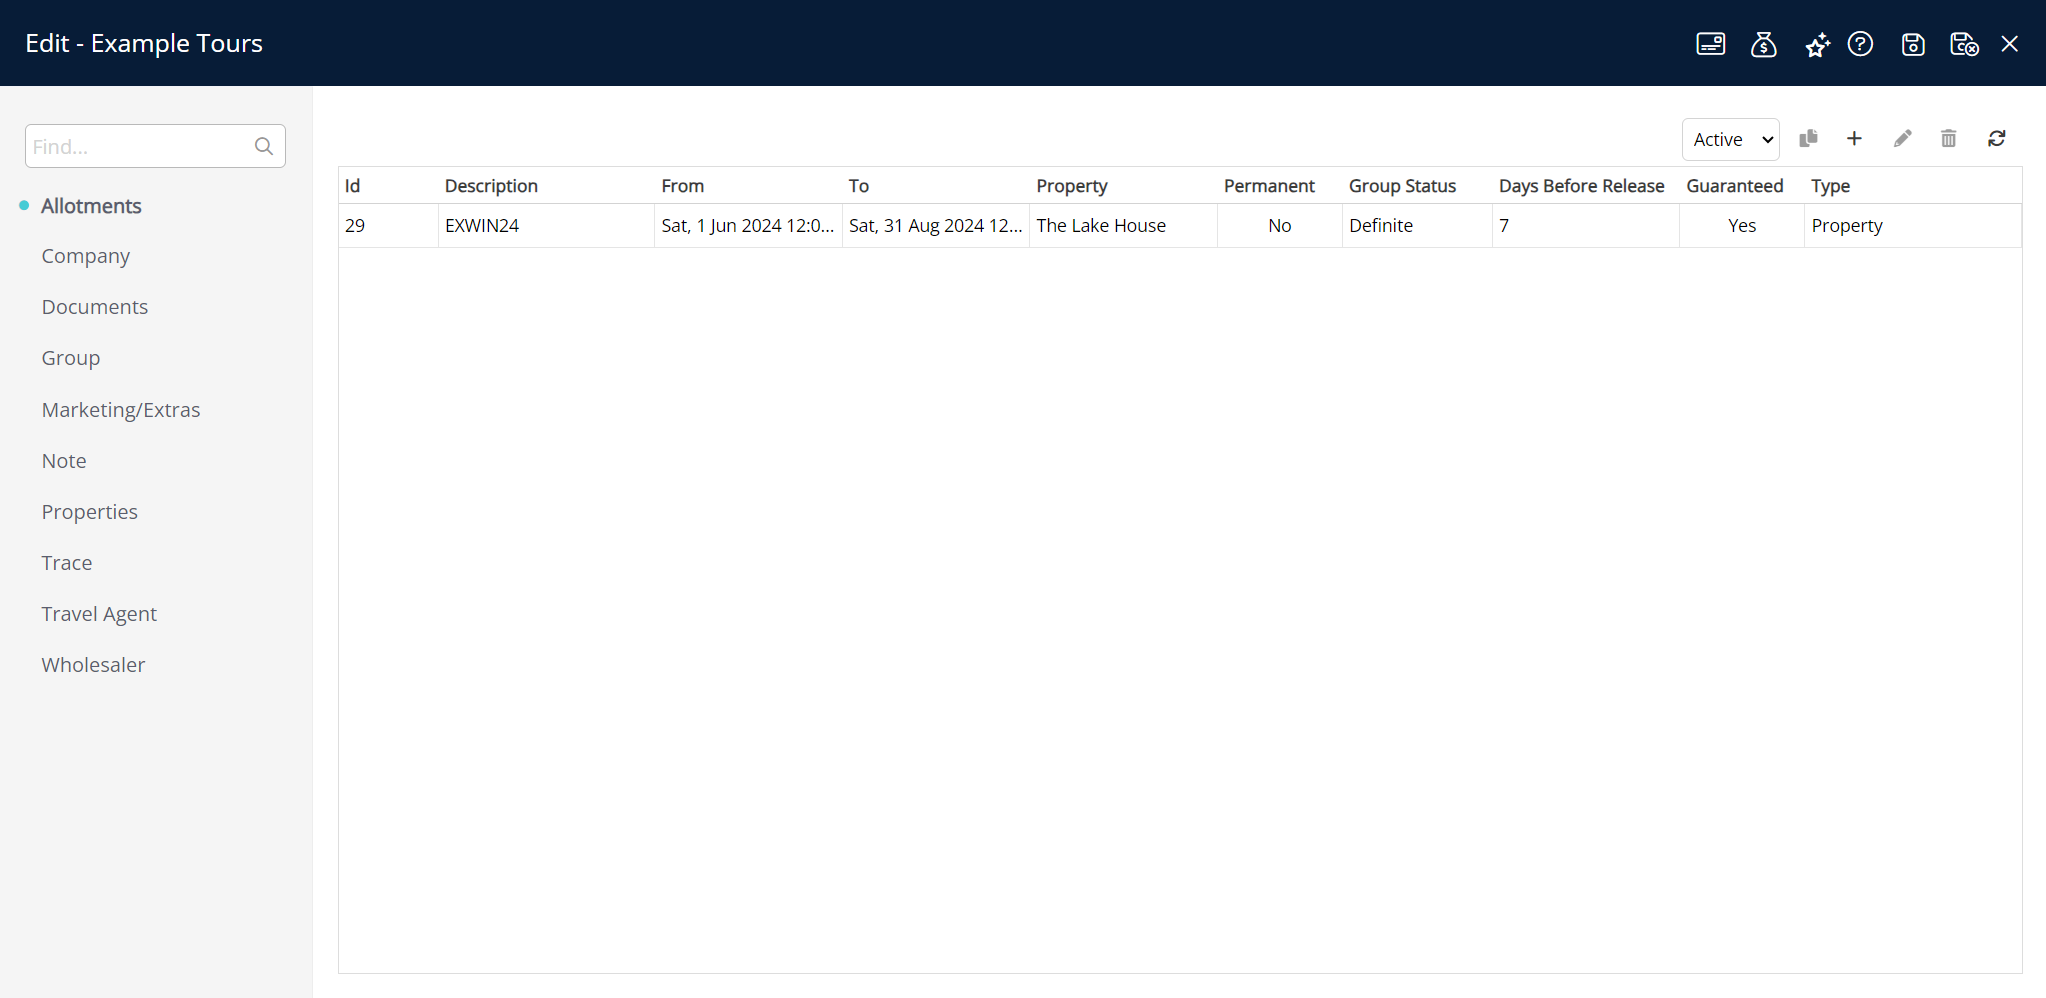
Navigate to the 'Allotments' tab.
Select the  'Add' icon.
Select a Date Range or select the 'Set Permanently' checkbox.
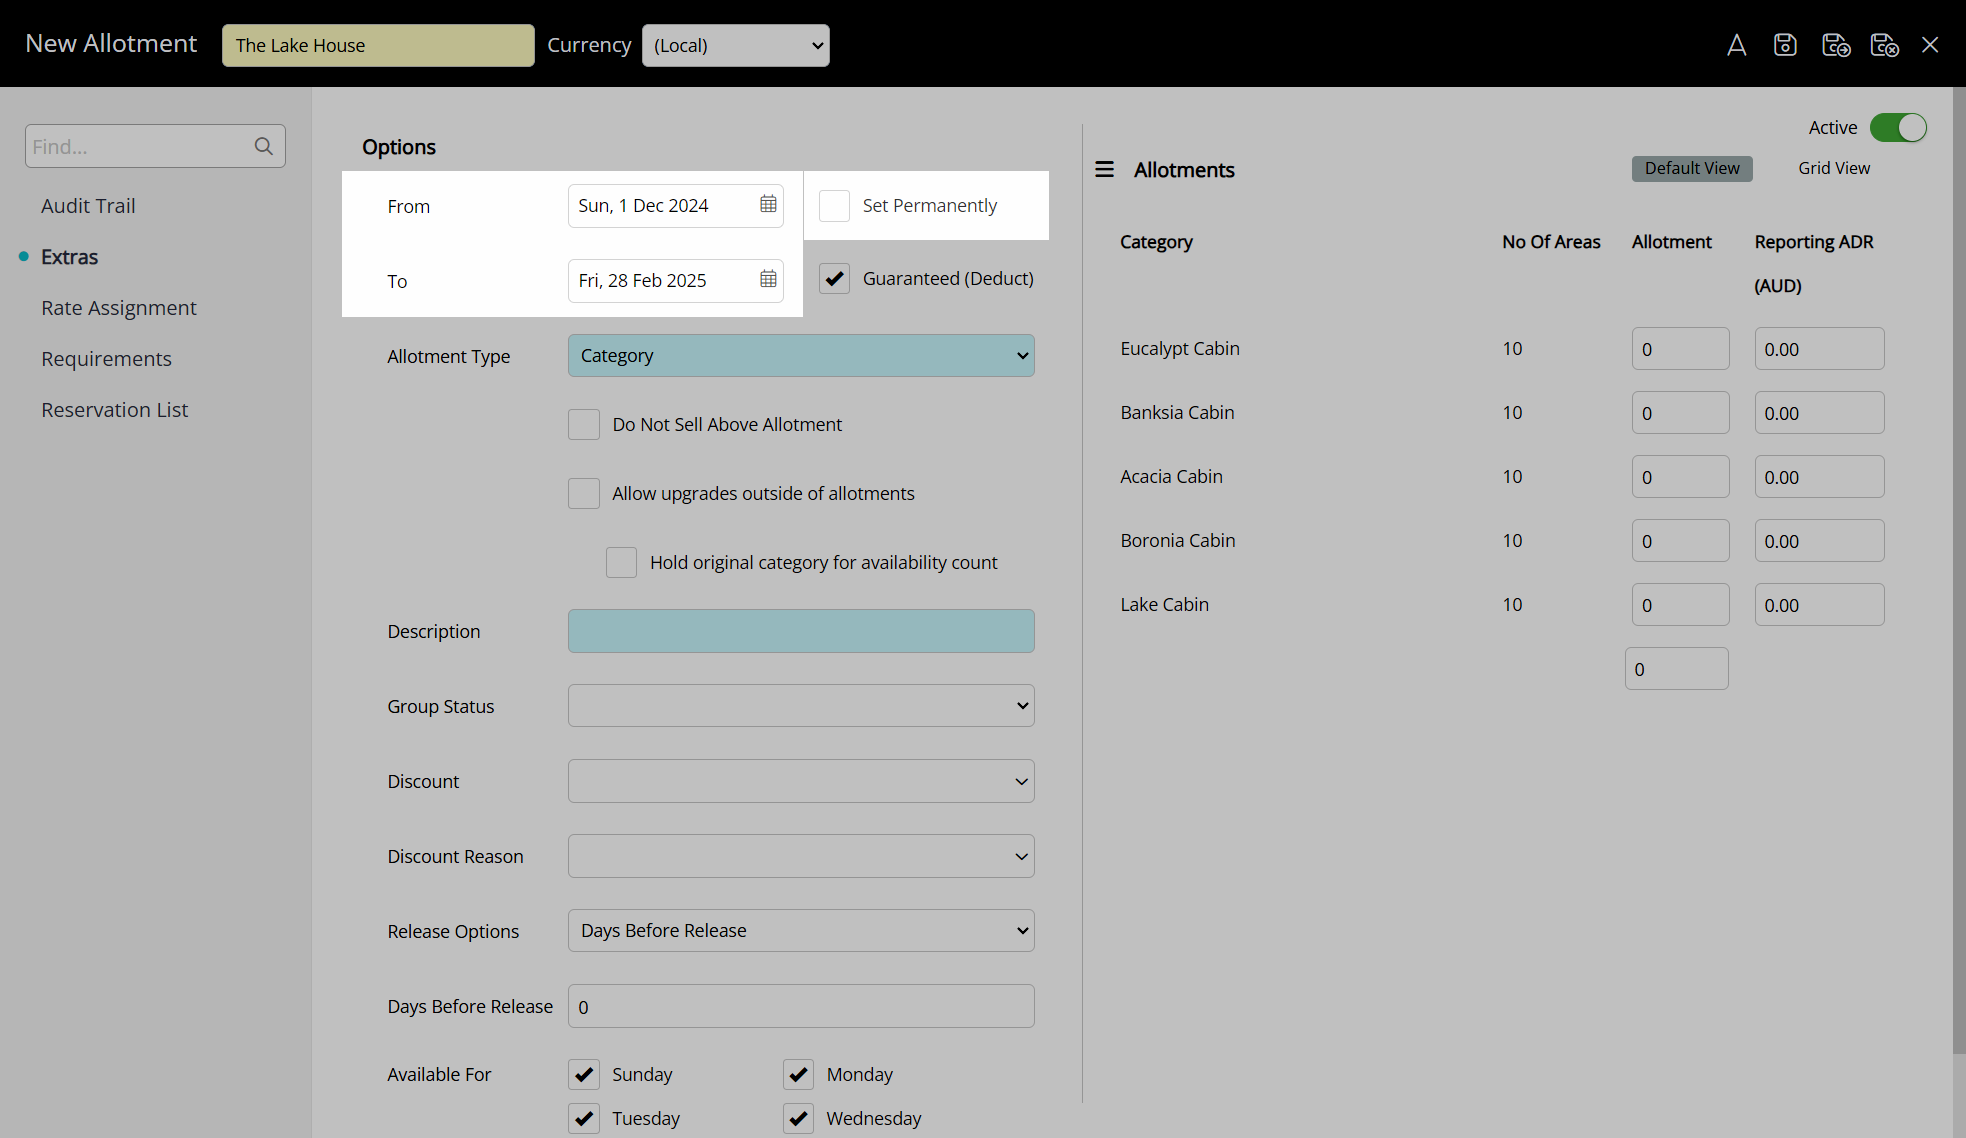
Optional: Select the 'Guaranteed' checkbox.
Select an Allotment Type.
Optional: Select the 'Do Not Sell Above Allotment' checkbox.

Optional: Select the 'Allow Upgrades Outside of Allotments' checkbox.
Optional: Select the 'Hold Original Category for Availability Count' checkbox.
Enter a Description.
Select a Group Status.
Select a Release Option.
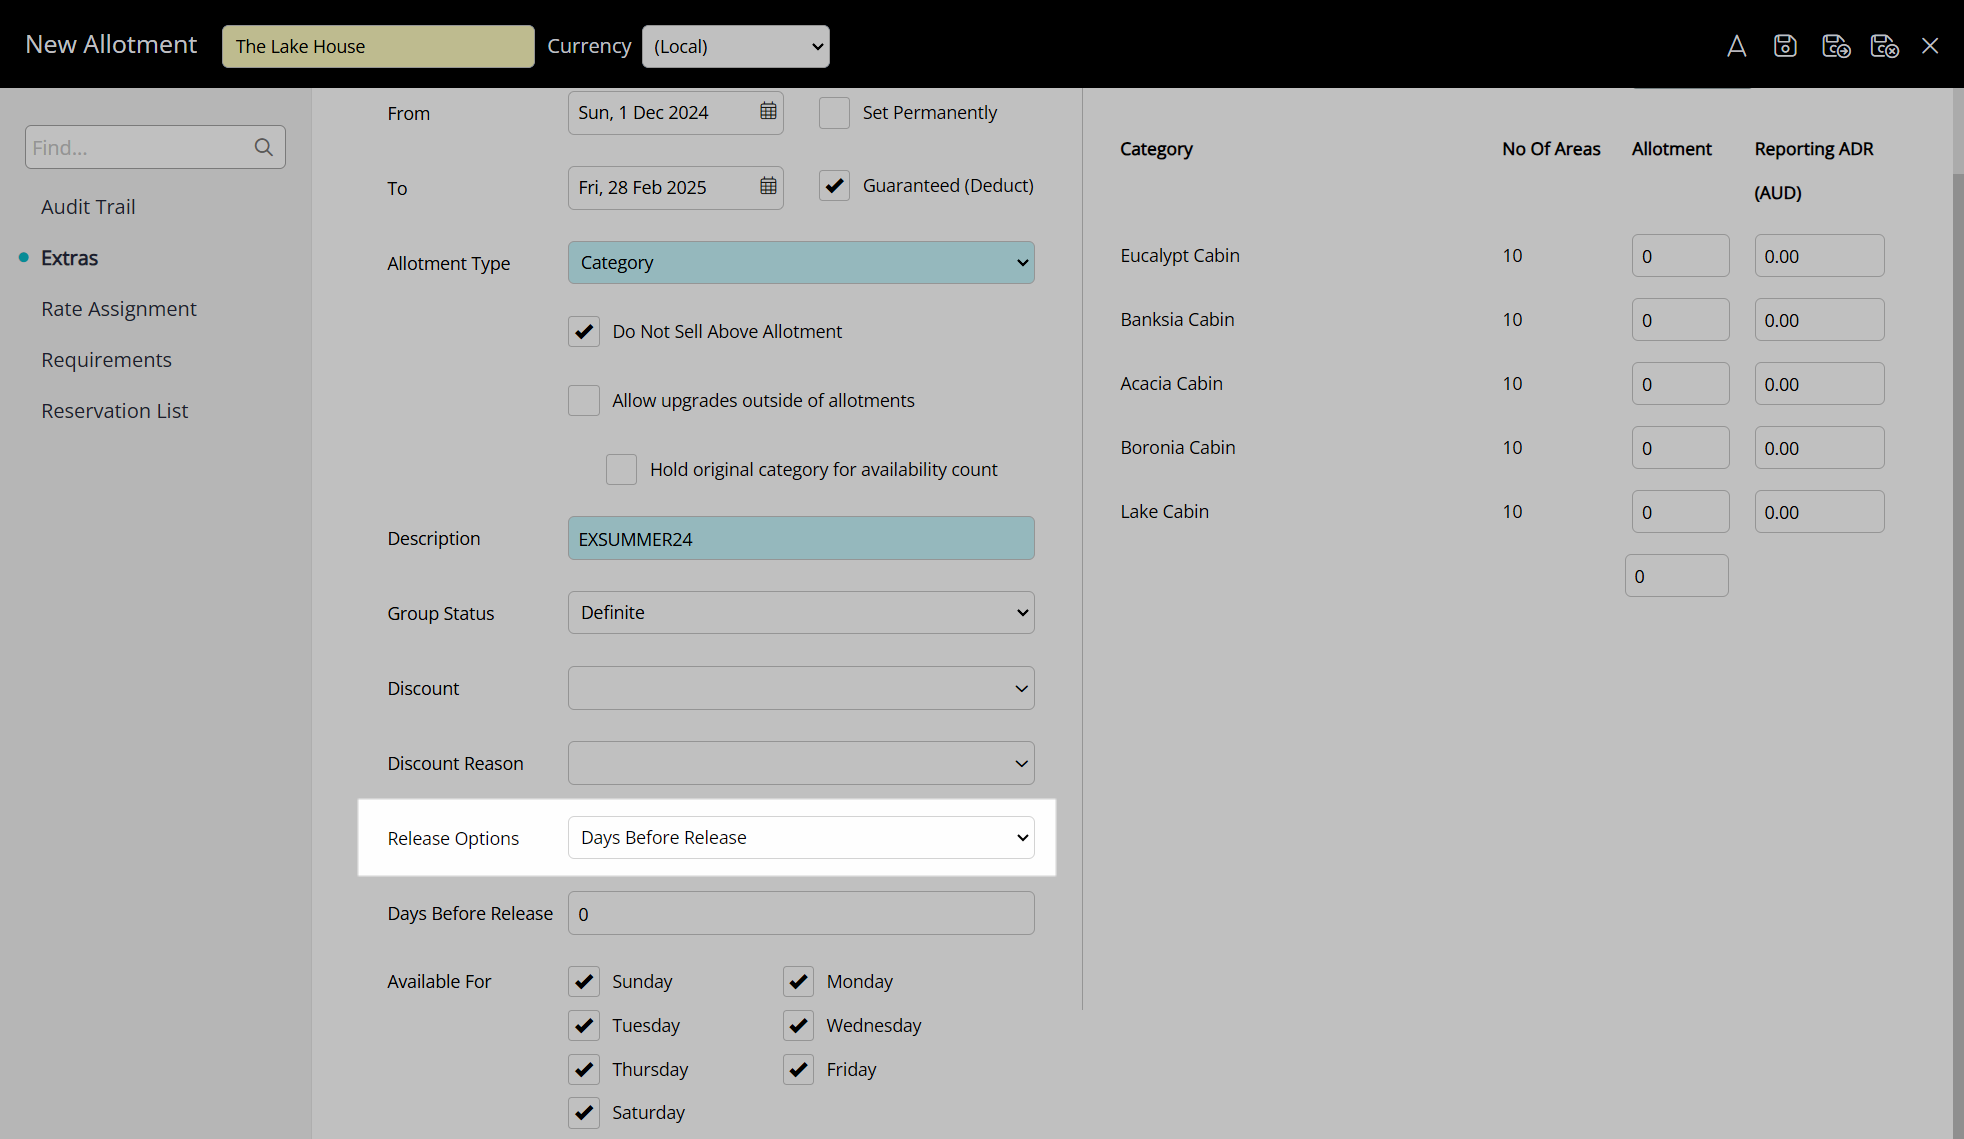
Select a Release Date or enter the Days Before Release.
Optional: Select the 'Days of the Week' checkboxes to exclude days.
Enter the Inventory Allotment.
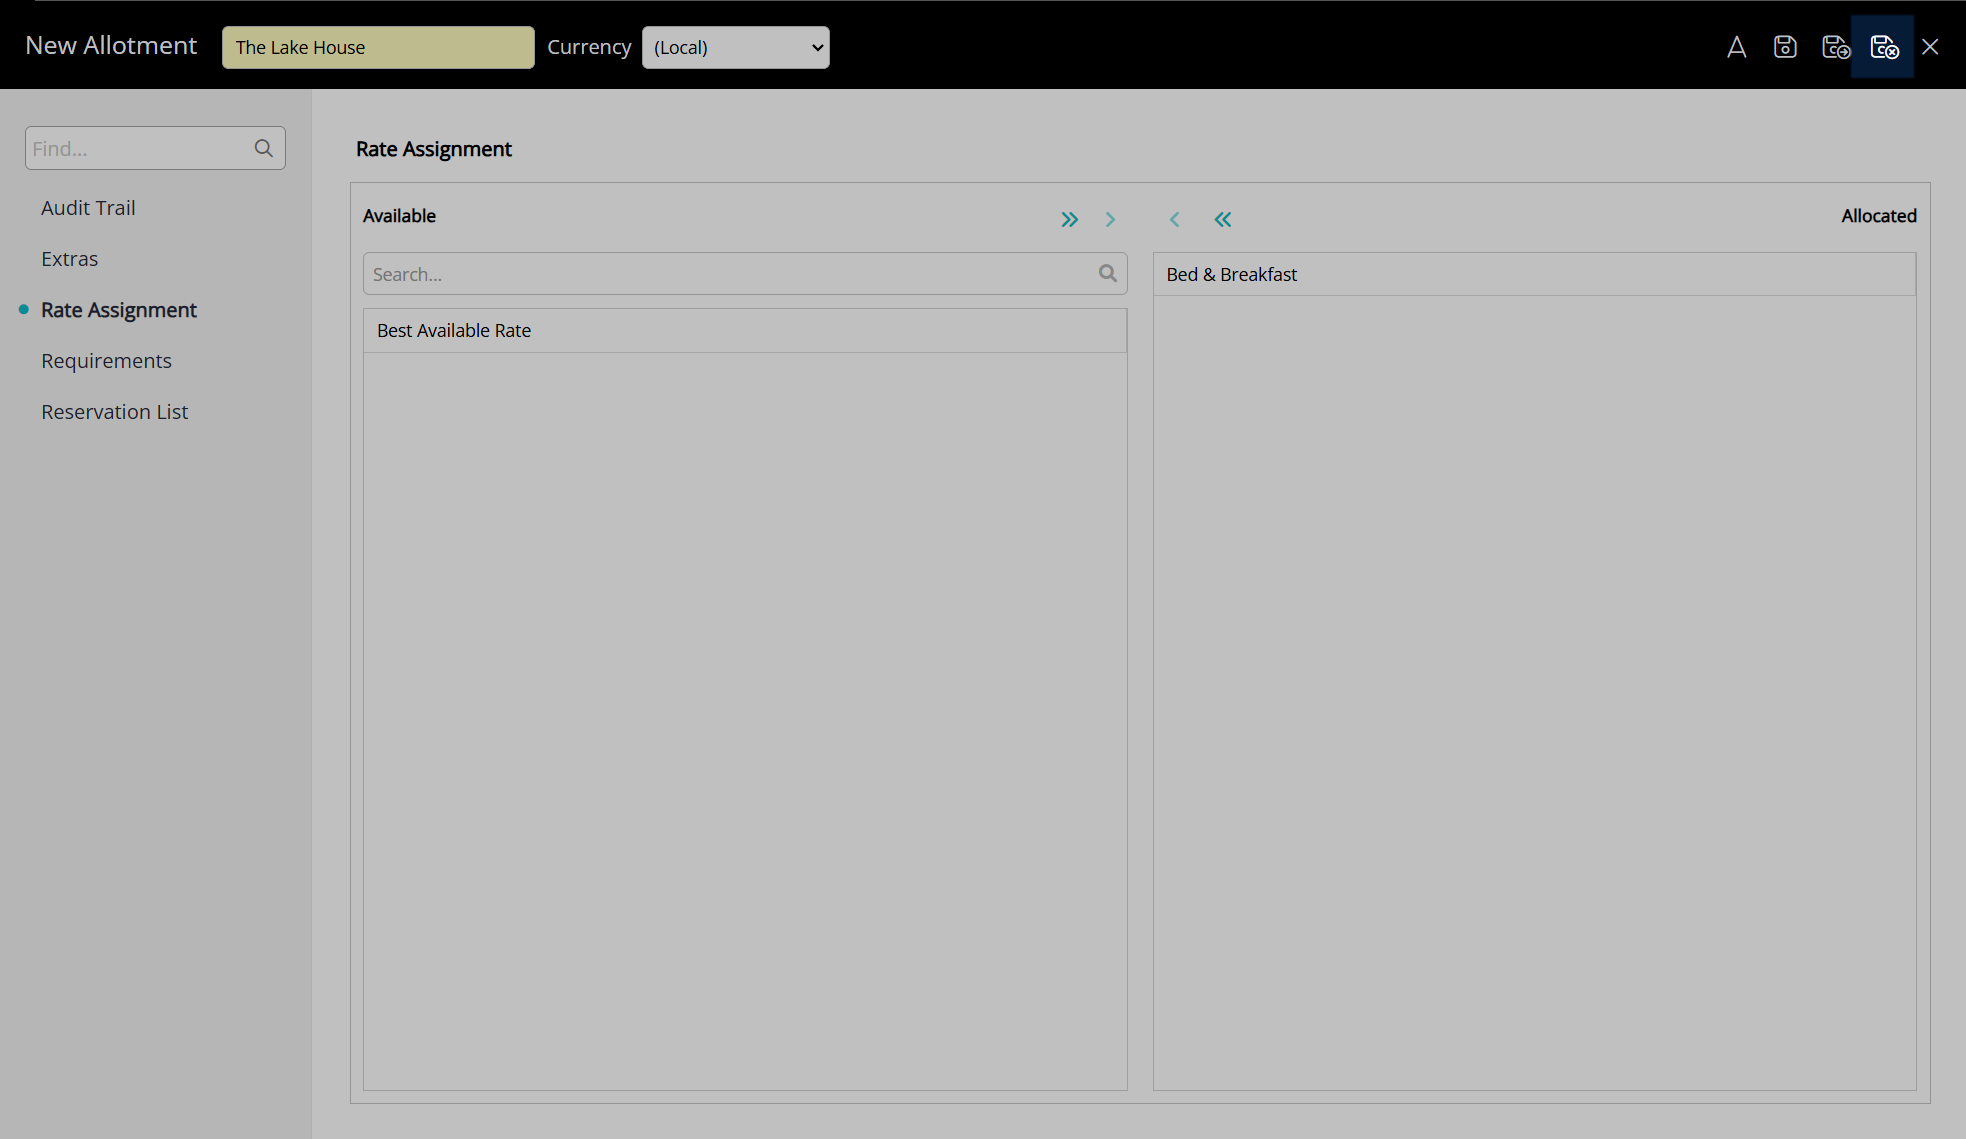
Navigate to the 'Rate Assignment' tab.
Select a Rate Type and choose the  button.
Select the  'Save/Exit' icon to store the changes made and return to the 'Group'.
This allotment will now be available for selection as the 'Allotment Association' on a reservation when this 'Group' is selected.
Additional Reservation Details
- Go to Reservations > Groups in the side menu of RMS.
- Select the
 'Edit' icon on an existing Group.
 - Navigate to the 'Marketing/Extras' tab.
- Optional: Select the Additional Reservation Details.
- Save/Exit.
Go to Reservations > Groups in the side menu of RMS.
Select the  'Edit' icon on an existing Group.

Navigate to the 'Marketing/Extras' tab.
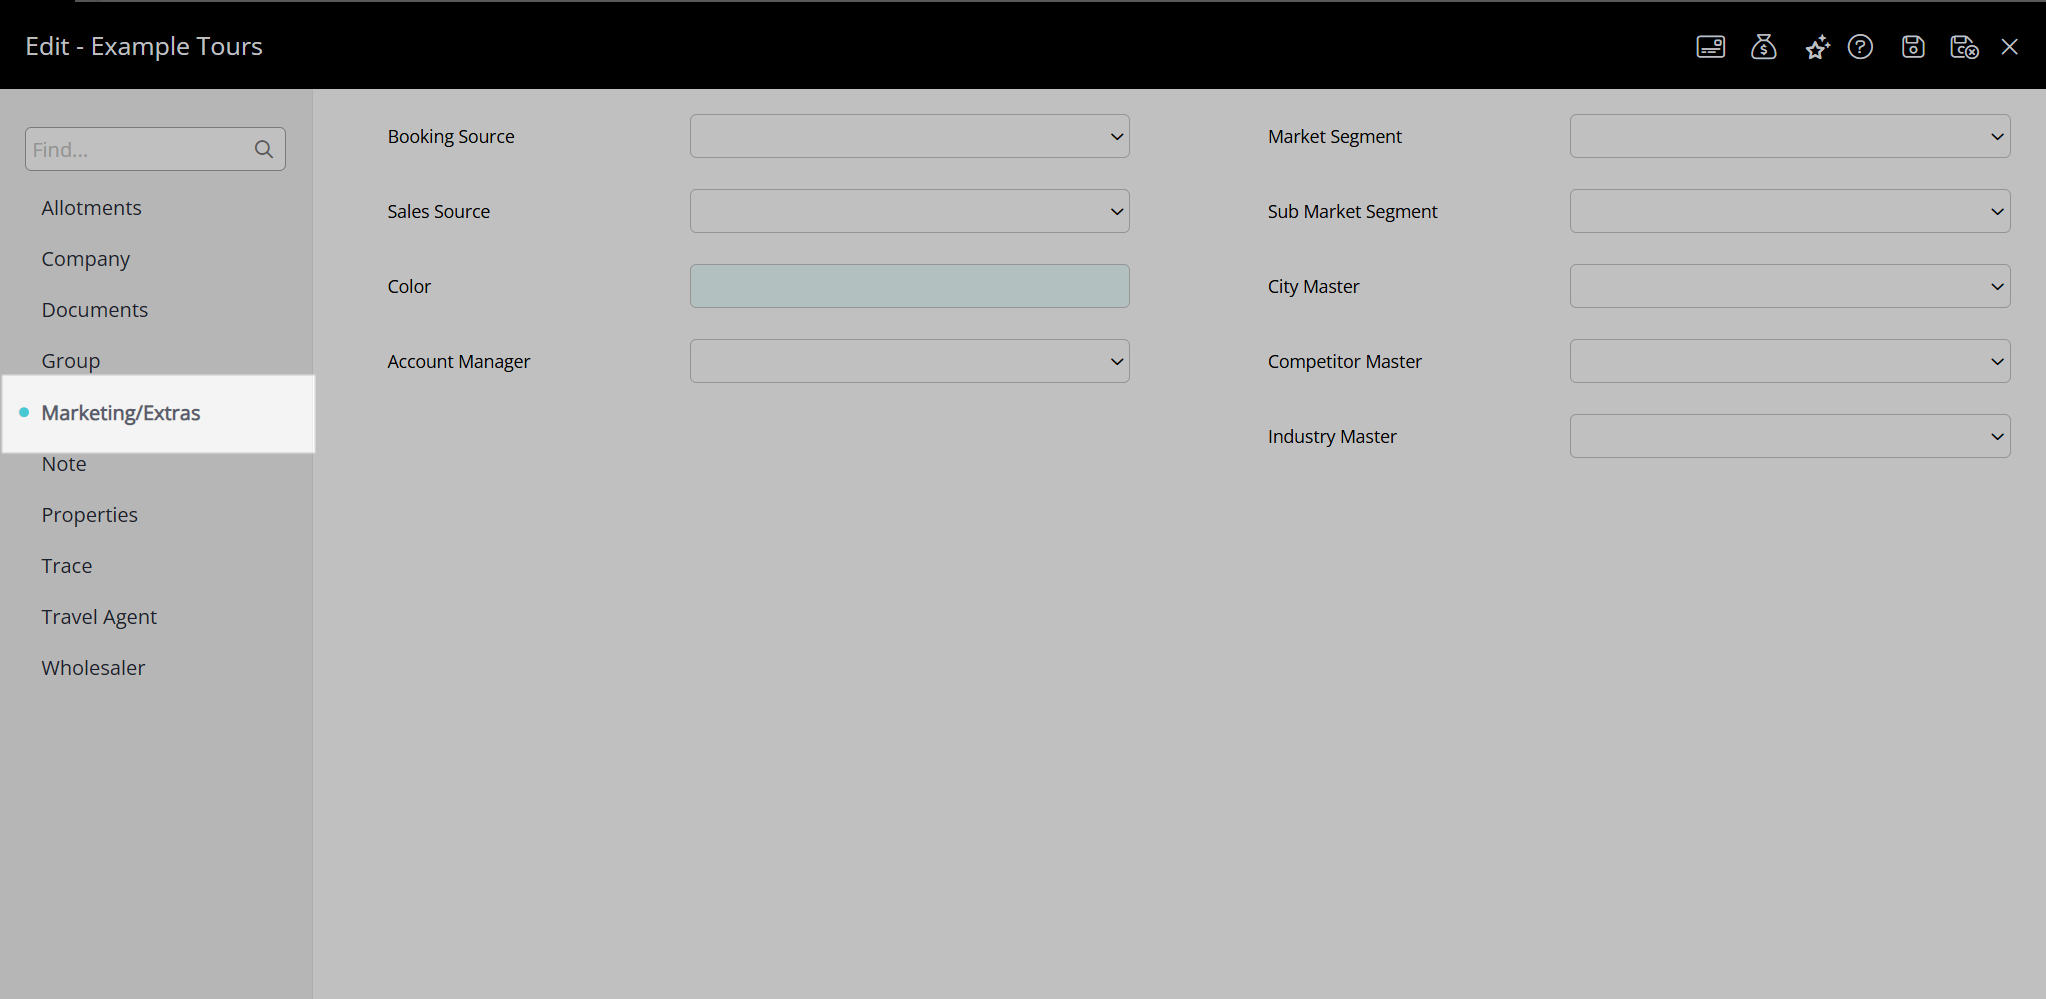
Optional: Select the Additional Reservation Details.

Select the  'Save/Exit' icon to store the changes made and leave the Group setup.
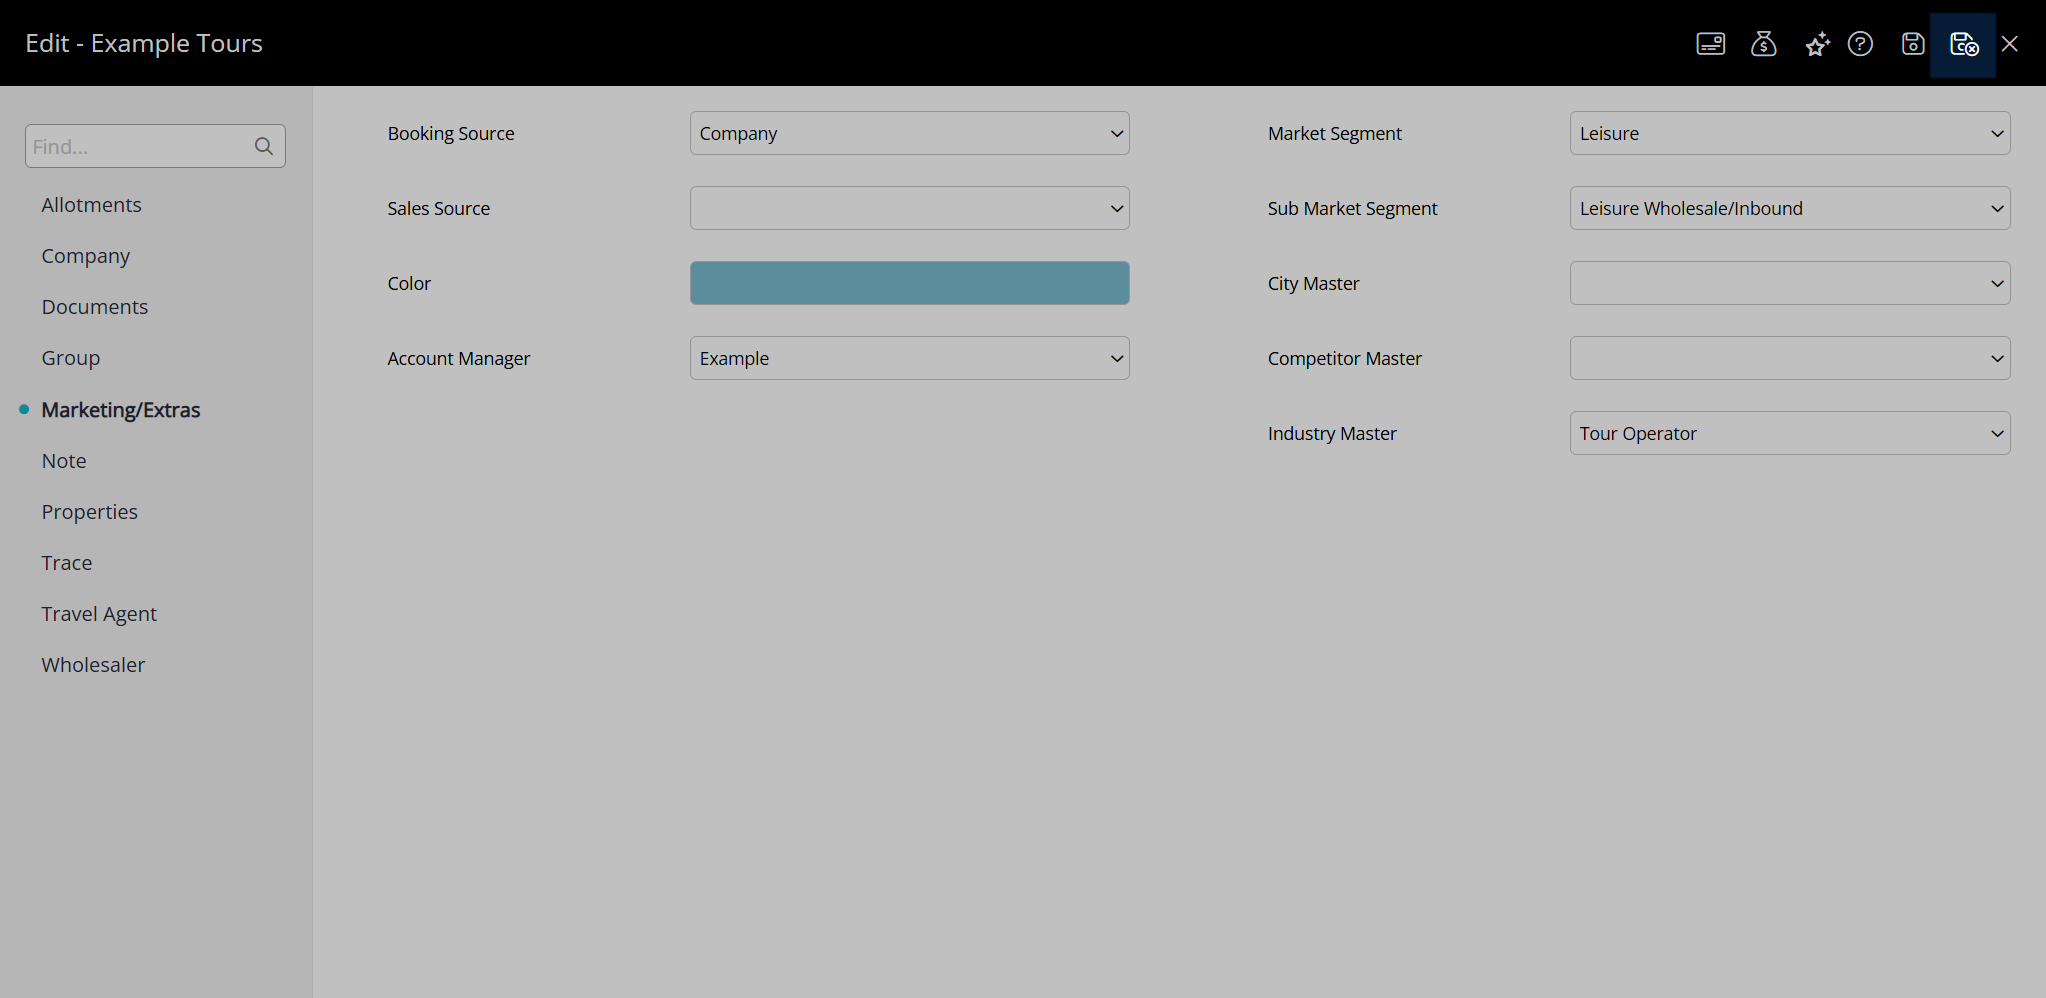
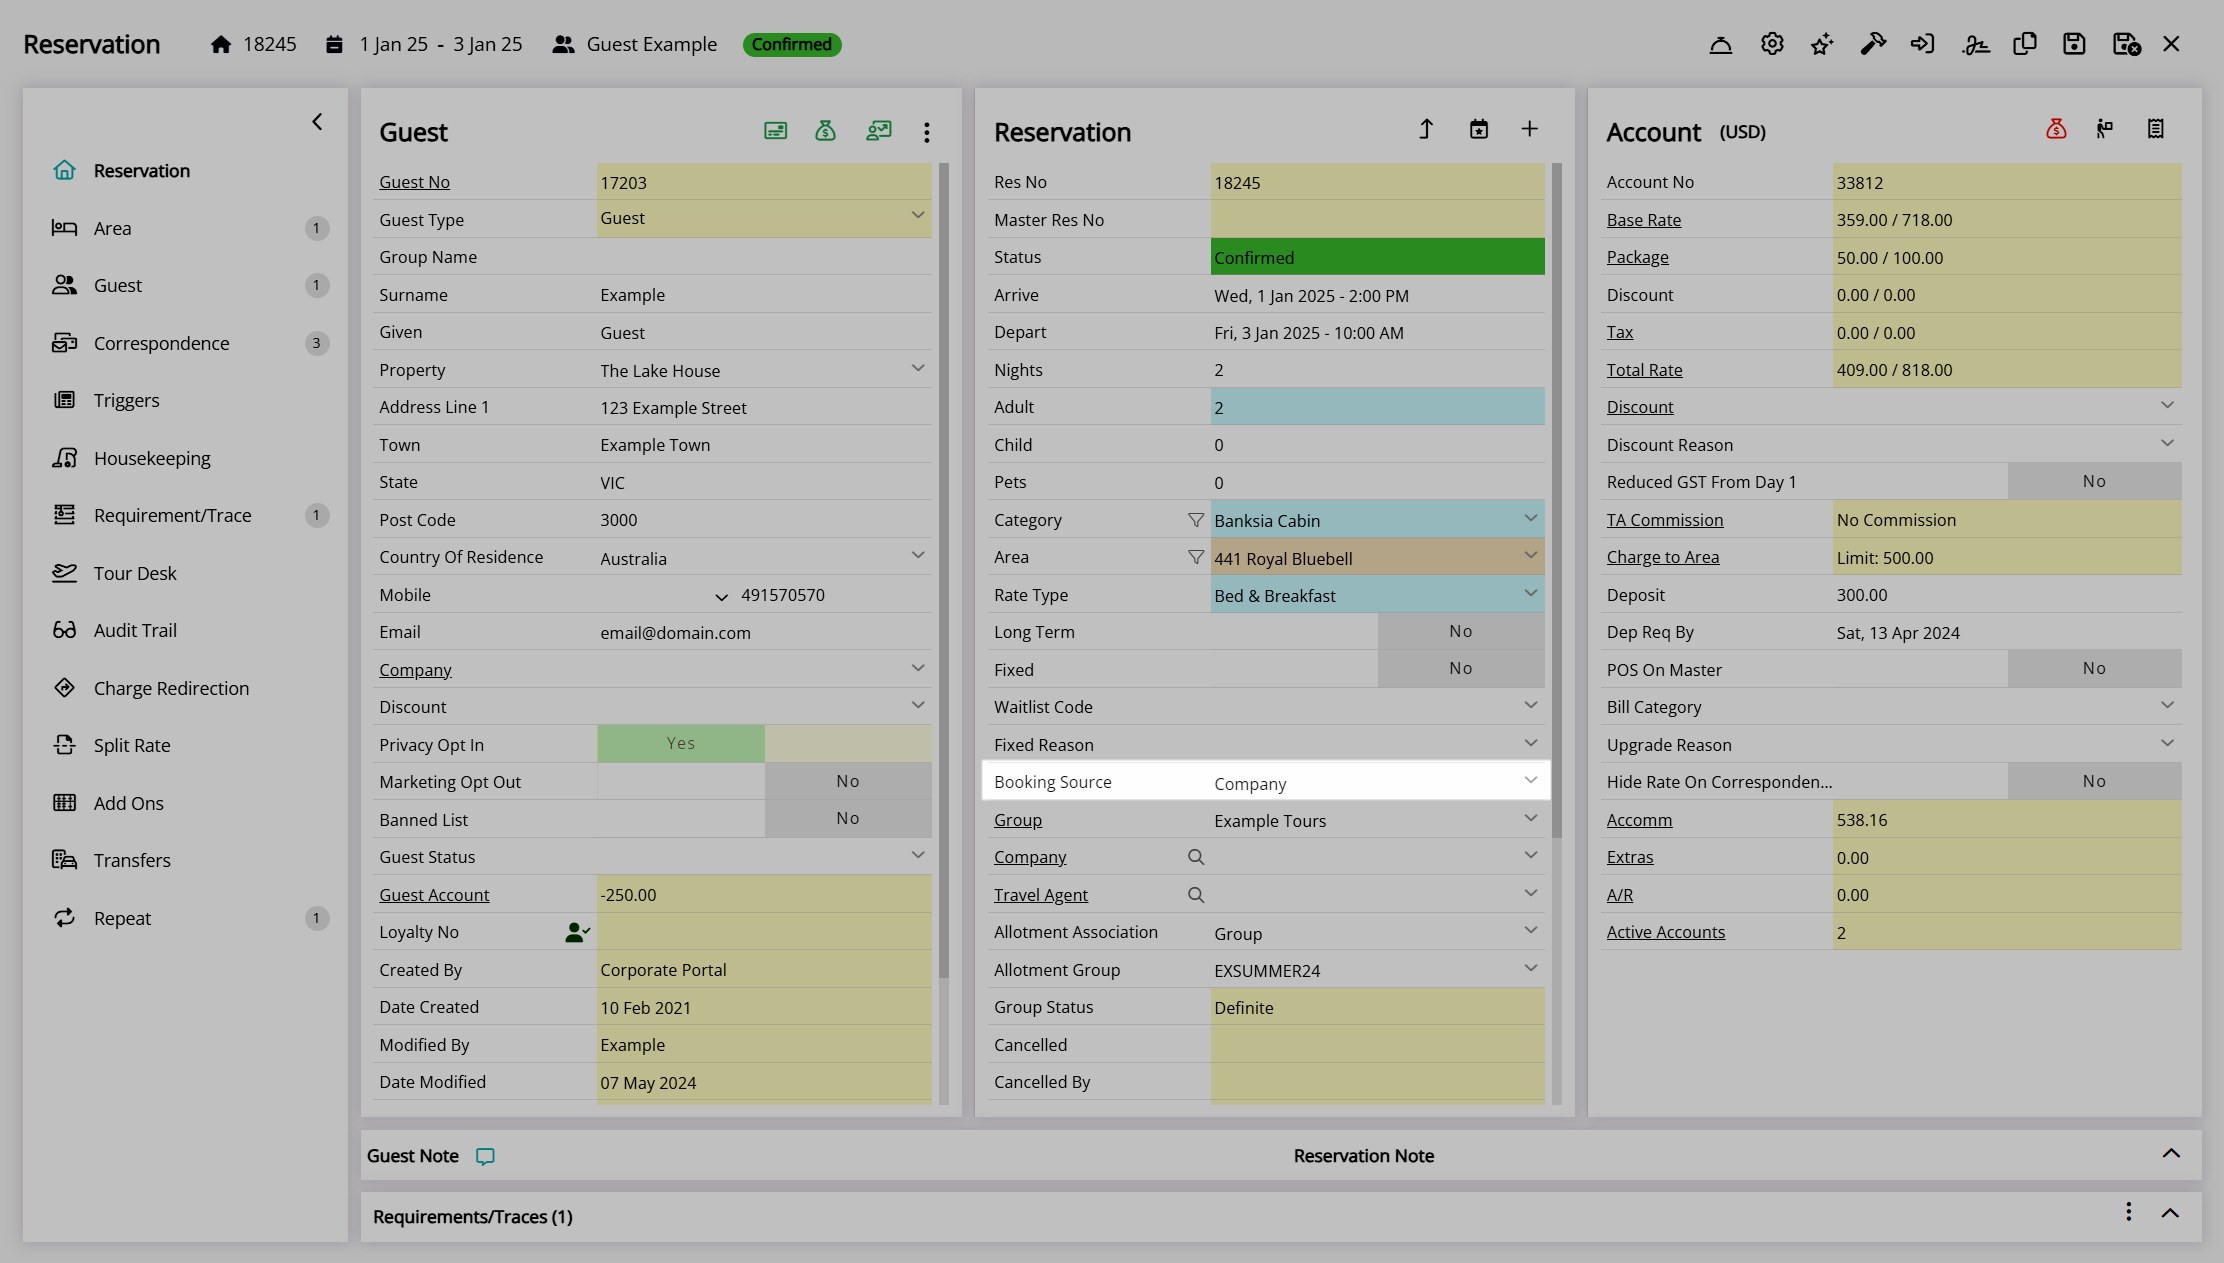
The selected details will be populated on the reservation when this 'Group' is selected.
Company, Travel Agent, or Wholesaler Access
- Go to Reservations > Groups in the side menu of RMS.
- Select the
 'Edit' icon on an existing Group.
 - Navigate to the 'Company', 'Travel Agent', or 'Wholesaler' tab.
- Select a Company, Travel Agent, or Wholesaler and choose the
 button.
- Save/Exit.
Go to Reservations > Groups in the side menu of RMS.

Select the  'Edit' icon on an existing Group.

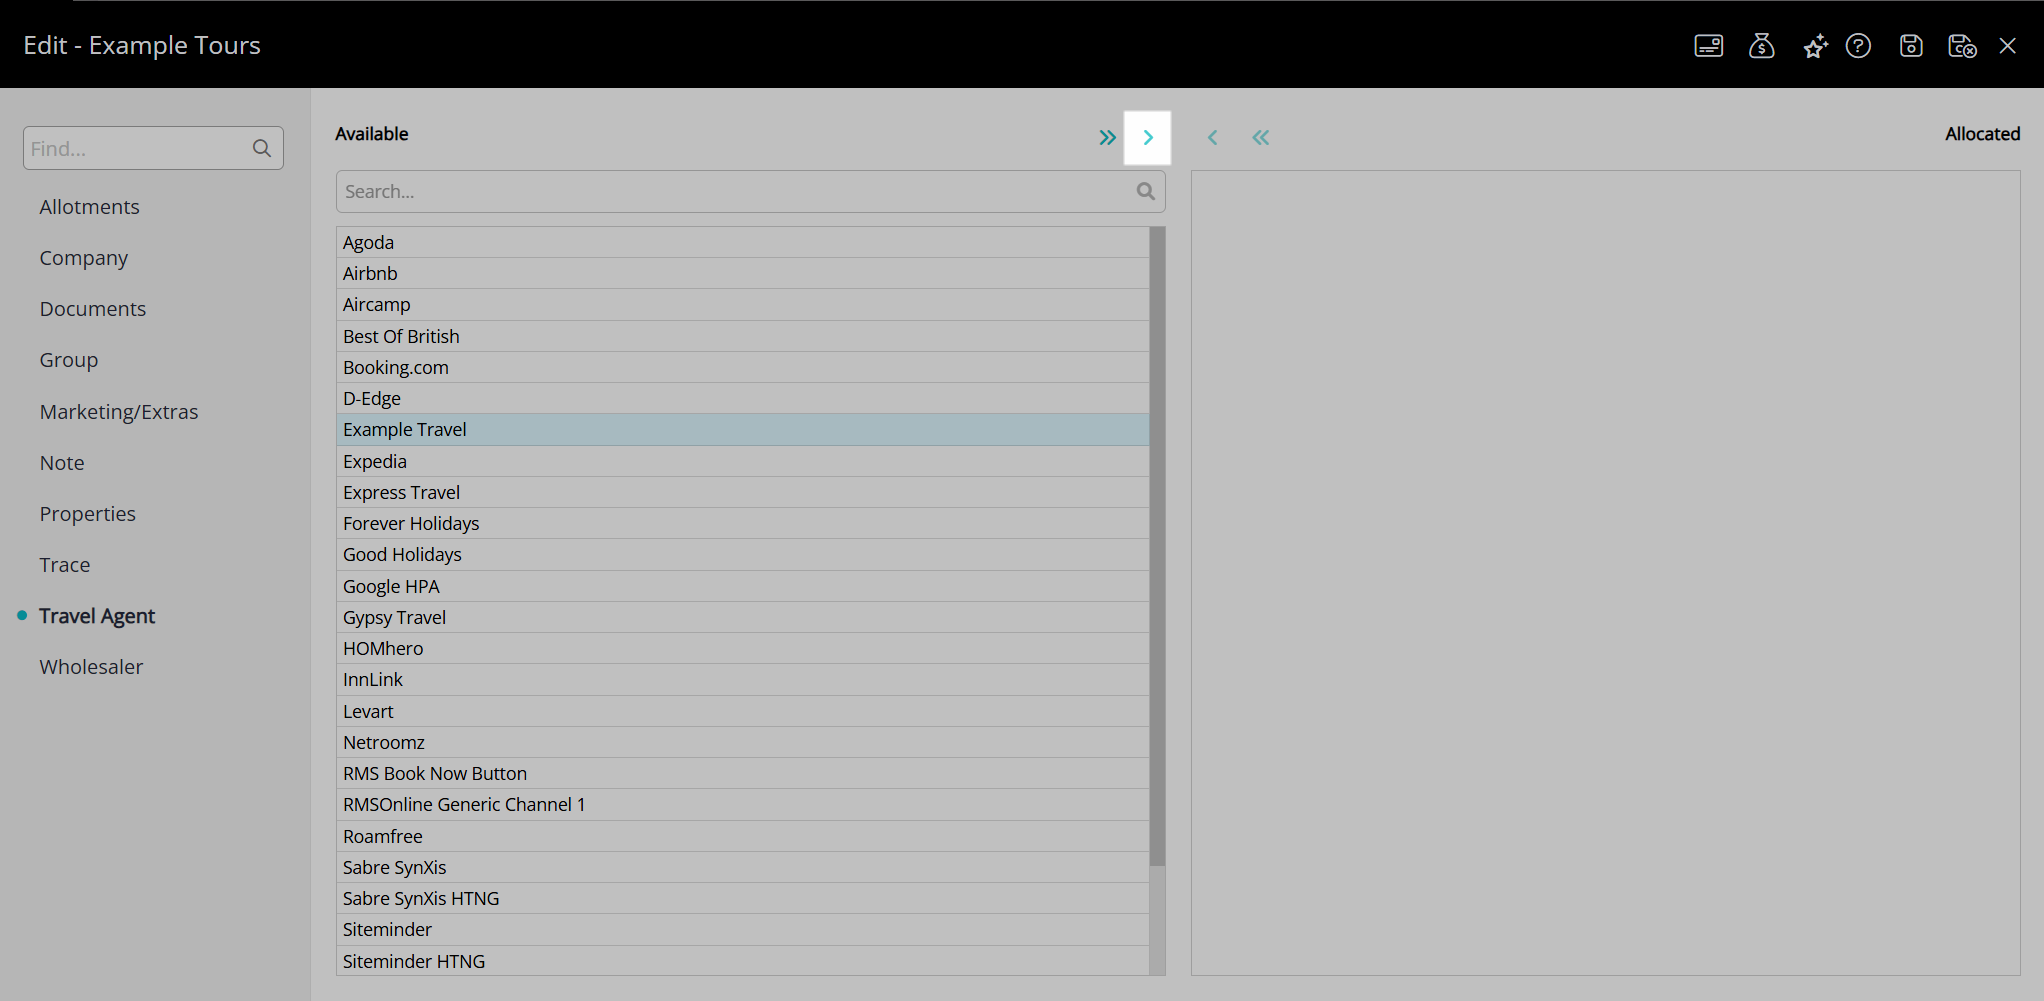
Navigate to the 'Company', 'Travel Agent', or 'Wholesaler' tab.
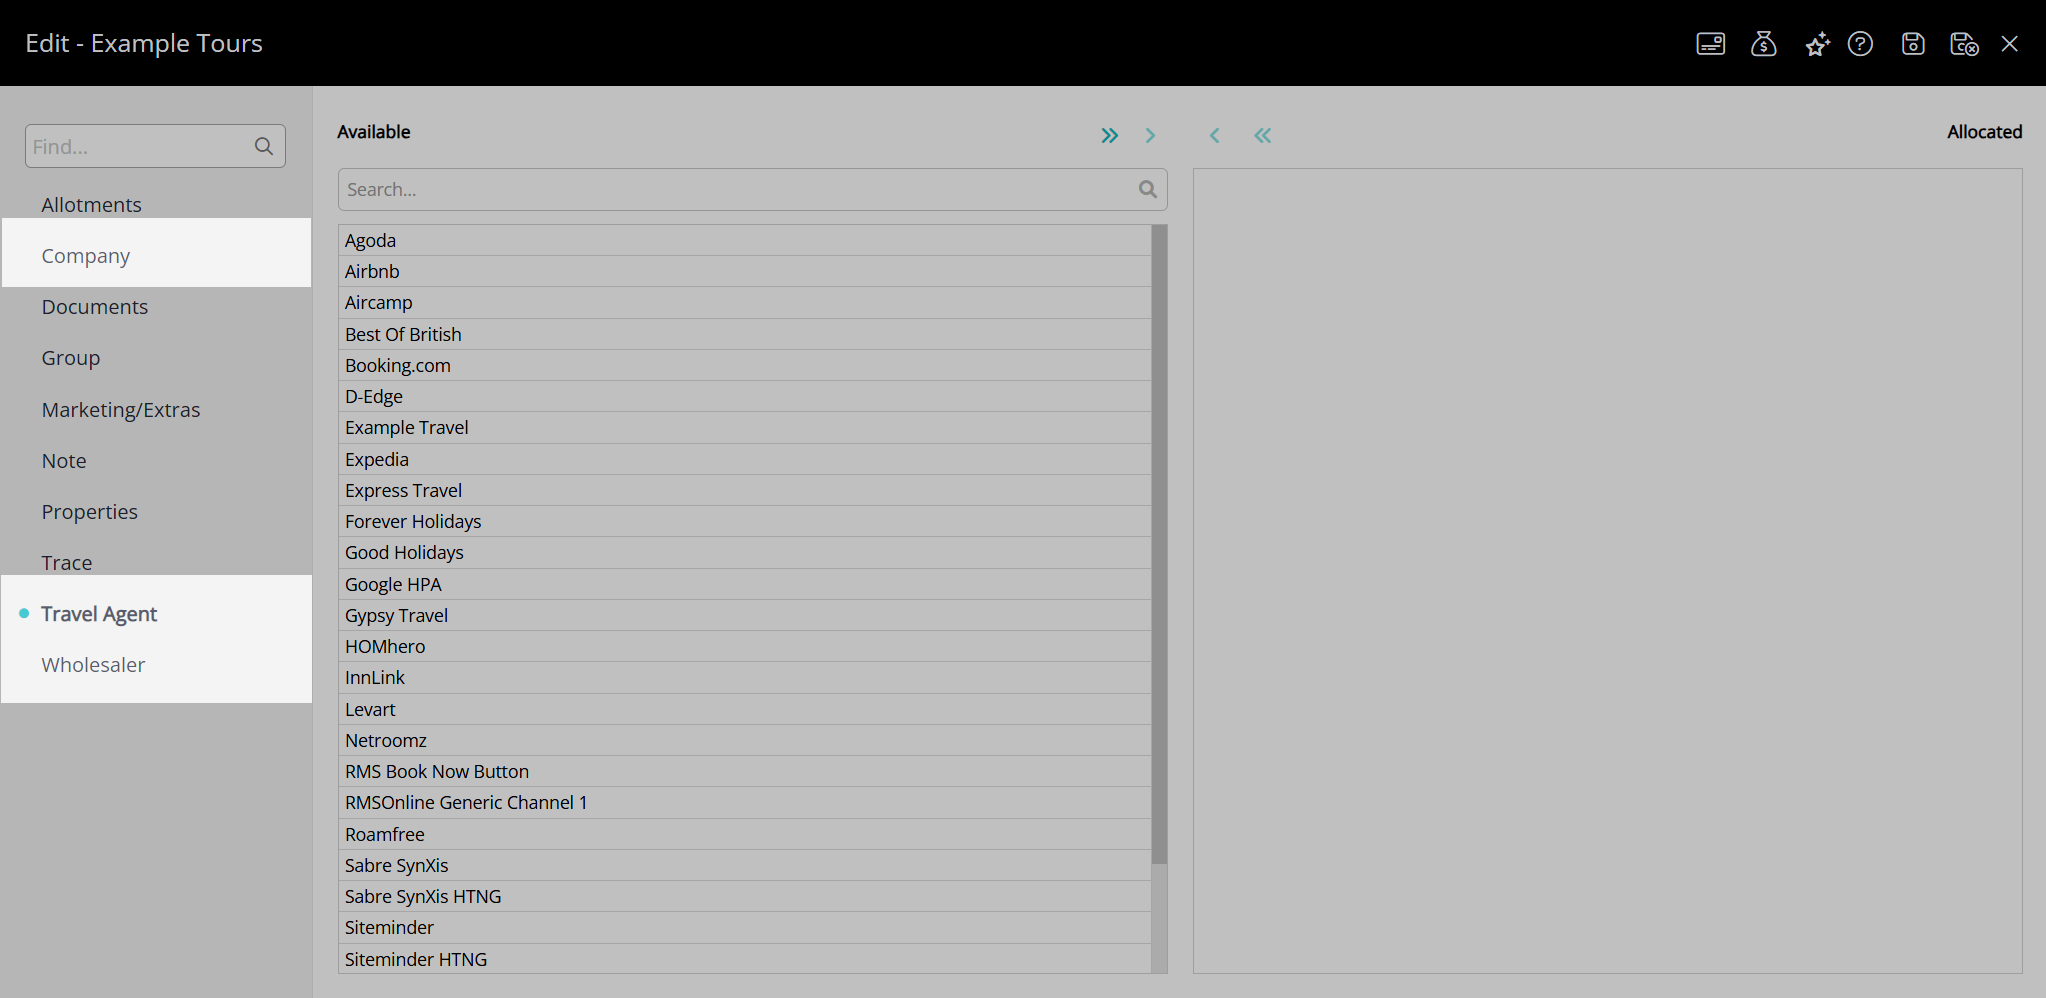
Select a Company, Travel Agent, or Wholesaler and choose the  button.
Select the  'Save/Exit' icon to store the changes made and leave the Group setup.
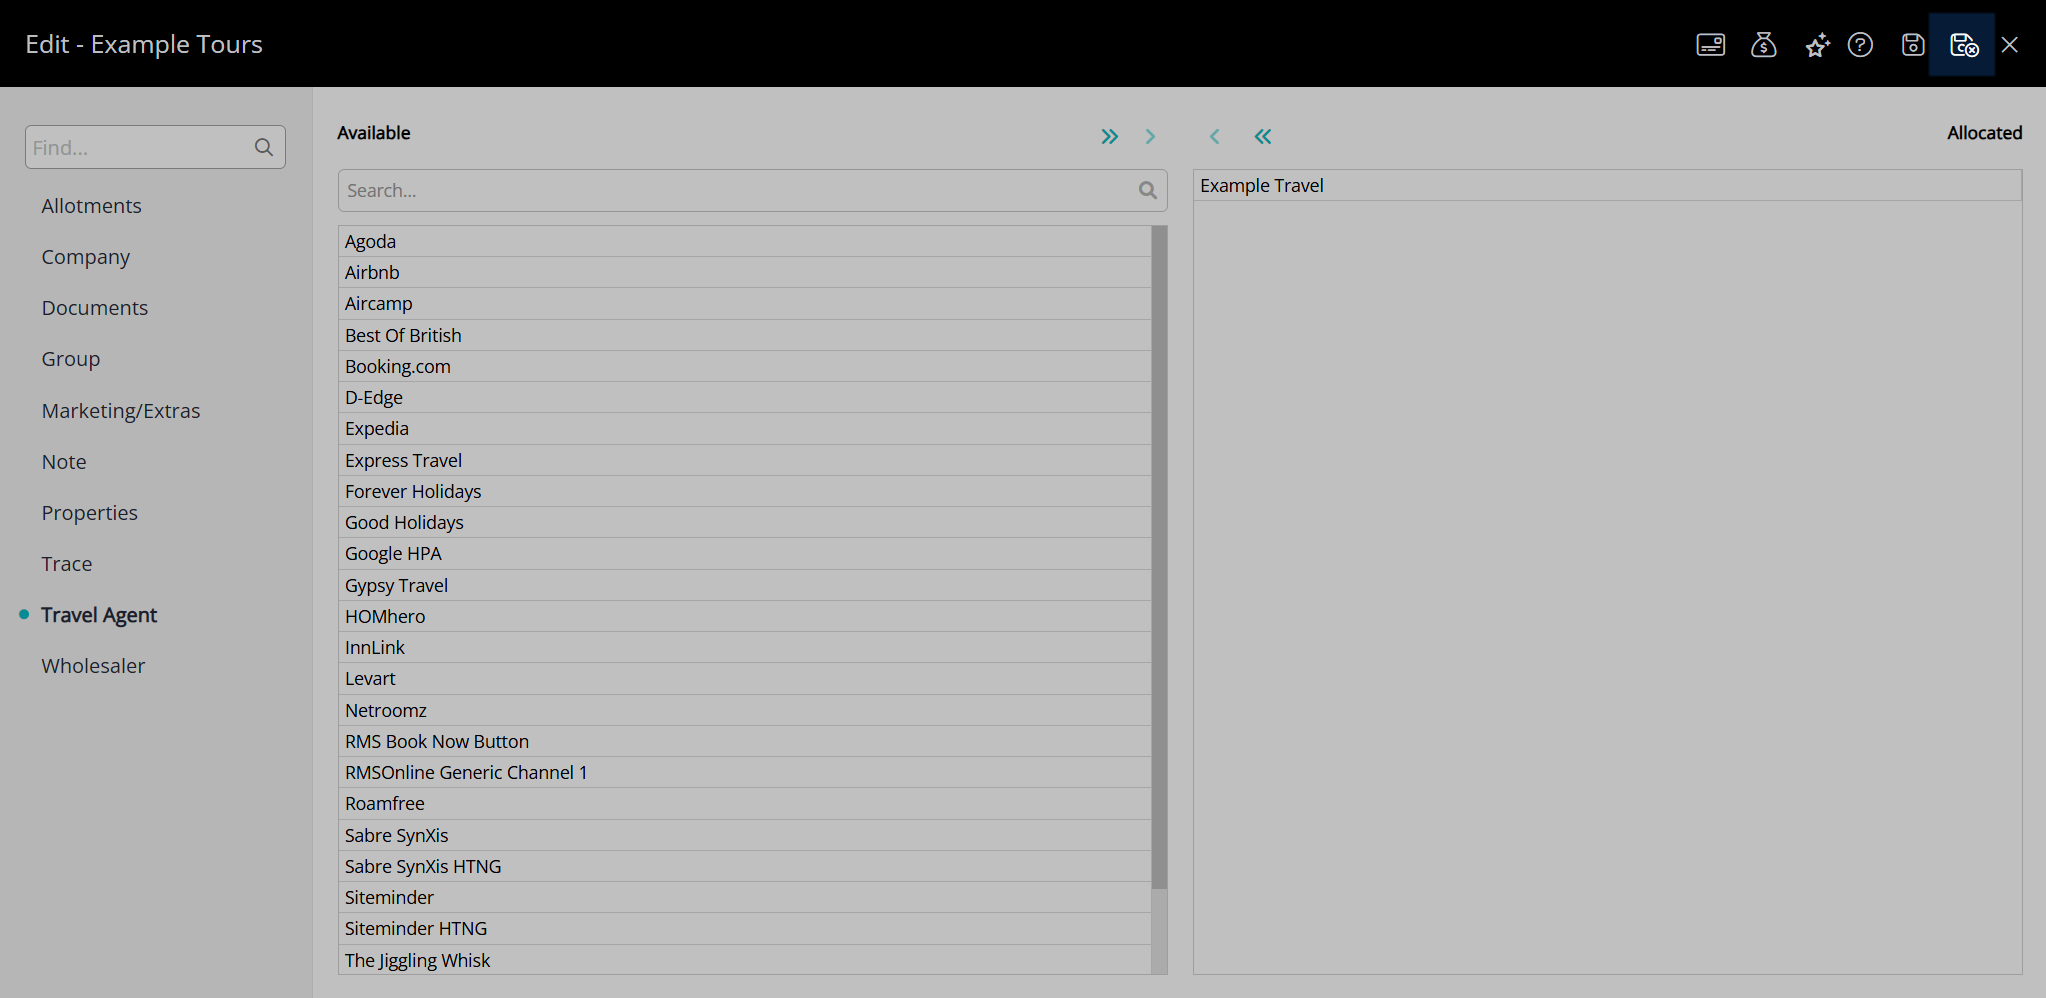
The group allotments will only be available to the selected entities and shared between them.