Inventory Grouping
Pool inventory into a Psuedo Category in RMS.
Inventory Grouping enables creating a Pseudo Category by pooling inventory of Areas from multiple Categories.
-
Information
-
Setup
- Add Button
Information
Inventory Grouping is a Lookup Table that allows creating a Pseudo Category to pool inventory from multiple Categories.
The Inventory Grouping Description will be used as the Pseudo Category Description.
Availability for the Pseudo Category will be determined by availability in the selected Categories.
Rates for the Pseudo Category will use the selected Billing Category.
Inventory Grouping can be used when Areas from different Categories can be sold a variety of ways.
Pseudo Categories created as Inventory Groupings can be included in mapping for connected Channels and will be affected by any Control Panel Restrictions set on the actual Category.
The Accounting Option 'Allow Same G/L Acc Code on Categories' is required to use Inventory Groupings.

Category, Area, Reservation, Guest and Rate are default System Labels that can be customised.

System Administrators will require Security Profile access to setup this feature.
-
Setup
- Add Button
Setup
Have your System Administrator complete the following.
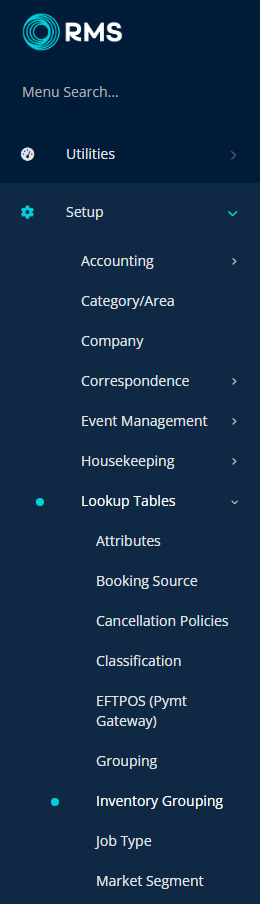
- Go to Setup > Lookup Tables > Inventory Grouping in the Side Menu of RMS.
- Select the
 'Add' icon.
 - Enter the Pseudo Category Description.
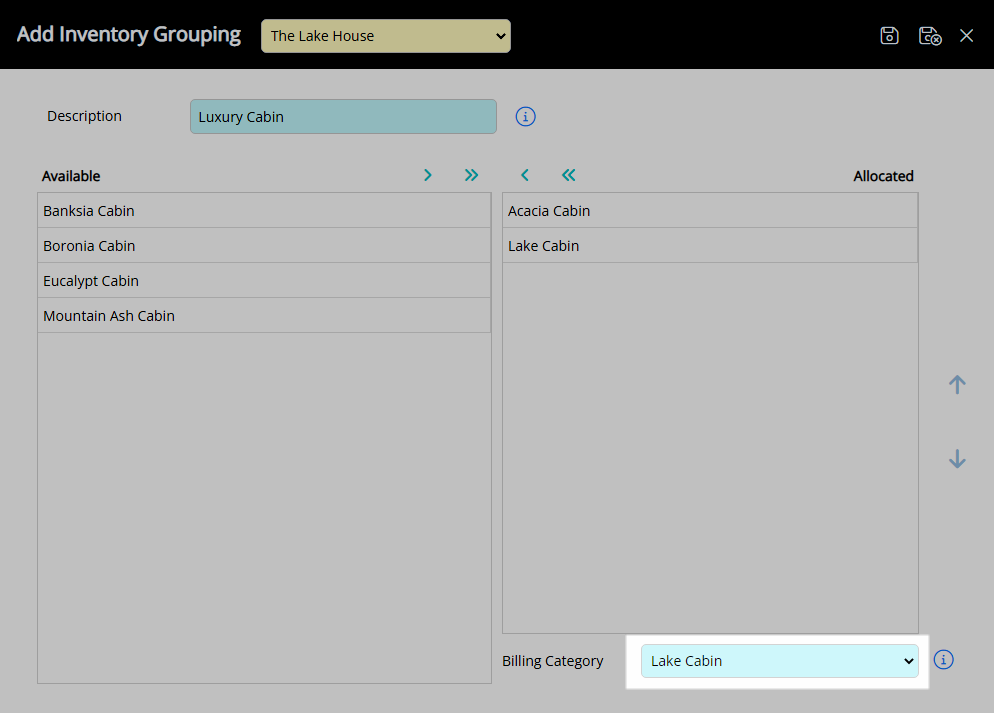
- Select each Category to use for inventory and choose the
 button.
 - Select a Billing Category.
- Save/Exit.

The Billing Category can only be set as one of the Allocated Categories.
Pseudo Categories created as Inventory Groupings can be included in mapping for connected Channels.
The Accounting Option 'Allow Same G/L Acc Code on Categories' is required to use Inventory Groupings.
-
Guide
- Add Button
Guide
Go to Setup > Lookup Tables > Inventory Grouping in the Side Menu of RMS.
Select the ![]() 'Add' icon.
'Add' icon.
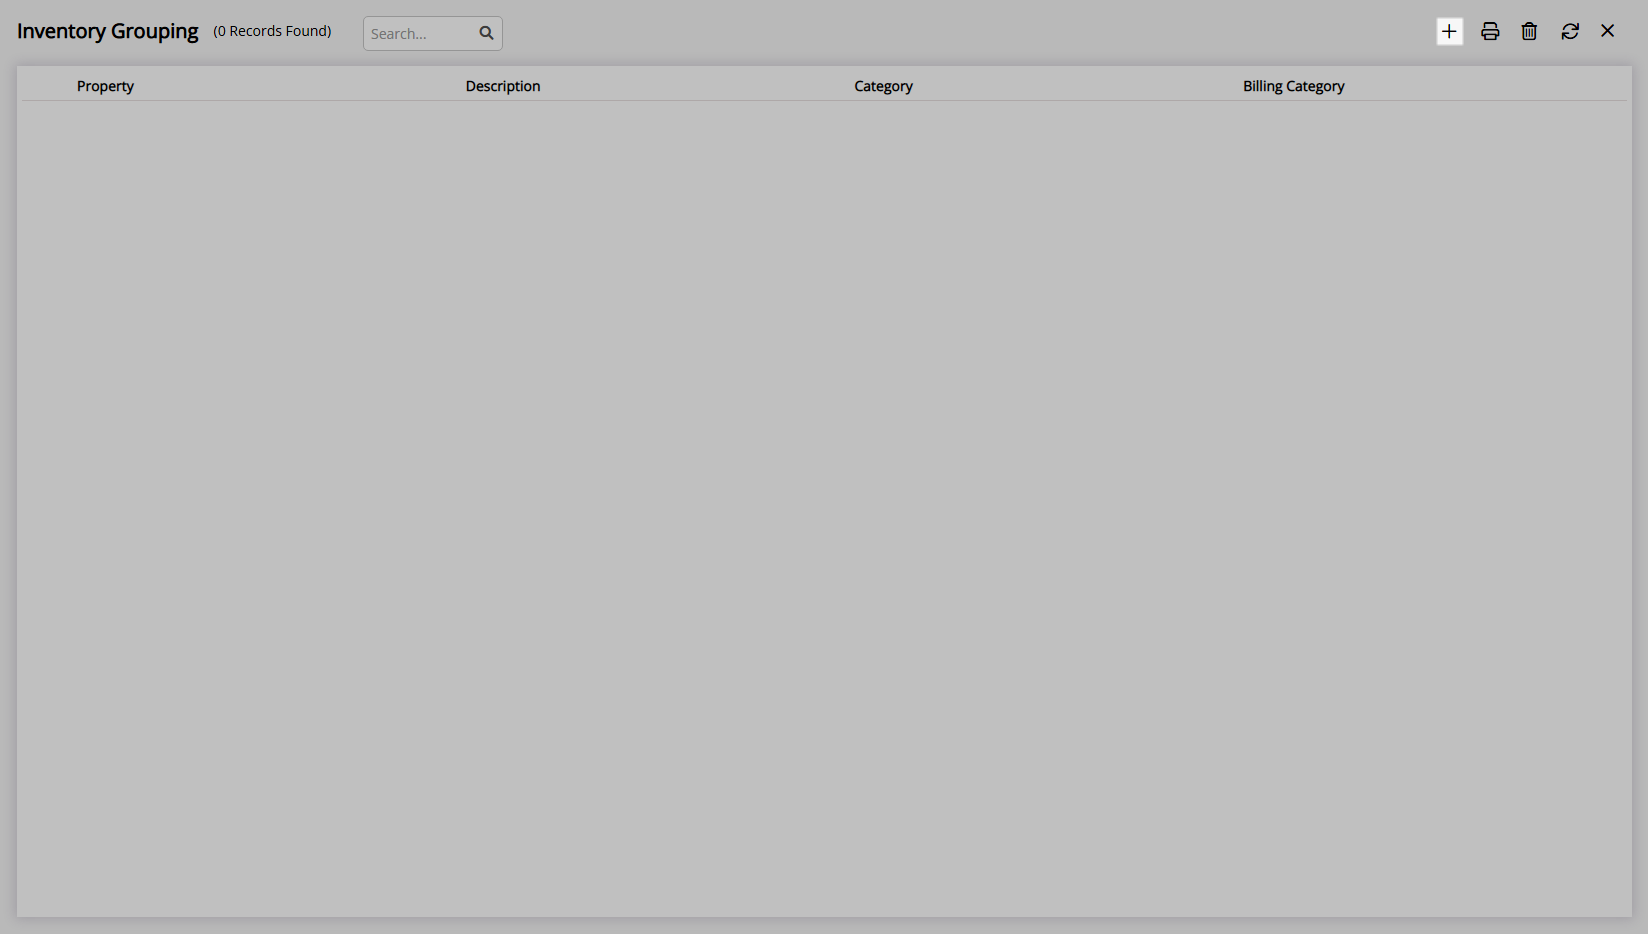
Enter the Pseudo Category Description.
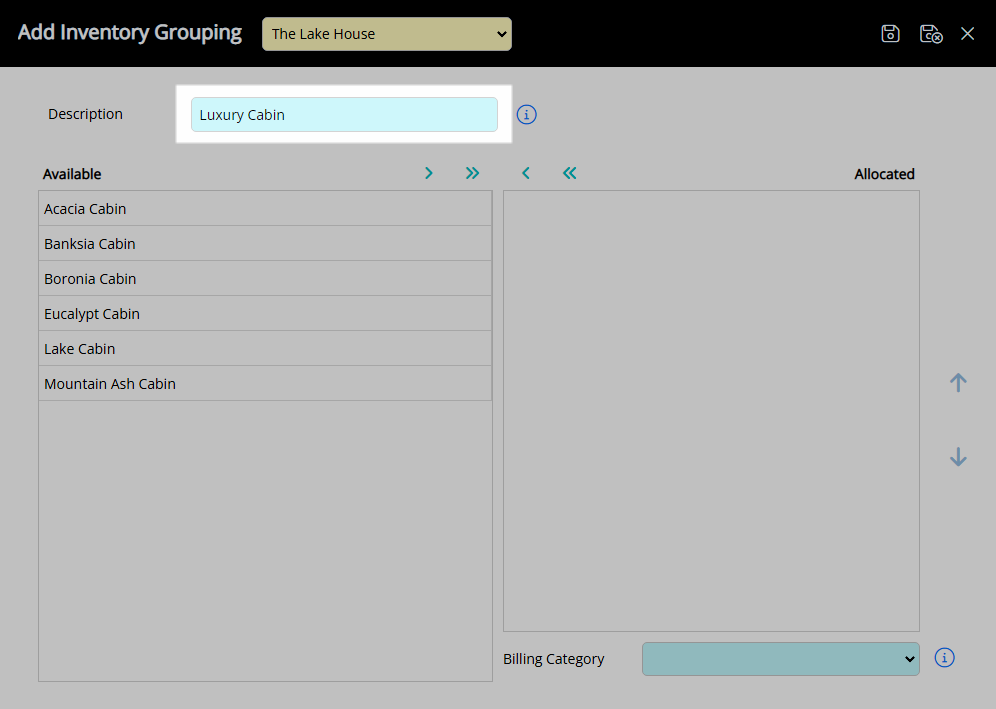
Select each Category to use for inventory and choose the  button.

Select a Billing Category.
Select 'Save/Exit' to store the changes made and leave the setup.
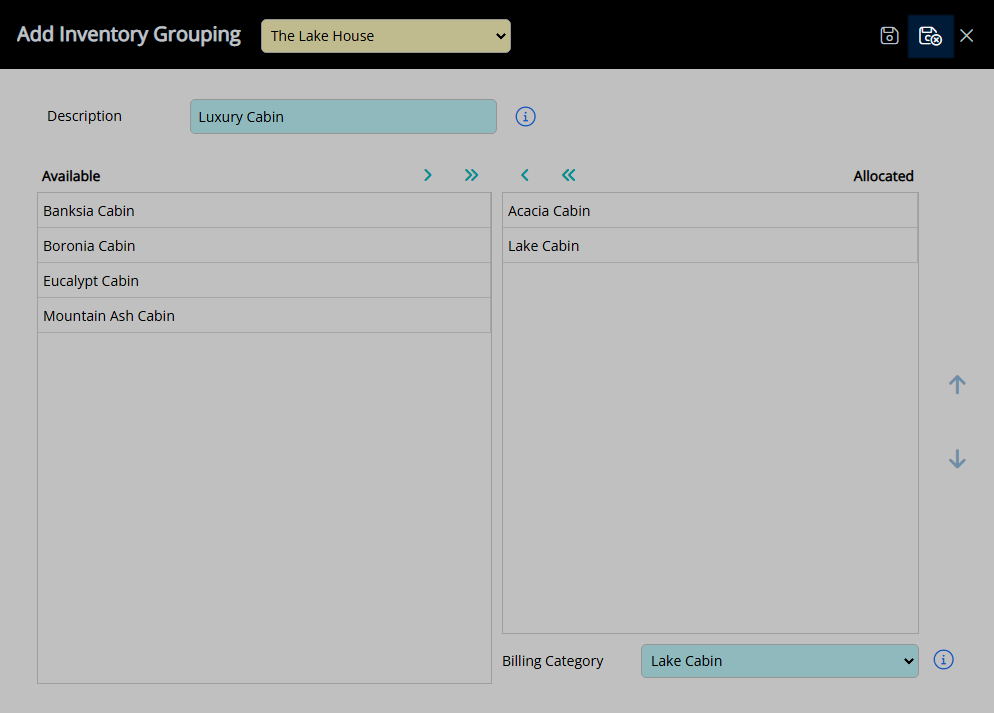
The Pseudo Category will be available for mapping in the Channel Manager with availability determined by the selected Categories and the Rates using the selected Billing Category.
Setup
Have your System Administrator complete the following.
- Go to Setup > Lookup Tables > Inventory Grouping in the Side Menu of RMS.
- Select the 'Add' icon.
- Enter the Pseudo Category Description.
- Select each Category to use for inventory and choose the button.
- Select a Billing Category.
- Save/Exit.
The Billing Category can only be set as one of the Allocated Categories.
Pseudo Categories created as Inventory Groupings can be included in mapping for connected Channels.
The Accounting Option 'Allow Same G/L Acc Code on Categories' is required to use Inventory Groupings.
-
Guide
- Add Button
Guide
Go to Setup > Lookup Tables > Inventory Grouping in the Side Menu of RMS.
Select the ![]() 'Add' icon.
'Add' icon.
Enter the Pseudo Category Description.
Select each Category to use for inventory and choose the button.
Select a Billing Category.
Select 'Save/Exit' to store the changes made and leave the setup.
The Pseudo Category will be available for mapping in the Channel Manager with availability determined by the selected Categories and the Rates using the selected Billing Category.