Account Statement
Generate a summary of transactions on an Account in RMS.
Account Statements are a summary of account activity beginning from the selected transaction.
-
Information
-
Use
- Add Button
Information
Account Statements are a summary of account activity beginning from the selected transaction.
All account transactions for the viewed Account Type will be included on the generated statement using the selected transaction as the first transaction listed.
Periodic Statements for a specific Account, Company, Guest, Travel Agent or Reservation can be generated using the Statements Report.
Statements can be emailed or printed directly from an account view.

Account Types 'Accomm' and 'Extras' are default System Labels that can be customised.

Users will require Security Profile access to use this feature.
-
Use
- Add Button
Use
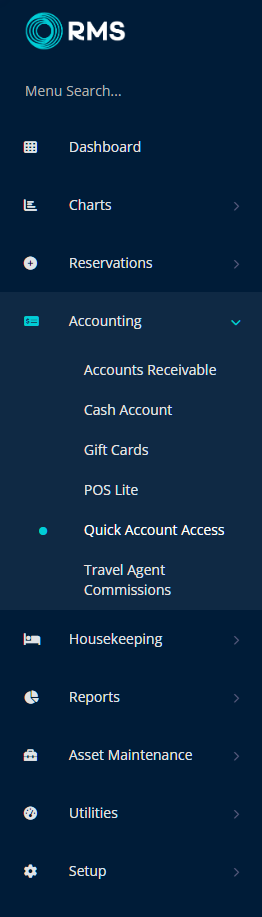
- Go to Accounting > Quick Account Access in RMS.
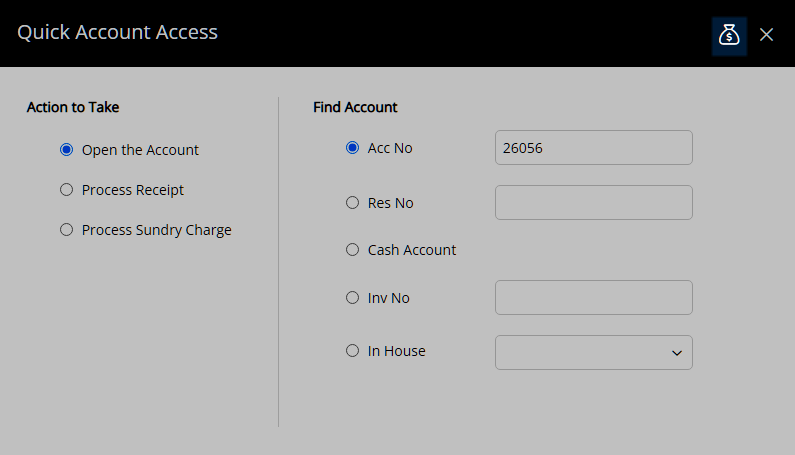
- Enter the Reservation Number or Account Number and choose the
 'Go to Account' icon.
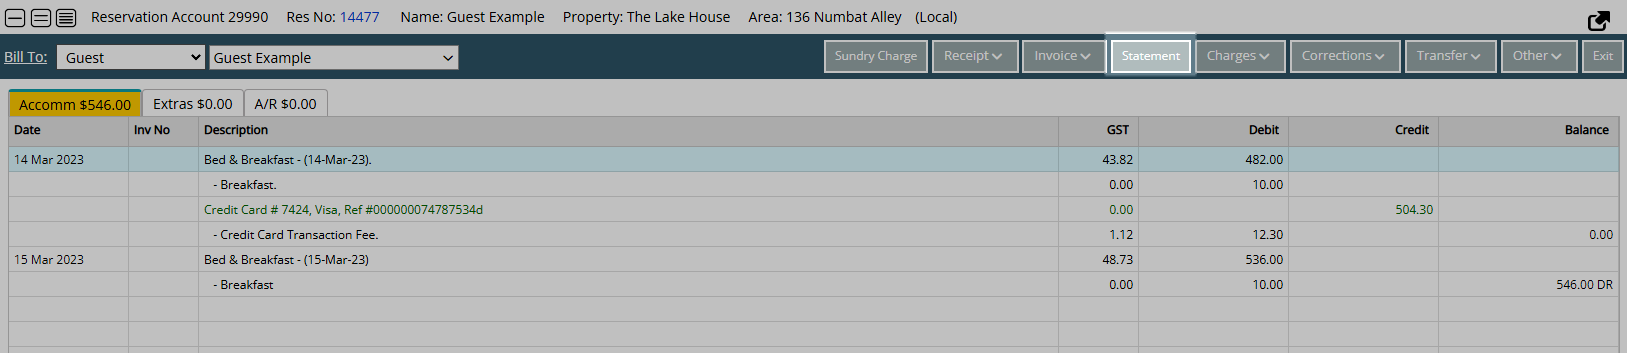
 - Select the Account Type.
- Select a Transaction.
- Select 'Statement'.
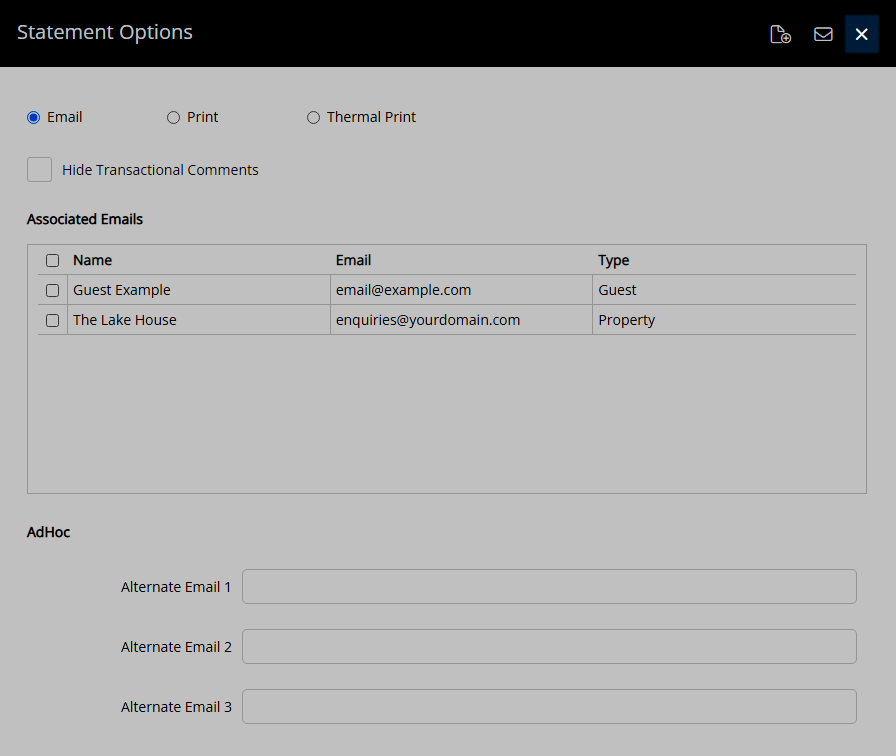
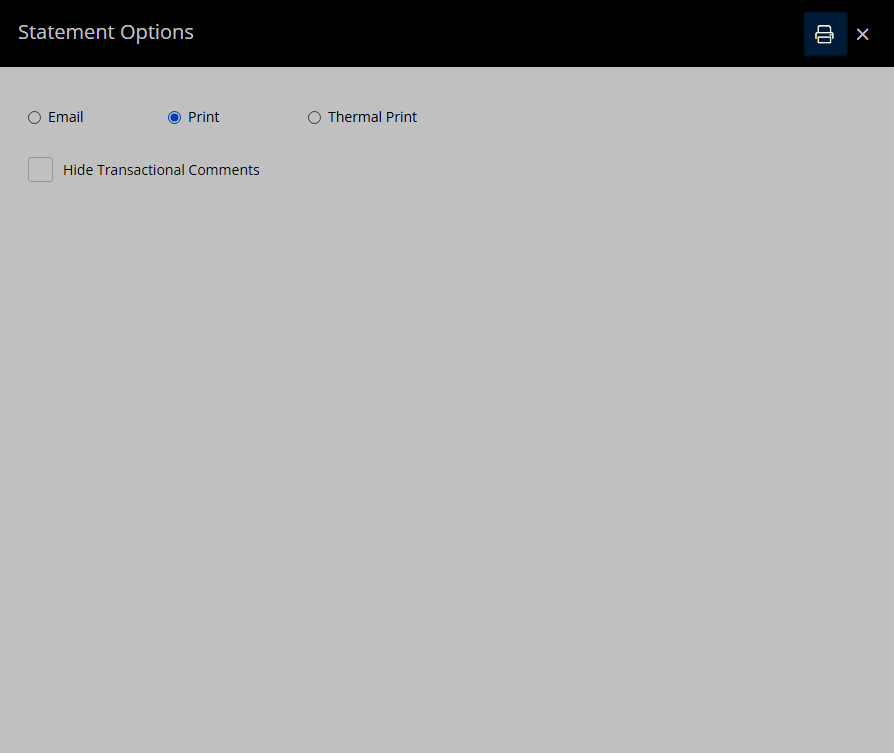
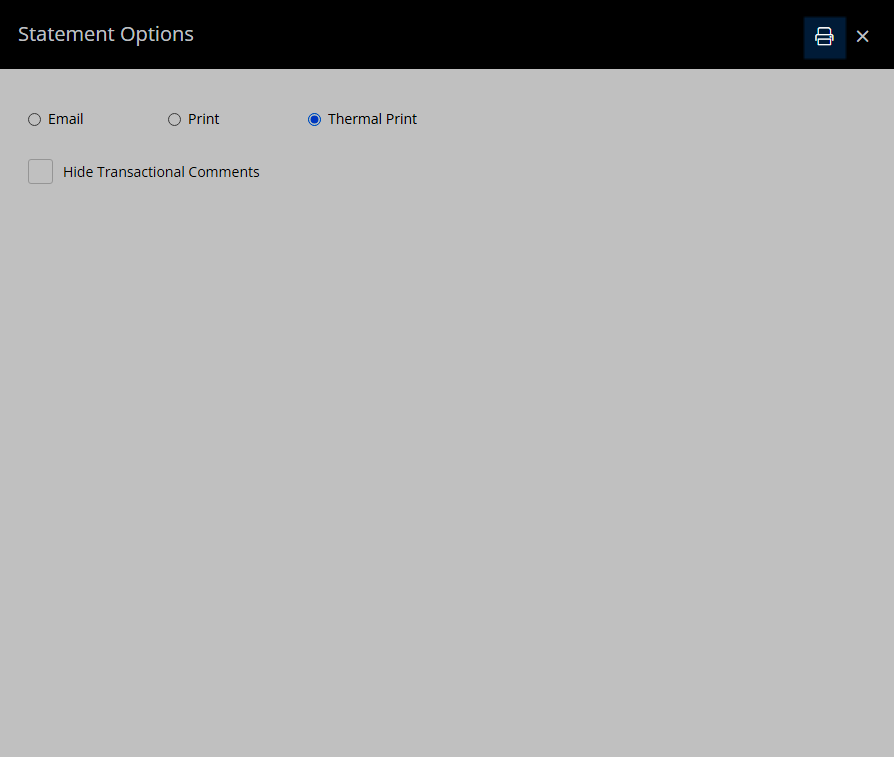
- Optional: Select the checkbox 'Hide Transactional Comments'.
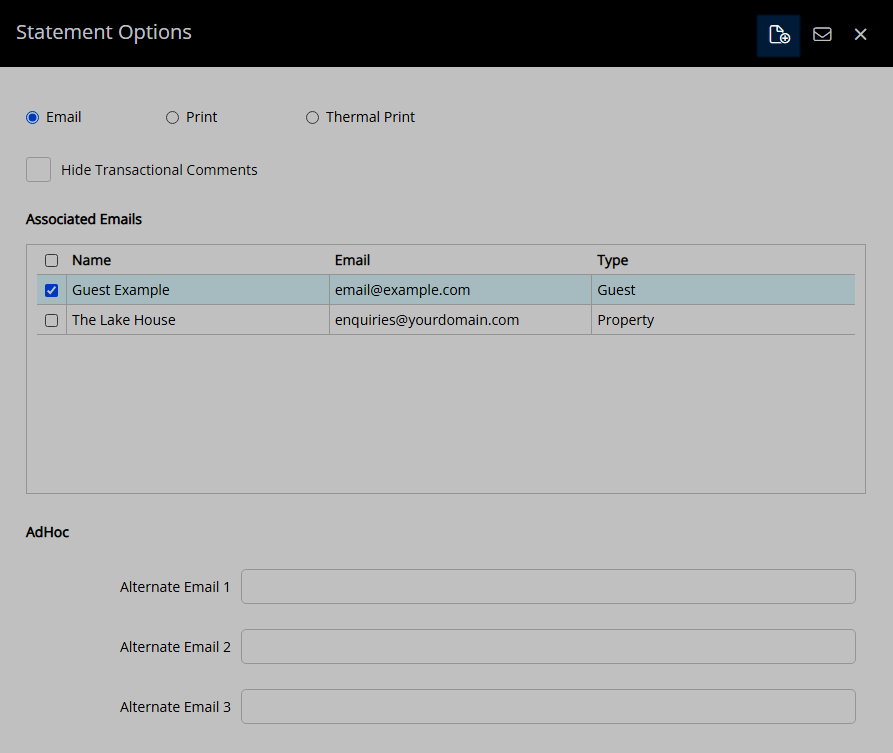
- Select Email, Print or Thermal Print.
-
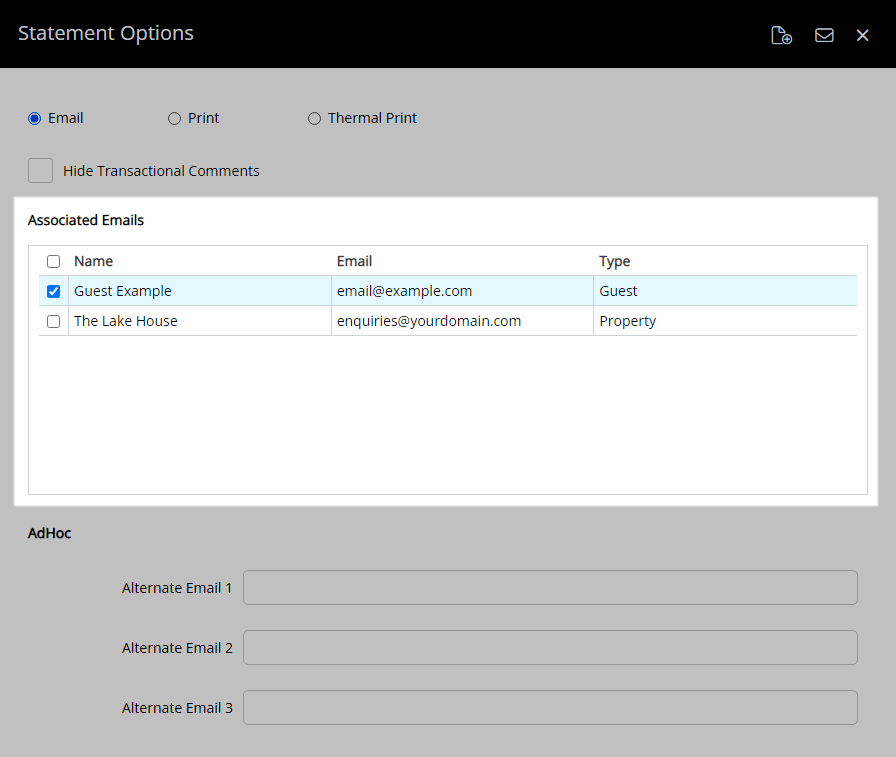
Email:
- Select the Recipients.
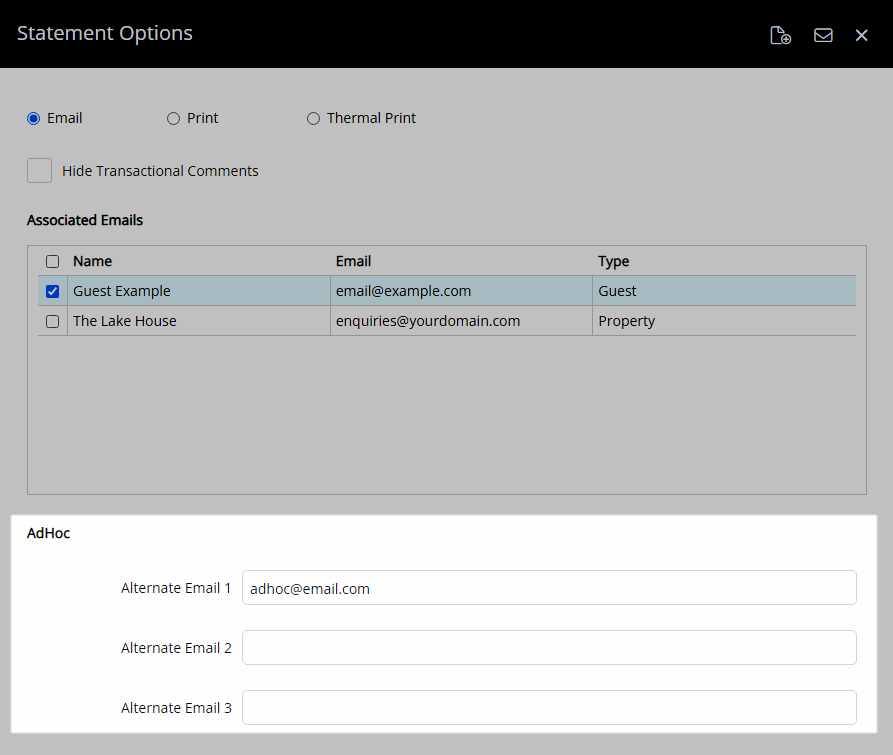
- Optional: Enter Adhoc Recipients.
-
Optional: Add Attachments.
- Select the
 'Add Attachments' icon.
 - Select the
 'Add' icon.
 - Select the File and choose 'Open'.
- Save/Exit.
- Select the
- Select the
 'Email/Exit' icon.
-
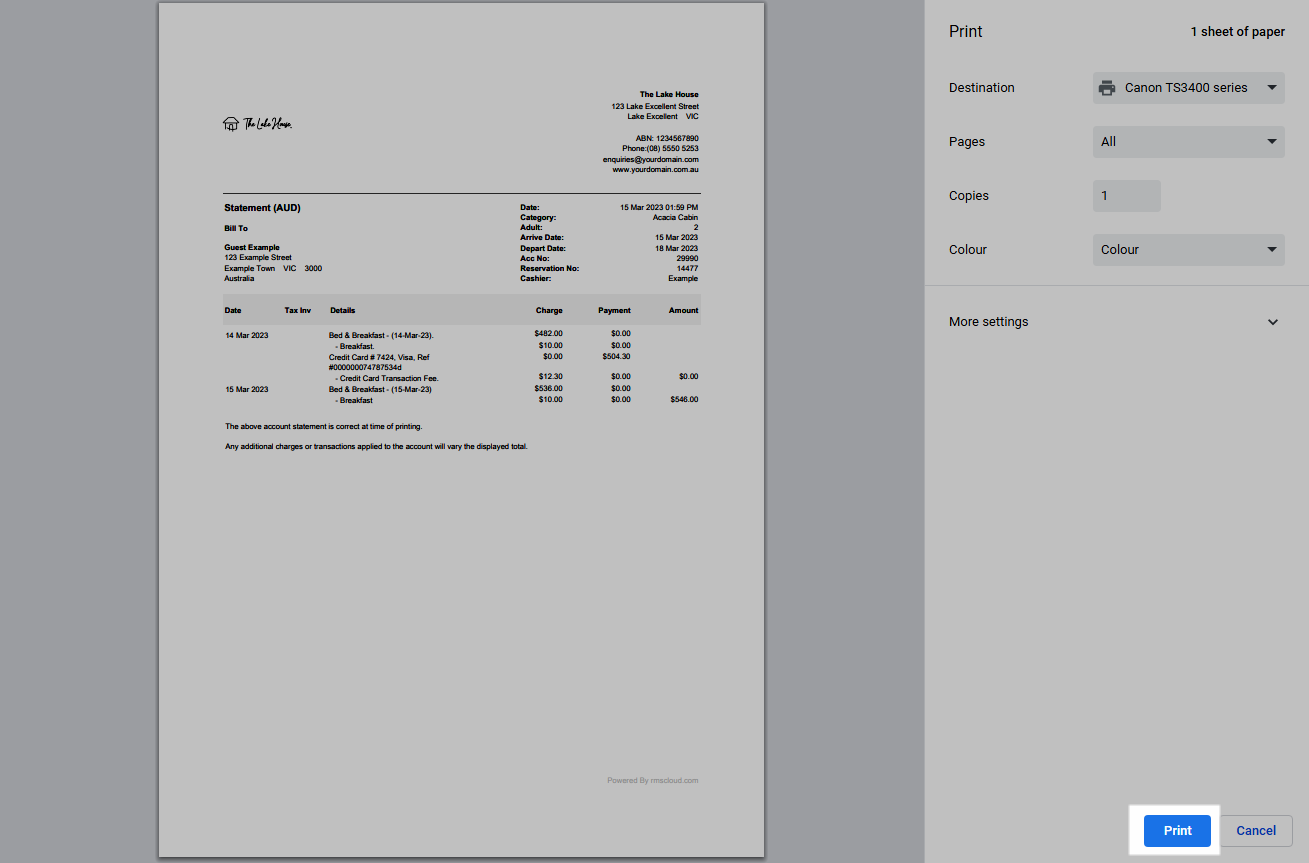
Print:
- Select the
 'Print' icon.
 - Select the Printer and choose 'Print'.
- Select the
-
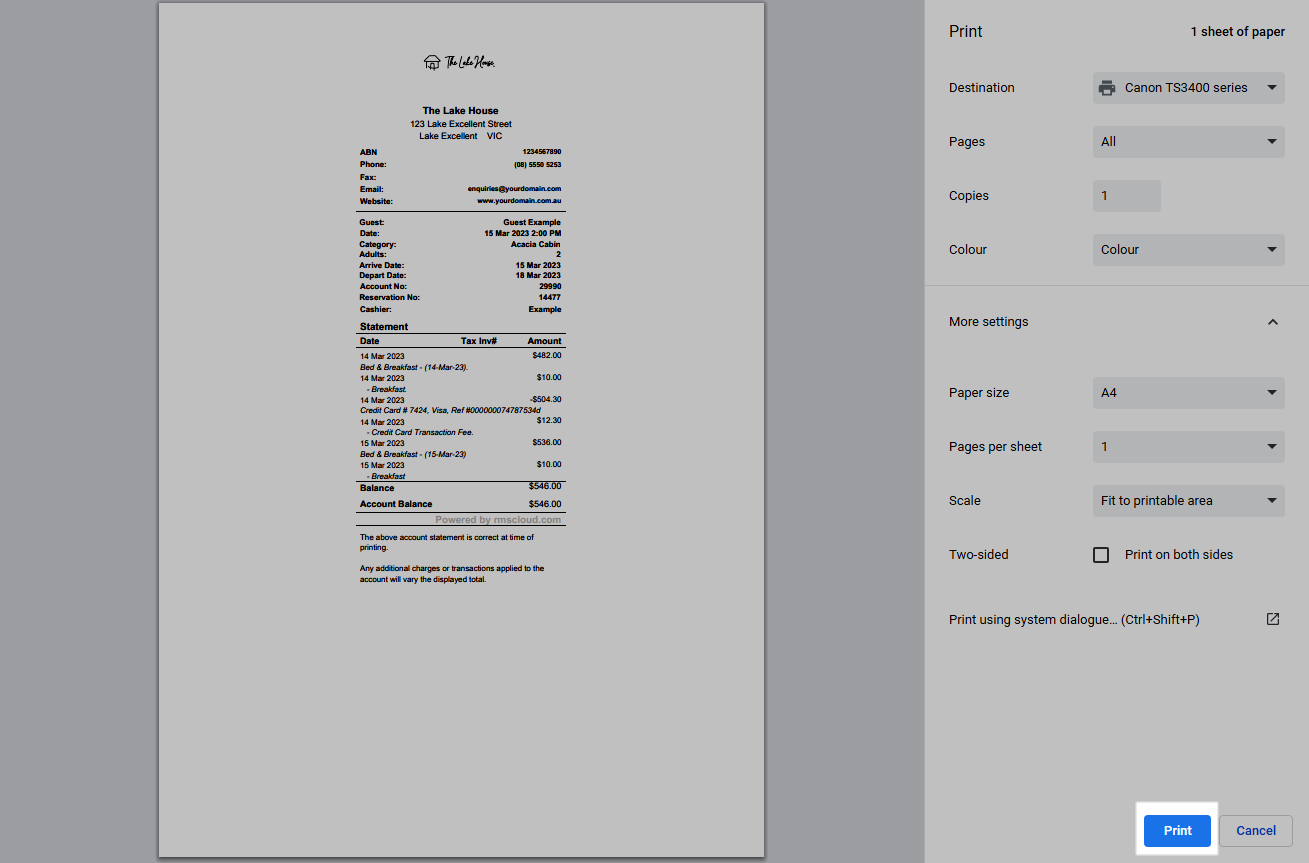
Thermal Print:
- Select the
 'Print' icon.
 - Select the Thermal Printer and choose 'Print'.
- Select the
-
Email:
- Exit.
-
Guide
- Add Button
Guide
Go to Accounting > Quick Account Access in RMS.
Enter the Reservation Number or Account Number and choose the  'Go to Account' icon.
Select the Account Type.
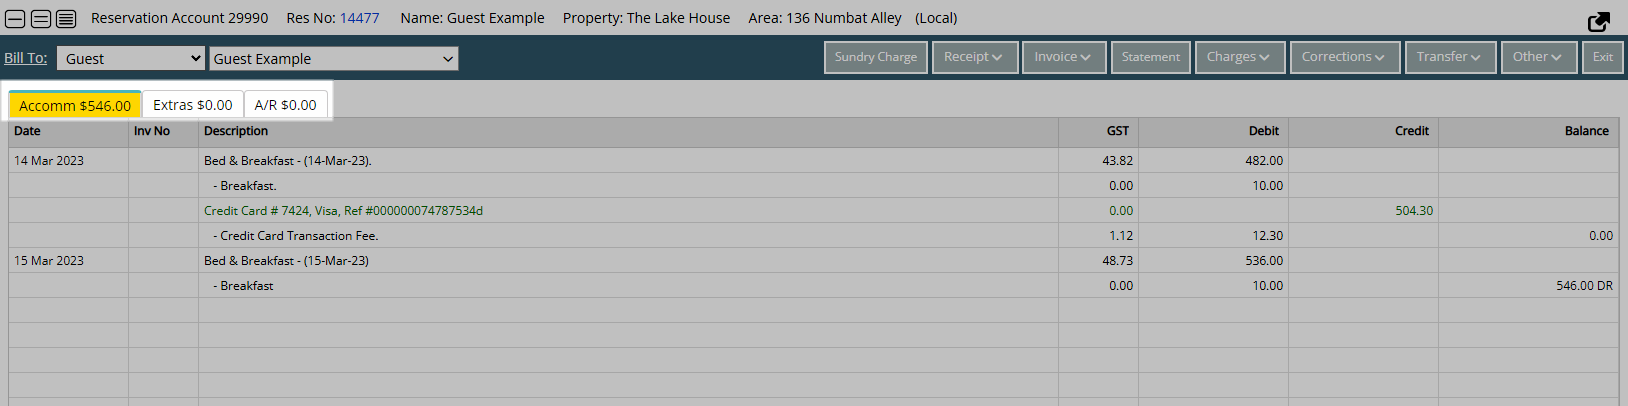
Select a Transaction.

Select 'Statement'.
Optional: Select the checkbox 'Hide Transactional Comments'.
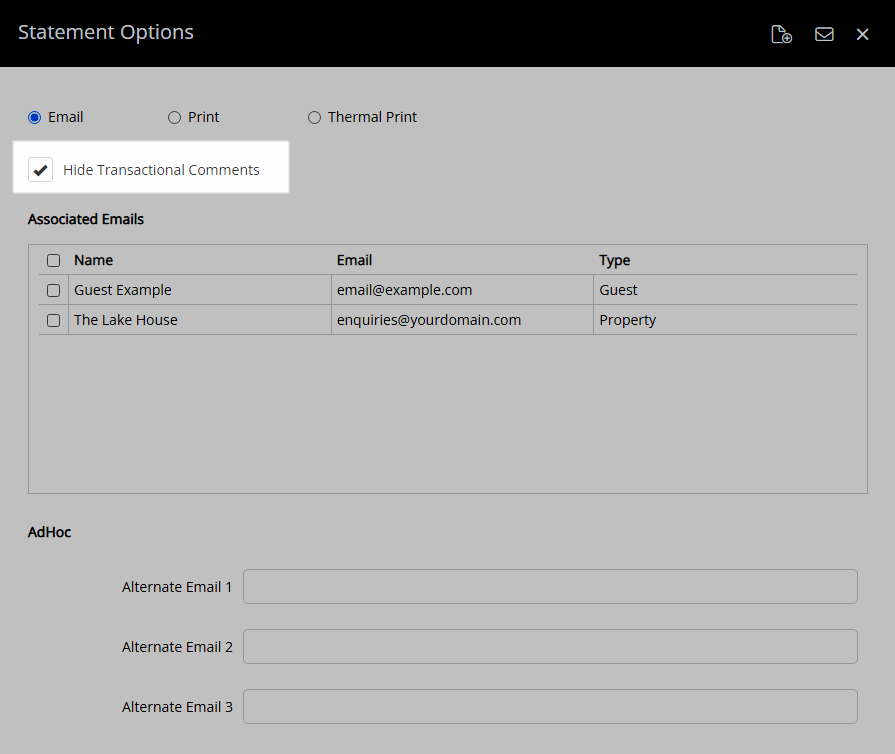
Select Email, Print or Thermal Print.

Email:
Select the Recipients.
Optional: Enter Adhoc Recipients.
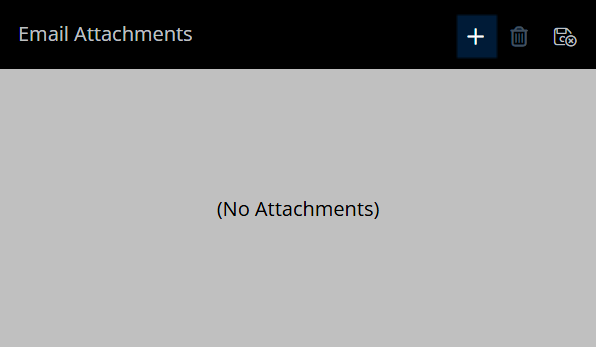
Optional: Add Attachments.
Select the ![]() 'Add Attachments' icon.
'Add Attachments' icon.
Select the  'Add' icon.
Select the File and choose 'Open'.
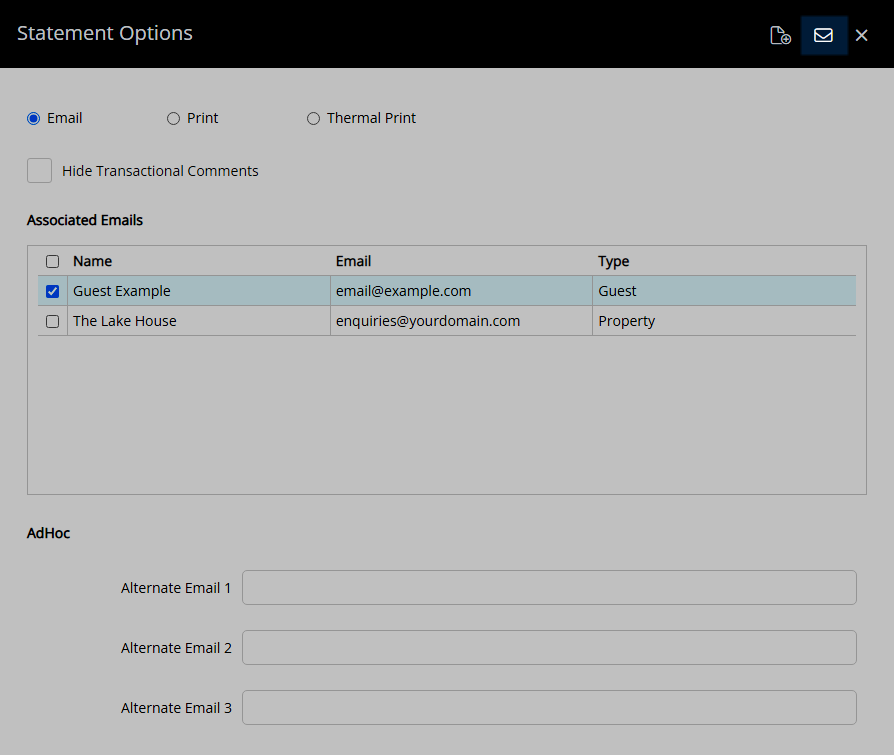
Select 'Save/Exit' to store the changes made and return to the Statement Options.
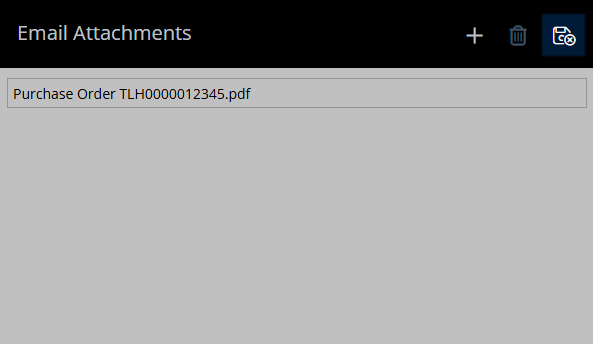
Select the  'Email/Exit' icon.
Print:
Select the  'Print' icon.
Select the Printer and choose 'Print'.
Thermal Print:
Select the  'Print' icon.
Select the Thermal Printer and choose 'Print'.
Select 'Exit' to return to the Account.

Use
- Go to Accounting > Quick Account Access in RMS.
- Enter the Reservation Number or Account Number and choose the 'Go to Account' icon.
- Select the Account Type.
- Select a Transaction.
- Select 'Statement'.
- Optional: Select the checkbox 'Hide Transactional Comments'.
- Select Email, Print or Thermal Print.
-
Email:
- Select the Recipients.
- Optional: Enter Adhoc Recipients.
-
Optional: Add Attachments.
- Select the 'Add Attachments' icon.
- Select the 'Add' icon.
- Select the File and choose 'Open'.
- Save/Exit.
- Select the
- Select the 'Email/Exit' icon.
-
Print:
- Select the 'Print' icon.
- Select the Printer and choose 'Print'.
- Select the
-
Thermal Print:
- Select the 'Print' icon.
- Select the Thermal Printer and choose 'Print'.
- Select the
-
Email:
- Exit.
-
Guide
- Add Button
Guide
Go to Accounting > Quick Account Access in RMS.
Enter the Reservation Number or Account Number and choose the 'Go to Account' icon.
Select the Account Type.
Select a Transaction.
Select 'Statement'.
Optional: Select the checkbox 'Hide Transactional Comments'.
Select Email, Print or Thermal Print.
Email:
Select the Recipients.
Optional: Enter Adhoc Recipients.
Optional: Add Attachments.
Select the ![]() 'Add Attachments' icon.
'Add Attachments' icon.
Select the 'Add' icon.
Select the File and choose 'Open'.
Select 'Save/Exit' to store the changes made and return to the Statement Options.
Select the 'Email/Exit' icon.
Print:
Select the 'Print' icon.
Select the Printer and choose 'Print'.
Thermal Print:
Select the 'Print' icon.
Select the Thermal Printer and choose 'Print'.
Select 'Exit' to return to the Account.

- Go to Accounting > Quick Account Access in RMS.
- Enter the Reservation Number or Account Number and choose the 'Go to Account' icon.
- Select the Account Type.
- Select a Transaction.
- Select 'Statement'.
- Optional: Select the checkbox 'Hide Transactional Comments'.
- Select Email, Print or Thermal Print.
-
Email:
- Select the Recipients.
- Optional: Enter Adhoc Recipients.
-
Optional: Add Attachments.
- Select the 'Add Attachments' icon.
- Select the 'Add' icon.
- Select the File and choose 'Open'.
- Save/Exit.
- Select the
- Select the 'Email/Exit' icon.
-
Print:
- Select the 'Print' icon.
- Select the Printer and choose 'Print'.
- Select the
-
Thermal Print:
- Select the 'Print' icon.
- Select the Thermal Printer and choose 'Print'.
- Select the
-
Email:
- Exit.
Use
- Go to Accounting > Quick Account Access in RMS.
- Enter the Reservation Number or Account Number and choose the 'Go to Account' icon.
- Select the Account Type.
- Select a Transaction.
- Select 'Statement'.
- Optional: Select the checkbox 'Hide Transactional Comments'.
- Select Email, Print or Thermal Print.
-
Email:
- Select the Recipients.
- Optional: Enter Adhoc Recipients.
-
Optional: Add Attachments.
- Select the 'Add Attachments' icon.
- Select the 'Add' icon.
- Select the File and choose 'Open'.
- Save/Exit.
- Select the
- Select the 'Email/Exit' icon.
-
Print:
- Select the 'Print' icon.
- Select the Printer and choose 'Print'.
- Select the
-
Thermal Print:
- Select the 'Print' icon.
- Select the Thermal Printer and choose 'Print'.
- Select the
-
Email:
- Exit.
-
Guide
- Add Button
Guide
Go to Accounting > Quick Account Access in RMS.
Enter the Reservation Number or Account Number and choose the 'Go to Account' icon.
Select the Account Type.
Select a Transaction.
Select 'Statement'.
Optional: Select the checkbox 'Hide Transactional Comments'.
Select Email, Print or Thermal Print.
Email:
Select the Recipients.
Optional: Enter Adhoc Recipients.
Optional: Add Attachments.
Select the ![]() 'Add Attachments' icon.
'Add Attachments' icon.
Select the 'Add' icon.
Select the File and choose 'Open'.
Select 'Save/Exit' to store the changes made and return to the Statement Options.
Select the 'Email/Exit' icon.
Print:
Select the 'Print' icon.
Select the Printer and choose 'Print'.
Thermal Print:
Select the 'Print' icon.
Select the Thermal Printer and choose 'Print'.
Select 'Exit' to return to the Account.