Utility Statements
Generate a utility statement after processing meter reads in RMS.
Utility Statements are available for Utility Meters to provide a summary of utility charges.
-
Information
-
Use
- Add Button
Information
Utility Statements are available for Utility Meters to provide a summary of utility charges.
A Utility Statement can be generated for print or email after performing a Meter Read.
Utility Statements can be setup to include a Due Date that automatically calculates a set number of days after the statement is generated.

Users will require Security Profile access to use this feature.
-
Use
- Add Button
Use
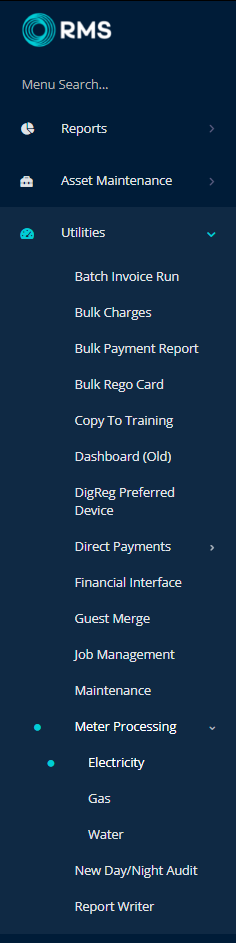
- Go to Utilities > Meter Processing > Utility Type in RMS.
- Select a View.
- Select a Category.
- Optional: Select a Rate Type.
- Select the
 'Refresh' icon.
 - Select the checkbox for an Area.
-
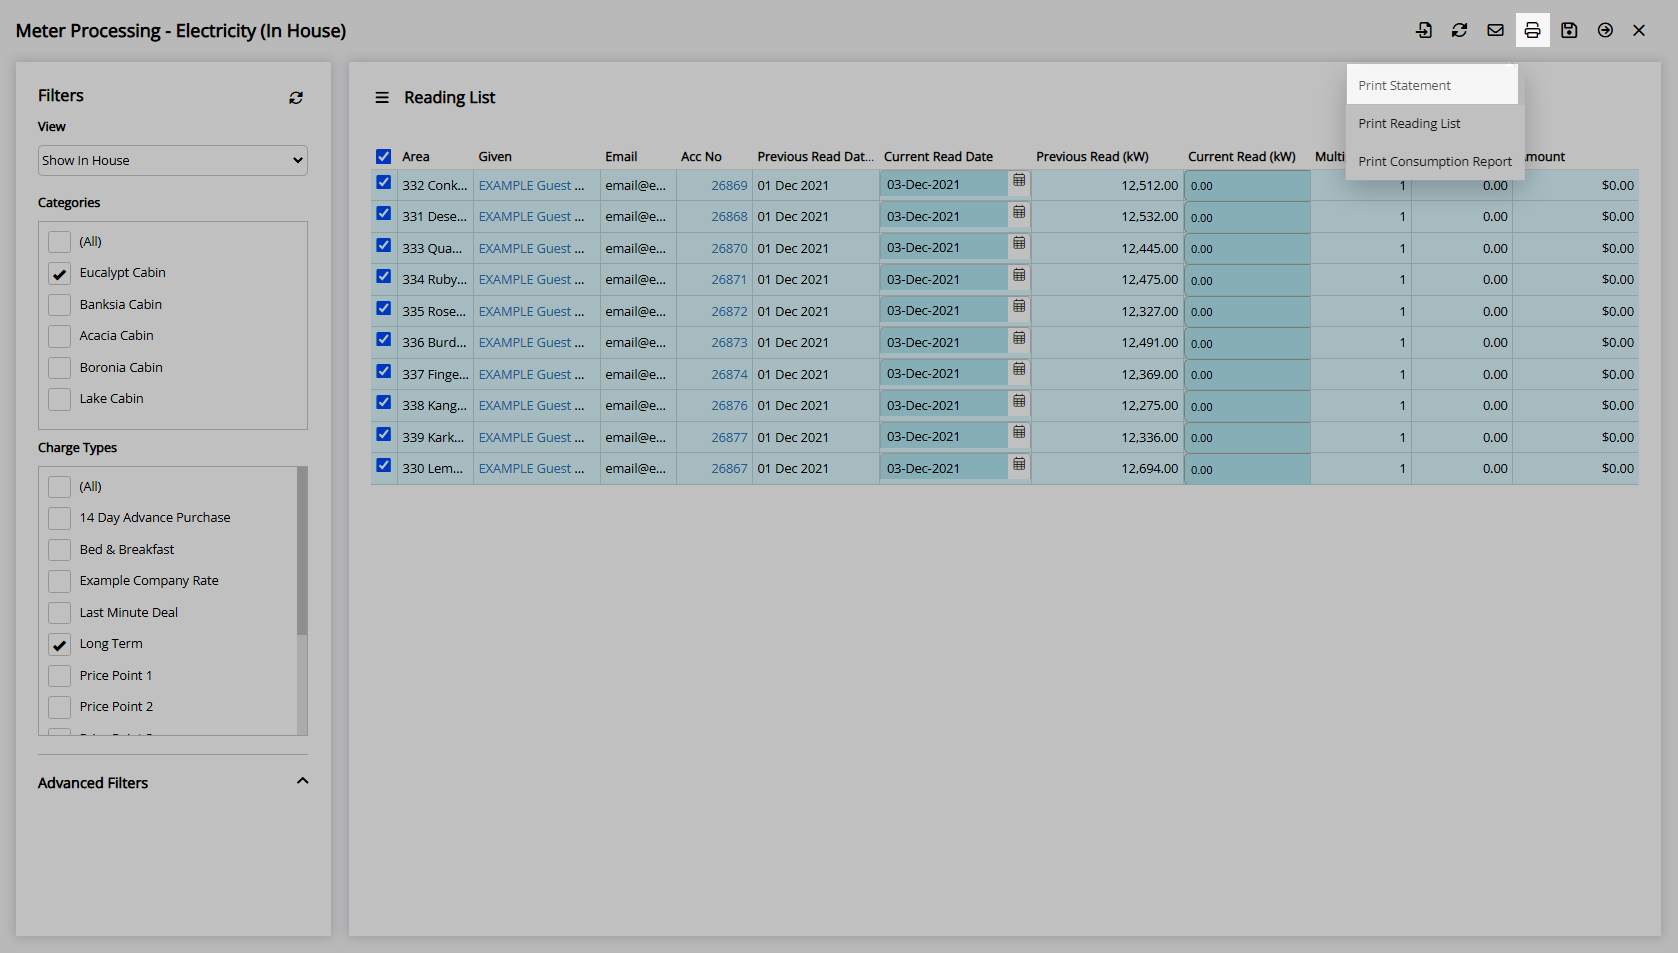
Print Statement:
- Select the
 'Print' icon.
 - Select 'Print Statement'.
- Select the
-
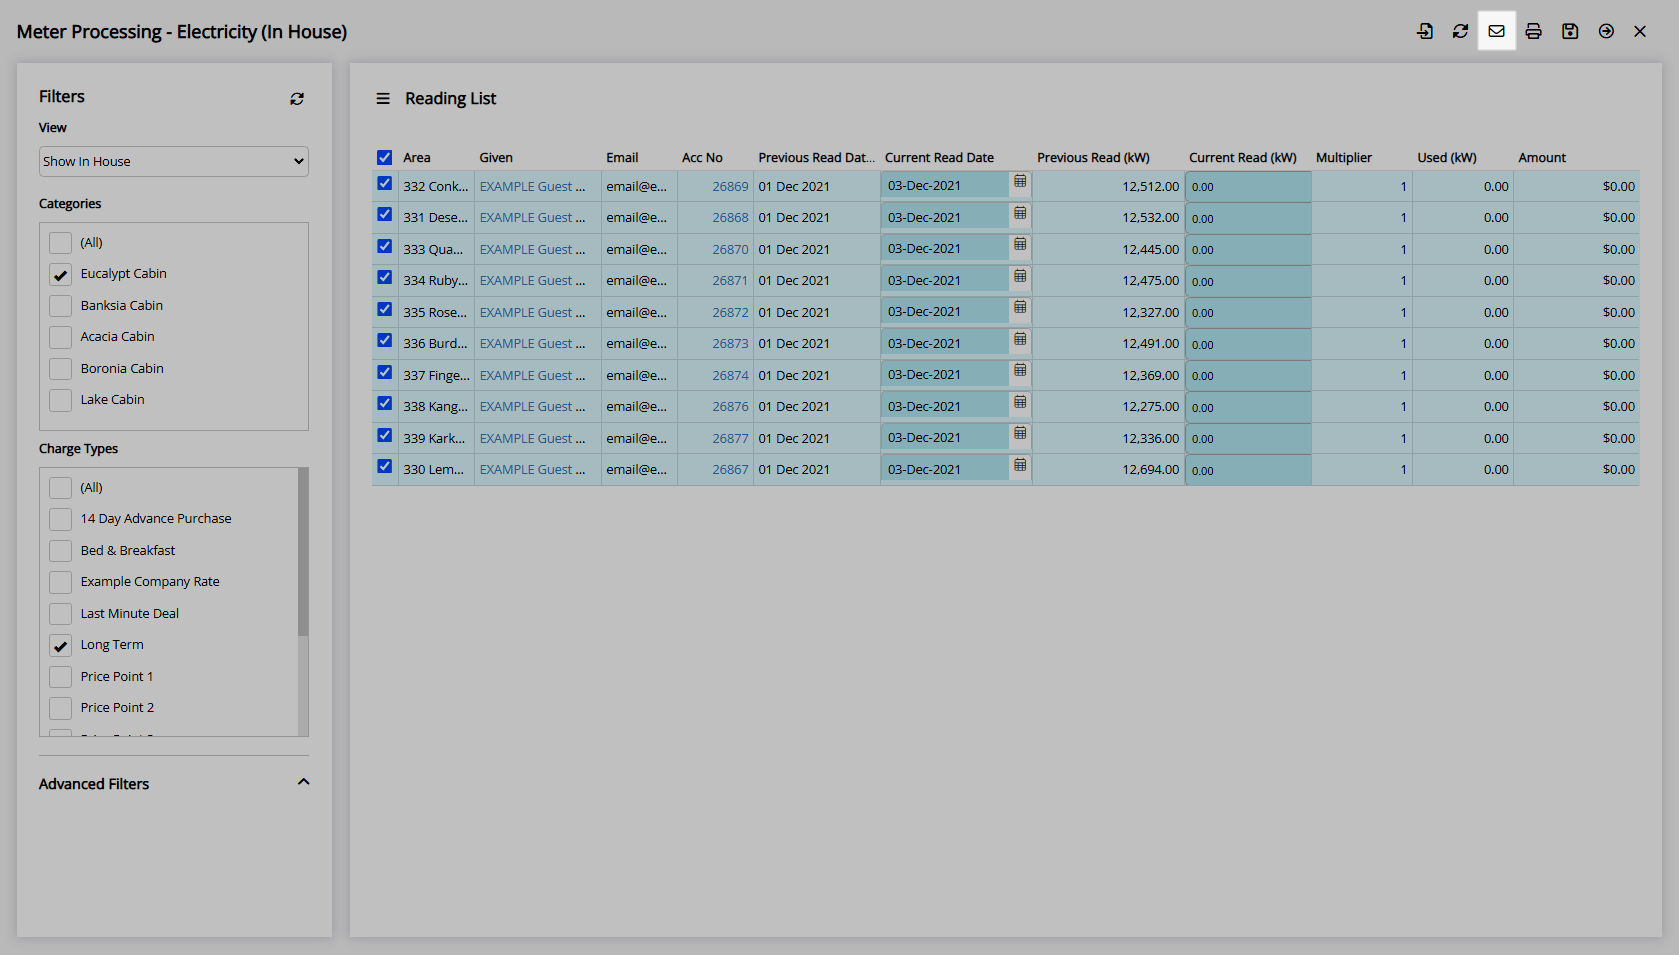
Email Statement:
- Select the
 'Email' icon.
- Select the

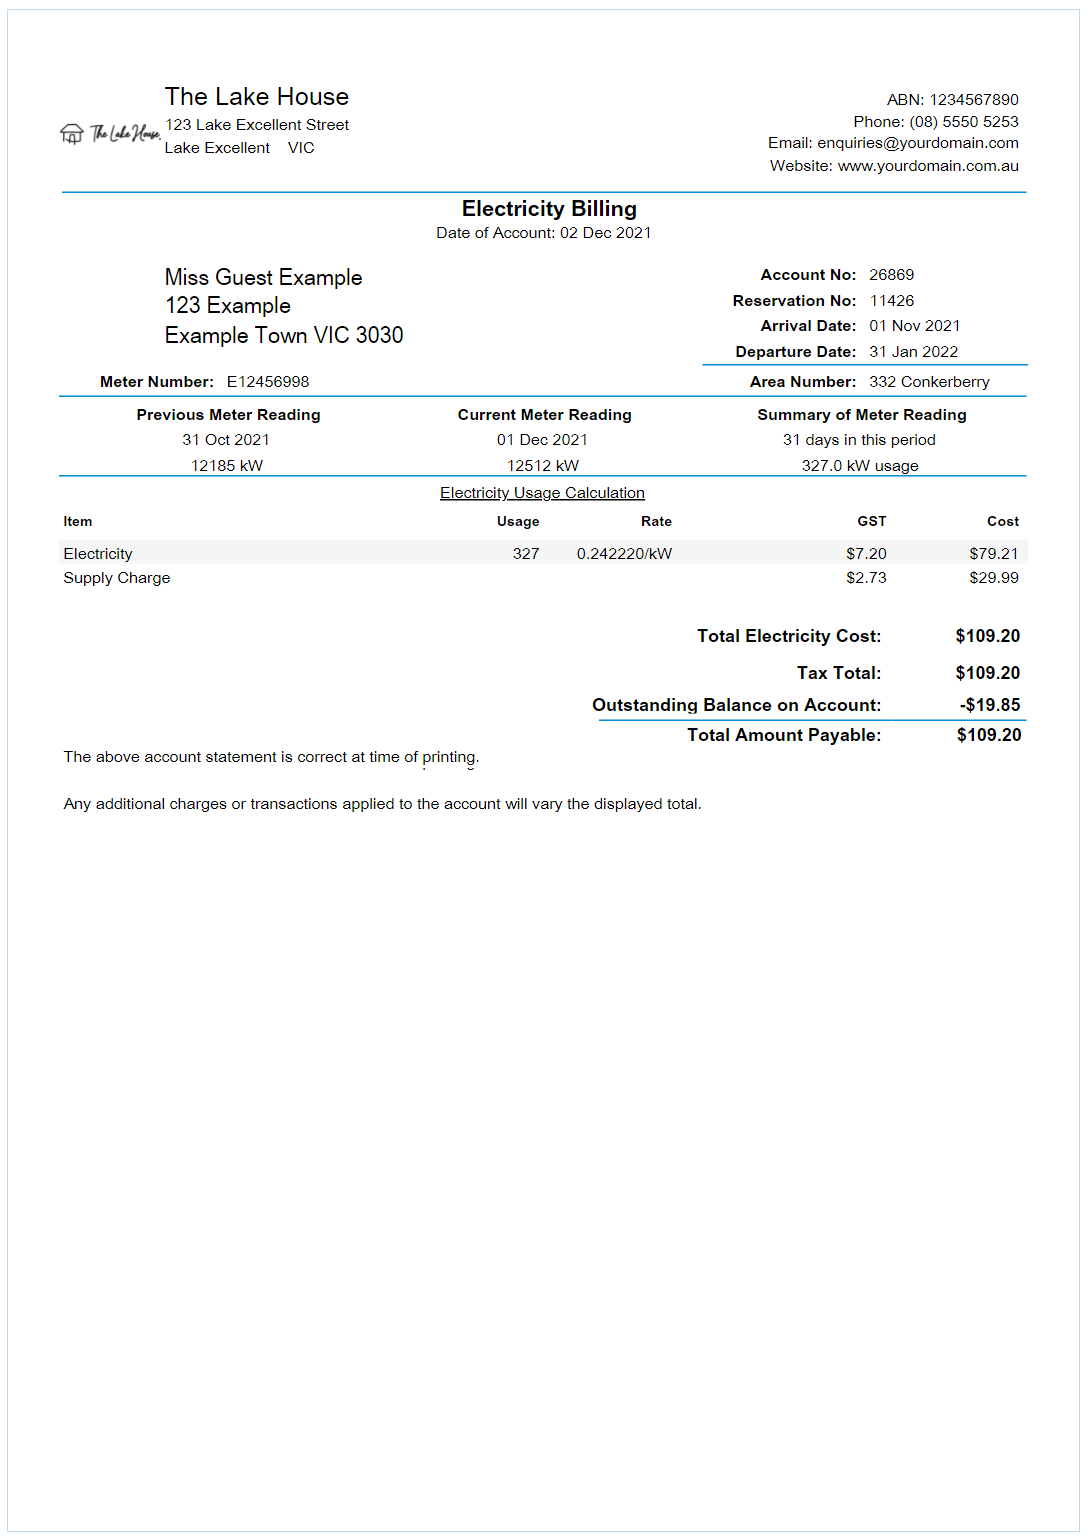
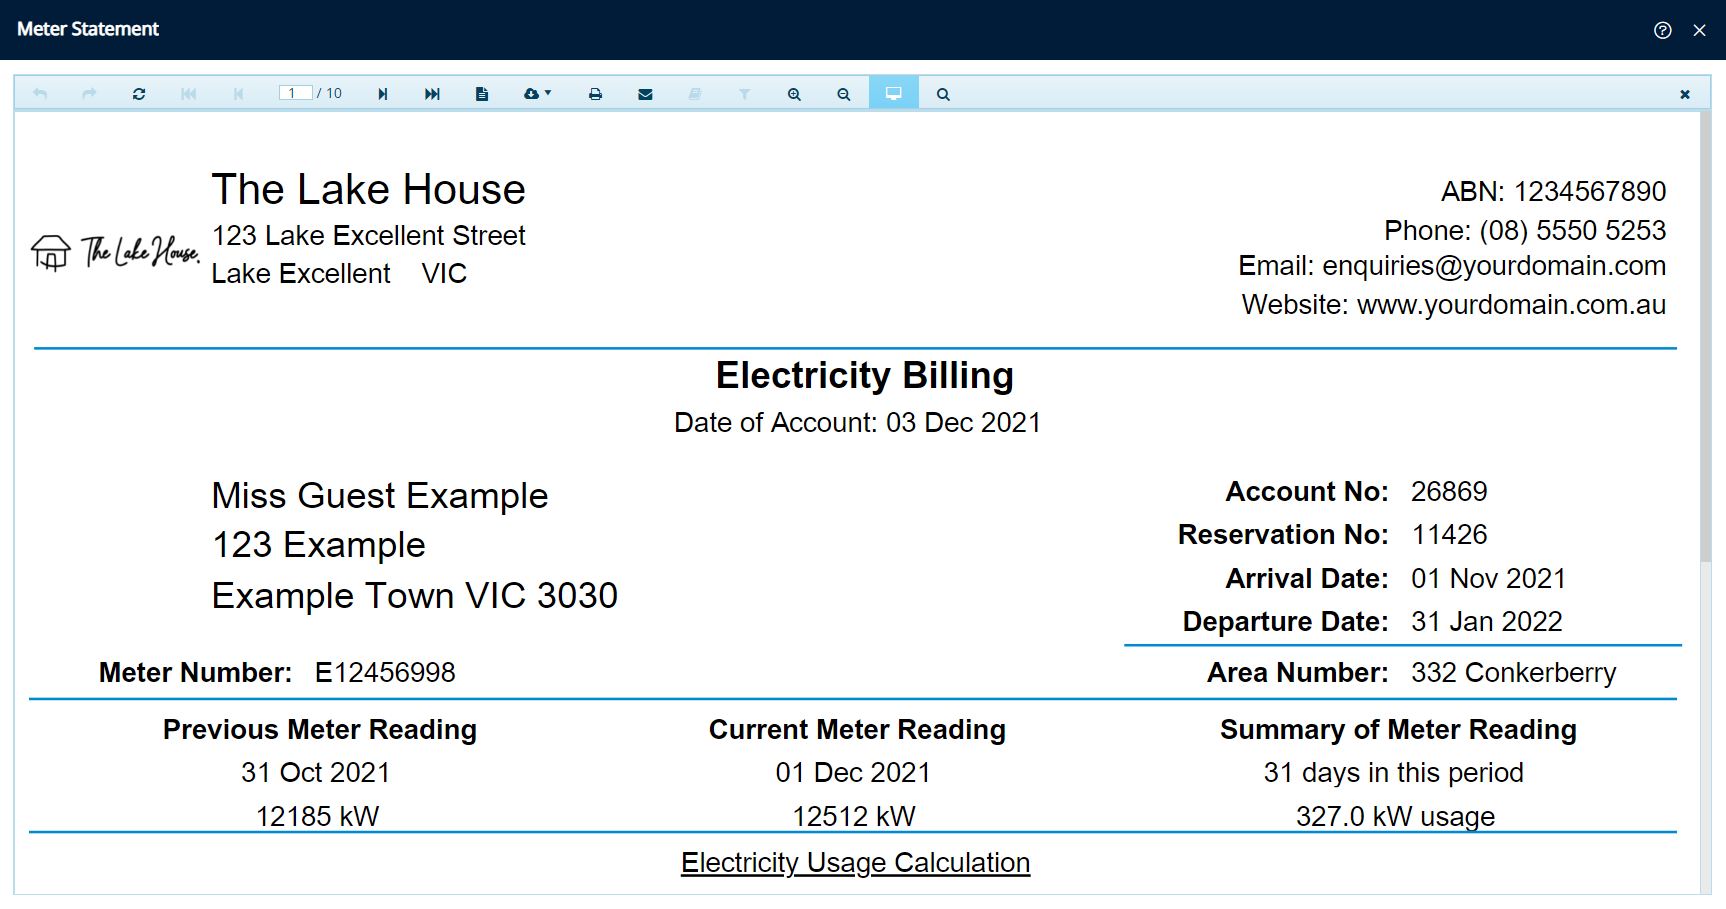
Print Statement will generate the Utility Statements on screen allowing the user to view, export or print.
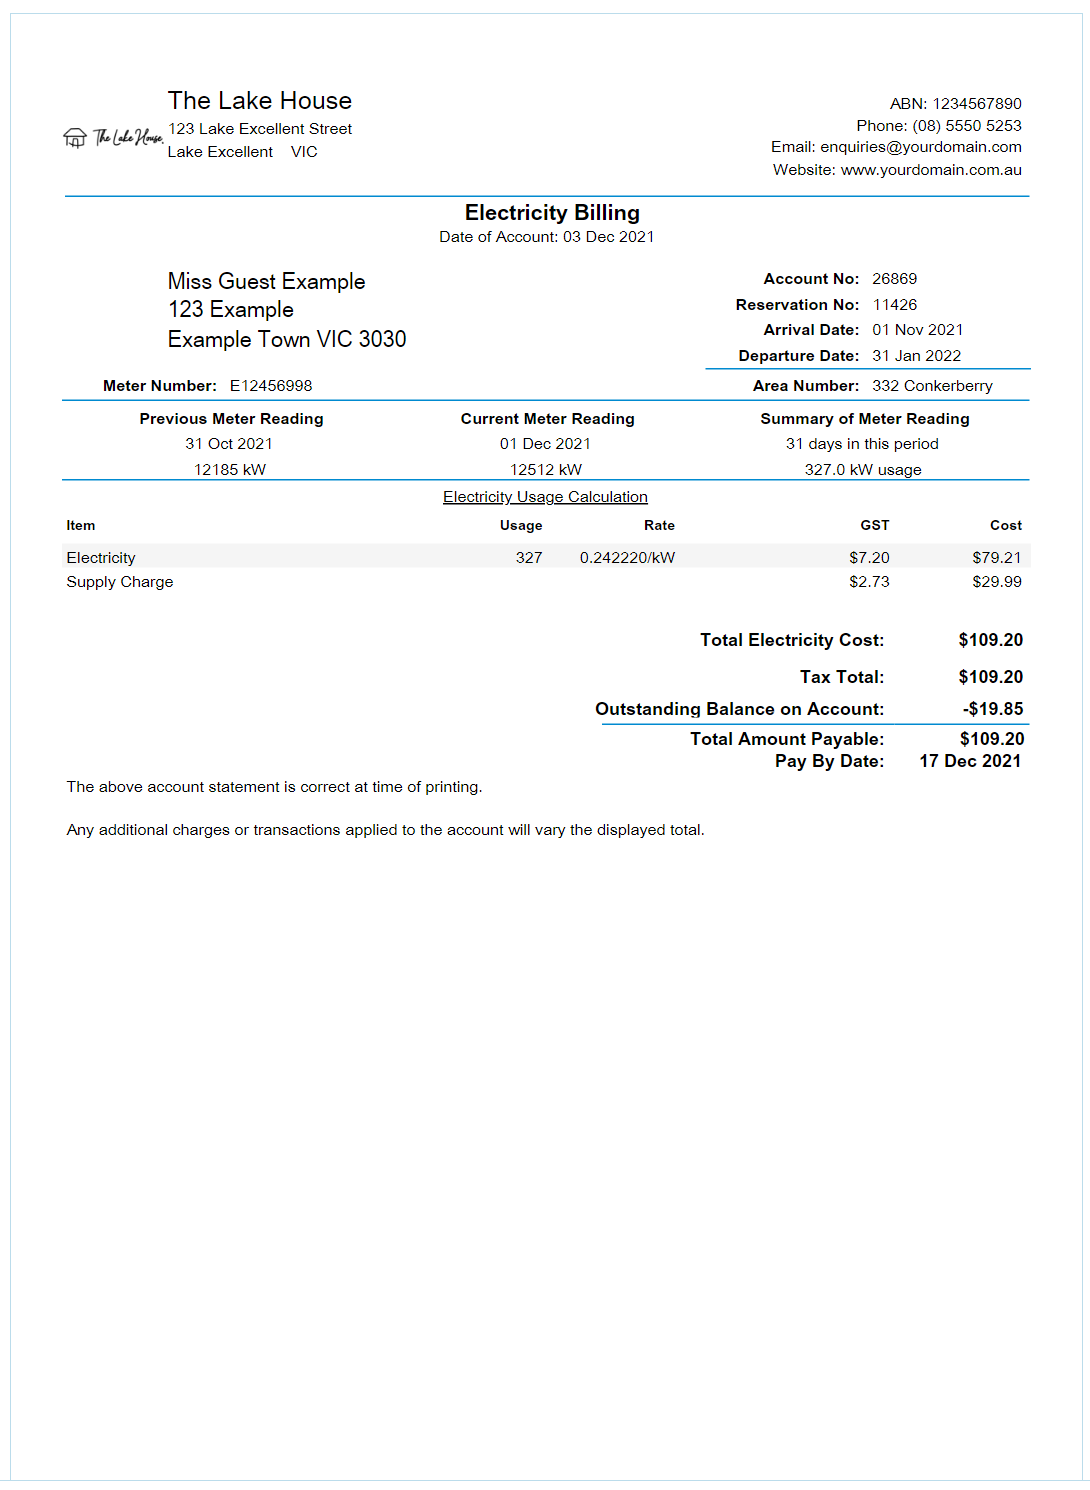
Email Statement will send the Utility Statement to the email address on the Guest Profile.
-
Guide
- Add Button
Guide
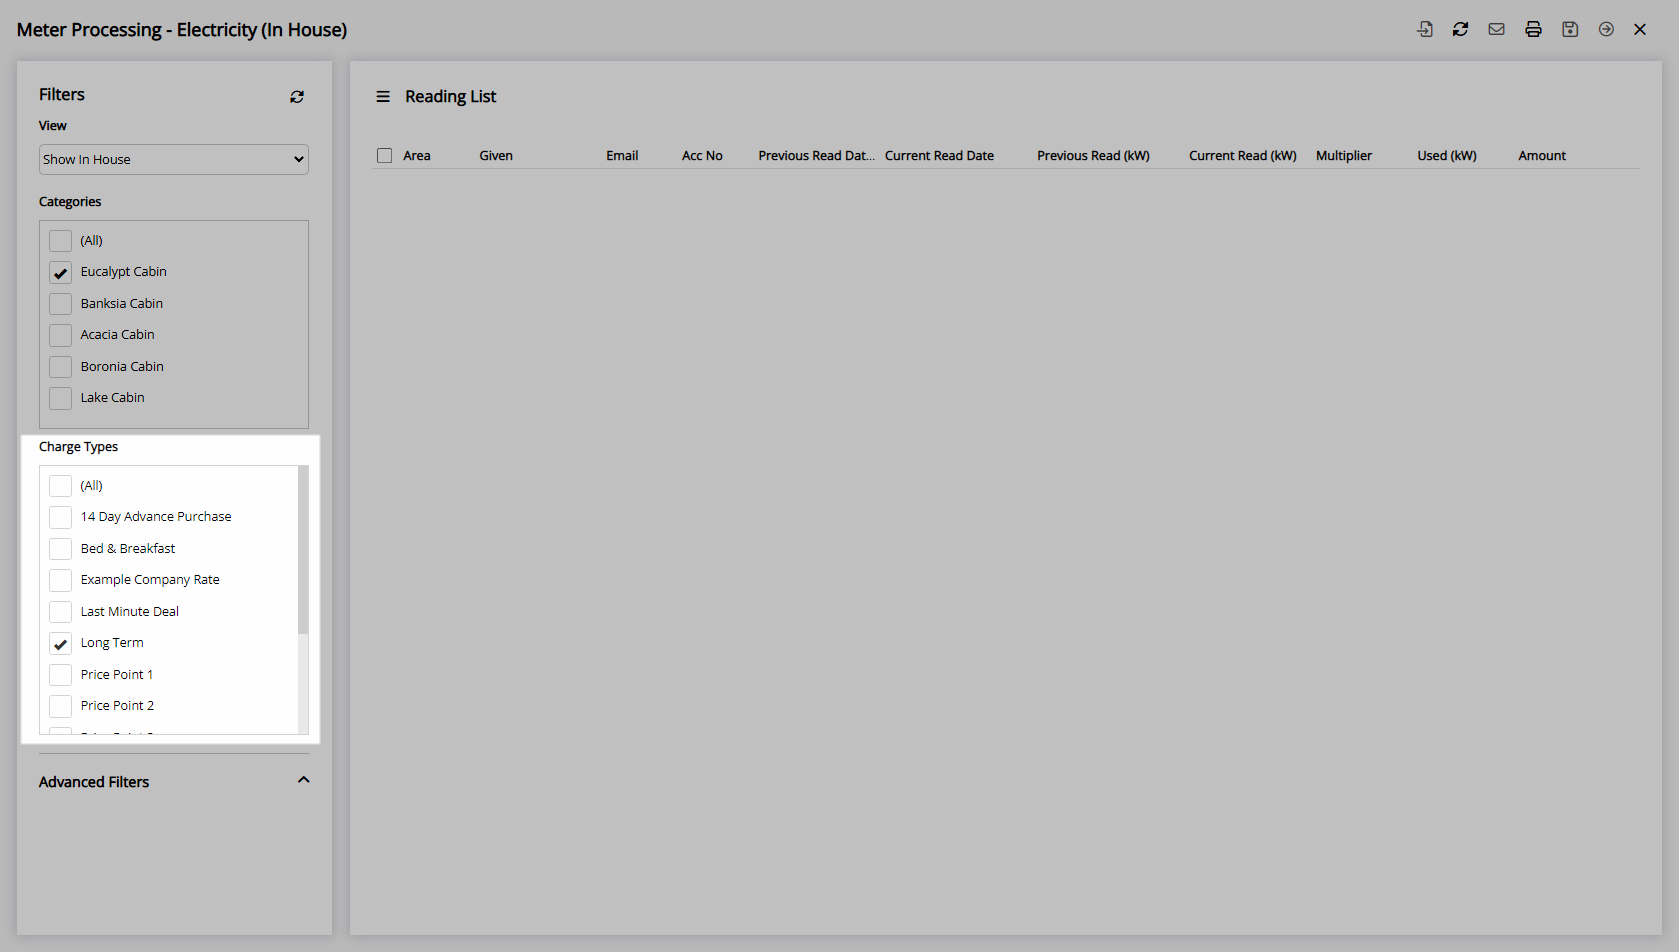
Go to Utilities > Meter Processing > Utility Type in RMS.
Select a View.
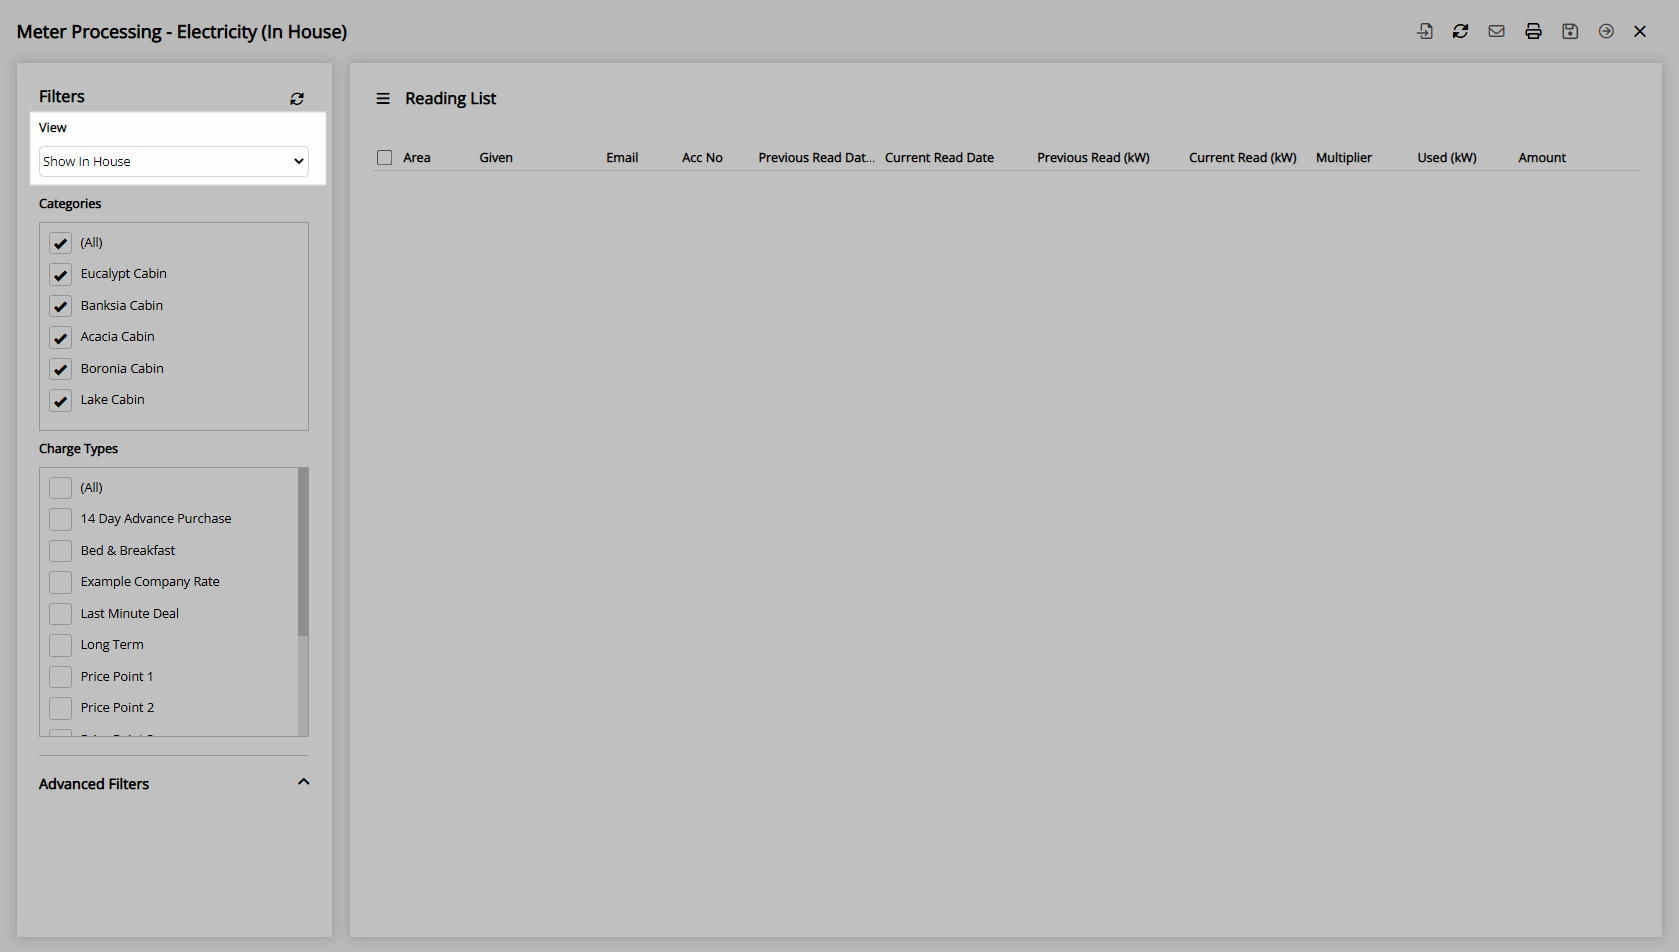
Select a Category.
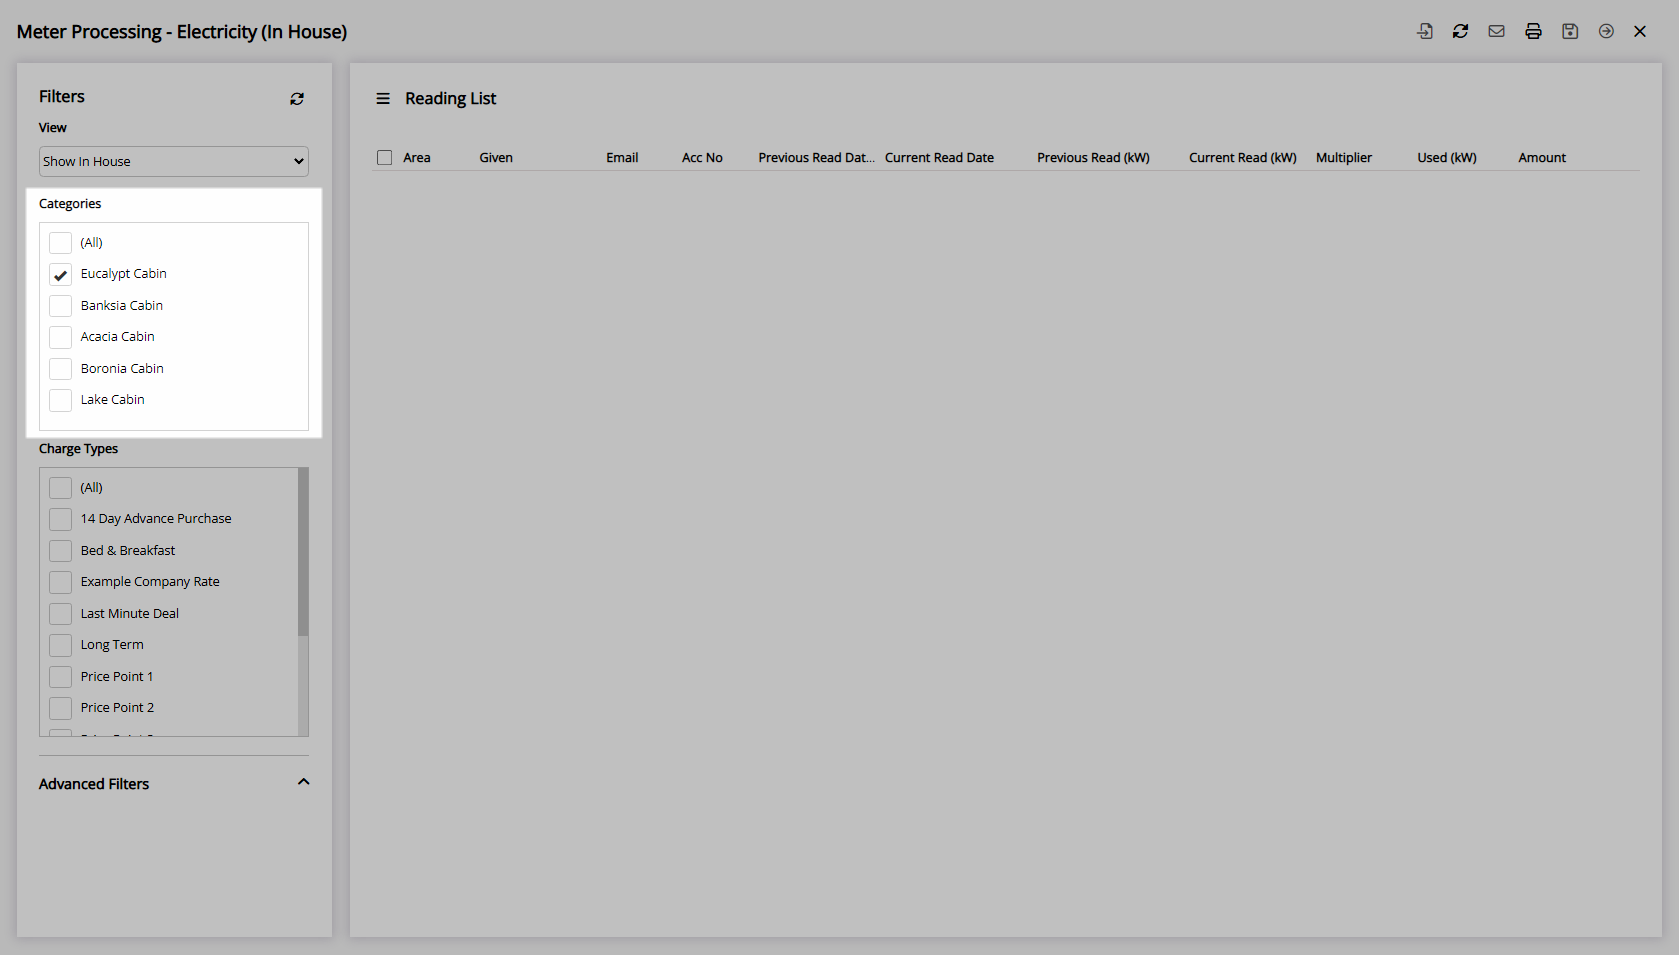
Optional: Select a Rate Type.
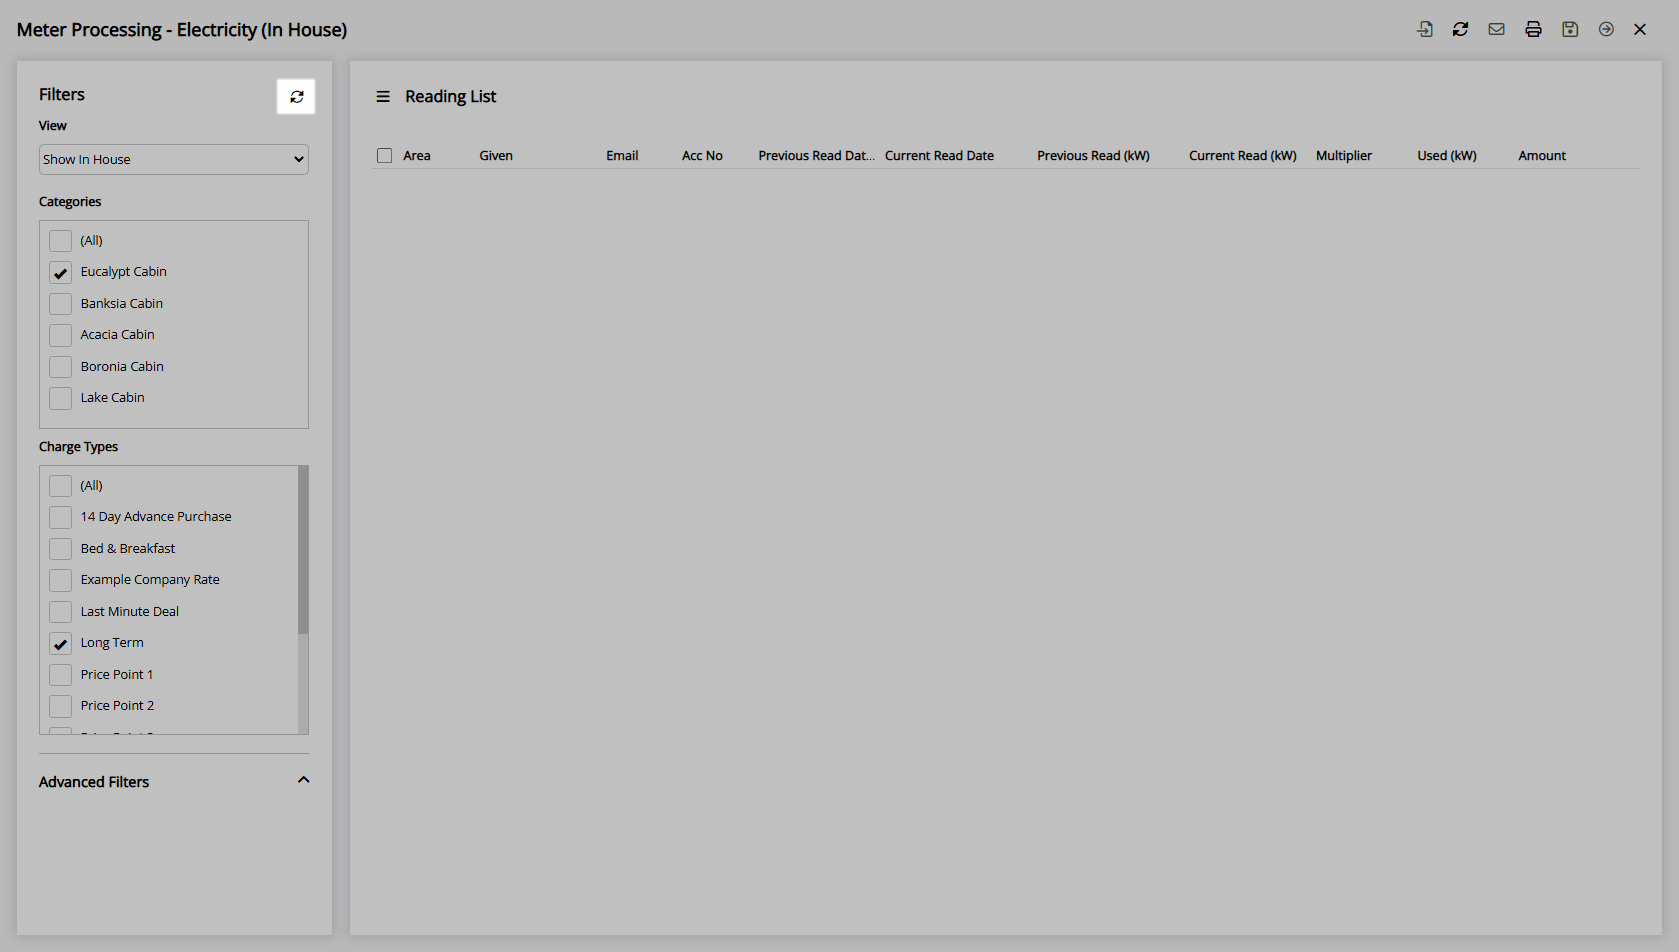
Select the ![]() 'Refresh' icon.
'Refresh' icon.
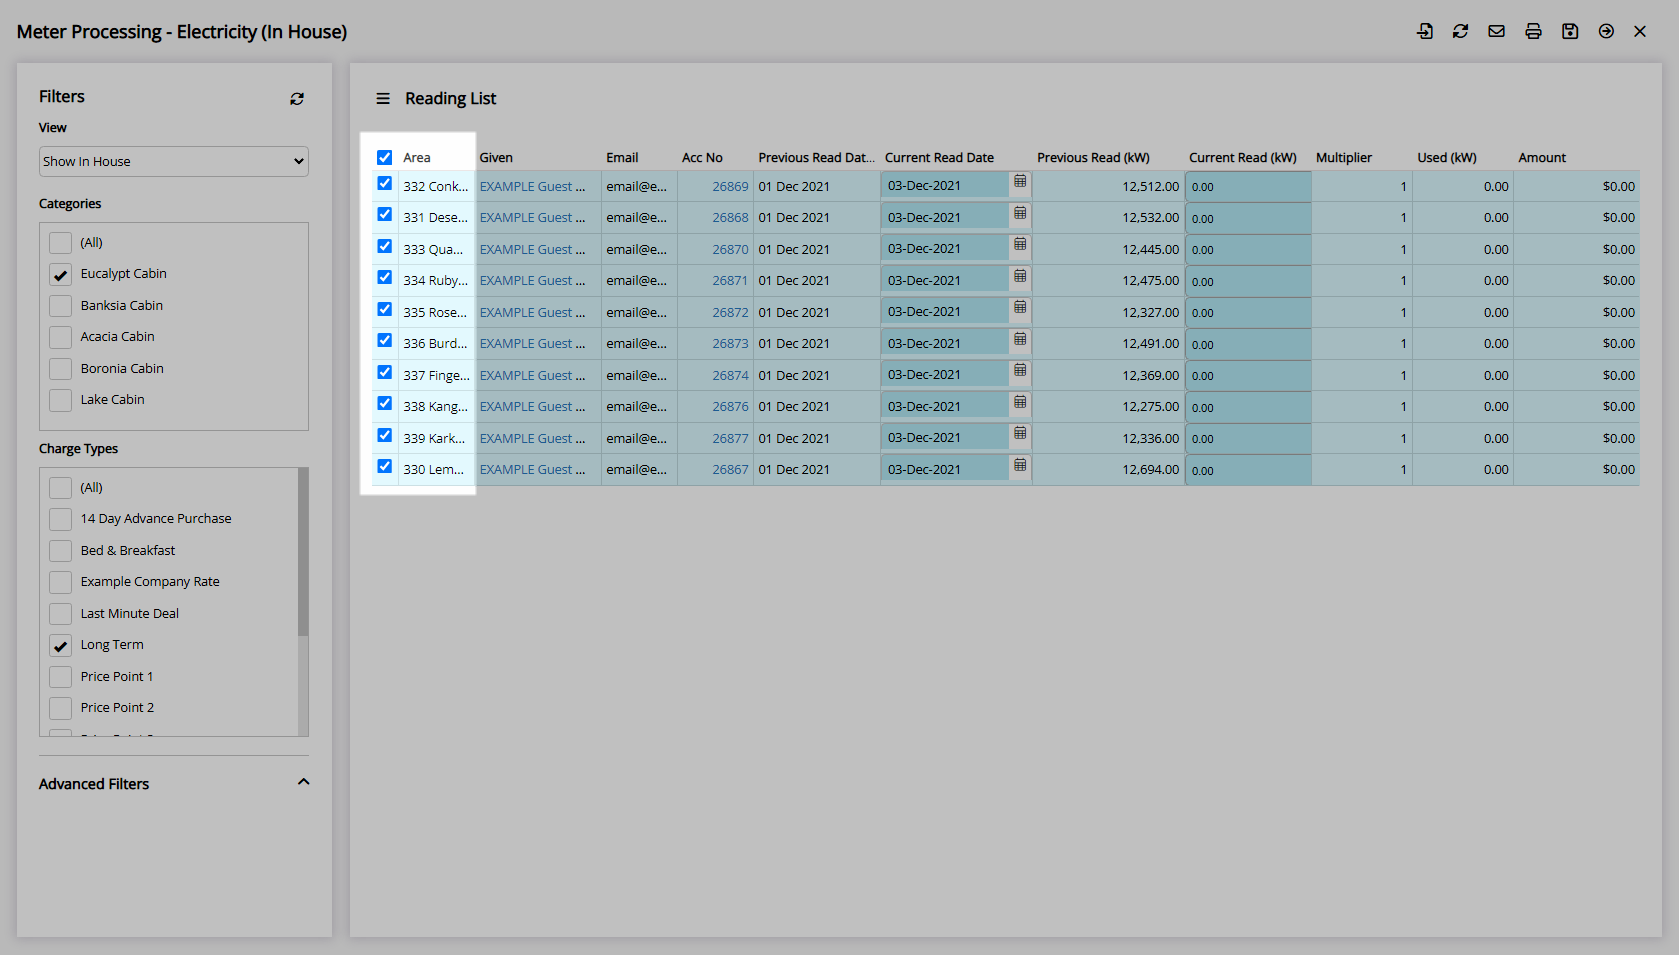
Select the checkbox for an Area.
Print Statement:
Select the  'Print' icon.
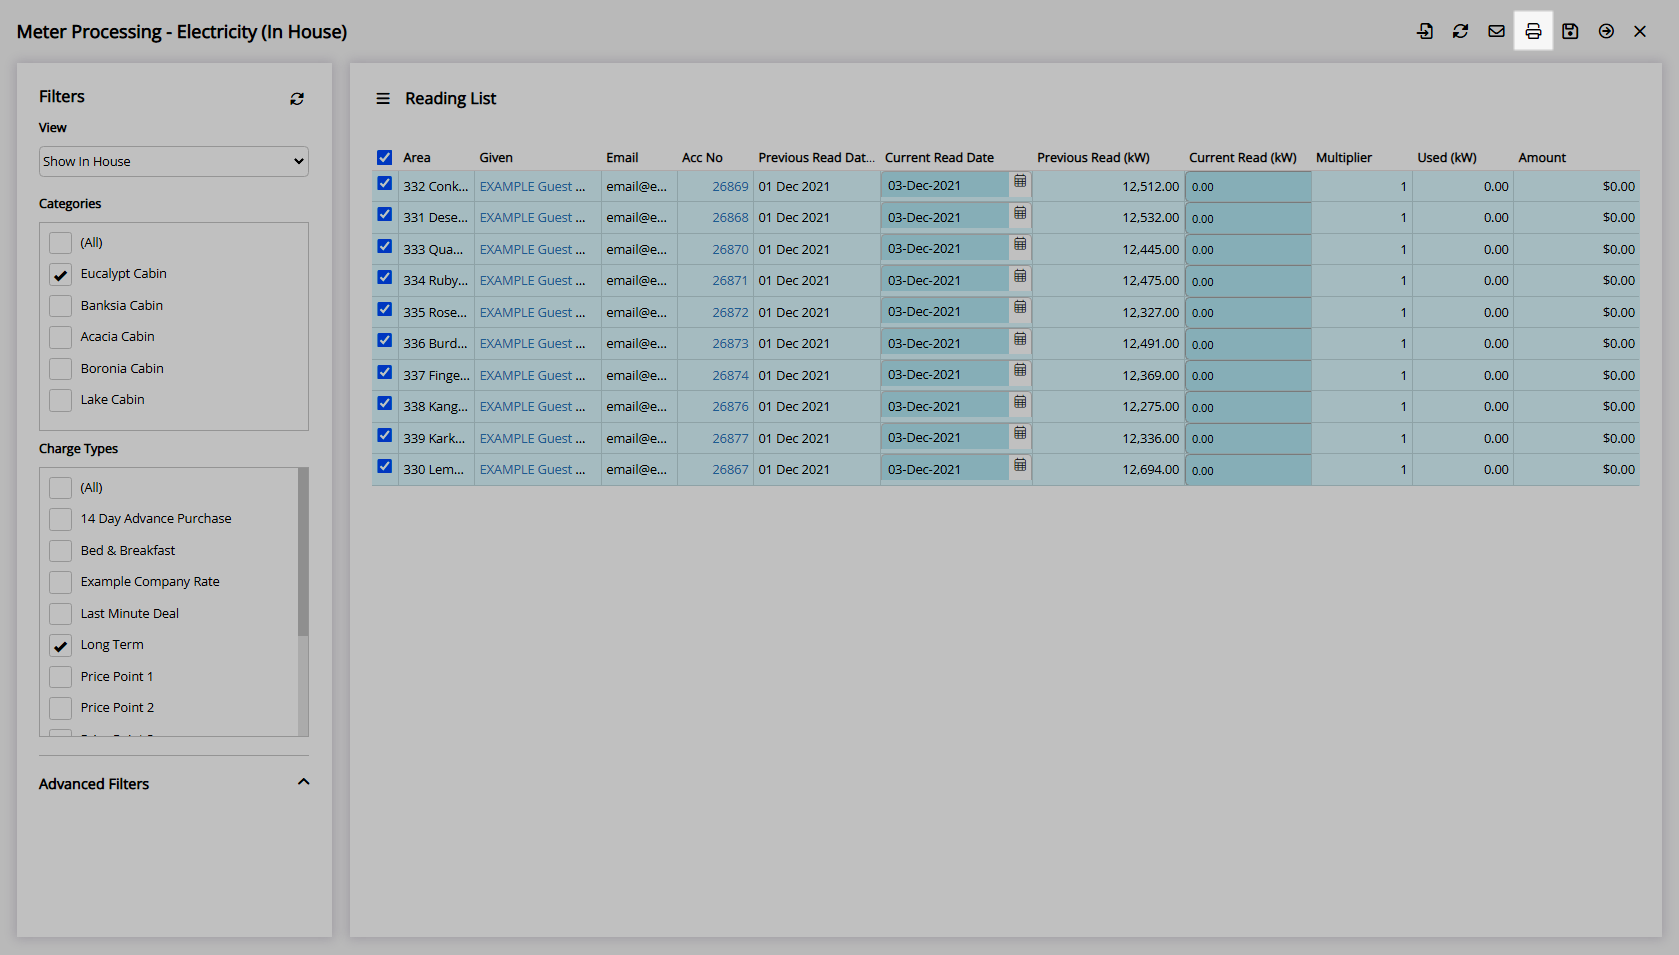
Select 'Print Statement'.
The Utility Statement will be generated on screen and can be viewed, exported or printed.
Email Statement:
Select the  'Email' icon.
The Utility Statement will be emailed to the email address on the Guest Profile.
Use
- Go to Utilities > Meter Processing > Utility Type in RMS.
- Select a View.
- Select a Category.
- Optional: Select a Rate Type.
- Select the
 'Refresh' icon.
 - Select the checkbox for an Area.
-
Print Statement:
- Select the 'Print' icon.
- Select
 'Print Statement'.
-
Email Statement:
- Select the
 'Email' icon.
- Select the

Print Statement will generate the Utility Statements on screen allowing the user to view, export or print.
Email Statement will send the Utility Statement to the email address on the Guest Profile.
-
Guide
- Add Button
Guide
Go to Utilities > Meter Processing > Utility Type in RMS.
Select a View.
Select a Category.
Optional: Select a Rate Type.
Select the ![]() 'Refresh' icon.
'Refresh' icon.
Select the checkbox for an Area.
Print Statement:
Select the 'Print' icon.
Select 'Print Statement'.
The Utility Statement will be generated on screen and can be viewed, exported or printed.
Email Statement:
Select the 'Email' icon.
The Utility Statement will be emailed to the email address on the Guest Profile.