Area Quick Add
Setup multiple new Areas on a Category at the same time in RMS.
-
Information
-
Setup
- Add Button
Information
Area Quick Add is an option on the Category to create multiple new Areas at the same time.
An Area is the physical space available for a Reservation within a Category.
The Category Classification determines the type of Reservation available for an Area in that Category.
A new Area can be added to a Category individually with the option to enter additional Area Details or using Quick Add to create multiple new Areas in a Category at the same time for faster setup.
An Area can be edited to add or remove Area Details any time after creation.
An existing Area can be moved to a new or different Category using Category Move.
Area Statistics are optional and will include any Reservation in that Area for statistics calculated on reports including the Night Audit Report, Occupancy Report and Marketing Report and will be enabled by default.

Category, Area, Add On, Reservation, Guest and Rate are default System Labels that can be customised.

System Administrators will require Security Profile access to setup this feature.
-
Setup
- Add Button
Setup
Have your System Administrator complete the following.
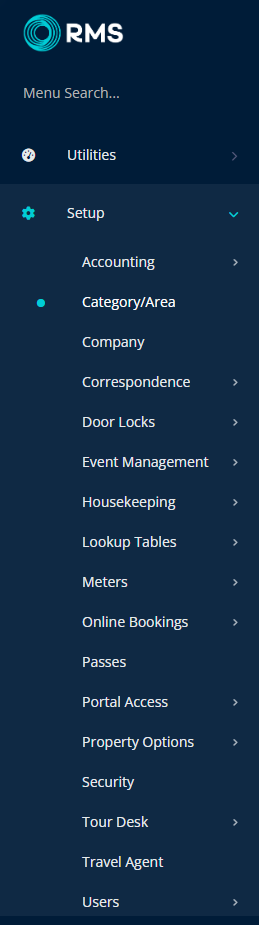
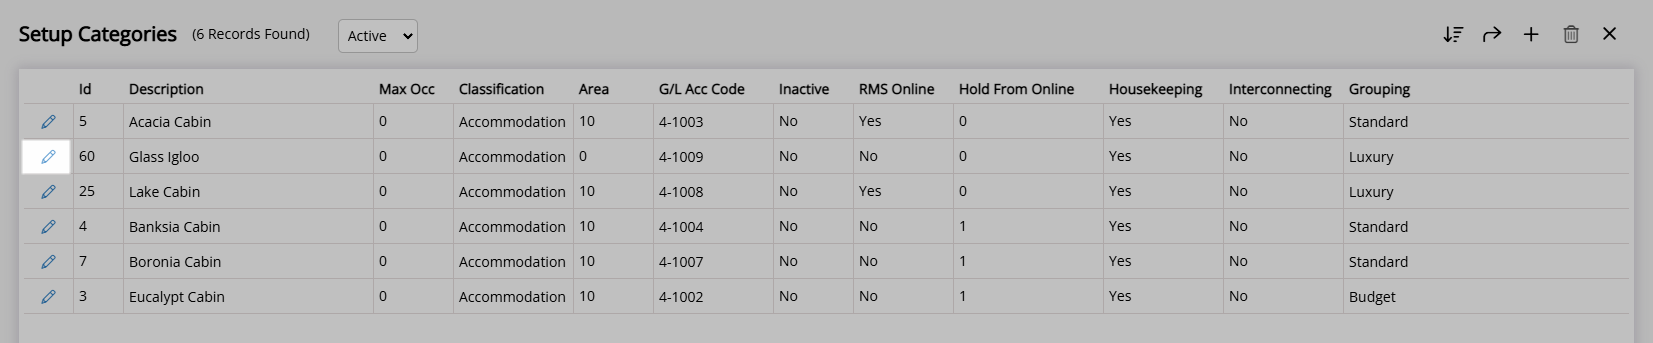
- Go to Setup > Category/Area in the Side Menu of RMS.
- Select the
 'Edit' icon on an existing Category.
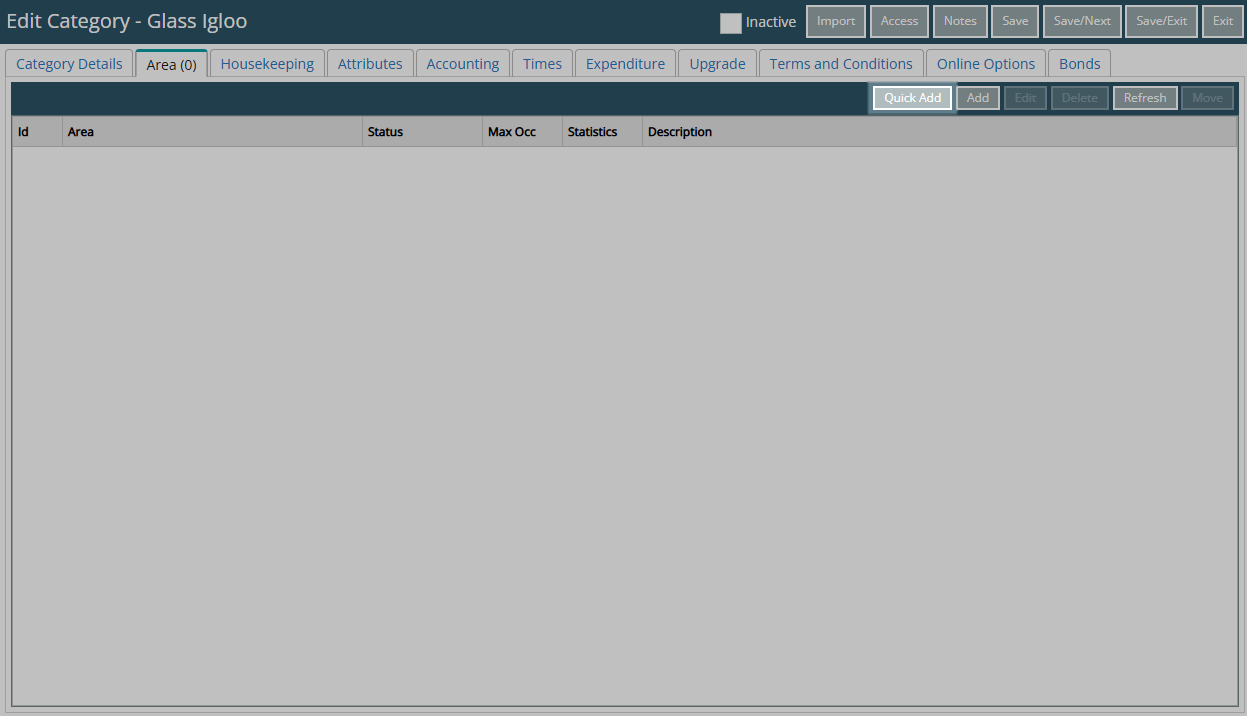
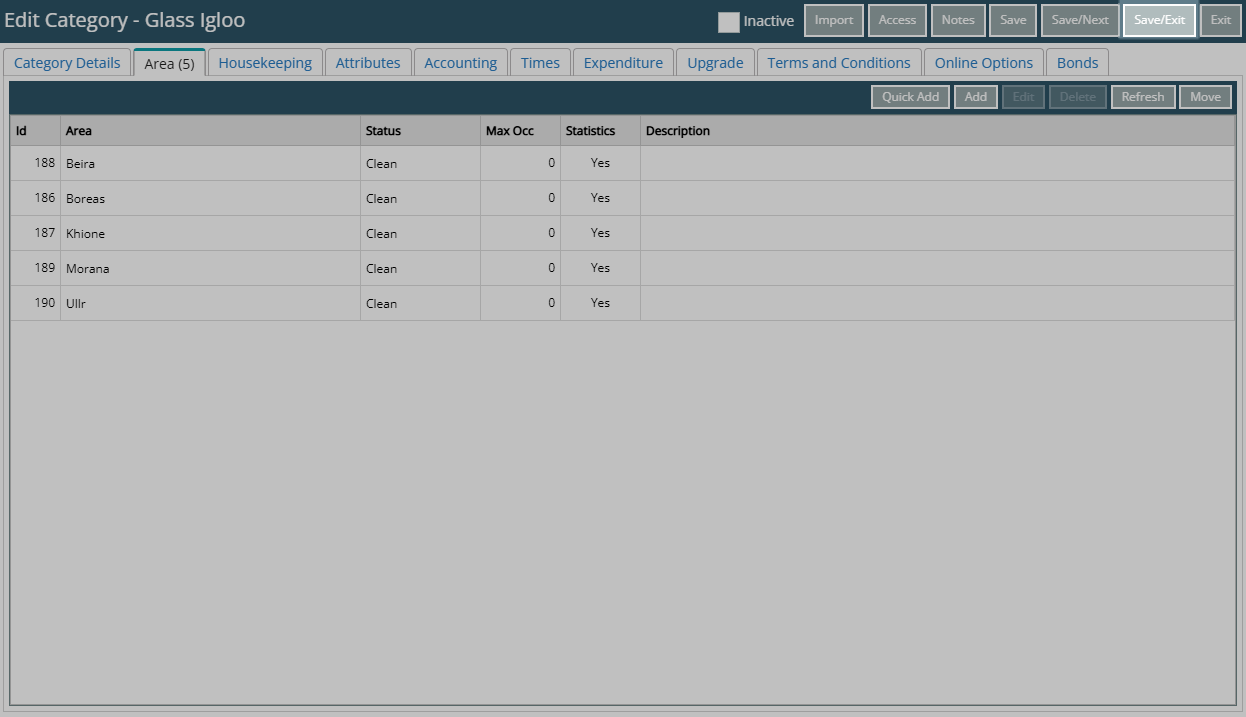
 - Navigate to the 'Area' tab.
- Select 'Quick Add'.
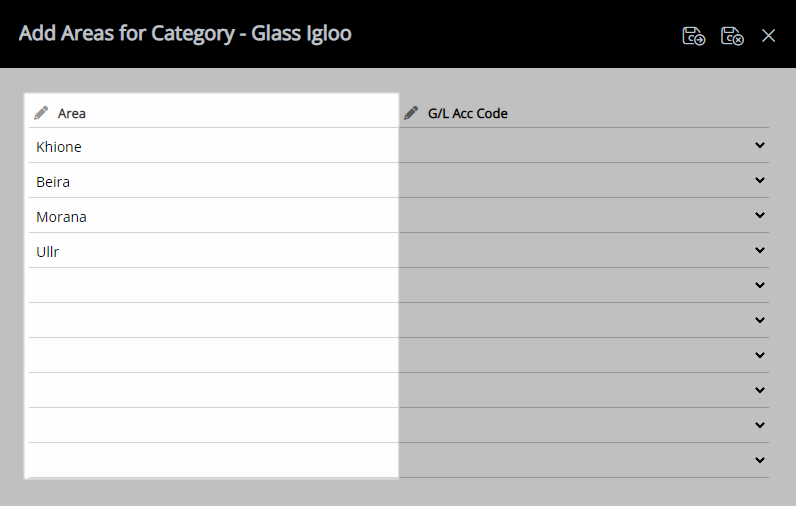
- Enter the Area Description for each new Area.
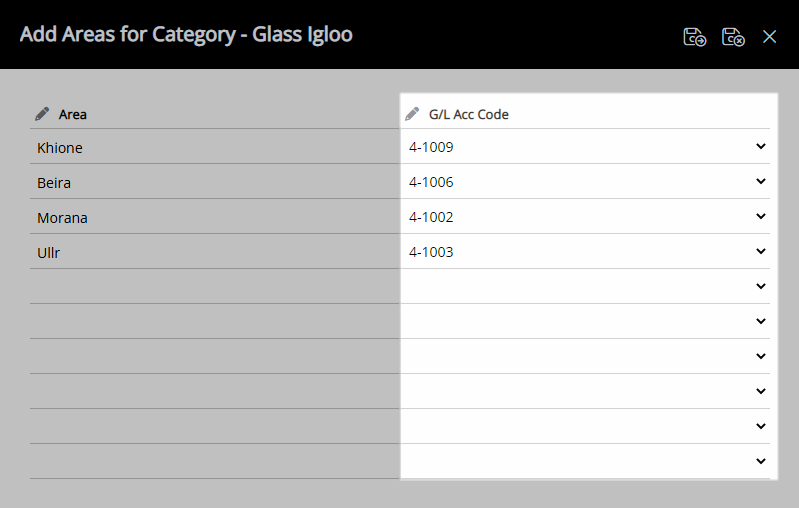
- Optional: Select a General Ledger Account Code for each new Area.
- Save/Exit.
- Log out of RMS.

The allocation of revenue on a Reservation Account is determined by the General Ledger Account Code Hierarchy.
Use the 'Tab' key on the keyboard to quickly navigate between fields.
Select the  'Save/Next' icon to create more new Areas.
-
Guide
- Add Button
Guide
Go to Setup > Category/Area in the Side Menu of RMS.
Select the ![]() 'Edit' icon on an existing Category.
'Edit' icon on an existing Category.
Navigate to the 'Area' tab.
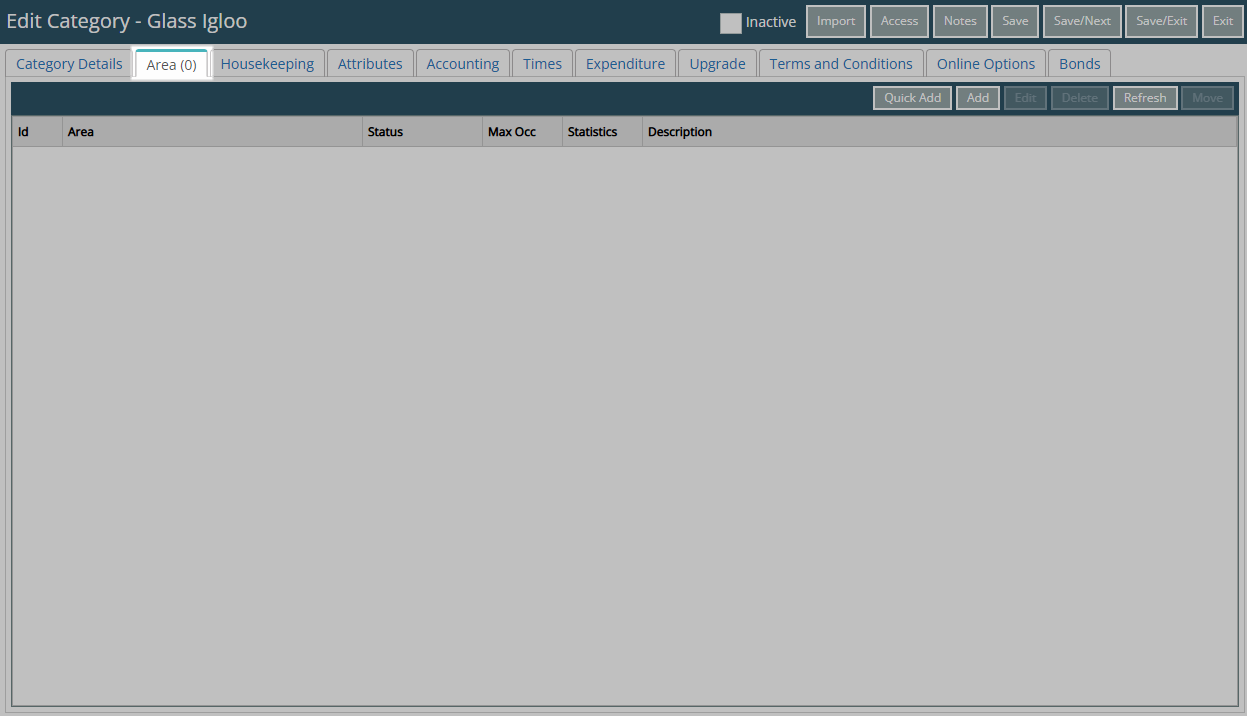
Select 'Quick Add'.
Enter the Area Description for each new Area.
Optional: Select a General Ledger Account Code for each new Area.
Select the  'Save/Exit' icon to store the changes made and return to the Category.
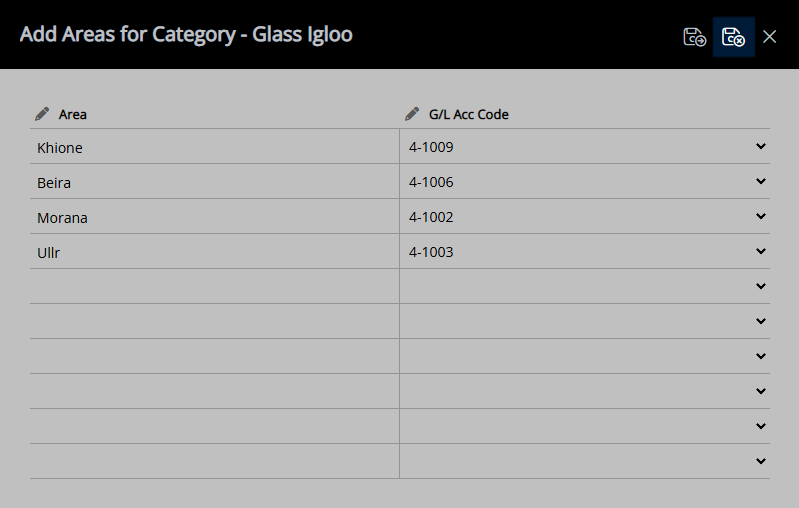
Select 'Save/Exit' to store the changes made and leave the Category.
Log out of RMS to allow the database to update with the changes made.

Setup
Have your System Administrator complete the following.
- Go to Setup > Category/Area in the Side Menu of RMS.
- Select the 'Edit' icon on an existing Category.
- Navigate to the 'Area' tab.
- Select 'Quick Add'.
- Enter the Area Description for each new Area.
- Optional: Select a General Ledger Account Code for each new Area.
- Save/Exit.
- Log out of RMS.
The allocation of revenue on a Reservation Account is determined by the General Ledger Account Code Hierarchy.
Use the 'Tab' key on the keyboard to quickly navigate between fields.
Select the 'Save/Next' icon to create more new Areas.
-
Guide
- Add Button
Guide
Go to Setup > Category/Area in the Side Menu of RMS.
Select the ![]() 'Edit' icon on an existing Category.
'Edit' icon on an existing Category.
Navigate to the 'Area' tab.
Select 'Quick Add'.
Enter the Area Description for each new Area.
Optional: Select a General Ledger Account Code for each new Area.
Select the 'Save/Exit' icon to store the changes made and return to the Category.
Select 'Save/Exit' to store the changes made and leave the Category.
Log out of RMS to allow the database to update with the changes made.