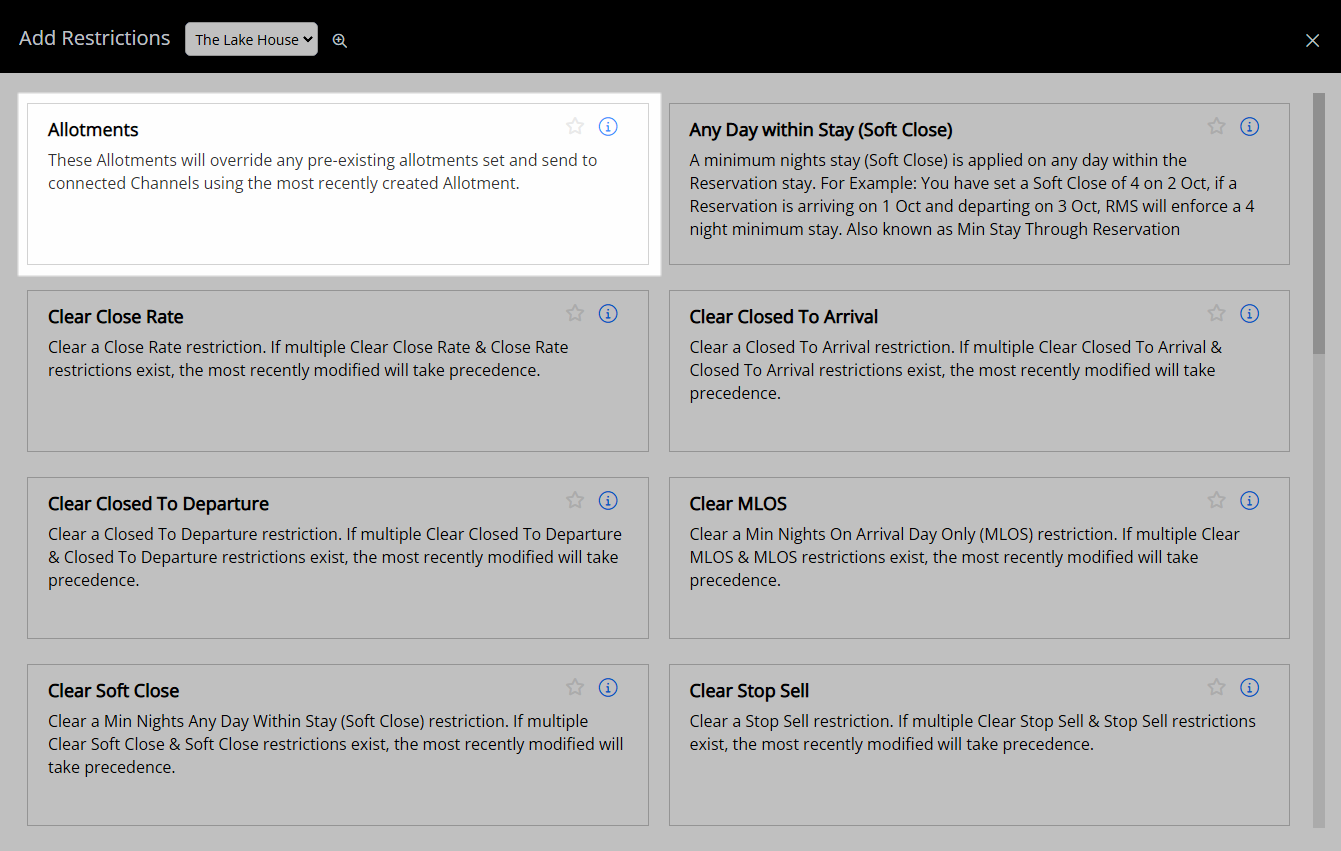
Allotments
Allocate inventory available to a connected channel for selected Rate Types in RMS.
Allotments allocate inventory available to a connected channel for the selected Rate Types.
-
Information
-
Use
- Add Button
Information
Allotments allocate inventory available to a connected channel for the selected Rate Types. Please note: Most channel uses category-level allotments, which means it will reference the lowest available allotment across all associated Rate Types. If an allotment is not applied consistently to all Rate Types, the channel may receive limited availability. To ensure accurate inventory distribution, allotments should be applied uniformly across all Rate Types linked to the channel.
Connected channels can be setup to use Default Allotments, Channel Allotments or have access to Full Availability.
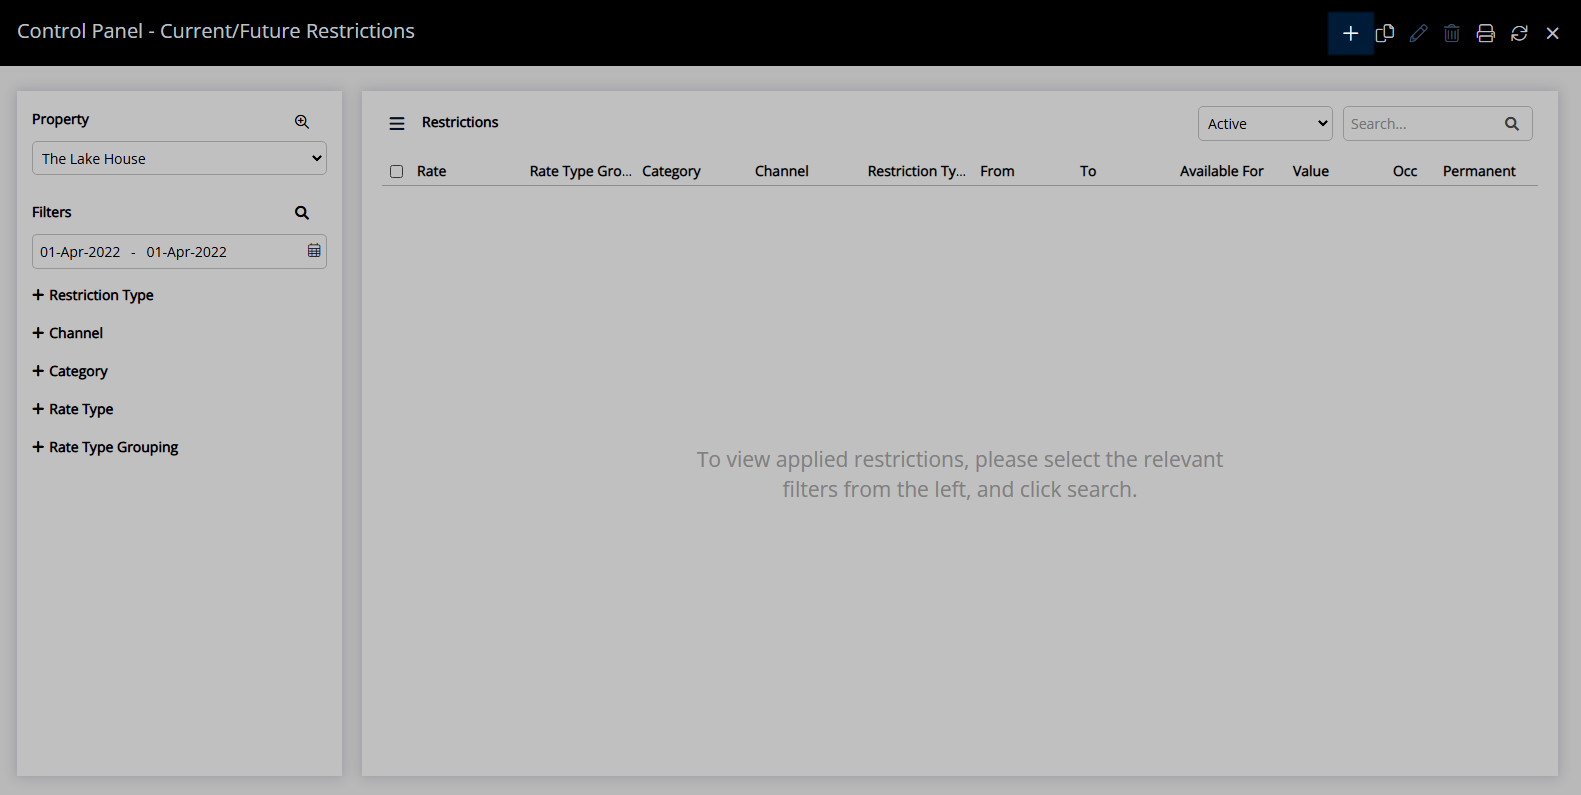
RMS will use the newest record when more than one exists for the same date and Restriction Type.
The following options are available to determine when an Allotment comes into effect.
| Option | Description |
|---|---|
| Date Range | Apply the inventory allotment for a single date range, multiple date ranges or permanently. |
| Day of the Week | Apply the inventory allotment for set days of the week within the date range. |
| Occupancy | Set an occupancy benchmark that will prompt the inventory allotment to come into effect once reached. Occupancy will be determined using the Occupancy Calculation Rule for the Property. |
| X Nights from Today | Set an inventory allotment with a lead time that rolls forward by the entered number of days. This option will set the allotment to always start the entered number of days ahead of the current date. |

Category, Area, Reservation, Guest, and Rate are default System Labels that can be customised.

Users will require Security Profile access to use this feature.
-
Use
- Add Button
Use
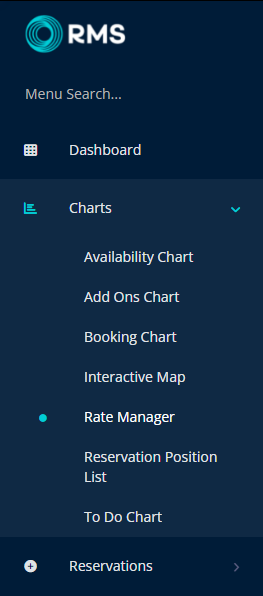
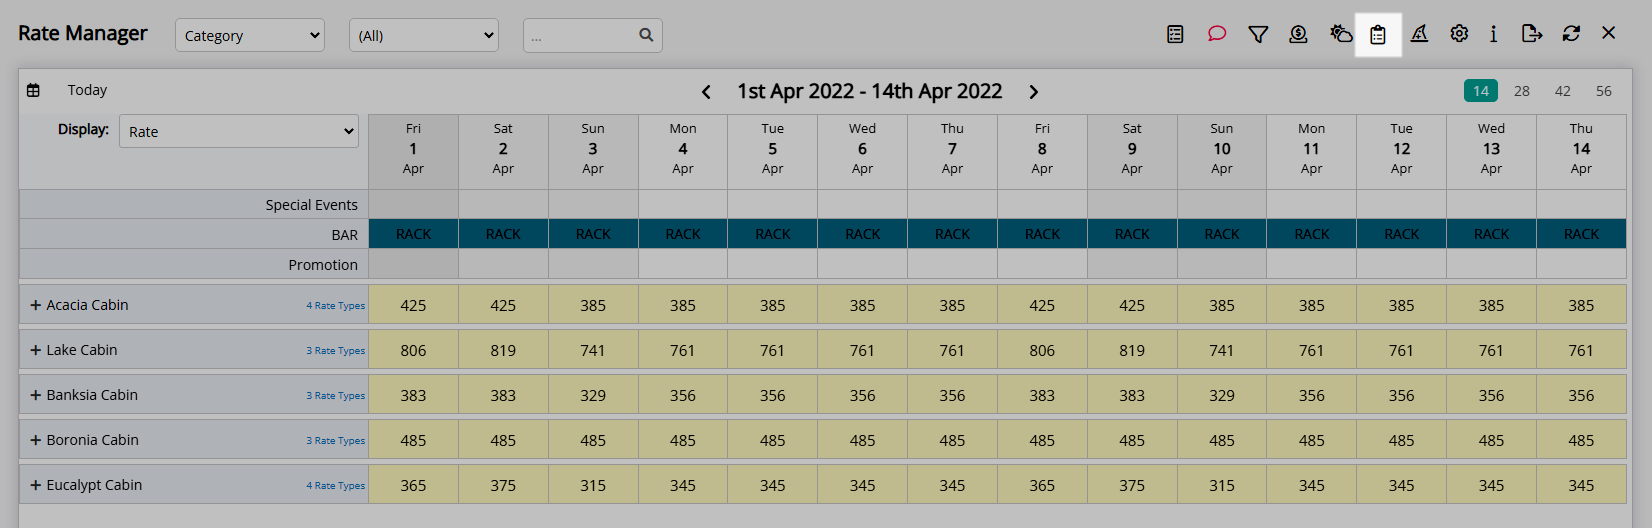
- Go to Charts > Rate Manager in RMS.
- Select the
 'Control Panel' icon.
 - Select the
 'Add' icon.
 - Select the Restriction Type as 'Allotments'.
- Select a Property.
- Select a Date Range or select the checkbox 'Set Permanently'.
- Optional: Select the checkbox for Days of the Week.
- Enter the Allotment.
- Optional: Enter an Occupancy benchmark.
- Optional: Enter an Allotment Lead Time.
- Select the checkbox for a Connected Channel.
- Select the checkbox for a Category.
- Select the checkbox for a Rate Type.
- Save/Exit.

Select the ![]() 'Add' icon to add Multiple Date Ranges at Step 6.
'Add' icon to add Multiple Date Ranges at Step 6.
Select the  icon to set a Restriction Type as a favourite.
-
Guide
- Add Button
Guide
Go to Charts > Rate Manager in RMS.
Select the ![]() 'Control Panel' icon.
'Control Panel' icon.
Select the  'Add' icon.
Select the Restriction Type as 'Allotments'.
Select a Property.
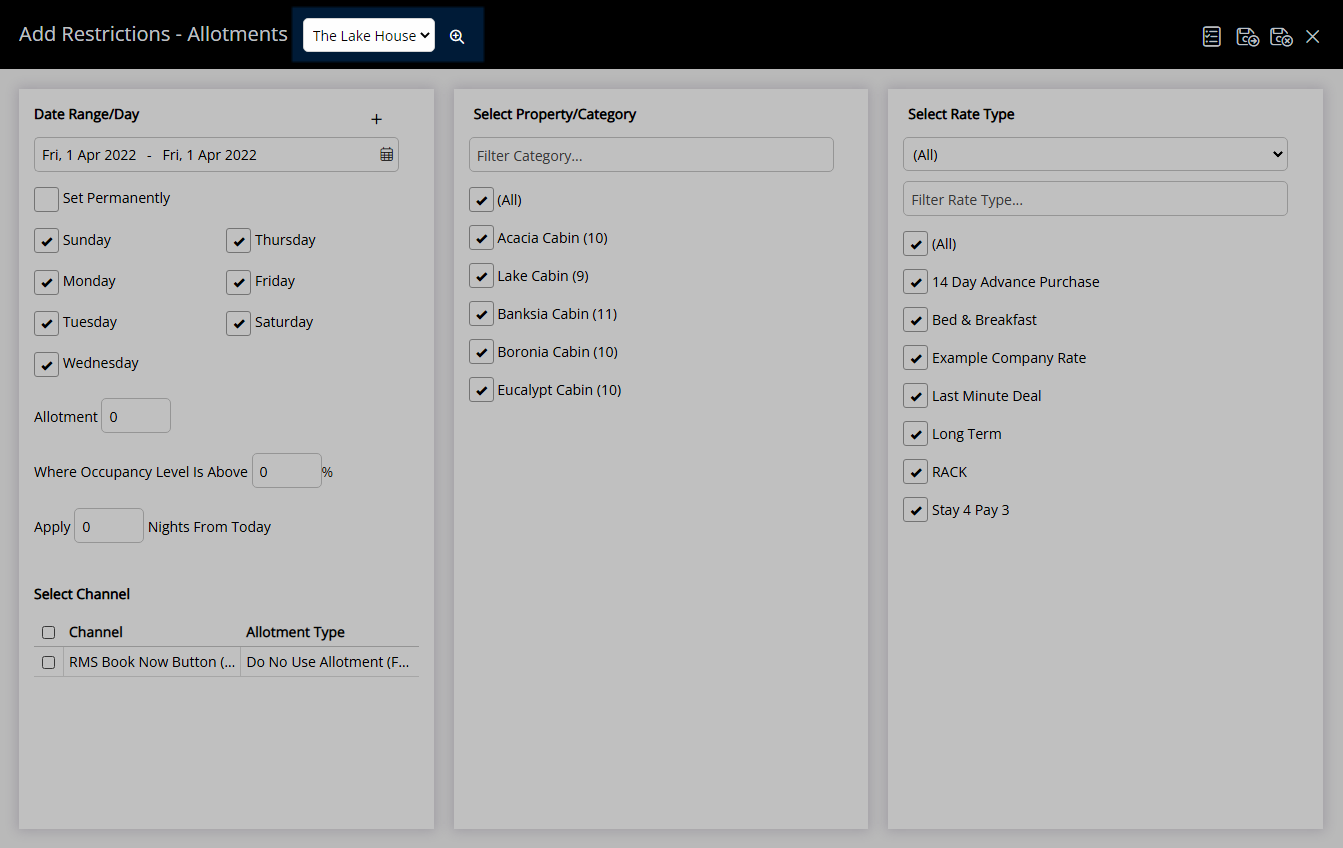
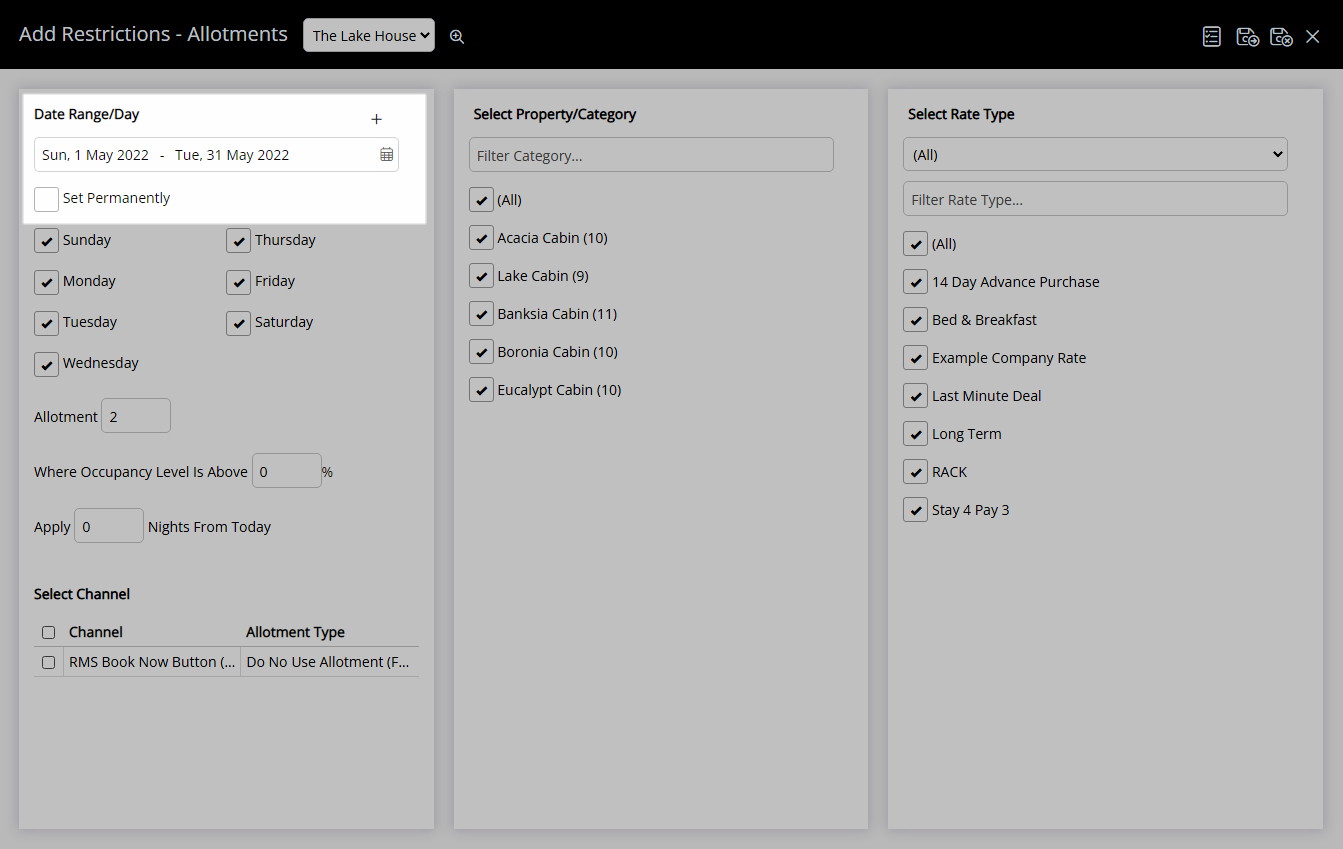
Select a Date Range or select the checkbox 'Set Permanently'.
Optional: Select the checkbox for Days of the Week.

Enter the Allotment.

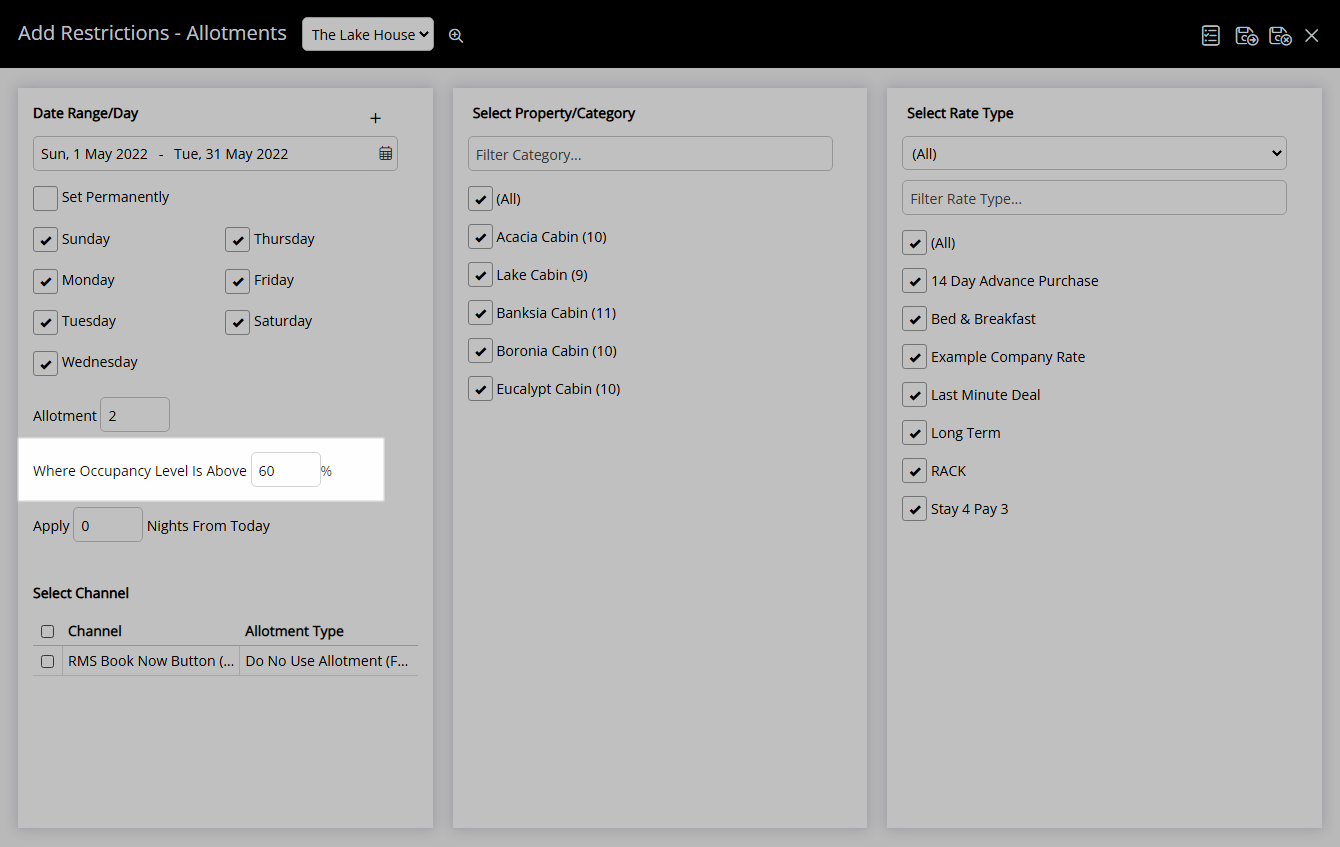
Optional: Enter an Occupancy benchmark.
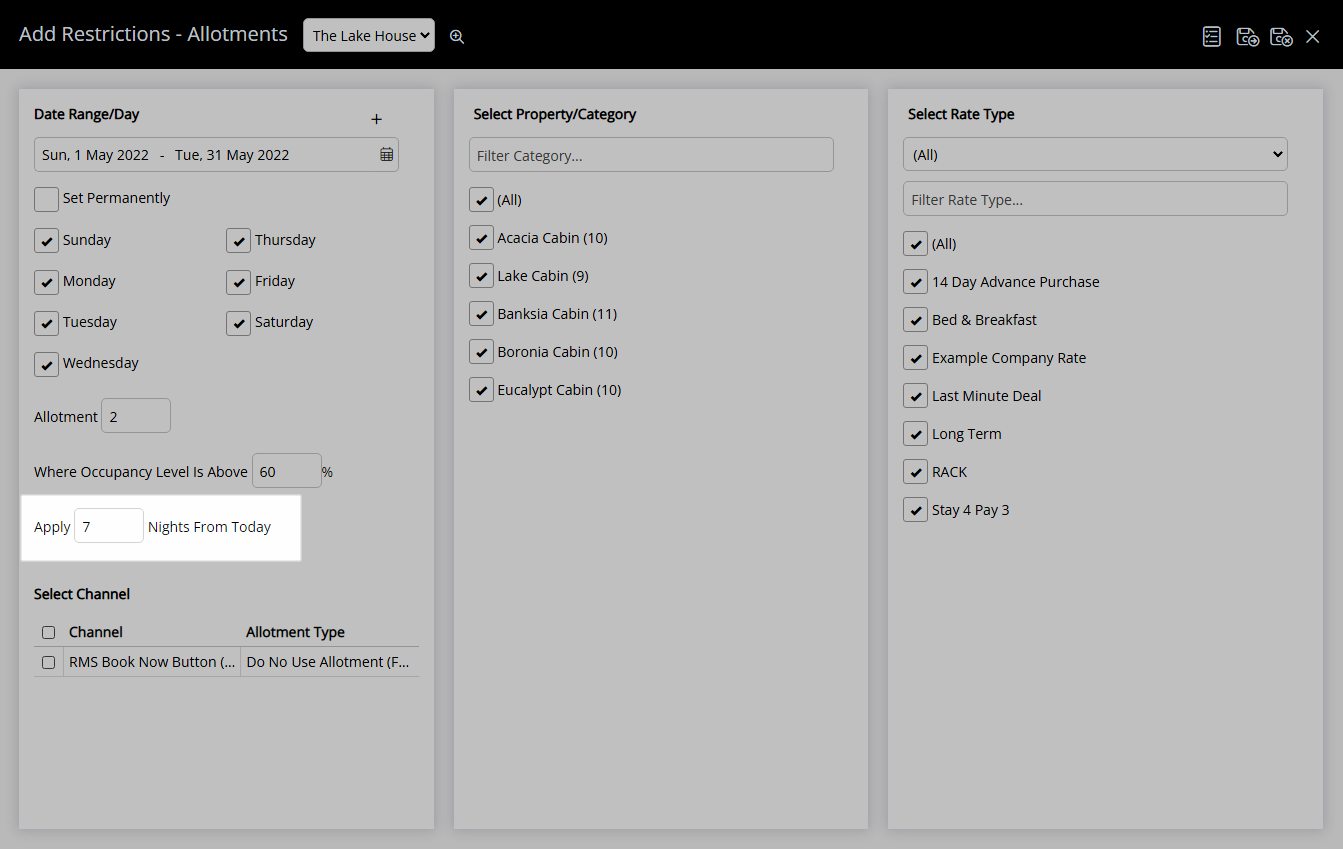
Optional: Enter an Allotment Lead Time.
Select the checkbox for a Connected Channel.
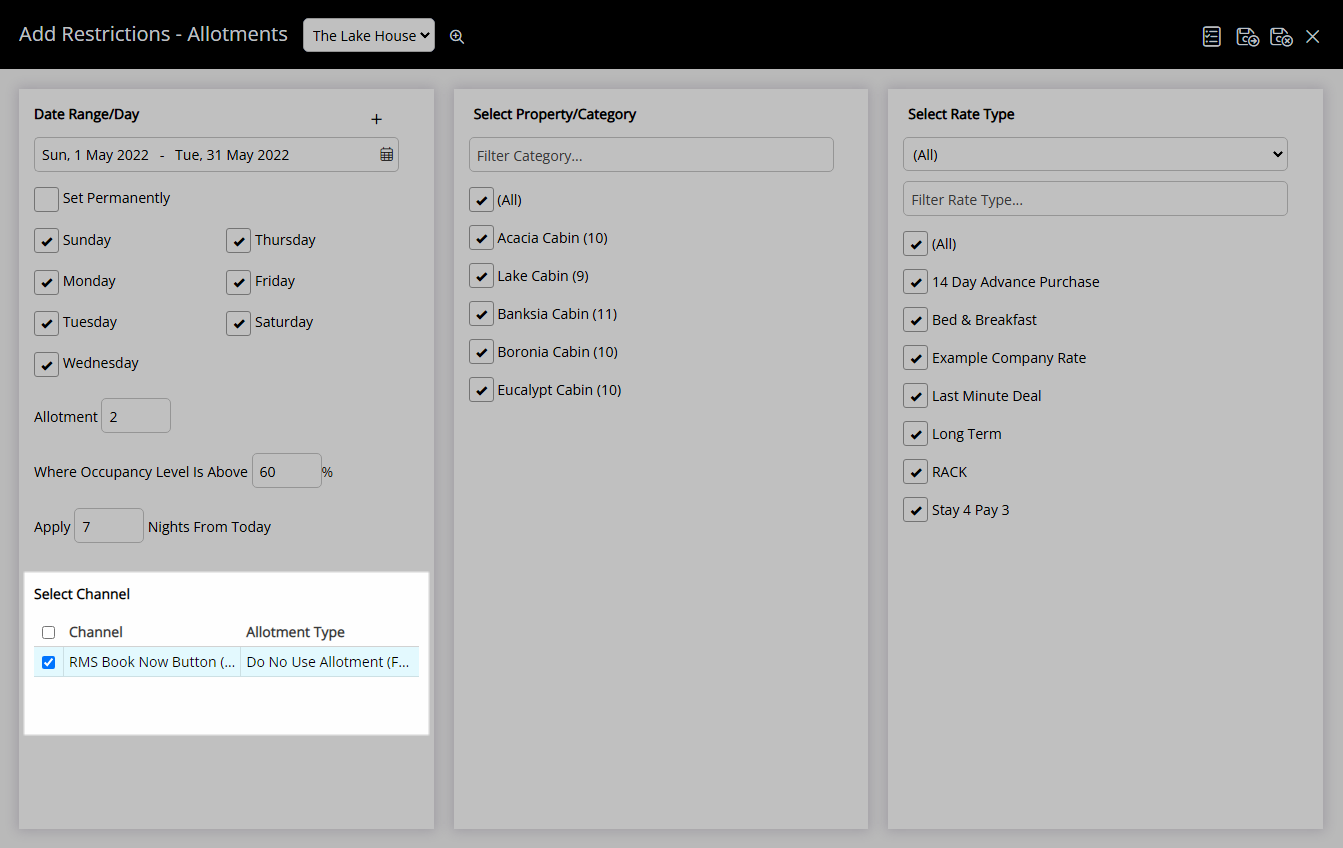
Select the checkbox for a Category.

Select the checkbox for a Rate Type.
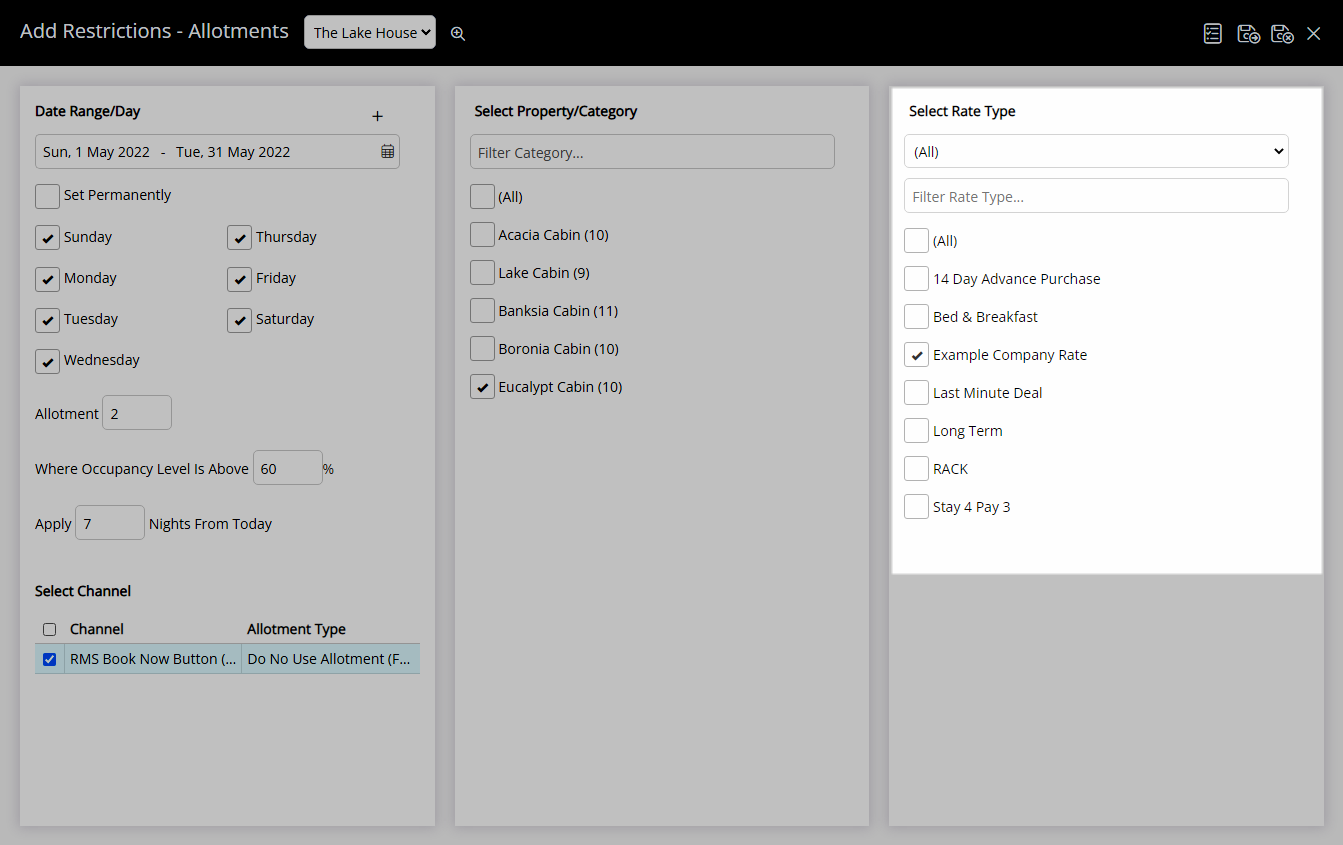
Select 'Save/Exit' to store the changes made and return to the Control Panel.

The Allotment will apply to the selected Category & Rate Type for the date range.
Use
- Go to Charts > Rate Manager in RMS.
- Select the
 'Control Panel' icon.
 - Select the
 'Add' icon.
 - Select the Restriction Type as 'Allotments'.
- Select a Property.
- Select a Date Range or select the checkbox 'Set Permanently'.
- Optional: Select the checkbox for Days of the Week.
- Enter the Allotment.
- Optional: Enter an Occupancy benchmark.
- Optional: Enter an Allotment Lead Time.
- Select the checkbox for a Connected Channel.
- Select the checkbox for a Category.
- Select the checkbox for a Rate Type.
- Save/Exit.

Select the  'Add' icon to add Multiple Date Ranges at Step 6.
Select the ![]() icon to set a Restriction Type as a favourite.
icon to set a Restriction Type as a favourite.
-
Guide
- Add Button
Guide
Go to Charts > Rate Manager in RMS.
Select the ![]() 'Control Panel' icon.
'Control Panel' icon.
Select the 'Add' icon.
Select the Restriction Type as 'Allotments'.
Select a Property.
Select a Date Range or select the checkbox 'Set Permanently'.
Optional: Select the checkbox for Days of the Week.
Enter the Allotment.
Optional: Enter an Occupancy benchmark.
Optional: Enter an Allotment Lead Time.
Select the checkbox for a Connected Channel.
Select the checkbox for a Category.
Select the checkbox for a Rate Type.
Select 'Save/Exit' to store the changes made and return to the Control Panel.
The Allotment will apply to the selected Category & Rate Type for the date range.