Clear Restriction
Cancel a restriction set in RMS.
Clear Restriction is an option available in the Control Panel to cancel the selected Restriction Type without removing the record.
-
Information
-
Use
- Add Button
Information
Clear Restriction is an option available in the Control Panel to cancel the selected Restriction Type without removing the record.
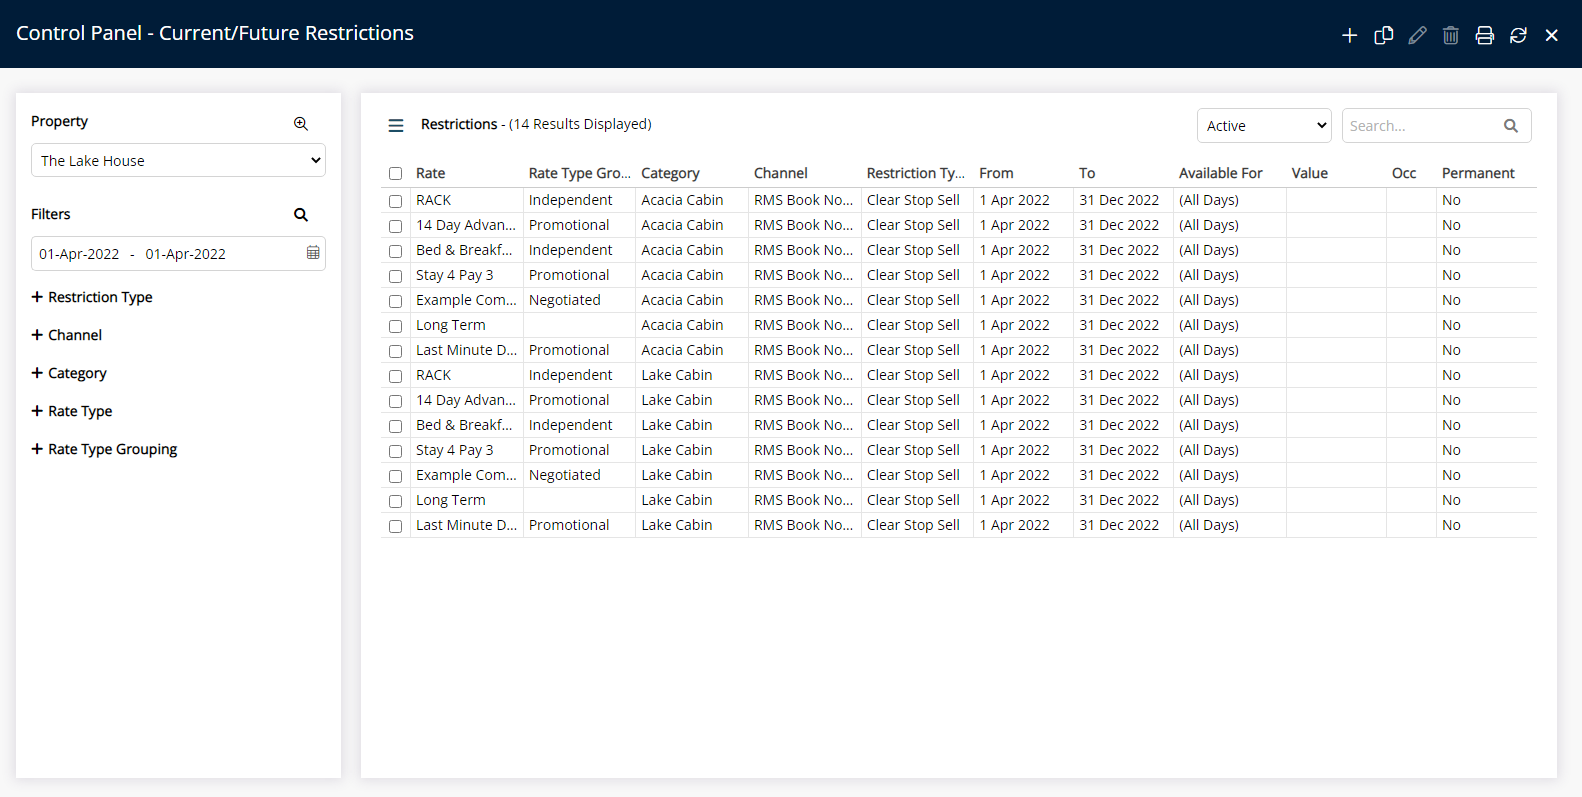
Clear Restriction is available for Close Rate, Closed to Arrival, Closed to Departure, Minimum Nights, Soft Close and Stop Sell.
An Occupancy benchmark can be set to only cancel the selected Restriction Type if the Occupancy is at the entered value.
The Occupancy Calculation Rule for the property will be used to determine the occupancy.
RMS will use the newest record when more than one exists for the same date and Restriction Type.

Category, Reservation and Rate are default System Labels that can be customised.

Users will require Security Profile access to use this feature.
-
Use
- Add Button
Use
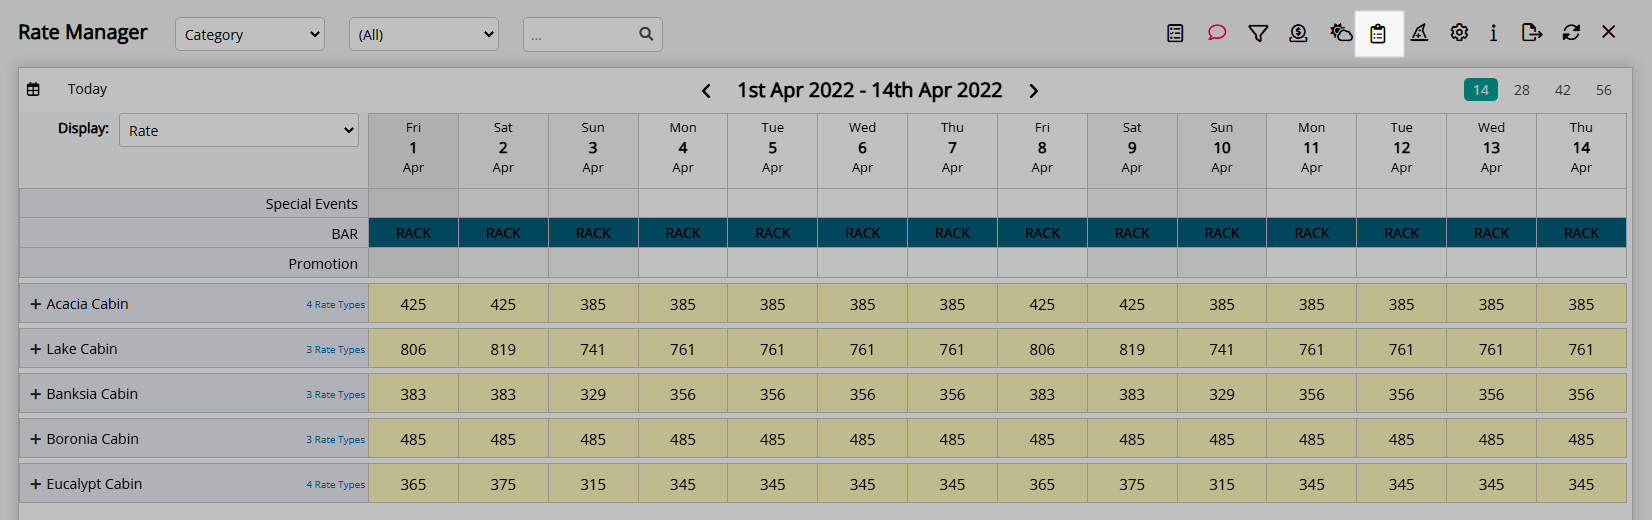
- Go to Charts > Rate Manager in RMS.
- Select the
 'Control Panel' icon.
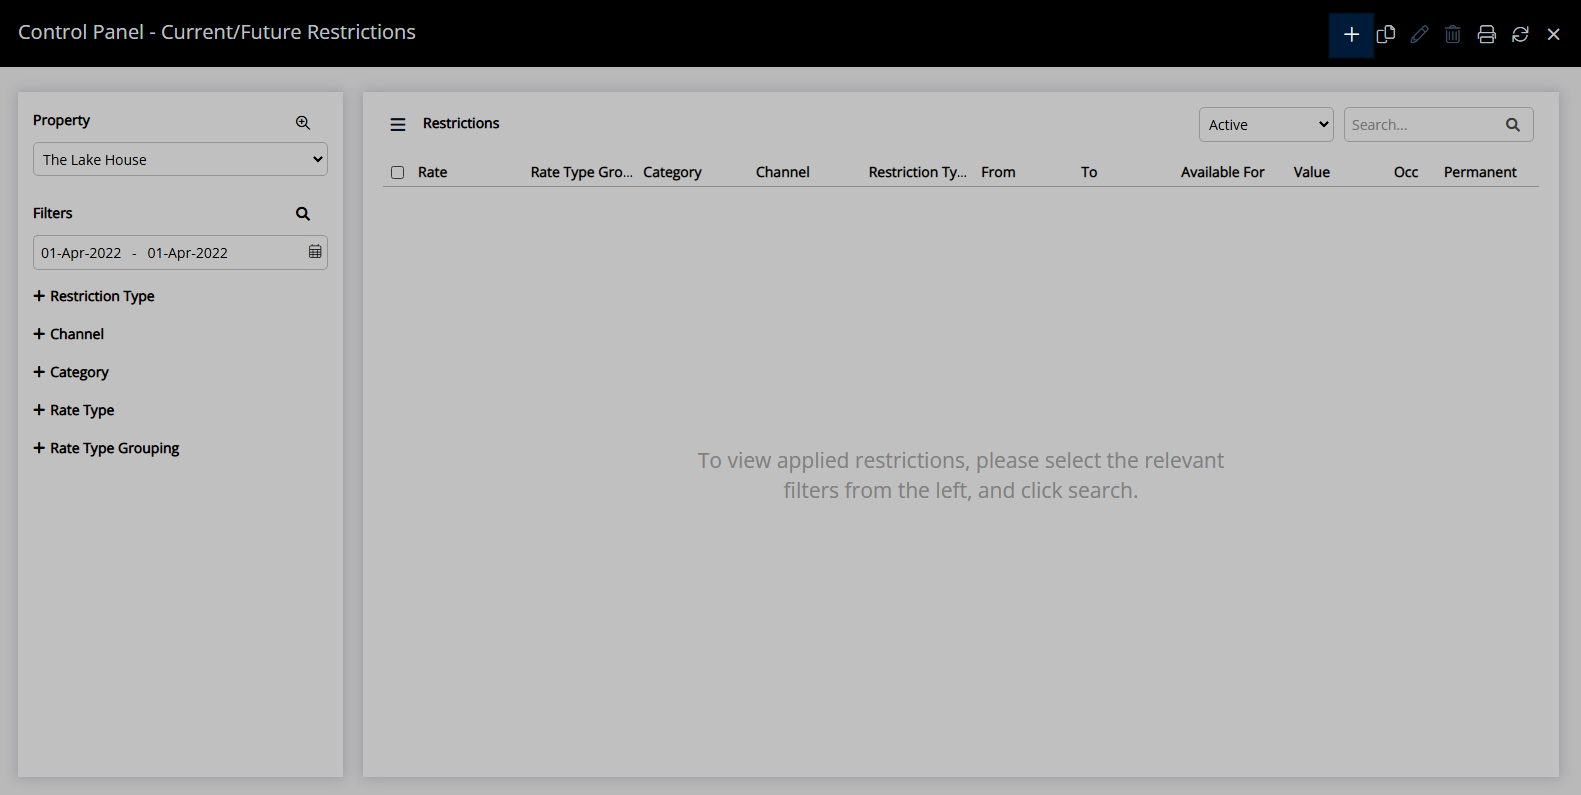
 - Select the
 'Add' icon
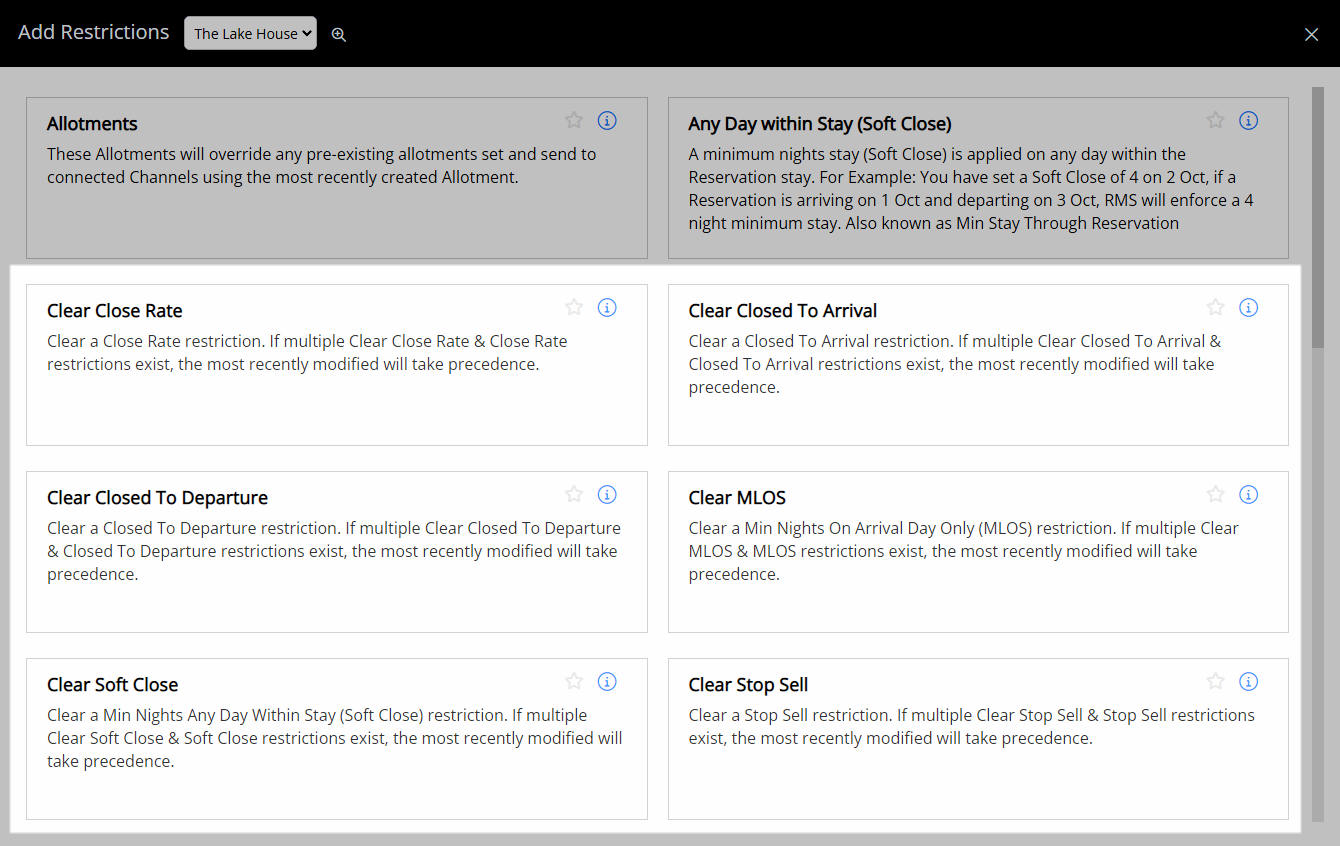
 - Select the Restriction Type as 'Clear Restriction Type'.
- Select a Property.
- Select a Date Range or select the checkbox 'Set Permanently'.
- Optional: Select the checkbox for Days of the Week.
- Select the checkbox for a Connected Channel.
- Select the checkbox for a Category.
- Select the checkbox for a Rate Type.
- Save/Exit.

Select the ![]() 'Add' icon to add Multiple Date Ranges at Step 6.
'Add' icon to add Multiple Date Ranges at Step 6.
Select the  icon to set a Restriction Type as a favourite.
Skip Step 8 for the Length of Stay Restriction Types of Soft Close or Minimum Nights.
-
Guide
- Add Button
Guide
Go to Charts > Rate Manager in RMS.

Select the  'Control Panel' icon.
Select the ![]() 'Add' icon
'Add' icon
Select the Restriction Type as 'Clear Restriction Type'.
Select a Property.
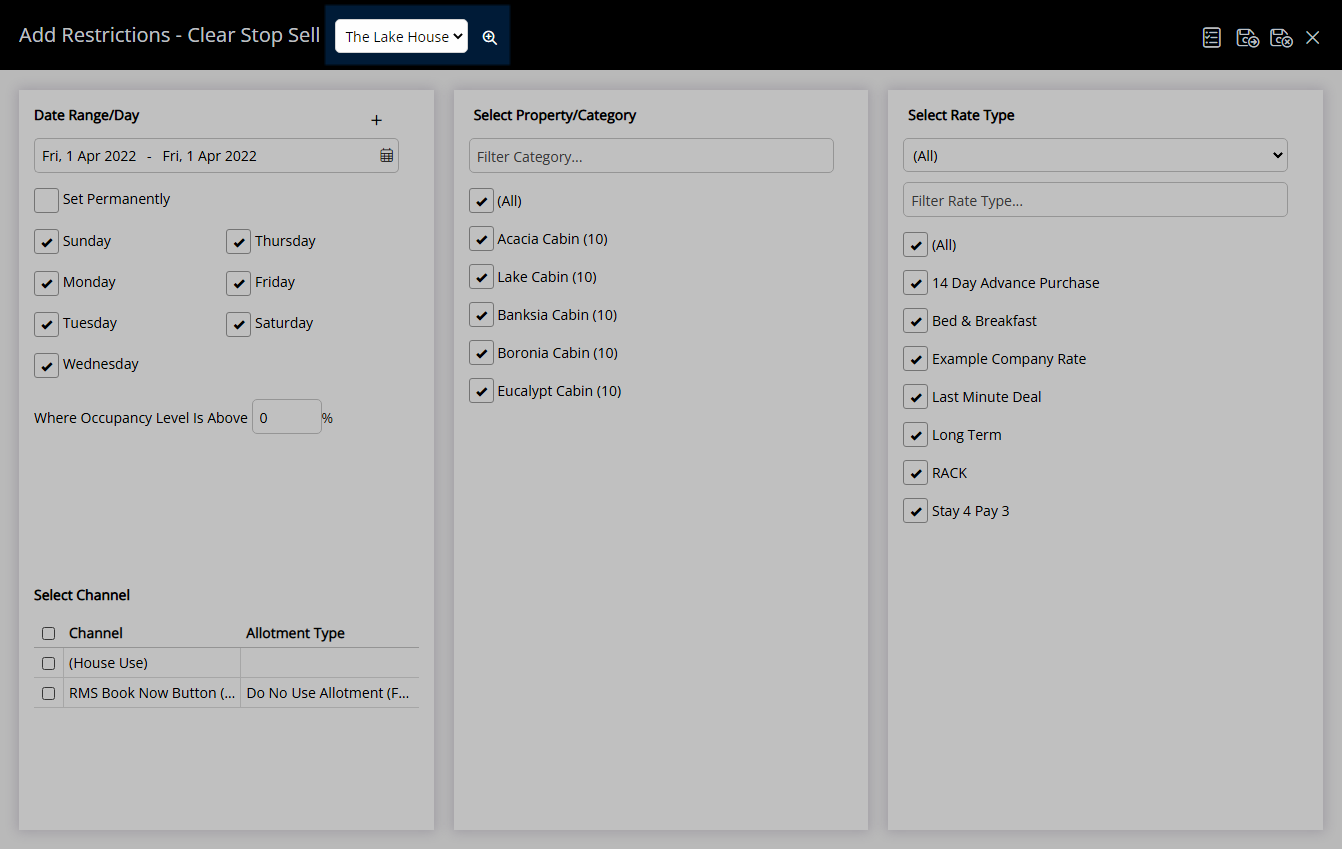
Select a Date Range or select the checkbox 'Set Permanently'.
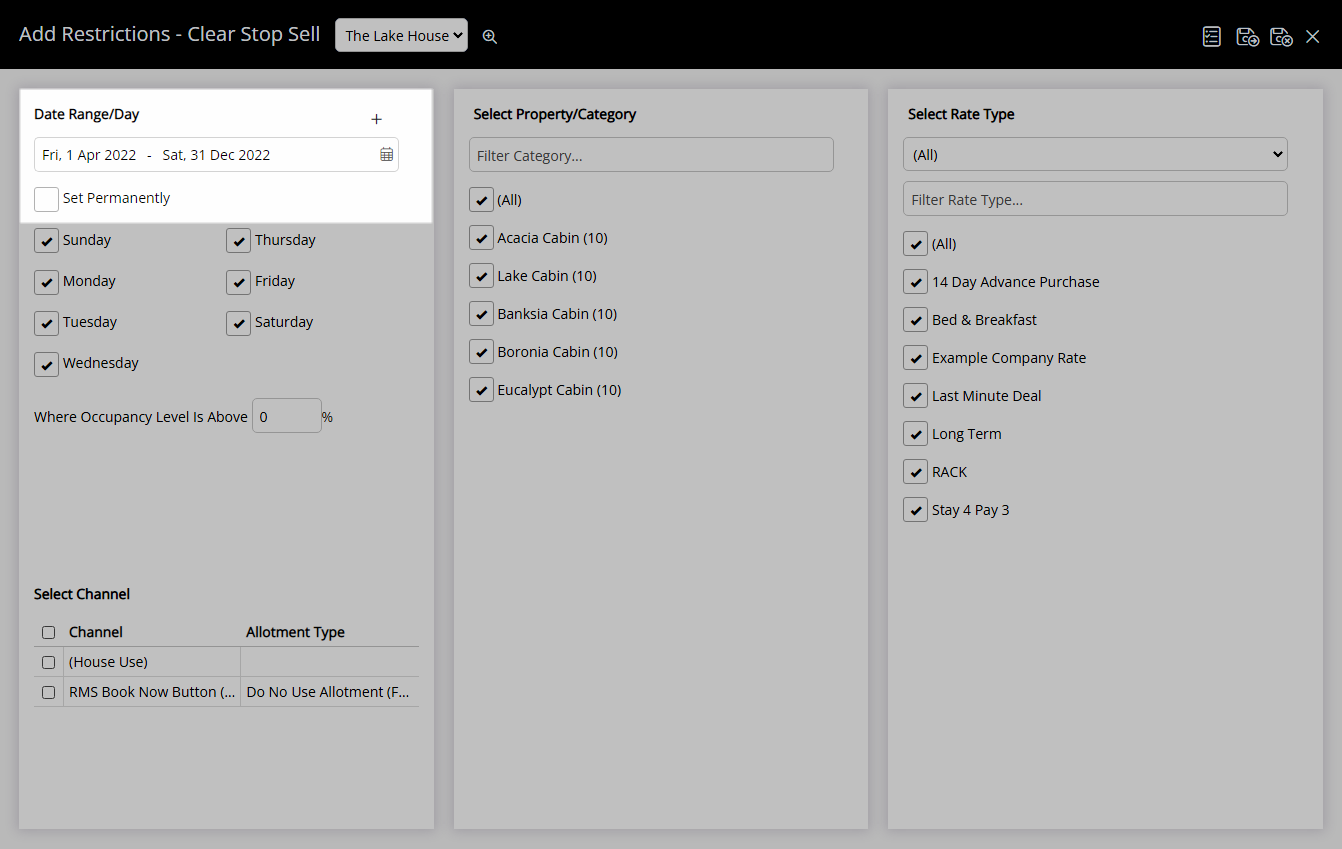
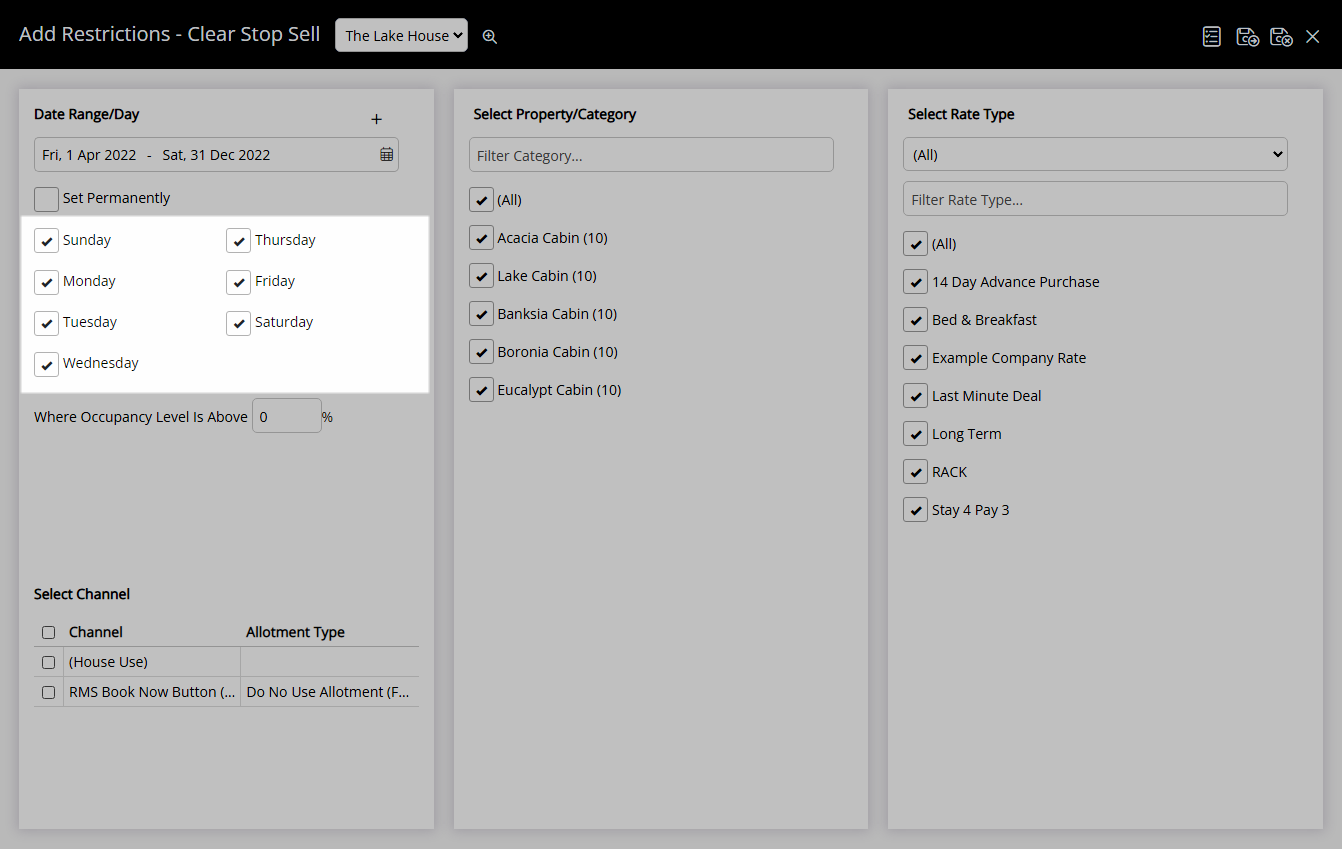
Optional: Select the checkbox for Days of the Week.
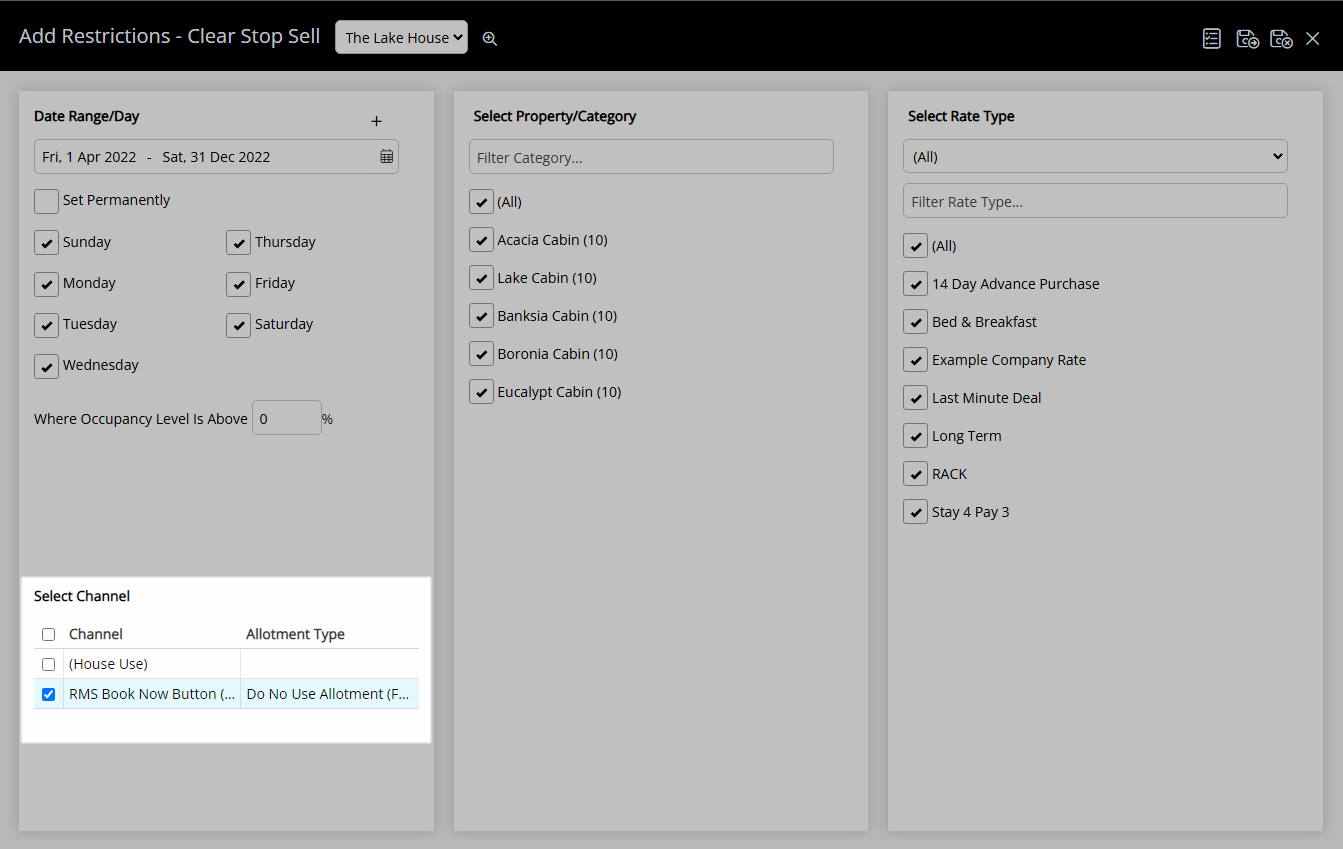
Select the checkbox for a Connected Channel.
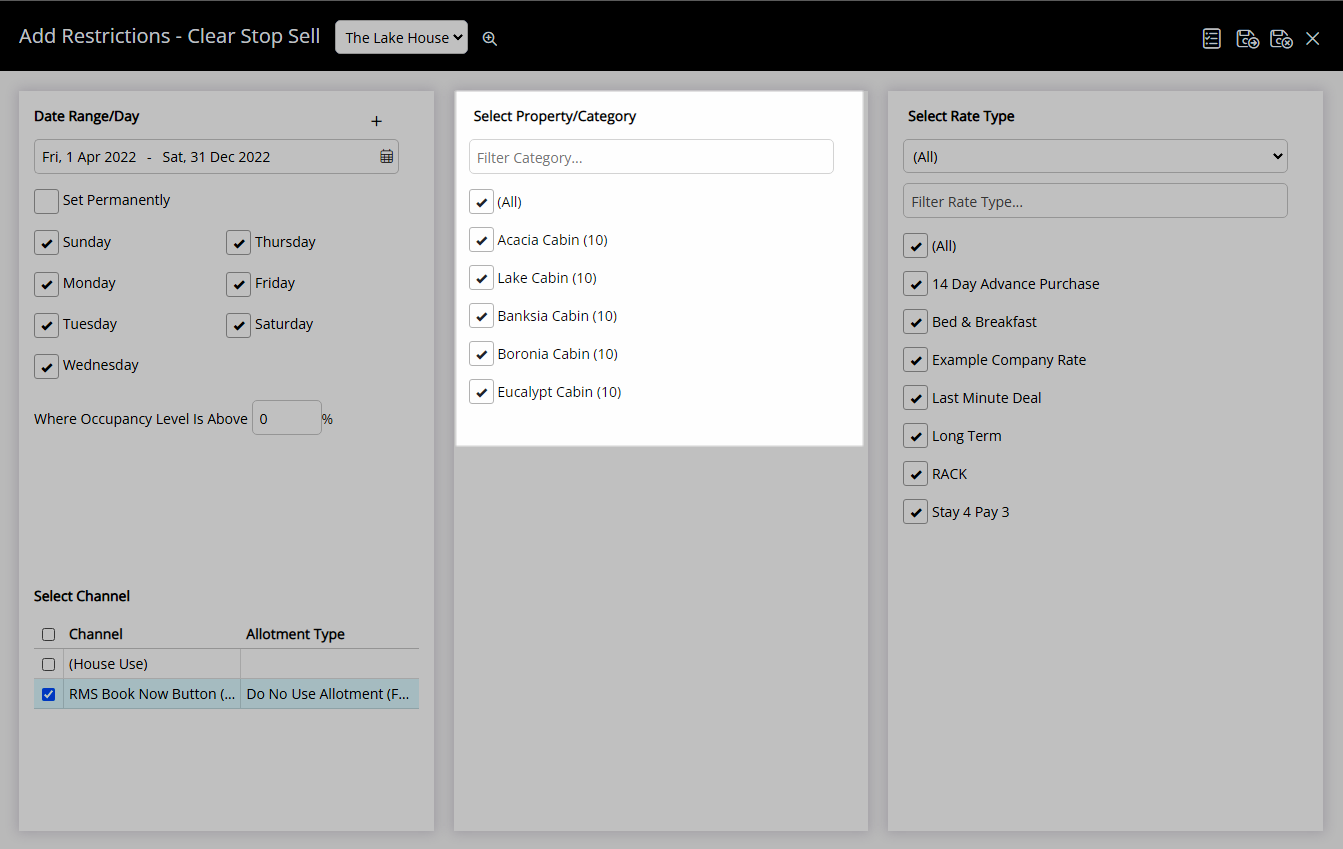
Select the checkbox for a Category.
Select the checkbox for a Rate Type.
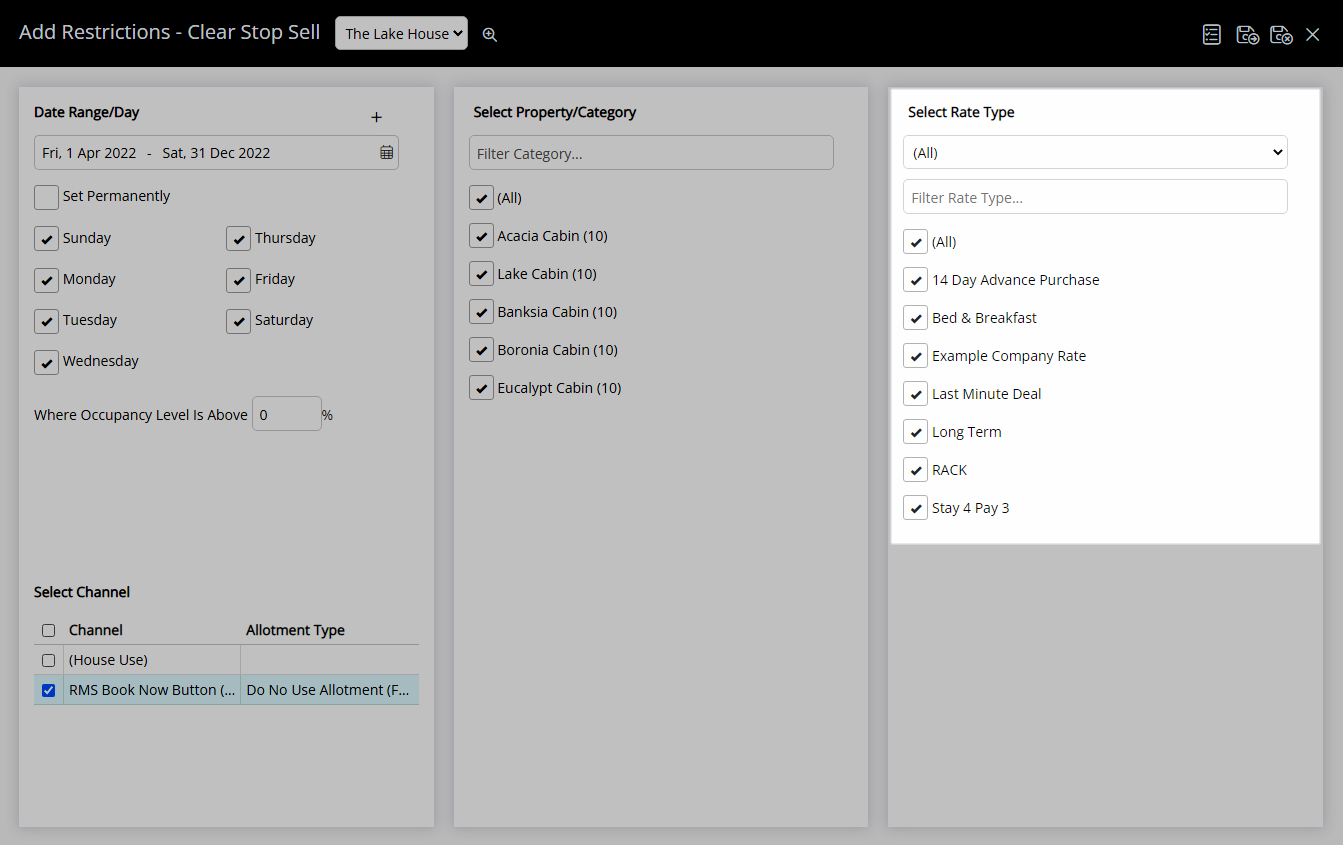
Select  'Save/Exit' to store the changes made and return to the Control Panel.
The selected Restriction Type will be cleared without deleting the record from the Control Panel.
Use
- Go to Charts > Rate Manager in RMS.
- Select the
 'Control Panel' icon.
 - Select the
 'Add' icon
 - Select the Restriction Type as 'Clear Restriction Type'.
- Select a Property.
- Select a Date Range or select the checkbox 'Set Permanently'.
- Optional: Select the checkbox for Days of the Week.
- Select the checkbox for a Connected Channel.
- Select the checkbox for a Category.
- Select the checkbox for a Rate Type.
- Save/Exit.

Select the  'Add' icon to add Multiple Date Ranges at Step 6.
Select the ![]() icon to set a Restriction Type as a favourite.
icon to set a Restriction Type as a favourite.
Skip Step 8 for the Length of Stay Restriction Types of Soft Close or Minimum Nights.
-
Guide
- Add Button
Guide
Go to Charts > Rate Manager in RMS.
Select the 'Control Panel' icon.
Select the ![]() 'Add' icon
'Add' icon
Select the Restriction Type as 'Clear Restriction Type'.
Select a Property.
Select a Date Range or select the checkbox 'Set Permanently'.
Optional: Select the checkbox for Days of the Week.
Select the checkbox for a Connected Channel.
Select the checkbox for a Category.
Select the checkbox for a Rate Type.
Select 'Save/Exit' to store the changes made and return to the Control Panel.
The selected Restriction Type will be cleared without deleting the record from the Control Panel.
