Passes
Setup Annual, Daily or Seasonal Passes in RMS.
Passes provide access to property facilities for a defined period of time when using the Passes Module.
-
Information
-
Setup
- Add Button
Information
Passes provide access to property facilities for a defined period of time when using the Passes Module.
The Passes module can be used to issue and sell access passes for property facilities.
Passes can be setup to provide access for a Day, Year or Season with a predefined date range.
Pass Fees can be setup Per Person or Per Period using a Sundry Charge with the price entered in each Currency setup for the Property.
Enterprise customers can setup Passes to provide access for one or more Properties.
Daily Passes can be setup with Exclusion Dates that prevent the pass being sold for a date that falls within an exclusion period.
The following Pass Types are available.
| Pass Type | Description |
|---|---|
| Daily | Valid for one day. Can be setup with Exclusion Dates. |
| Annual | Valid for 365 days. |
| Seasonal | Valid for the selected date range. |
The following Merge Fields can be added to a Form Letter from the 'Guest' Merge Table.
| Merge Field | Description |
|---|---|
| «cPass_Expiry» |
The Pass Expiry Date. |
| «cPass_ID» |
Unique Pass ID. |
| «cPass_Type» |
The Pass Type. |
| «cPass_Valid_From» |
The Pass Valid From Date. |

Sundry, Guest, Rate and Reservation are default System Labels that can be customised.
The Passes module is required to setup and use Passes.

System Administrators will require Security Profile access to setup this feature.
-
Setup
- Add Button
Setup
Have your System Administrator complete the following.
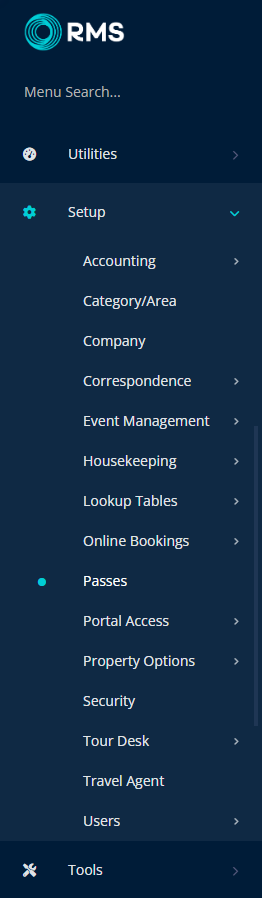
- Go to Setup > Passes in the Side Menu of RMS.
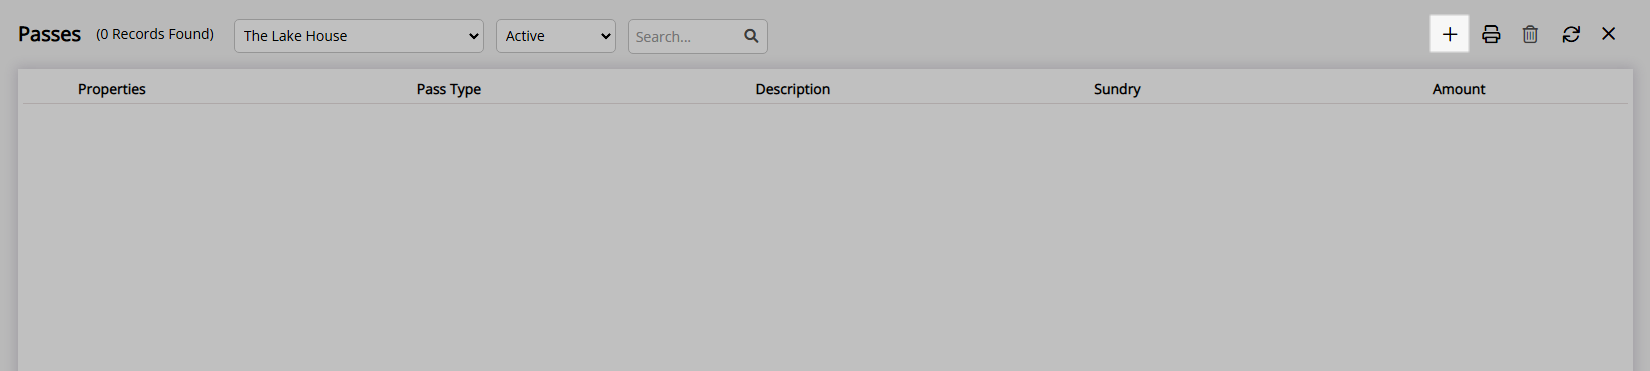
- Select the
 'Add' icon.
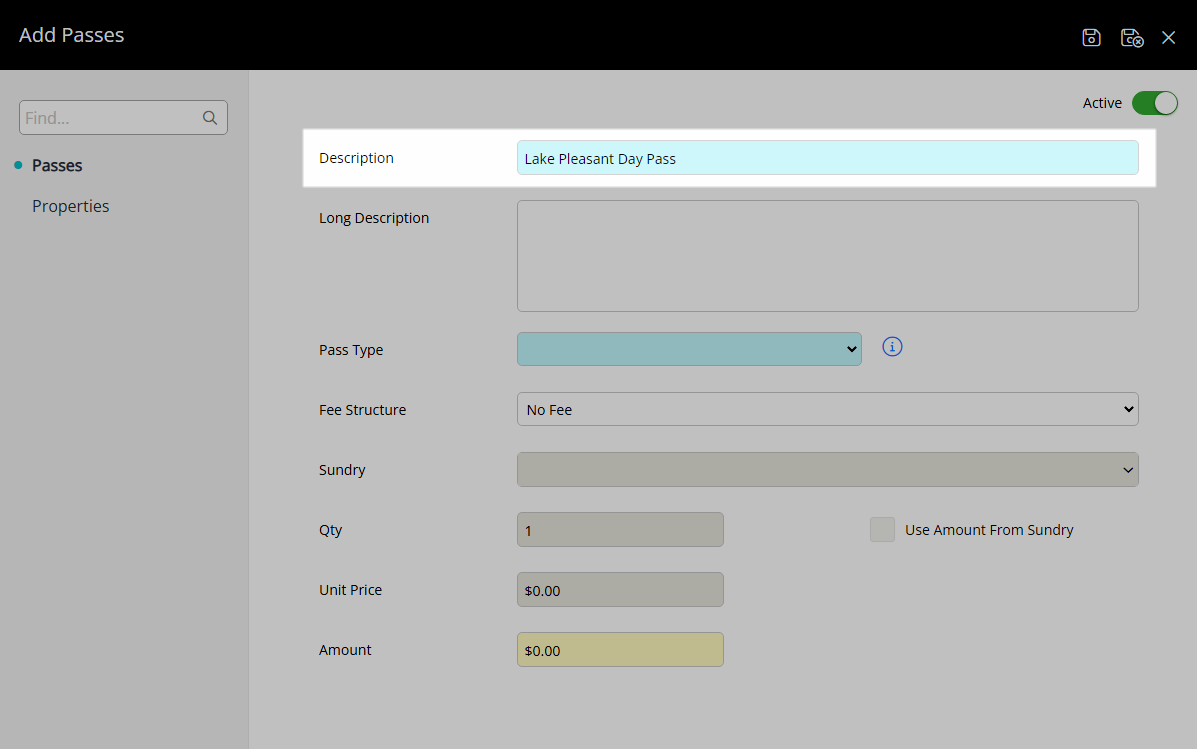
 - Enter a Description.
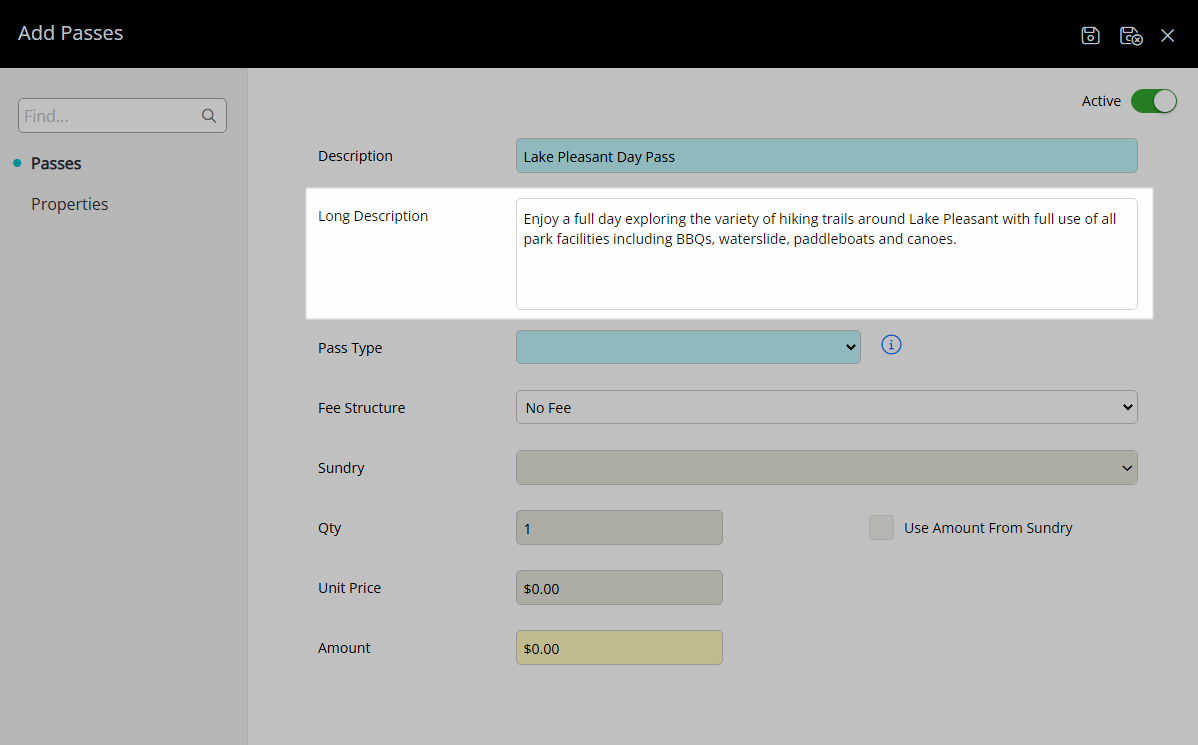
- Optional: Enter a Long Description.
- Select a Pass Type.
- Select a Fee Structure.
- Fees Per Period: Select a Sundry Charge and enter the Unit Price or select the checkbox 'Use Amount from Sundry'.
- Fees Per Person: Select a Sundry Charge and enter the Price Per Adult, Child and Infant.
- Save.
-
Optional: Setup Properties.
- Navigate to the 'Properties' tab.
- Optional: Select the checkbox 'Pass can be used at Multiple Properties'.
- Select the
 'Add' icon.
 - Select the Property and choose the
 button.
 - Apply/Exit.
-
Optional: Setup Exclusion Dates.
- Navigate to the 'Exclusion Dates' tab.
- Select the
 'Add' icon.
 - Select the Exclude Entry Date Range.
- Select the checkbox for a Property.
- Save/Exit.
- Save/Exit.

Passes will default to 'All Properties' unless setup for a specific Property and can made valid for multiple Properties.
Exclusion Dates are available for the Daily Pass Type.
-
Guide
- Add Button
Guide
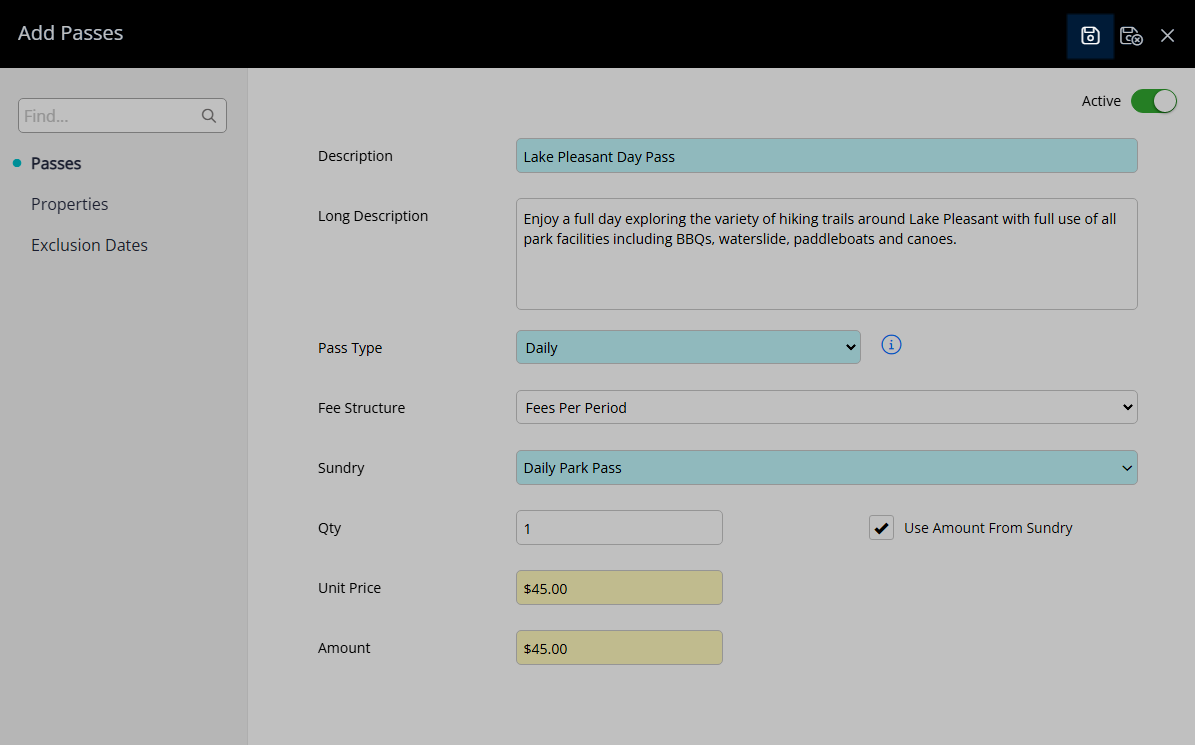
Go to Setup > Passes in the Side Menu of RMS.
Select the ![]() 'Add' icon.
'Add' icon.
Enter a Description.
Optional: Enter a Long Description.
Select a Pass Type.
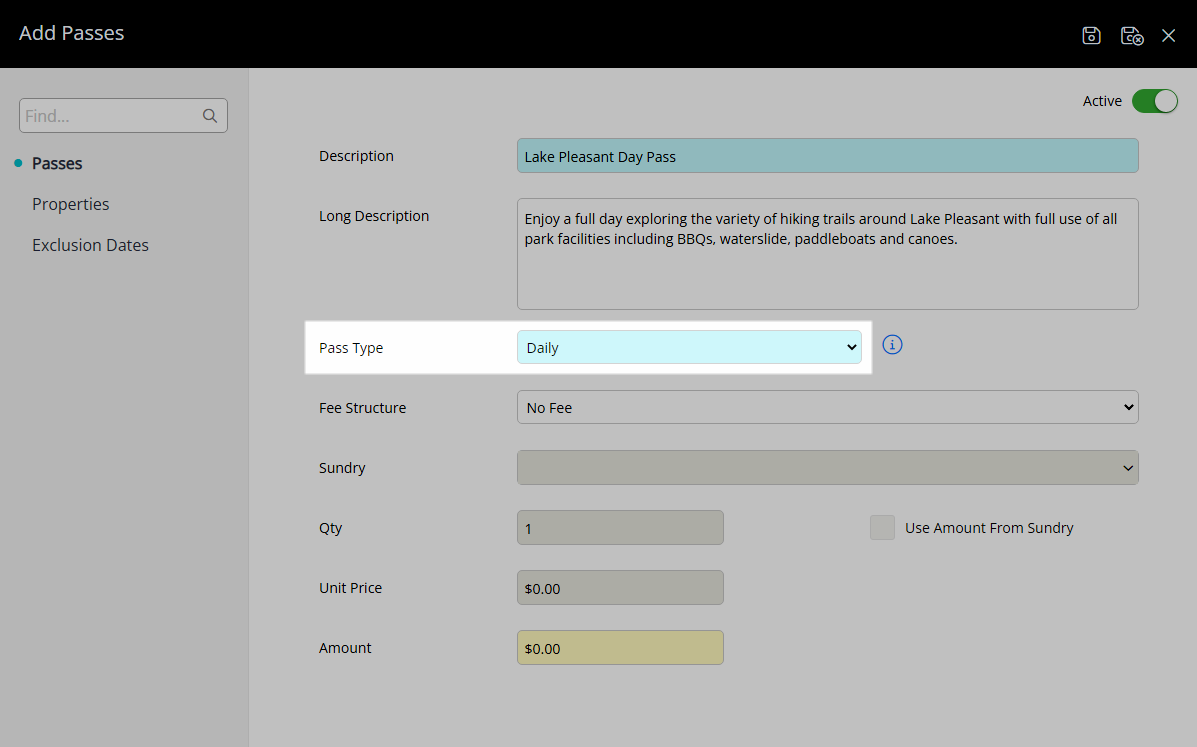
Select a Fee Structure.
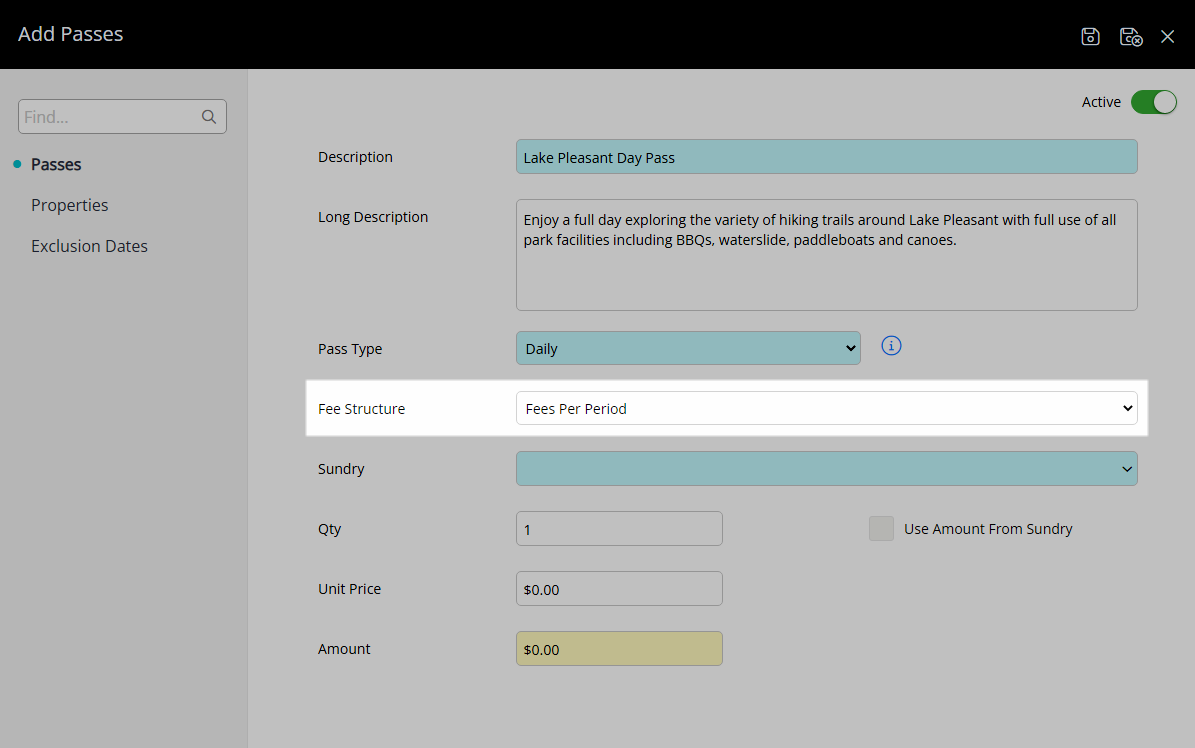
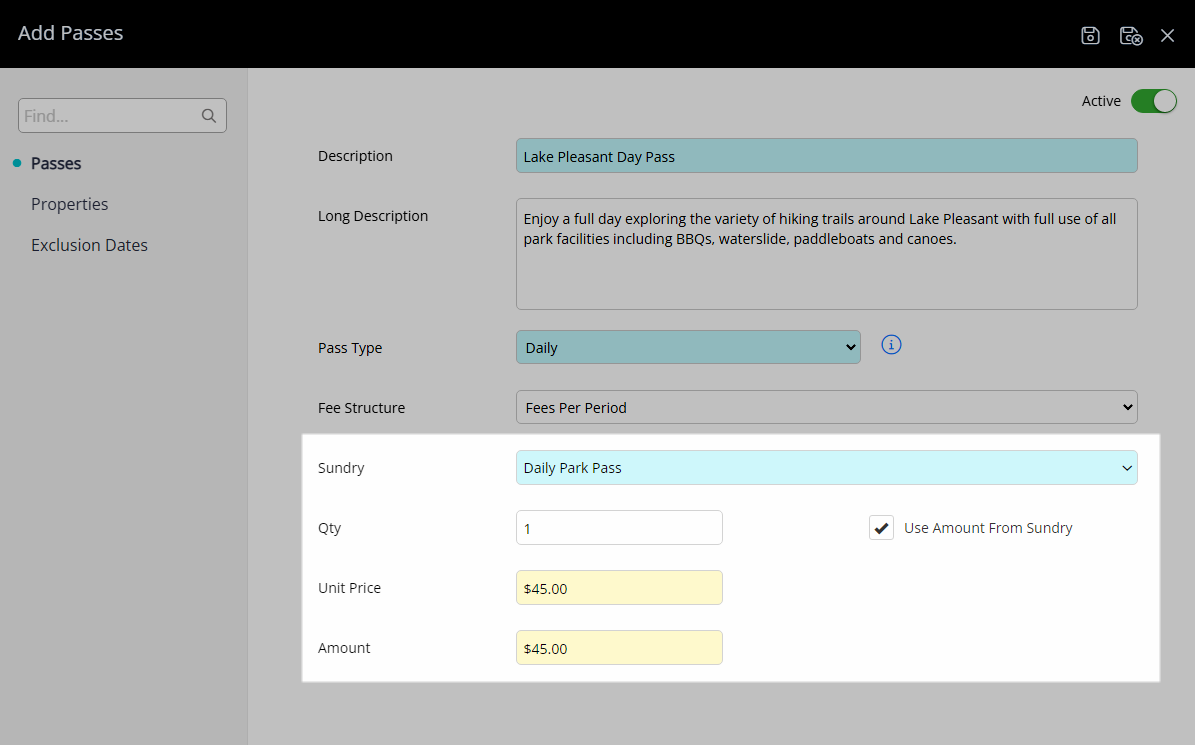
Fees Per Period: Select a Sundry Charge and enter the Unit Price or select the checkbox 'Use Amount from Sundry'.
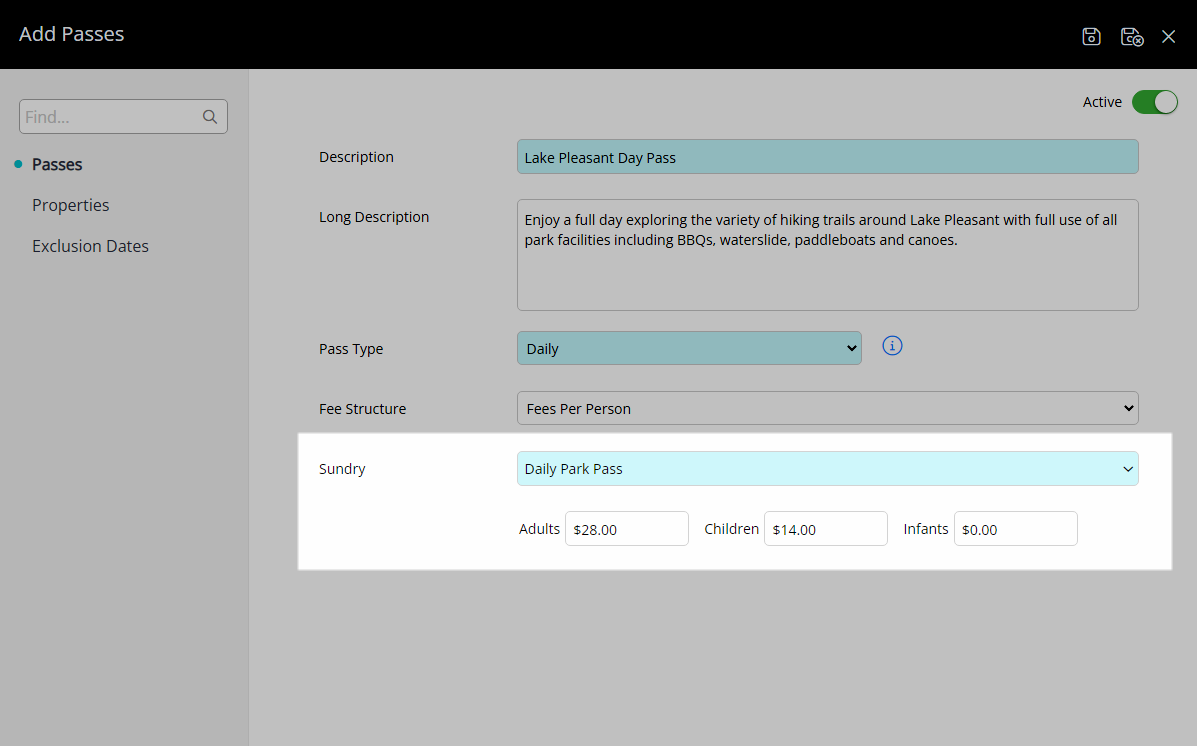
Fees Per Person: Select a Sundry Charge and enter the Price Per Adult, Child and Infant.
Select the  'Save' icon to store the changes made.
Optional: Setup Properties.
Navigate to the 'Properties' tab.
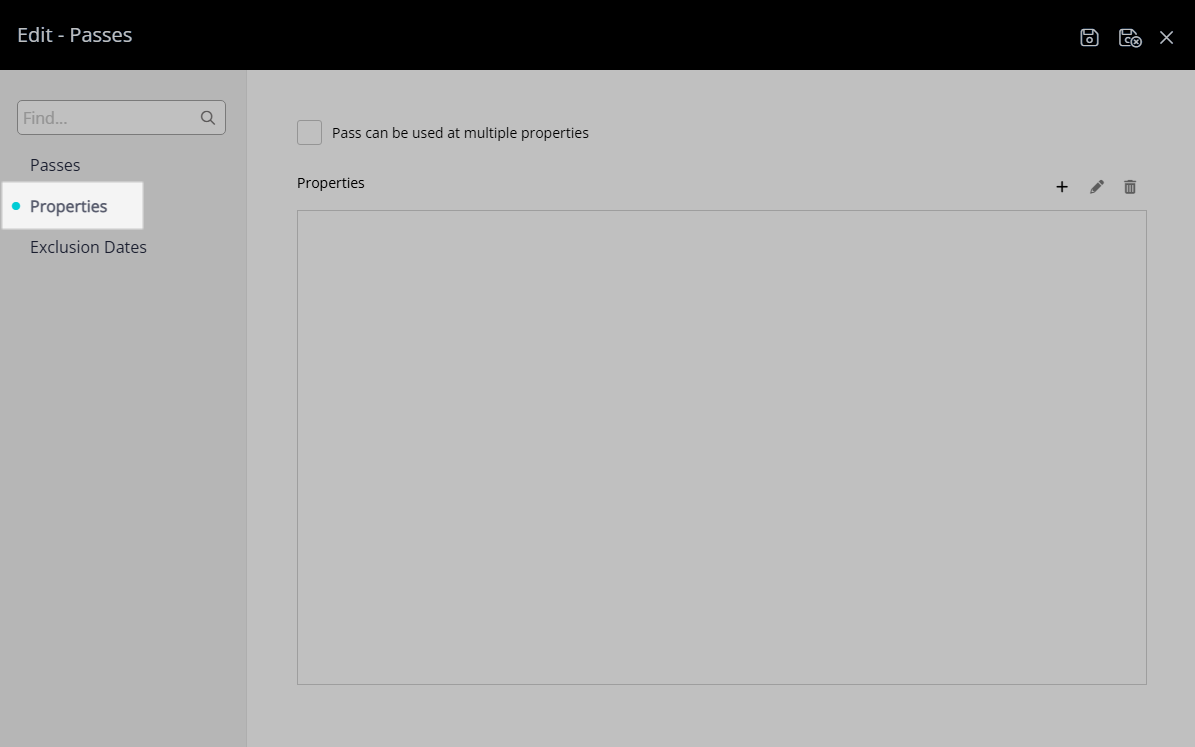
Optional: Select the checkbox 'Pass can be used at Multiple Properties'.
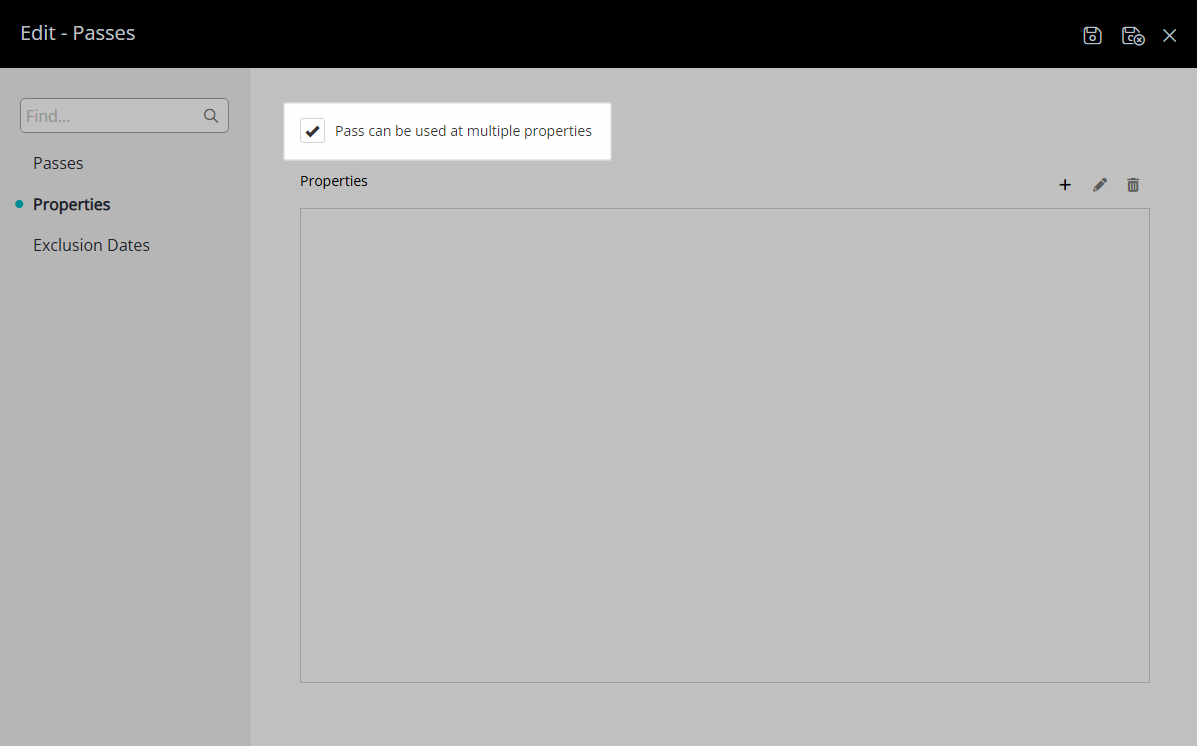
Select the ![]() 'Add' icon.
'Add' icon.

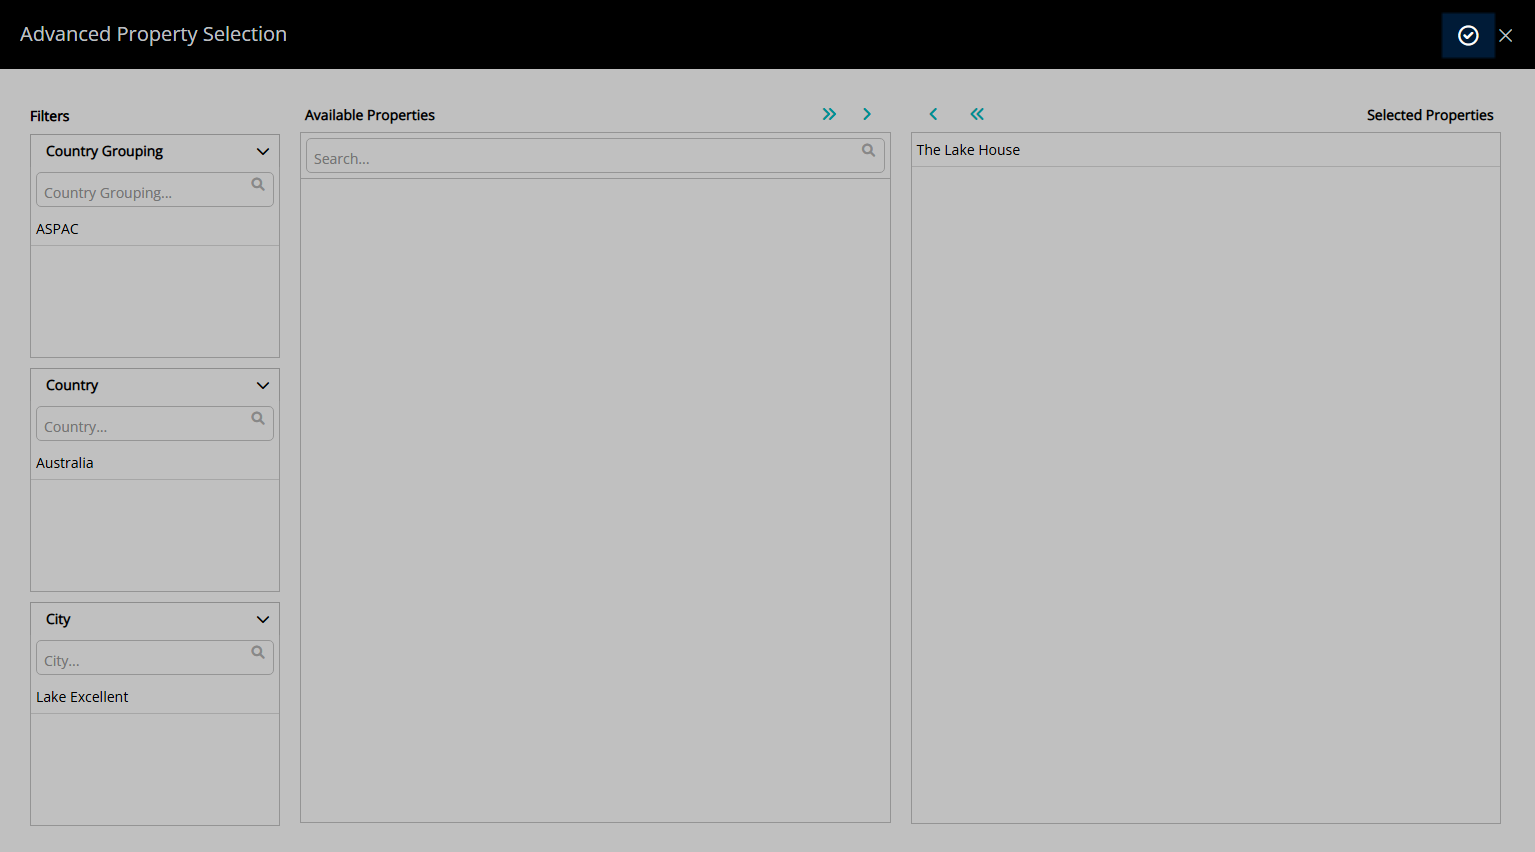
Select the Property and choose the ![]() button.
button.
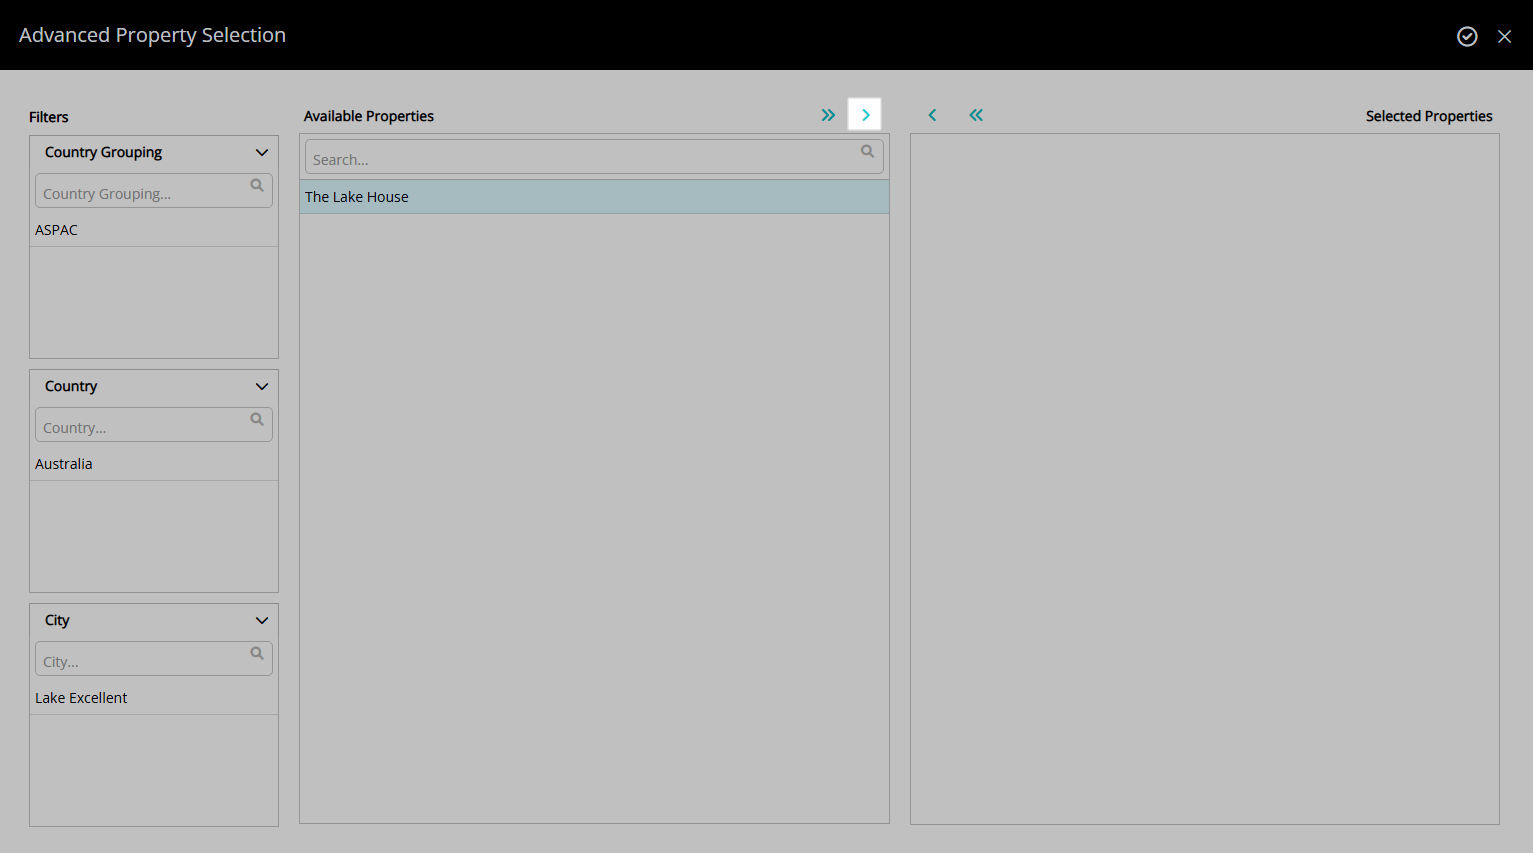
Select the  'Apply/Exit' icon to store the changes made and return to the Passes setup.
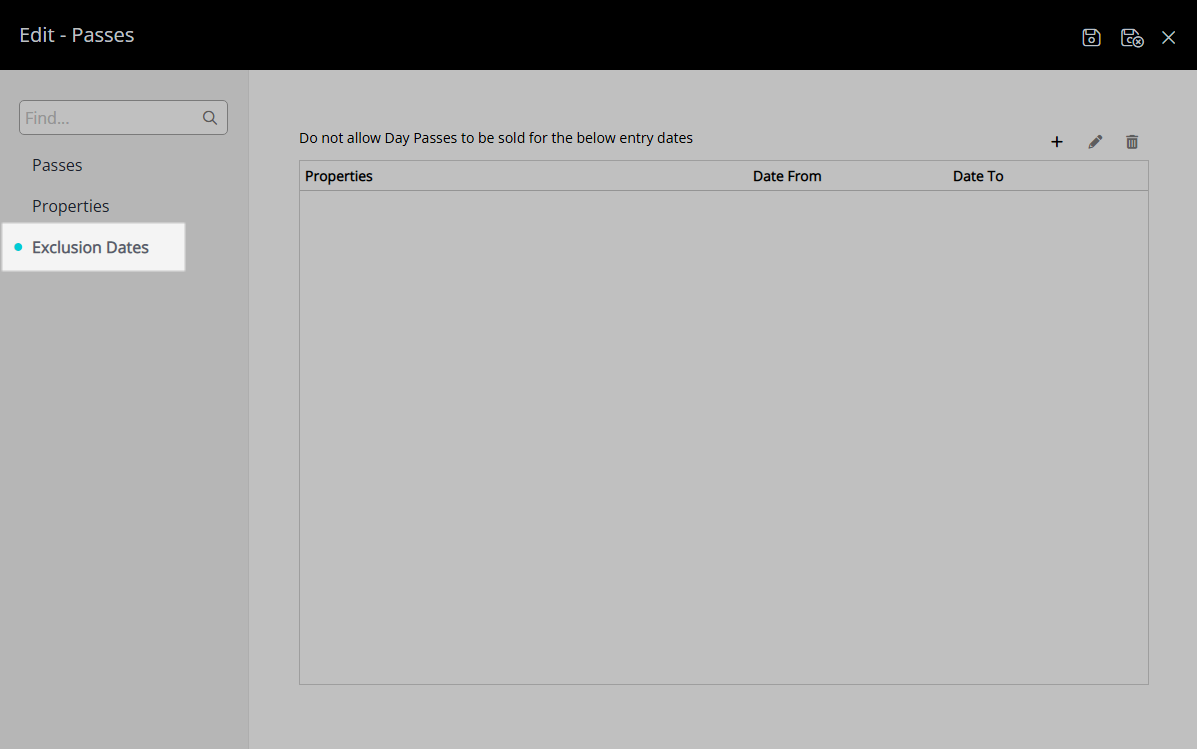
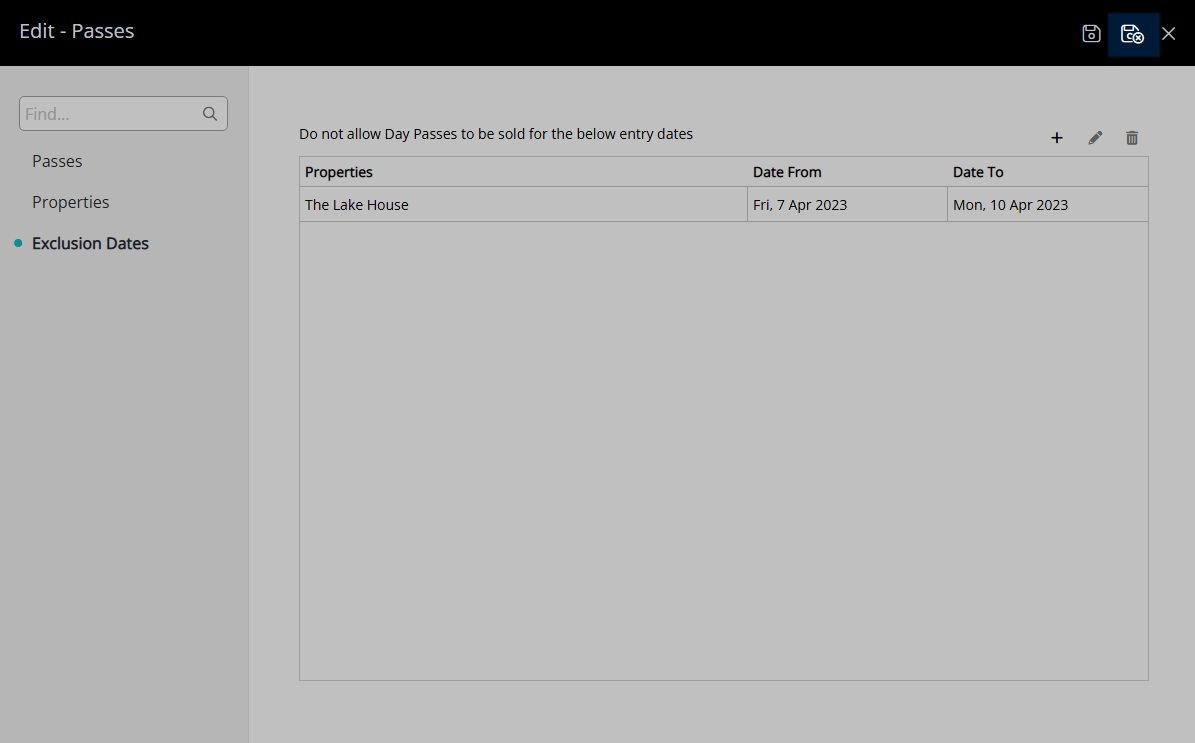
Optional: Setup Exclusion Dates.
Navigate to the 'Exclusion Dates' tab.
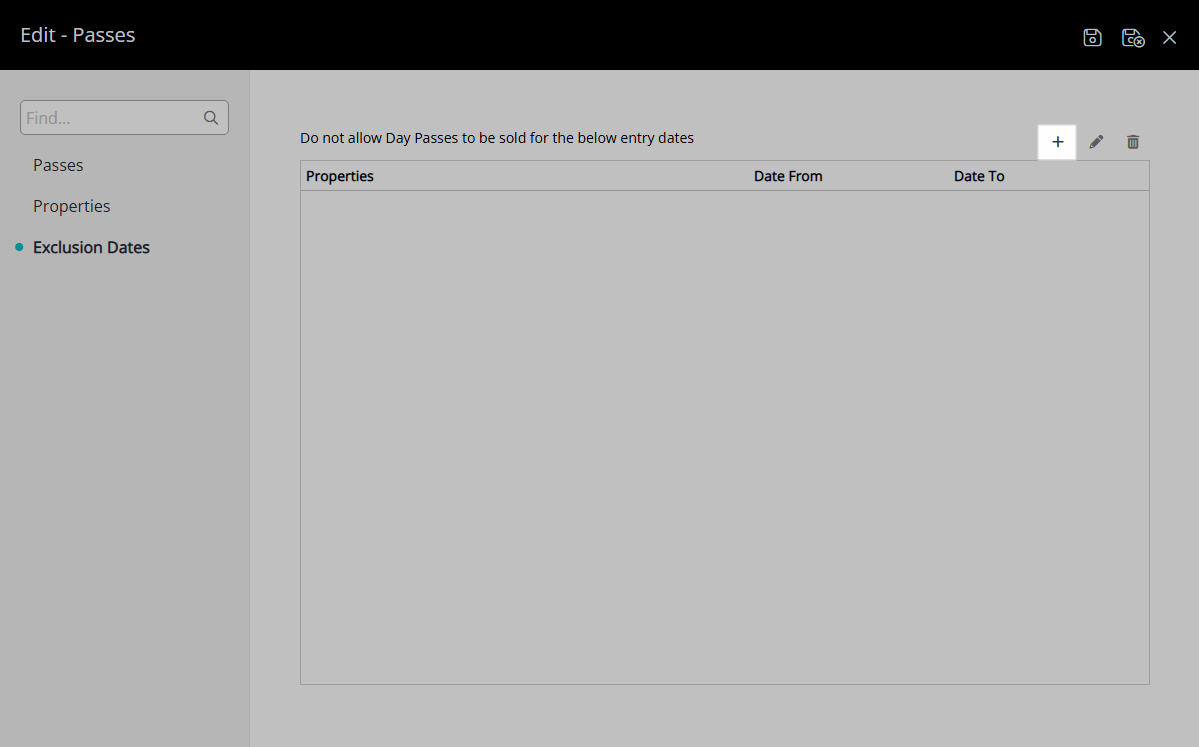
Select the  'Add' icon.
Select the Exclude Entry Date Range.

Select the checkbox for a Property.
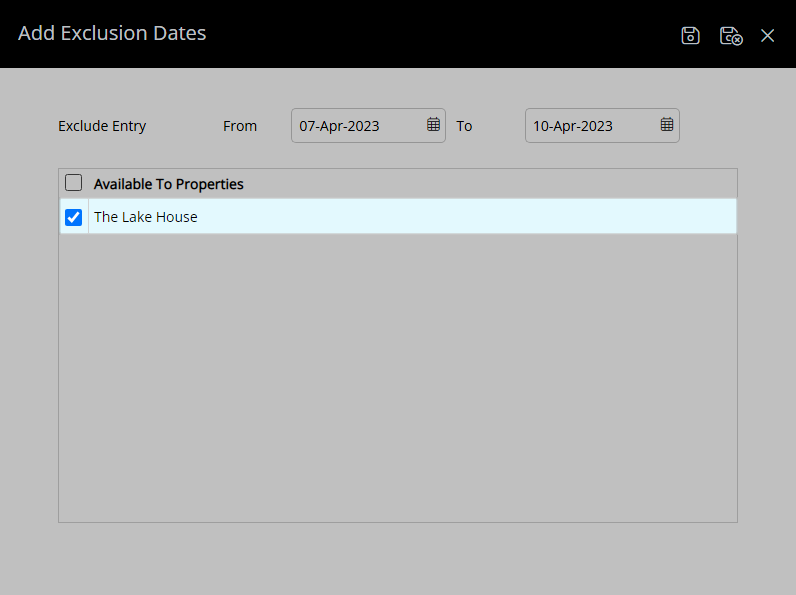
Select the  'Save/Exit' icon to store the changes made and leave the Passes setup.
This Pass will be available for selection to sell on the Passes Portal.

Setup
Have your System Administrator complete the following.
- Go to Setup > Passes in the Side Menu of RMS.
- Select the 'Add' icon.
- Enter a Description.
- Optional: Enter a Long Description.
- Select a Pass Type.
- Select a Fee Structure.
- Fees Per Period: Select a Sundry Charge and enter the Unit Price or select the checkbox 'Use Amount from Sundry'.
- Fees Per Person: Select a Sundry Charge and enter the Price Per Adult, Child and Infant.
- Save.
-
Optional: Setup Properties.
- Navigate to the 'Properties' tab.
- Optional: Select the checkbox 'Pass can be used at Multiple Properties'.
- Select the 'Add' icon.
- Select the Property and choose the button.
- Apply/Exit.
-
Optional: Setup Exclusion Dates.
- Navigate to the 'Exclusion Dates' tab.
- Select the 'Add' icon.
- Select the Exclude Entry Date Range.
- Select the checkbox for a Property.
- Save/Exit.
- Save/Exit.
Passes will default to 'All Properties' unless setup for a specific Property and can made valid for multiple Properties.
Exclusion Dates are available for the Daily Pass Type.
-
Guide
- Add Button
Guide
Go to Setup > Passes in the Side Menu of RMS.
Select the ![]() 'Add' icon.
'Add' icon.
Enter a Description.
Optional: Enter a Long Description.
Select a Pass Type.
Select a Fee Structure.
Fees Per Period: Select a Sundry Charge and enter the Unit Price or select the checkbox 'Use Amount from Sundry'.
Fees Per Person: Select a Sundry Charge and enter the Price Per Adult, Child and Infant.
Select the 'Save' icon to store the changes made.
Optional: Setup Properties.
Navigate to the 'Properties' tab.
Optional: Select the checkbox 'Pass can be used at Multiple Properties'.
Select the ![]() 'Add' icon.
'Add' icon.
Select the Property and choose the ![]() button.
button.
Select the 'Apply/Exit' icon to store the changes made and return to the Passes setup.
Optional: Setup Exclusion Dates.
Navigate to the 'Exclusion Dates' tab.
Select the 'Add' icon.
Select the Exclude Entry Date Range.
Select the checkbox for a Property.
Select the 'Save/Exit' icon to store the changes made and leave the Passes setup.
This Pass will be available for selection to sell on the Passes Portal.
