Sundry
Setup an adhoc charge or credit for incidentals in RMS.
A Sundry is an adhoc charge or credit that can be used for incidentals not included as part of the Rate or Receipt.
-
Information
-
Setup
- Add Button
Information
A Sundry is an adhoc charge or credit that can be used for incidentals not included as part of the Rate or Receipt.
The type of Sundry selected will determine what the Sundry can be used for and if it applies to the account as a charge or a credit.
Sundry Types include Add On, Area Upgrade, Credit Note, Commission, Deferred Revenue, Expense, Transfer, Job Maintenance, Meal, POS Lite, Refundable Charge or Bond, Rental Fee, Requirement, Surcharge, Periodic Charge, and Repeat Charge.
Revenue allocation or deduction for a Sundry will be determined by the General Ledger Account Code selected on the Sundry.
A Sundry can be setup for a single property or shared between multiple properties for an Enterprise customer.
Additional Sundry options determine the behaviour and availability of a Sundry including if the Sundry should be hidden when created for 0.00, create as a single transaction for Repeat Charges, create on the Reservation Account as of today for future reservations, and if manual posting is permitted.
Stock Control is an optional feature available on the Sundry to manage inventory for a sundry item when using POS Lite with the option of also adding a barcode for use with a barcode scanner.
-
Setup
- Add Button
Setup
Have your System Administrator complete the following.
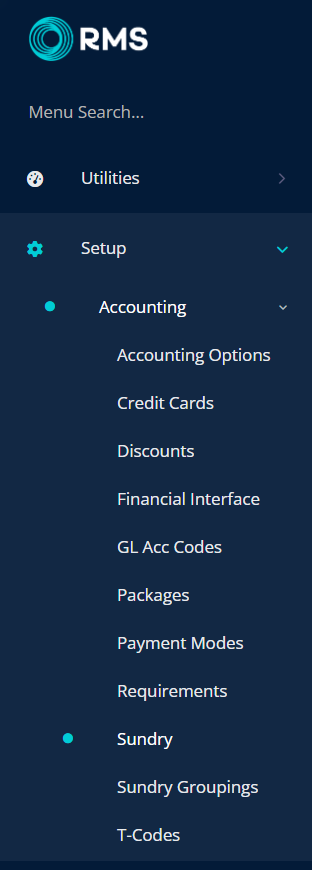
- Go to Setup > Accounting > Sundry in the side menu of RMS.
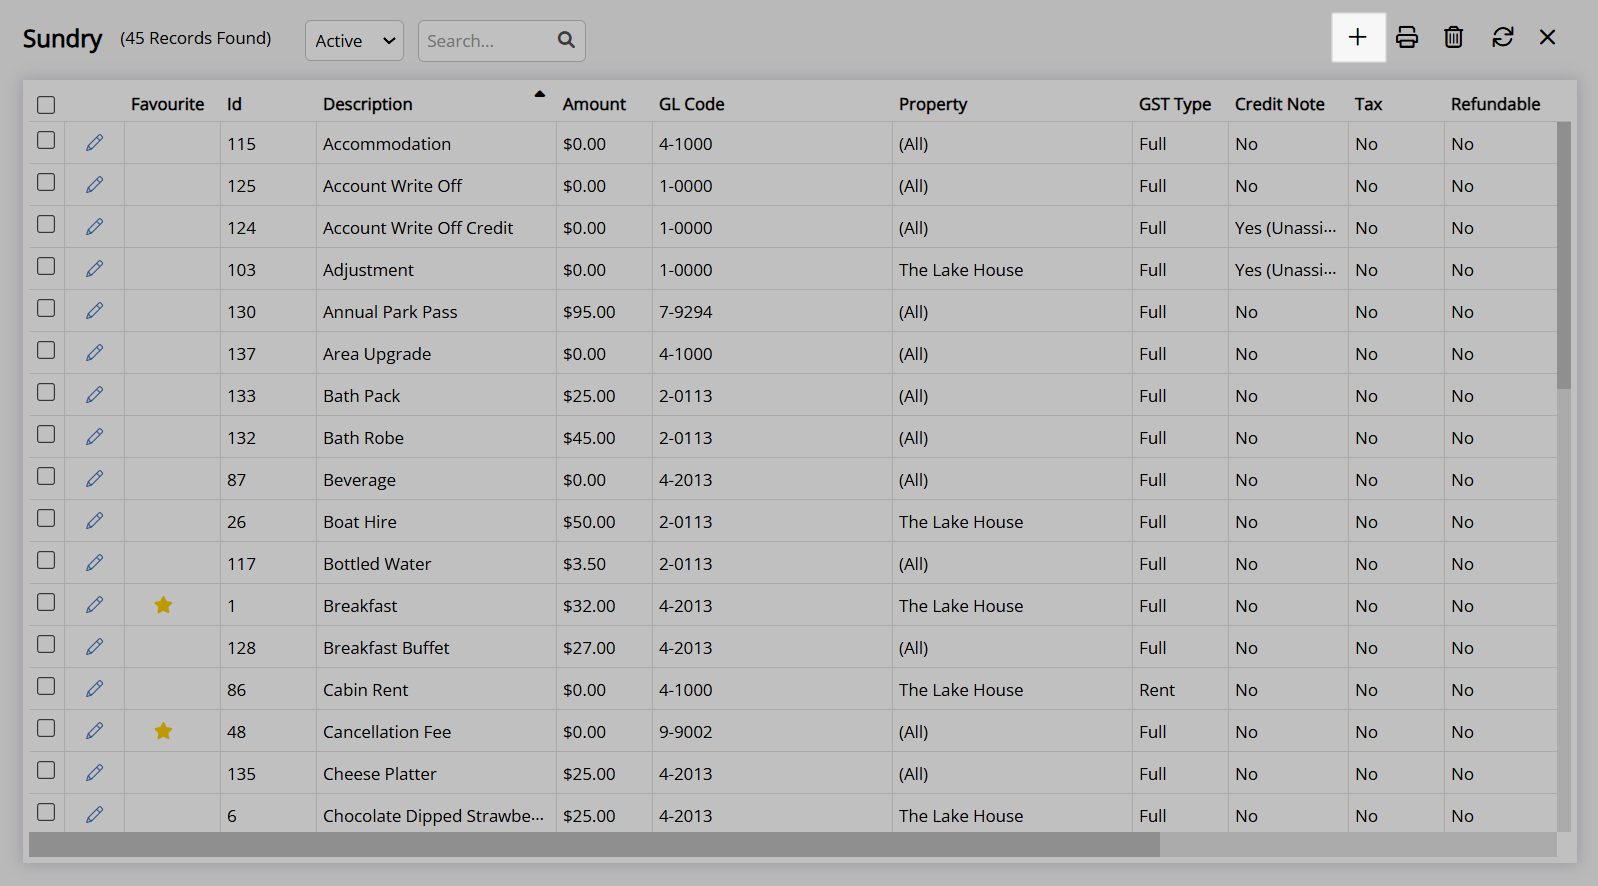
- Select the
 'Add' icon.
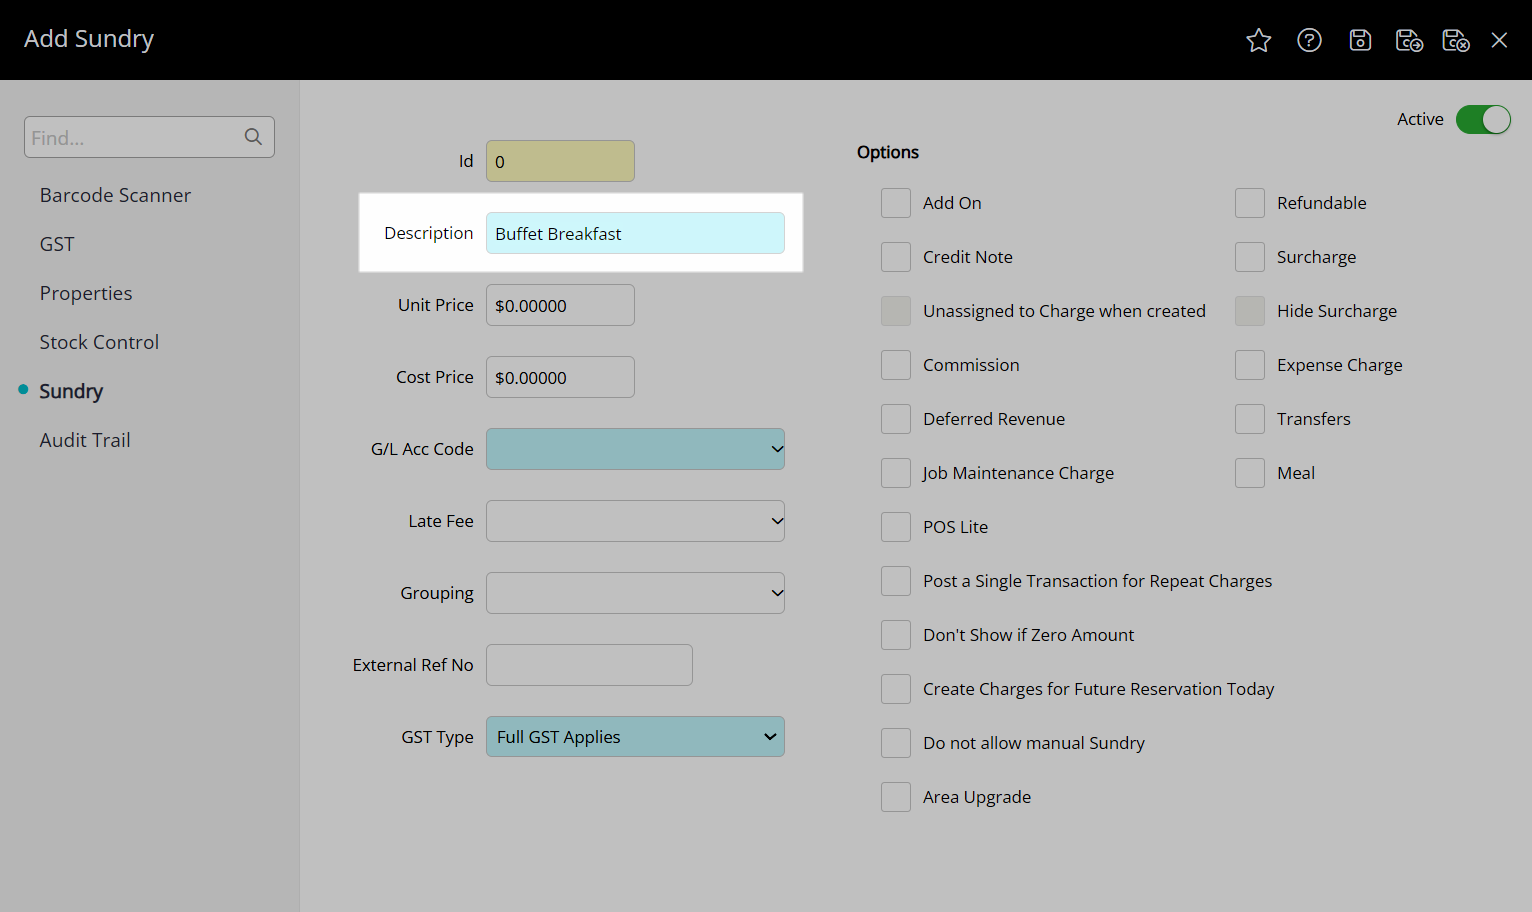
 - Enter a Description.
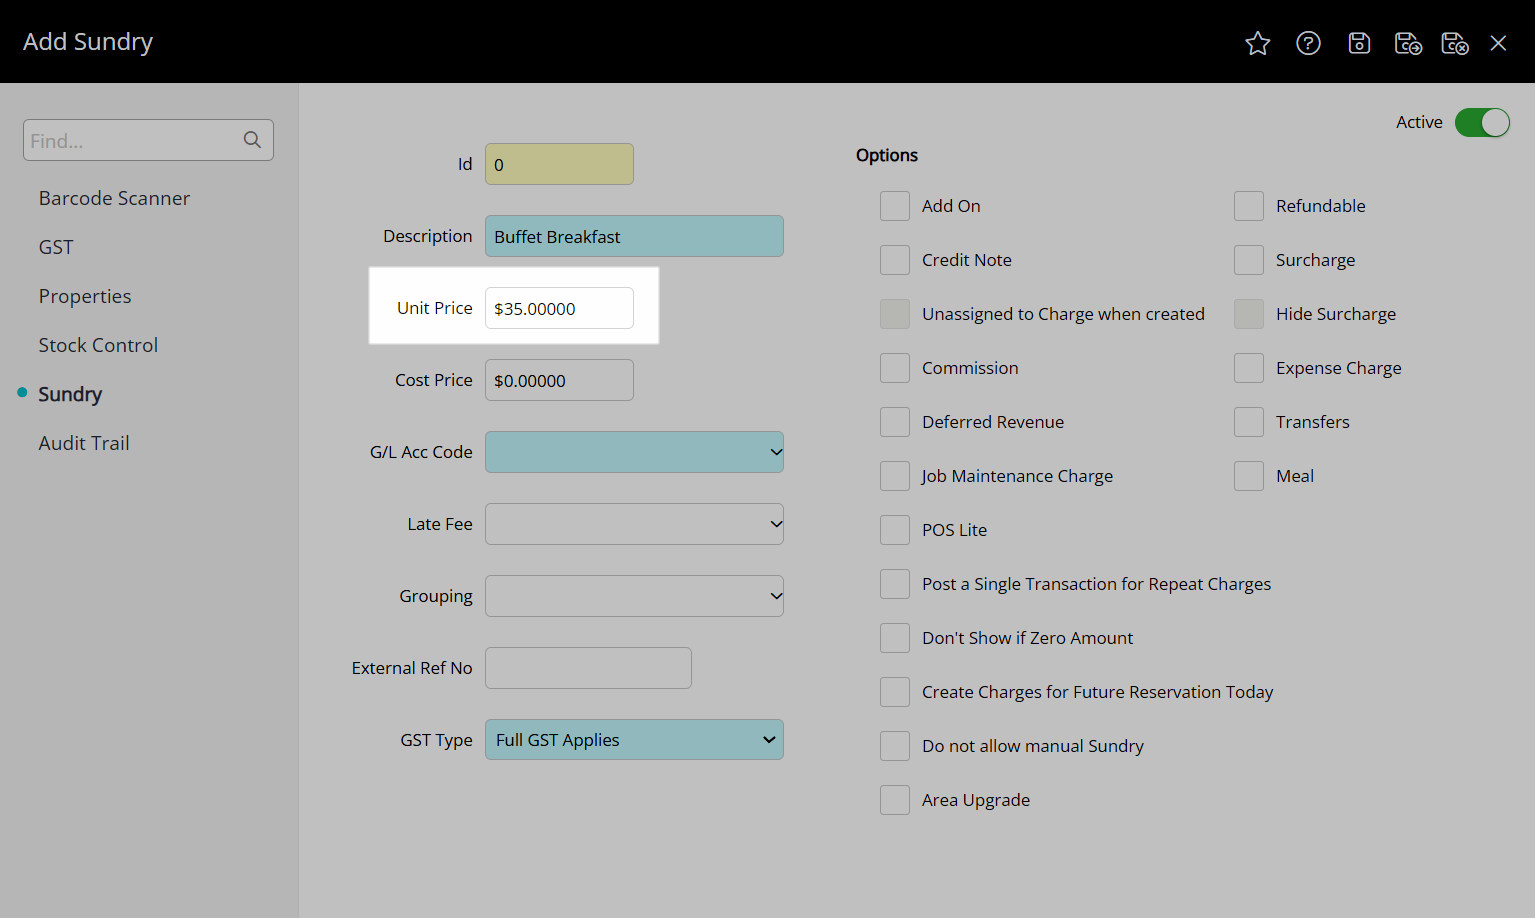
- Optional: Enter a Unit Price.
- Optional: Enter a Cost Price.
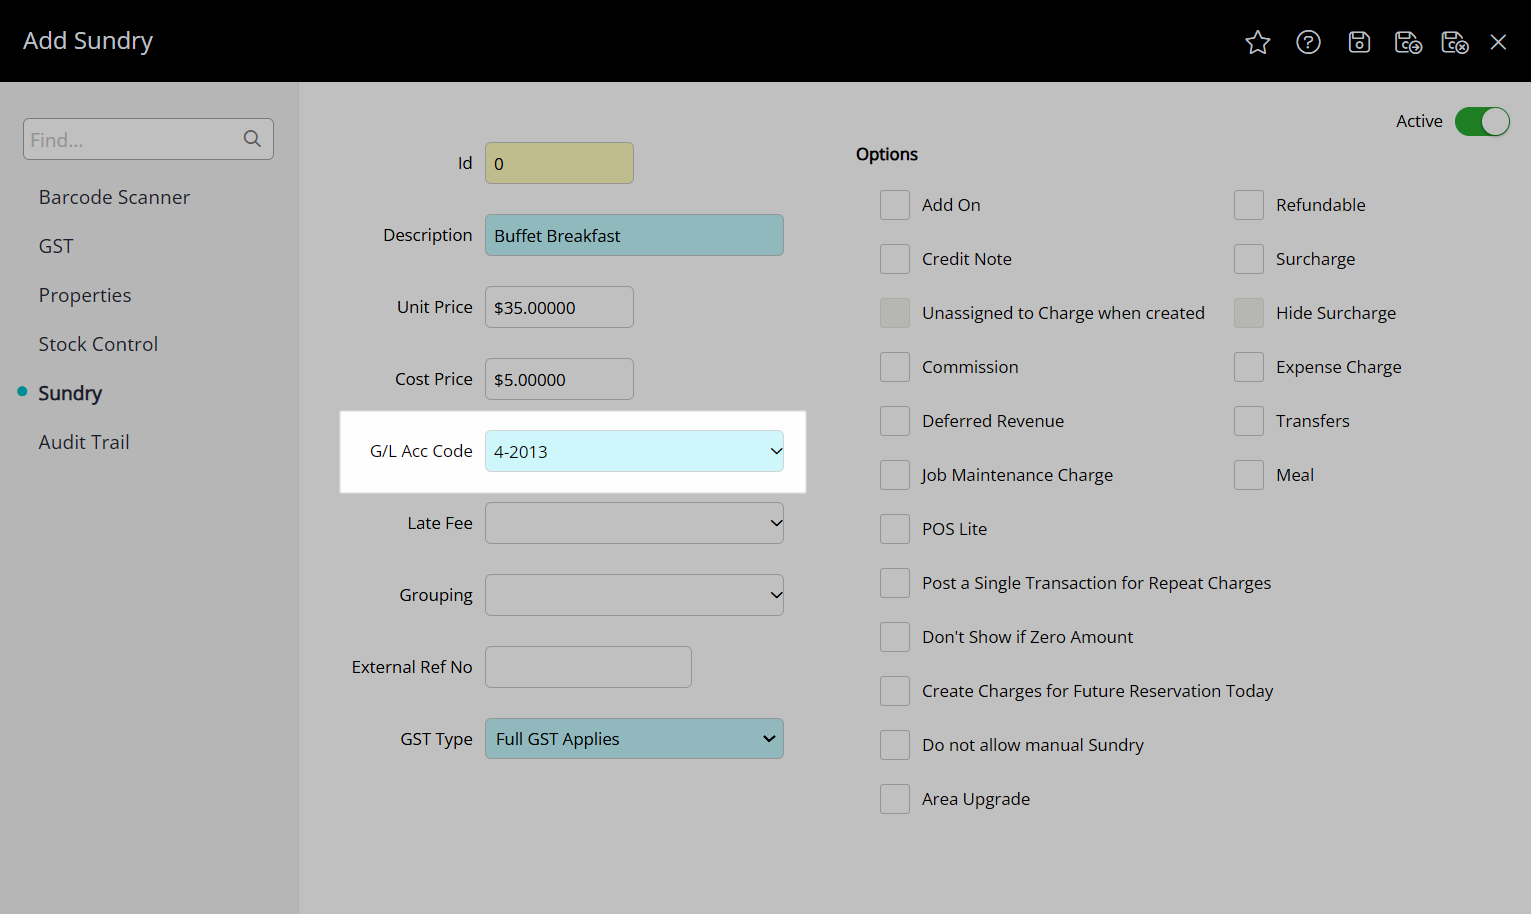
- Select a General Ledger Account Code.
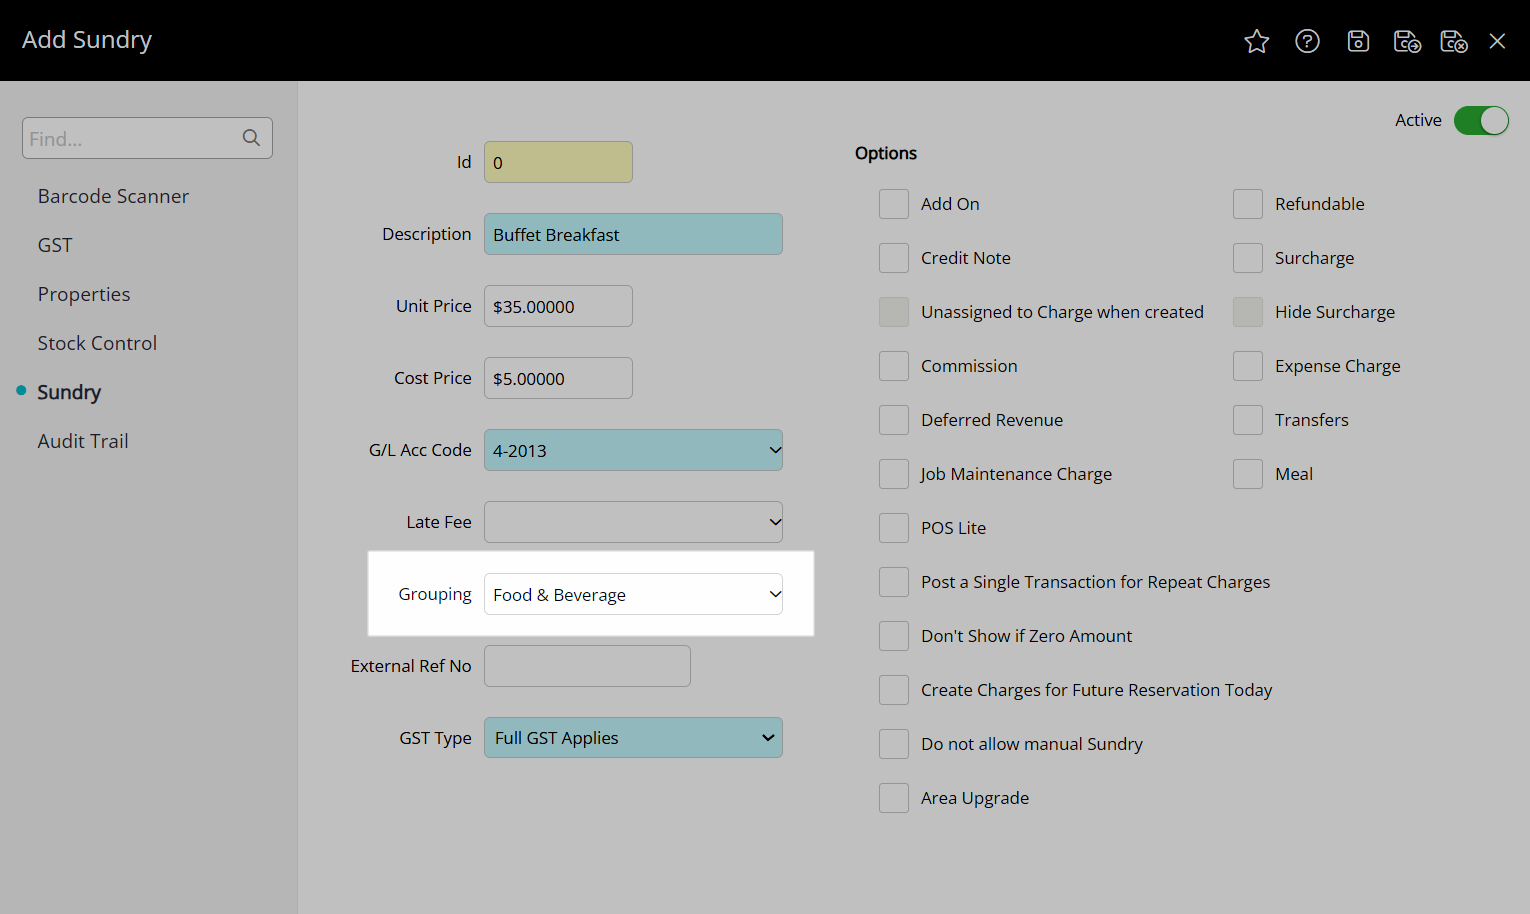
- Optional: Select a Grouping.
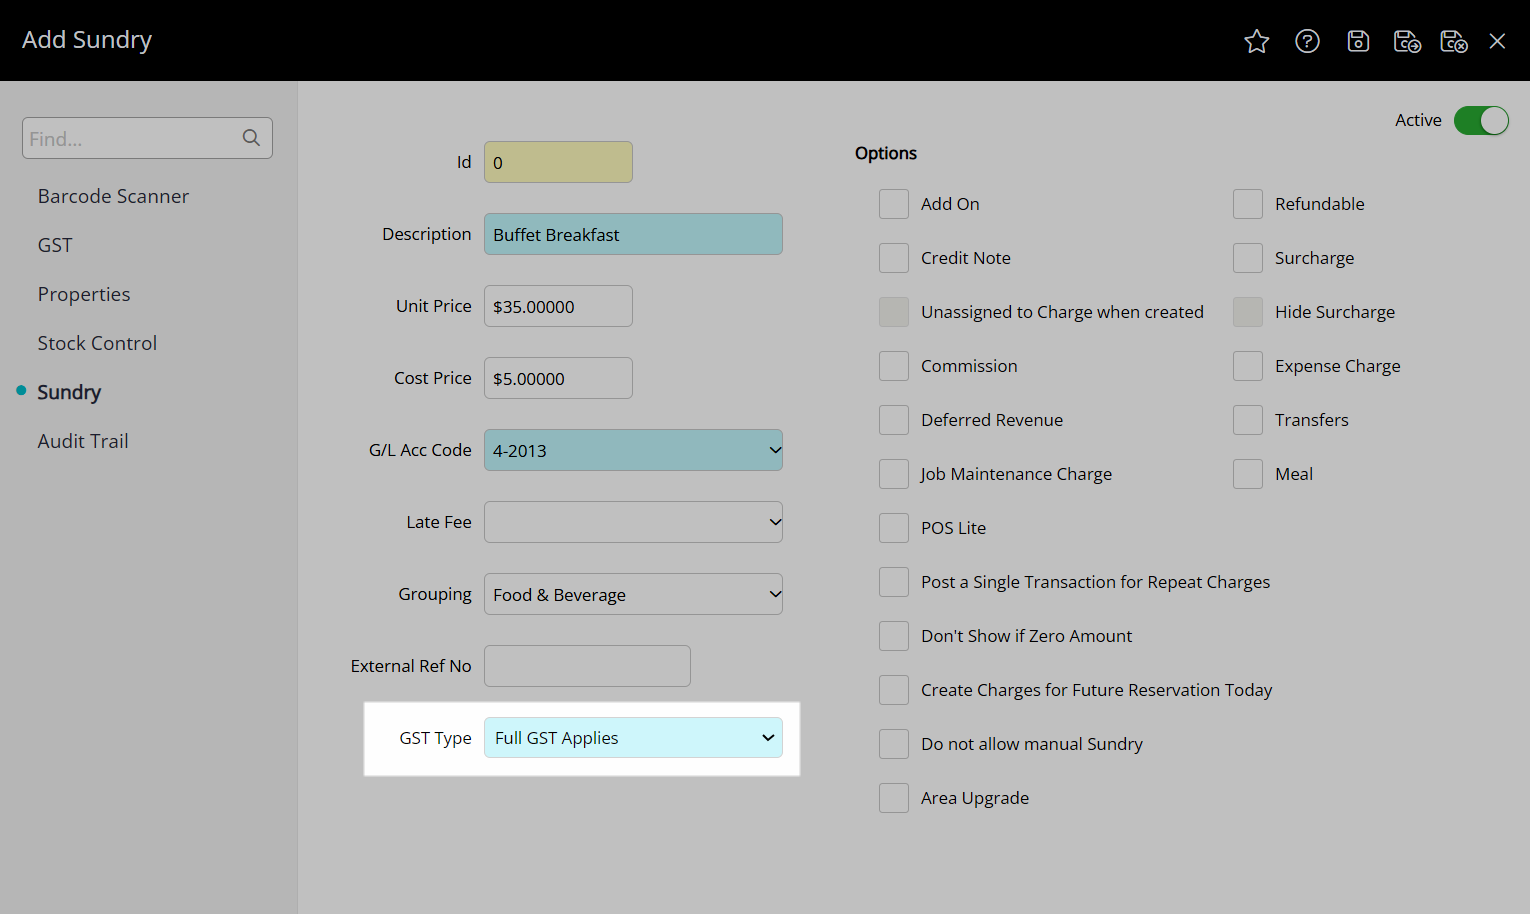
- Select the Tax Type.
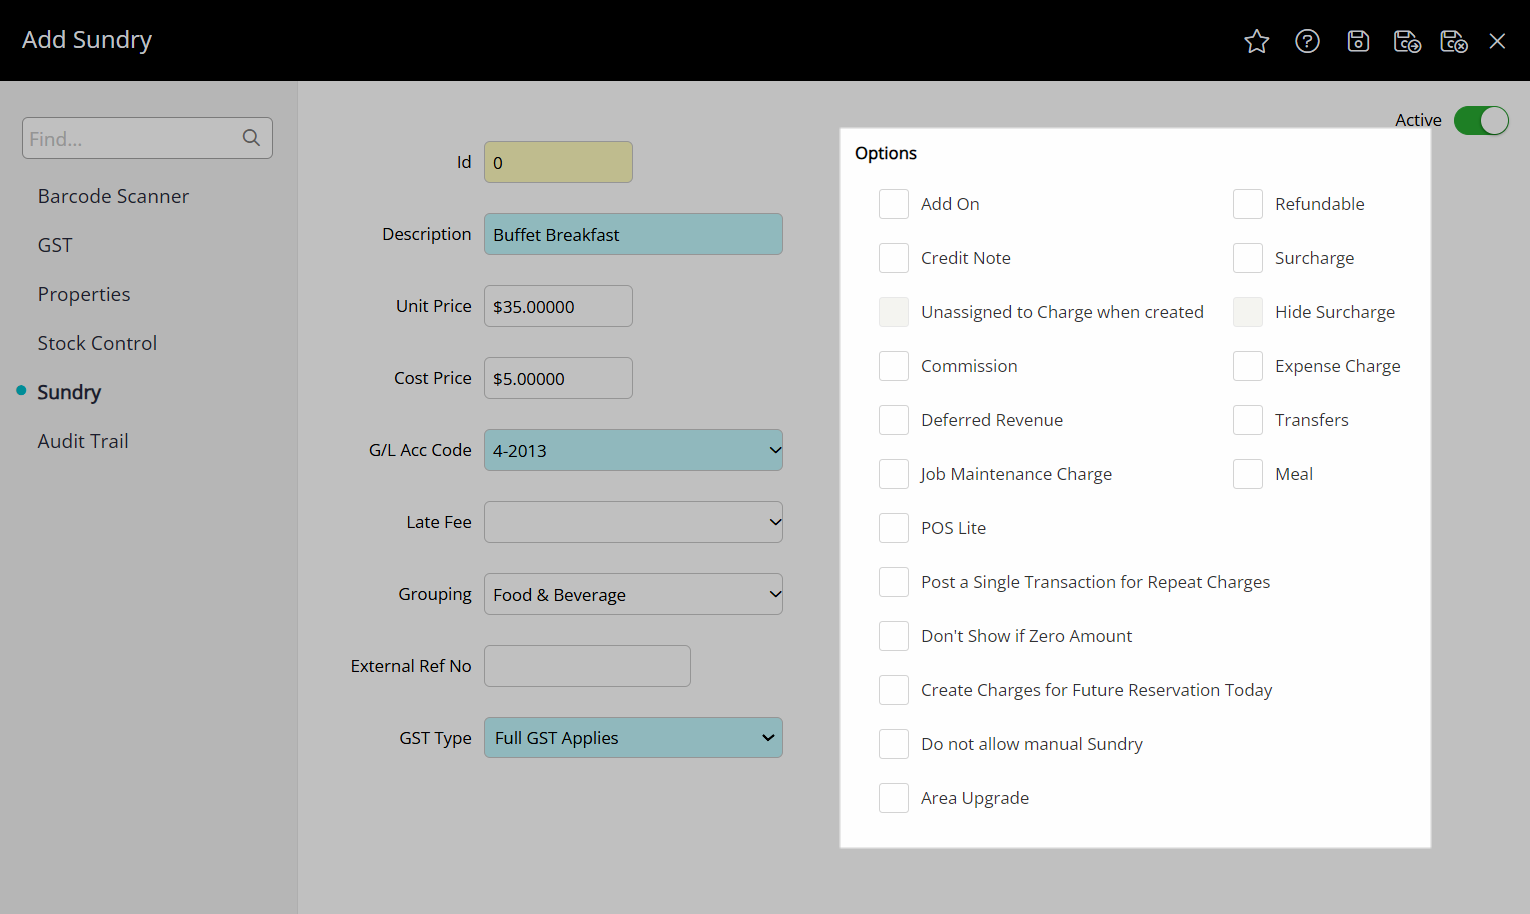
- Optional: Select the Sundry Type Options.
- Save/Exit.
-
Guide
- Add Button
Guide
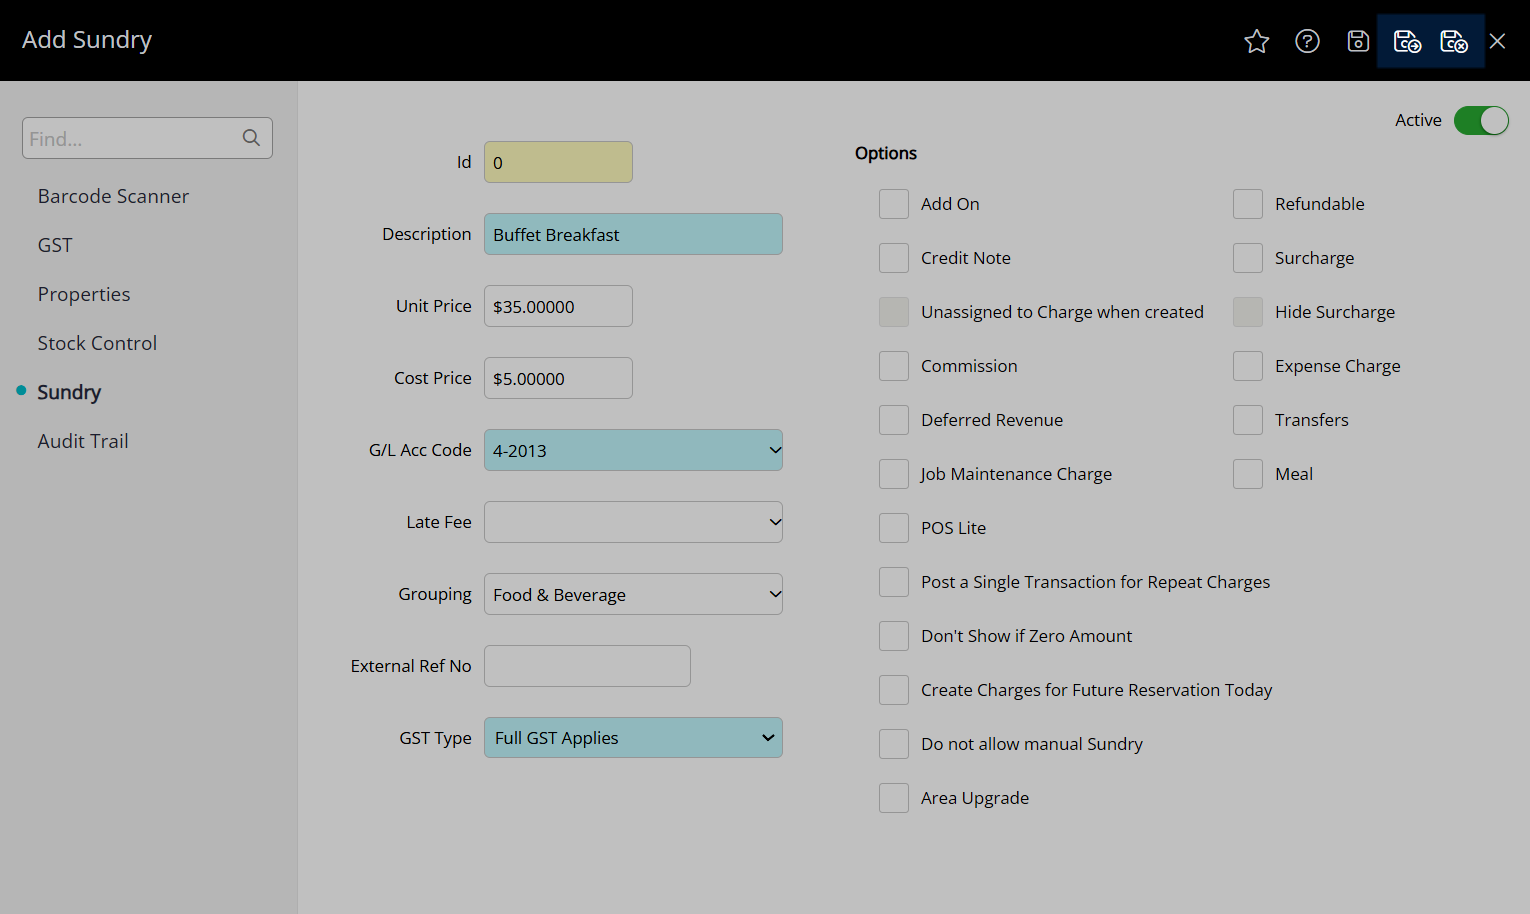
Go to Setup > Accounting > Sundry in the side menu of RMS.
Select the ![]() 'Add' icon.
'Add' icon.
Enter a Description.
Optional: Enter a Unit Price.
Optional: Enter a Cost Price.

Select a General Ledger Account Code.
Optional: Select a Grouping.
Select the Tax Type.
Optional: Select the Sundry Type Options.
Select the  'Save/Exit' icon to store the changes made and leave the Sundry setup or use the
  'Save/Next' icon to create another new Sundry.
Setup
Have your System Administrator complete the following.
- Go to Setup > Accounting > Sundry in the side menu of RMS.
- Select the 'Add' icon.
- Enter a Description.
- Optional: Enter a Unit Price.
- Optional: Enter a Cost Price.
- Select a General Ledger Account Code.
- Optional: Select a Grouping.
- Select the Tax Type.
- Optional: Select the Sundry Type Options.
- Save/Exit.
-
Guide
- Add Button
Guide
Go to Setup > Accounting > Sundry in the side menu of RMS.
Select the ![]() 'Add' icon.
'Add' icon.
Enter a Description.
Optional: Enter a Unit Price.
Optional: Enter a Cost Price.
Select a General Ledger Account Code.
Optional: Select a Grouping.
Select the Tax Type.
Optional: Select the Sundry Type Options.
Select the 'Save/Exit' icon to store the changes made and leave the Sundry setup or use the 'Save/Next' icon to create another new Sundry.