User Access to Manage All Scheduled Reports
Setup a Security Profile with access to manage all Scheduled Reports in RMS.
Steps Required
Have your System Administrator complete the following.
- Go to Setup > Users > Security Profiles in RMS.
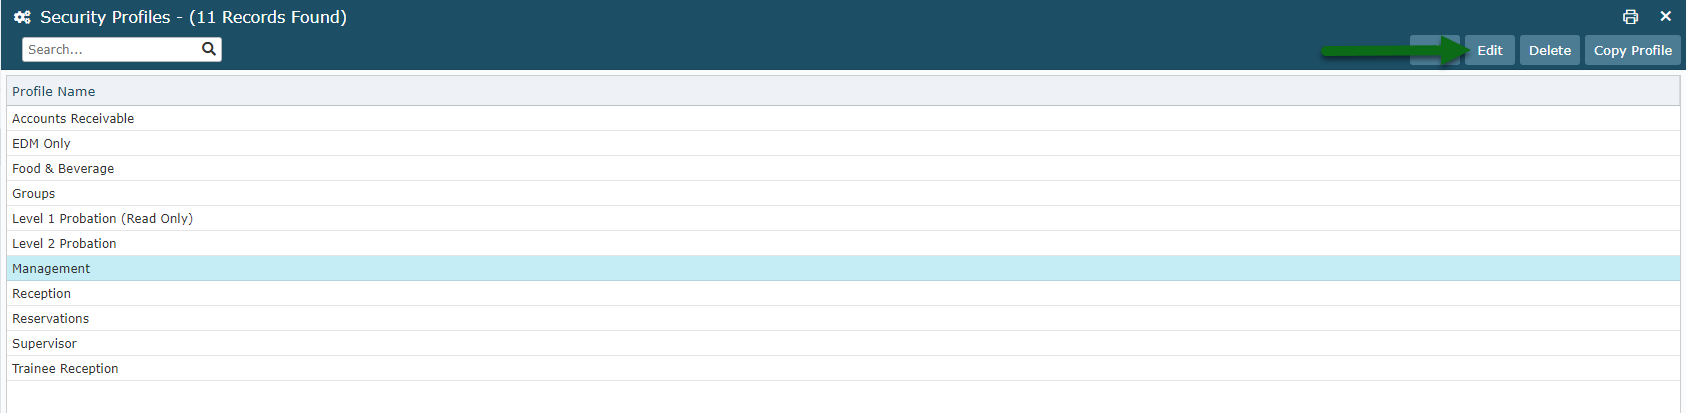
- Select an existing Security Profile and choose 'Edit'.
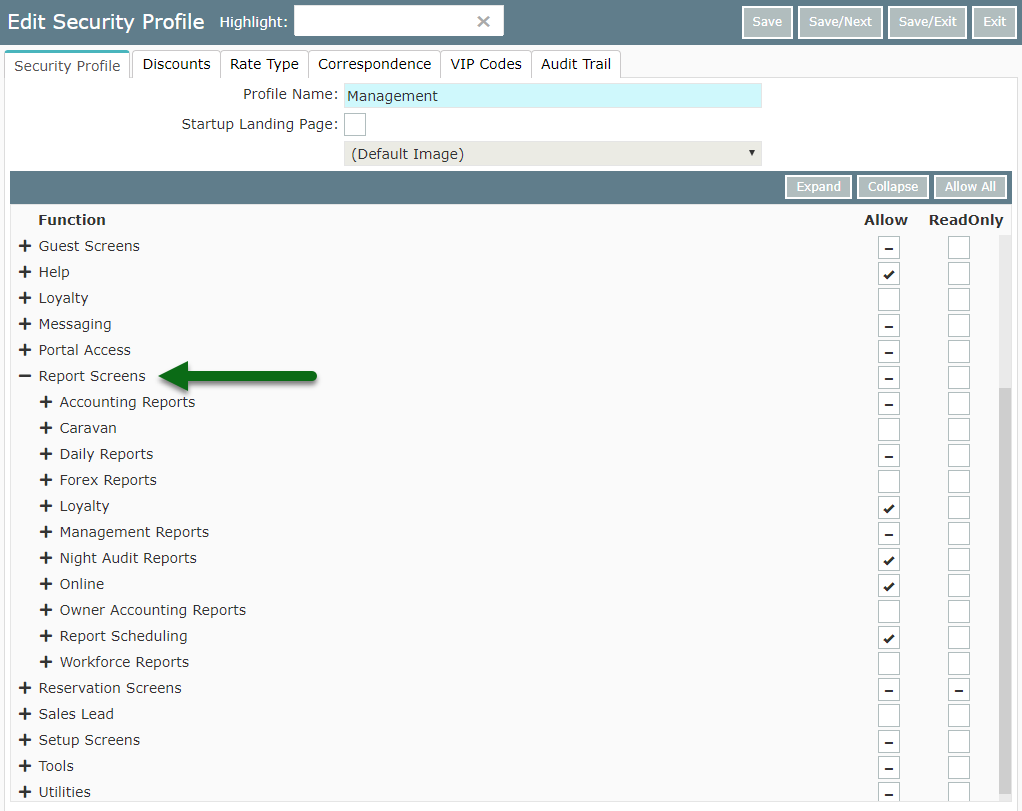
- Expand the 'Report Screens' Function Menu.
- Expand the 'Report Scheduling' Function Menu.
- Select 'Allow' on the 'Report Scheduling' Function.
- Select 'Allow' on the 'See all Scheduled Reports' Function.
- Save/Exit.
Visual Guide
Go to Setup > Users > Security Profiles in RMS.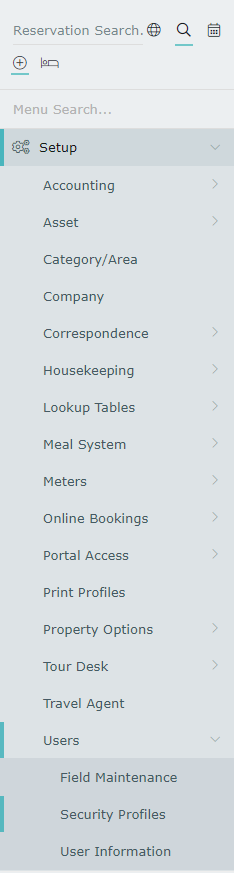 Select an existing Security Profile and choose 'Edit'.
 Expand the 'Report Screens' Function Menu.
 Expand the 'Report Scheduling' Function Menu.
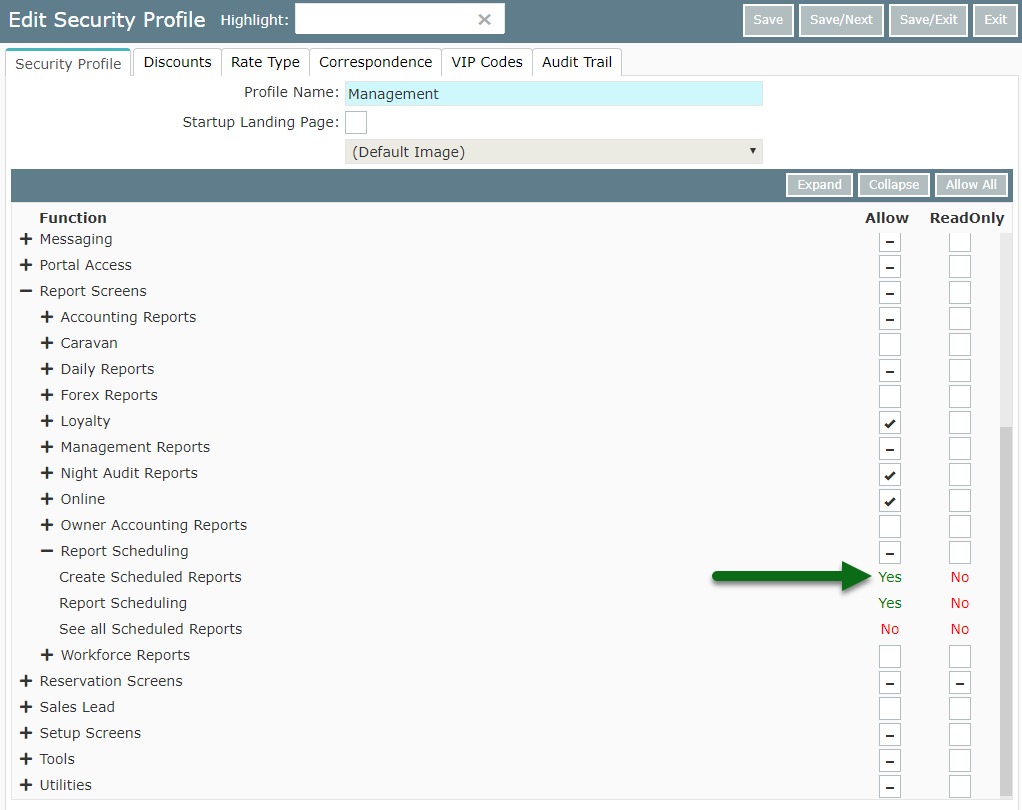
 Select 'Allow' on the 'Report Scheduling' Function.
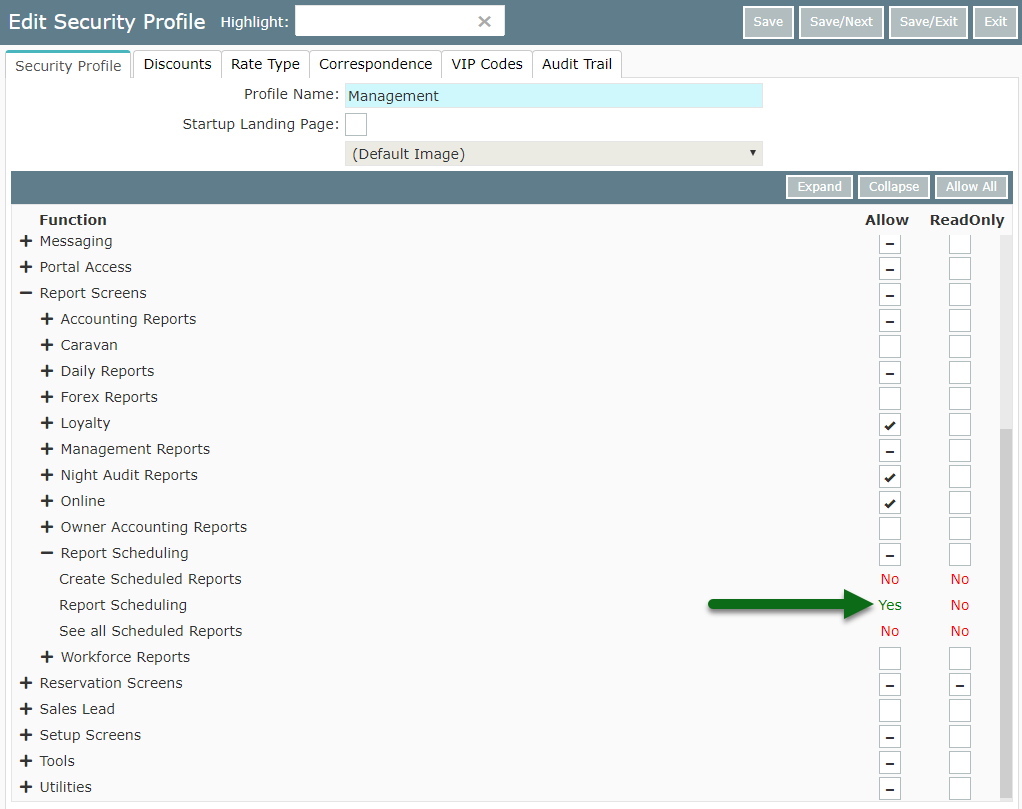 Select 'Allow' on the 'Create Scheduled Reports' Function.
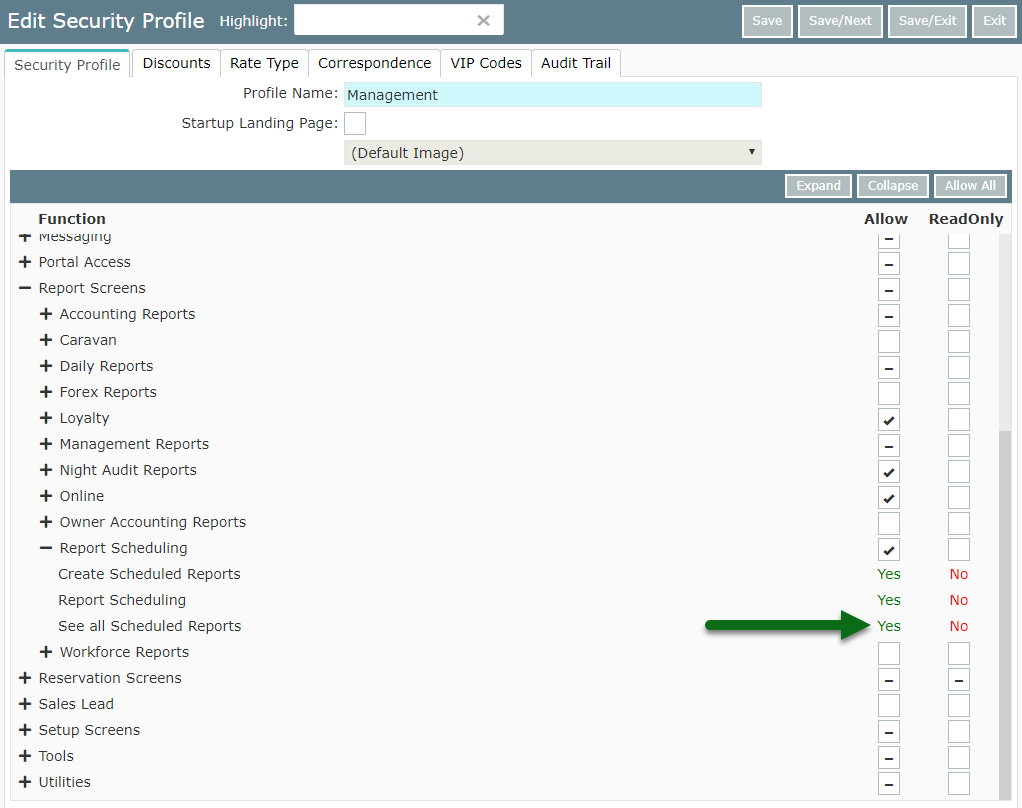
 Select 'Allow' on the 'See all Scheduled Reports' Function.
 Select 'Save/Exit' to store the changes made.
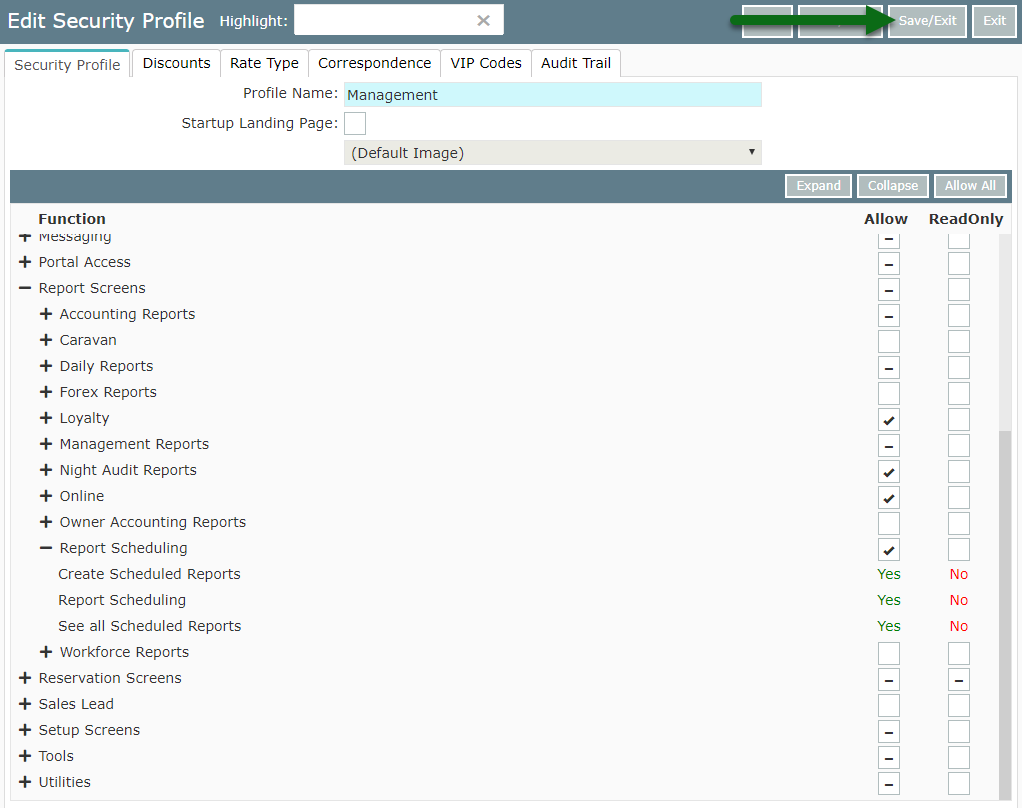 Users with this Security Profile will now be able to view and manage Scheduled Reports created by all users in RMS as well as create their own Scheduled Reports.