User Environments
Manage the environments a User can access in RMS.
User Environments enables managing which RMS Environments a User can access when multiple environments are enabled for the RMS database.
-
Information
-
Setup
- Add Button
Information
User Environments enables managing which RMS Environments a User can access when multiple environments are enabled for the RMS database.
The RMS Environment determines the version of RMS 9+ that is accessible with multiple environments and versions available throughout the different stages of the software development life cycle.
At RMS' discretion in arrangement with the Property's System Administrator an RMS database may be moved to a different RMS Environment or be enabled to access more than one environment simultaneously.
When multiple environments have been enabled for the database the User Environments management screen can be used to limit a User to the appropriate RMS Environment to perform their duties.
-
Setup
- Add Button
Setup
Have your System Administrator complete the following.
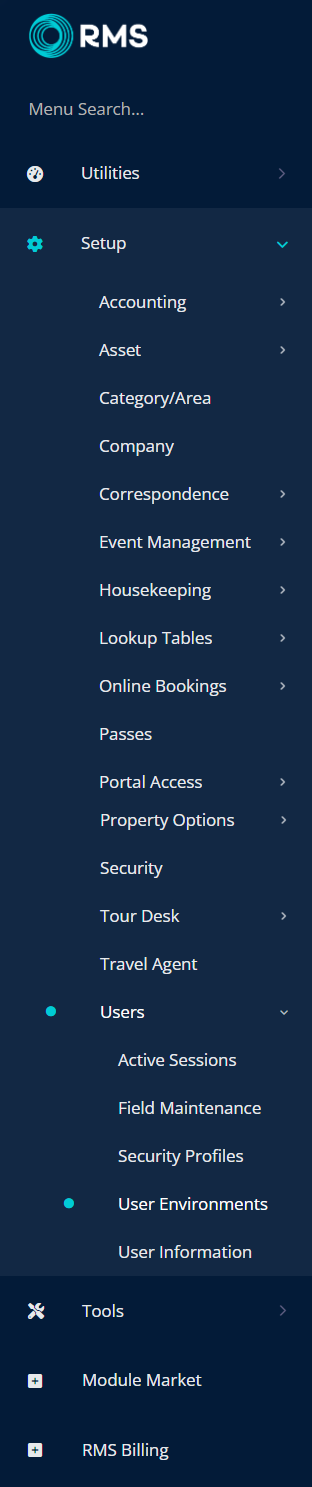
- Go to Setup > Users > User Environments in the Side Menu of RMS.
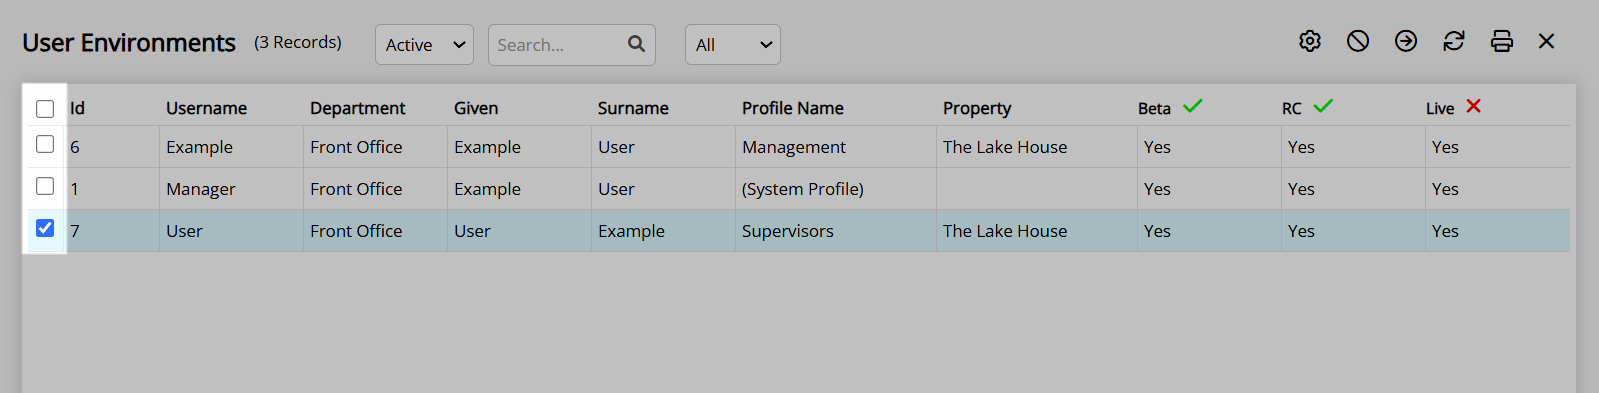
- Select the checkbox for an existing User.
-
Grant Access:
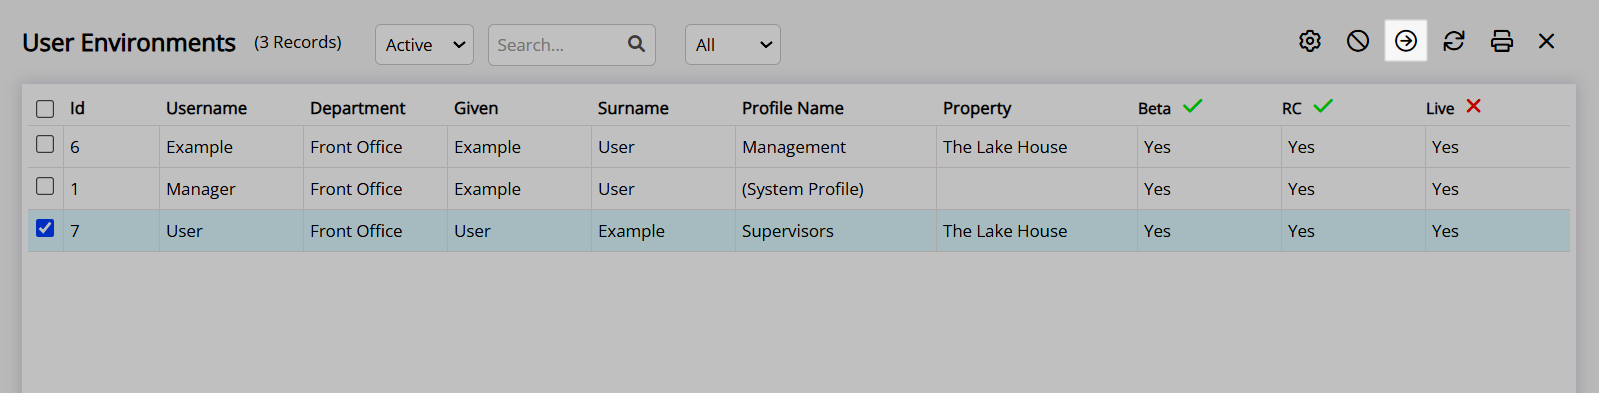
- Select the
 'Process' icon.
 - Select the checkbox for an RMS Environment.
- Select the
 'Apply/Exit' icon.
- Select the
-
Remove Access:
- Select the
 'Remove Access' icon.
 - Select the checkbox for an RMS Environment.
- Select the
 'Apply/Exit' icon.
- Select the
- Exit.
-
Guide
- Add Button
Guide
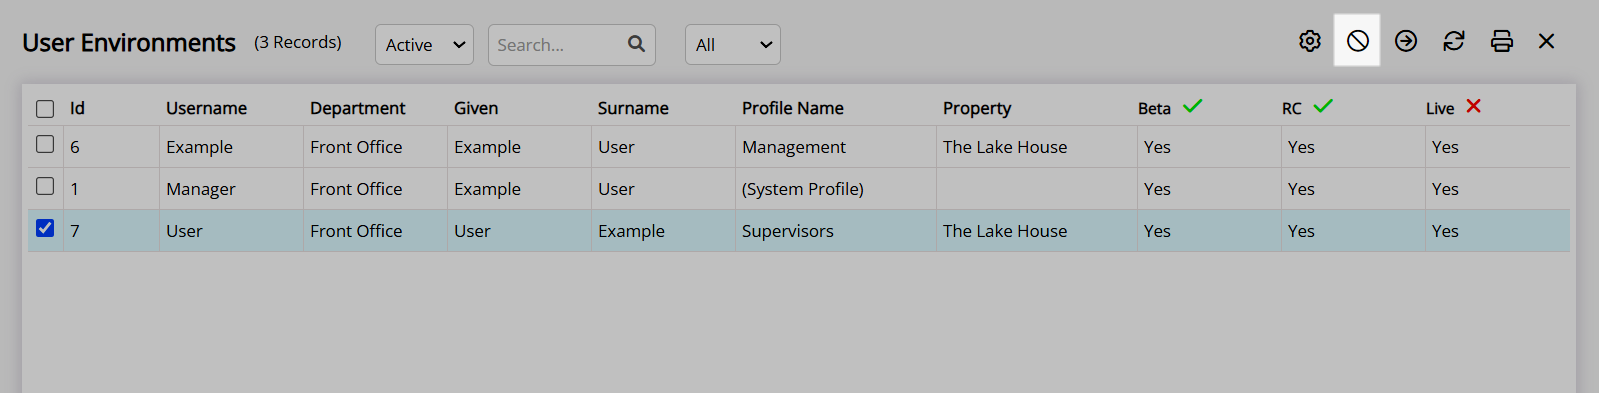
Go to Setup > Users > User Environments in the Side Menu of RMS.
Select the checkbox for an existing User.
Grant Access:
Select the ![]() 'Process' icon.
'Process' icon.
Select the checkbox for an RMS Environment.
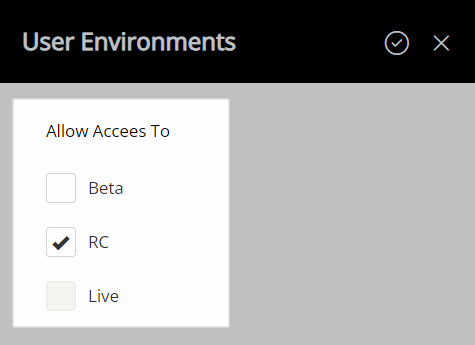
Select the  'Apply/Exit' icon.
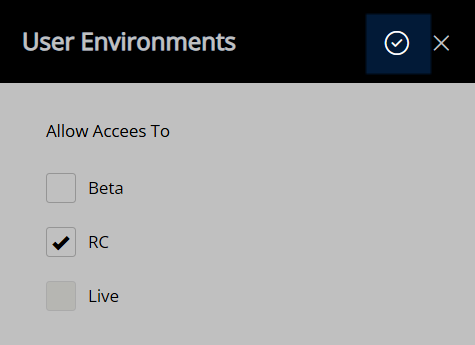
The User access to the RMS Environments will be updated.
Remove Access:
Select the ![]() 'Remove Access' icon.
'Remove Access' icon.
Select the checkbox for an RMS Environment.
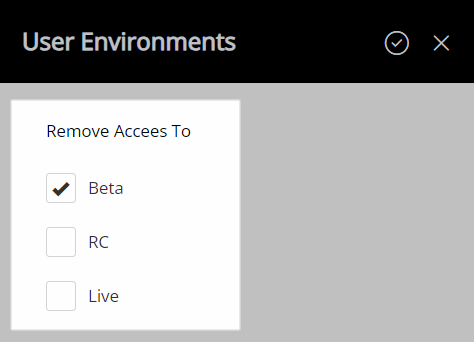
Select the  'Apply/Exit' icon.
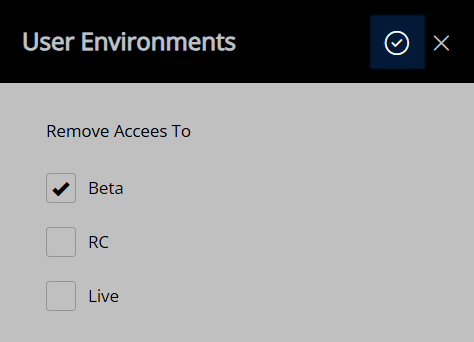
The User access to the RMS Environments will be updated.
Select the  'Exit' icon to leave User Environments.

Setup
Have your System Administrator complete the following.
- Go to Setup > Users > User Environments in the Side Menu of RMS.
- Select the checkbox for an existing User.
-
Grant Access:
- Select the 'Process' icon.
- Select the checkbox for an RMS Environment.
- Select the 'Apply/Exit' icon.
- Select the
-
Remove Access:
- Select the 'Remove Access' icon.
- Select the checkbox for an RMS Environment.
- Select the 'Apply/Exit' icon.
- Select the
- Exit.
-
Guide
- Add Button
Guide
Go to Setup > Users > User Environments in the Side Menu of RMS.
Select the checkbox for an existing User.
Grant Access:
Select the ![]() 'Process' icon.
'Process' icon.
Select the checkbox for an RMS Environment.
Select the 'Apply/Exit' icon.
The User access to the RMS Environments will be updated.
Remove Access:
Select the ![]() 'Remove Access' icon.
'Remove Access' icon.
Select the checkbox for an RMS Environment.
Select the 'Apply/Exit' icon.
The User access to the RMS Environments will be updated.
Select the 'Exit' icon to leave User Environments.