Traces Report
Monitor or review all Traces for a selected date range in RMS.
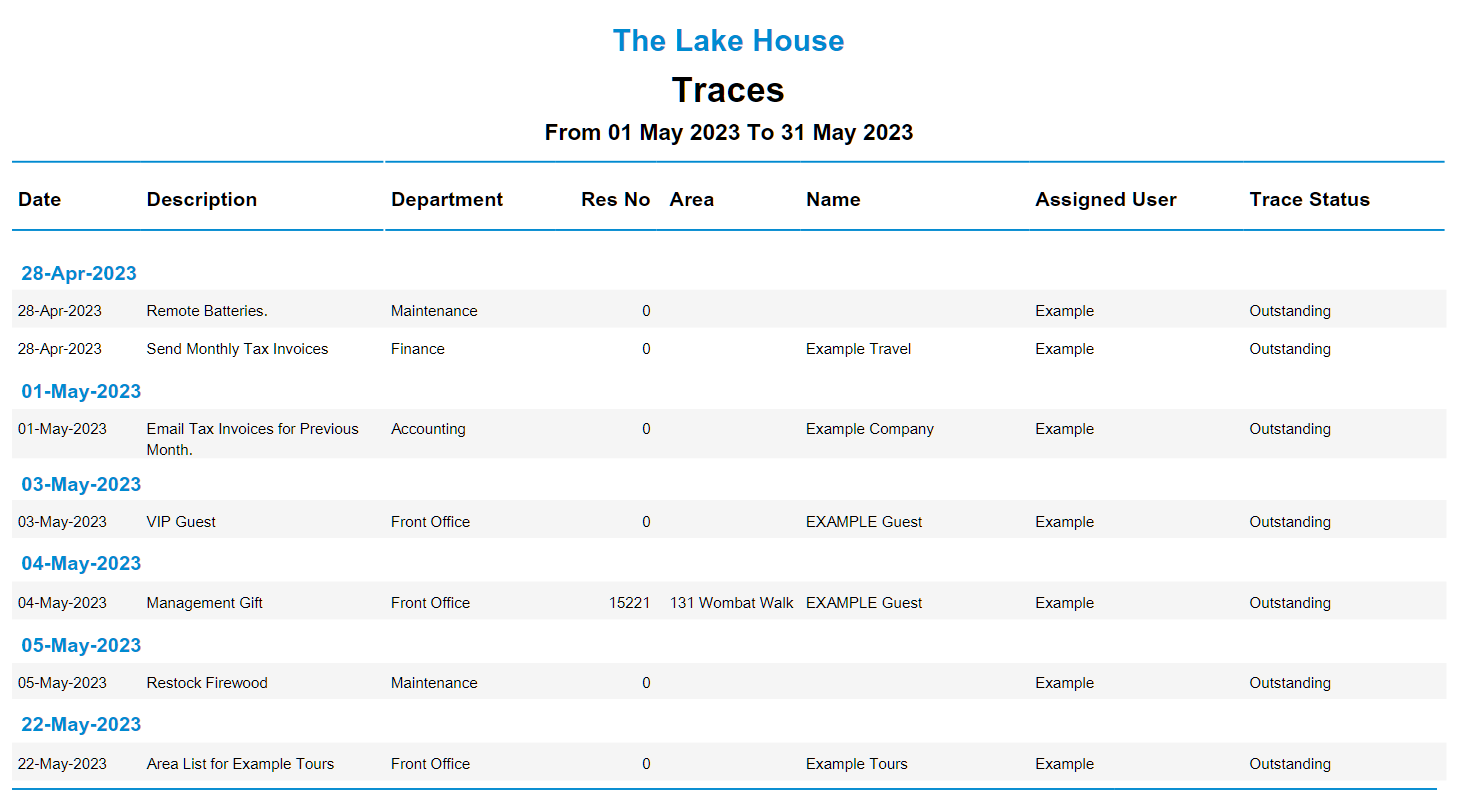
The Traces Report provides a printable overview of all Traces for the selected date range.
-
Information
-
Use
- Add Button
Information
The Traces Report provides a printable overview of all Traces for the selected date range.
Traces are inter or intra-departmental notes that can be tracked and managed on the To Do Chart, Area, Reservation, Company, Travel Agent, Guest or Group.
A Trace can be used to communicate or delegate tasks to a Department.
Traces can be marked as 'Completed' by a User with Security Profile access.
The Traces Report can be generated for a selected Trace Template, Department or User with the option to display all Traces, Completed Traces or Outstanding Traces.
Traces can be selected to display the Long Description in place of the Description on the Traces Report to provide greater detail on the individually listed Traces.

Category, Area, Reservation, Company, Travel Agent and Guest are default System Labels that can be customised.

Users will require Security Profile access to view this report.
-
Use
- Add Button
Use
- Go to Reports > Daily > Traces in the Side Menu of RMS.
- Select a Date Range.
- Optional: Select a Trace Template.
- Optional: Select a Department.
- Optional: Select a User.
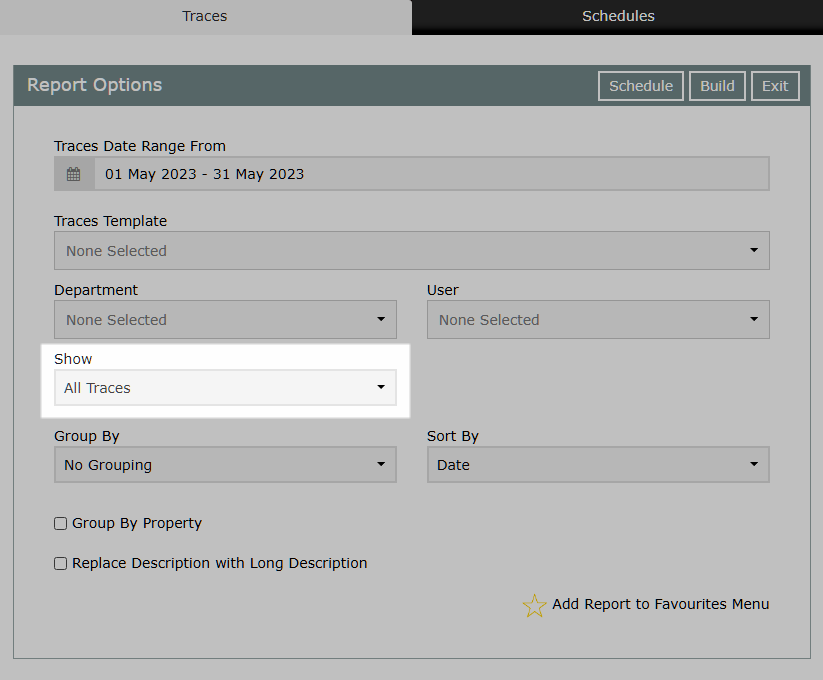
- Select a Show Trace option.
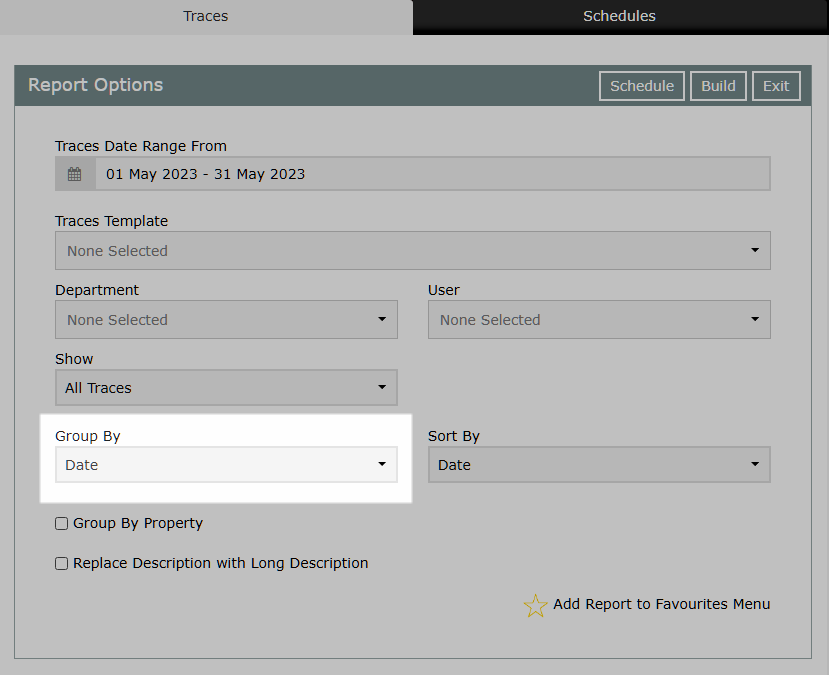
- Select a Group By.
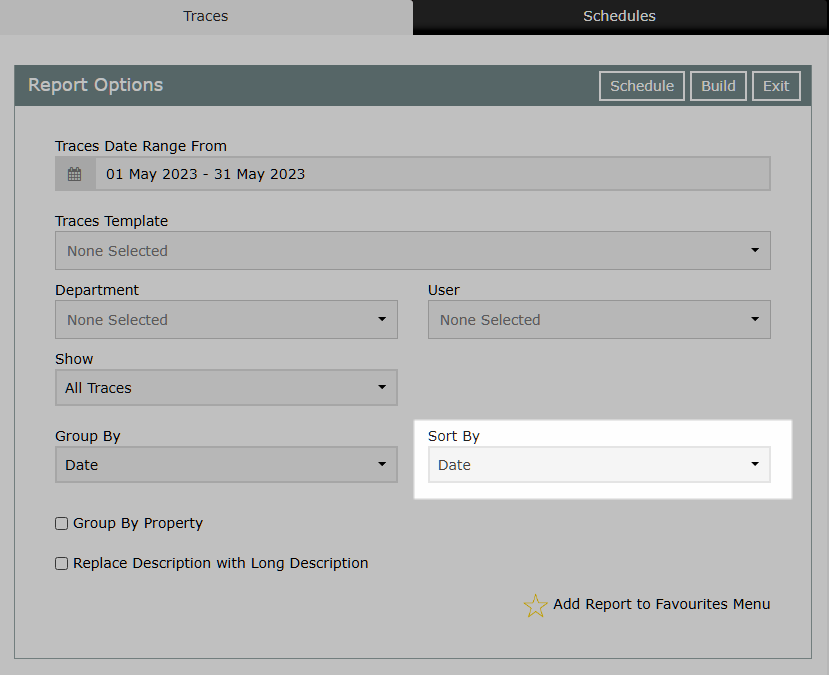
- Select a Sort By.
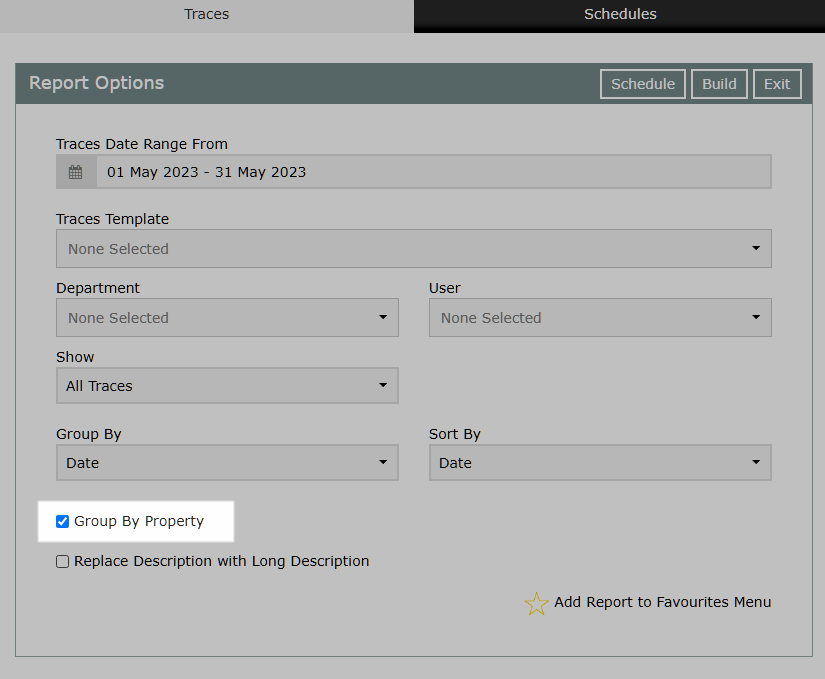
- Optional: Select the checkbox 'Group by Property'.
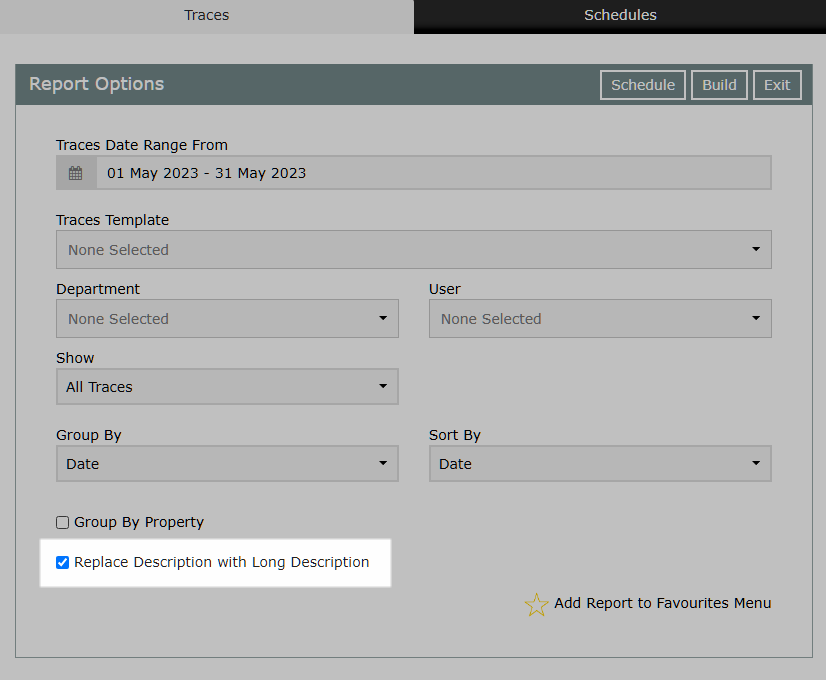
- Optional: Select the checkbox 'Replace Description with Long Description'.
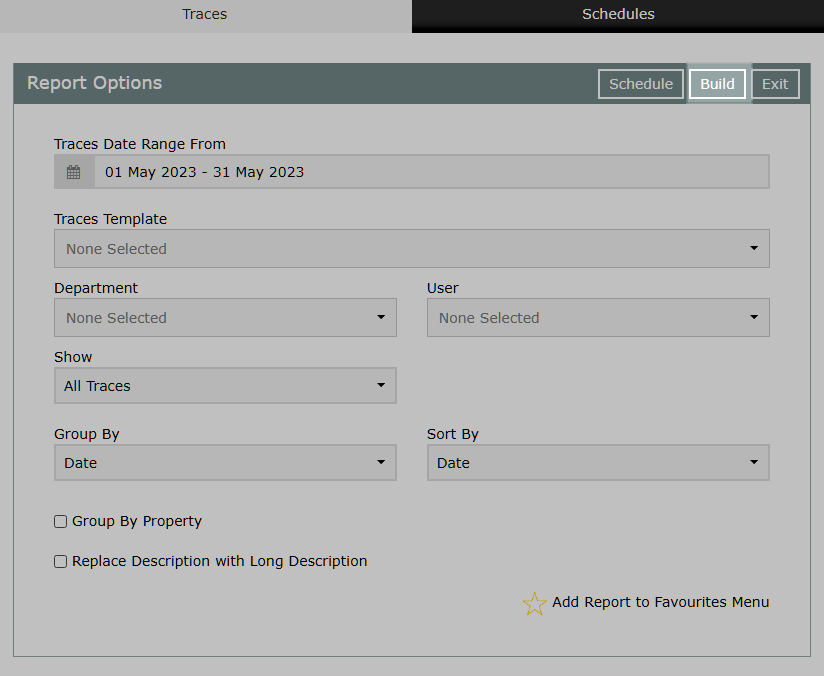
- Build.

The Trace Template, Department and User filter will limit the displayed Traces to only show Traces that match the selected options.
When the filter is set to 'None Selected' the Traces Report will display all Traces with or without a Trace Template, Department or User.
-
Guide
- Add Button
Guide
Go to Reports > Daily > Traces in the Side Menu of RMS.

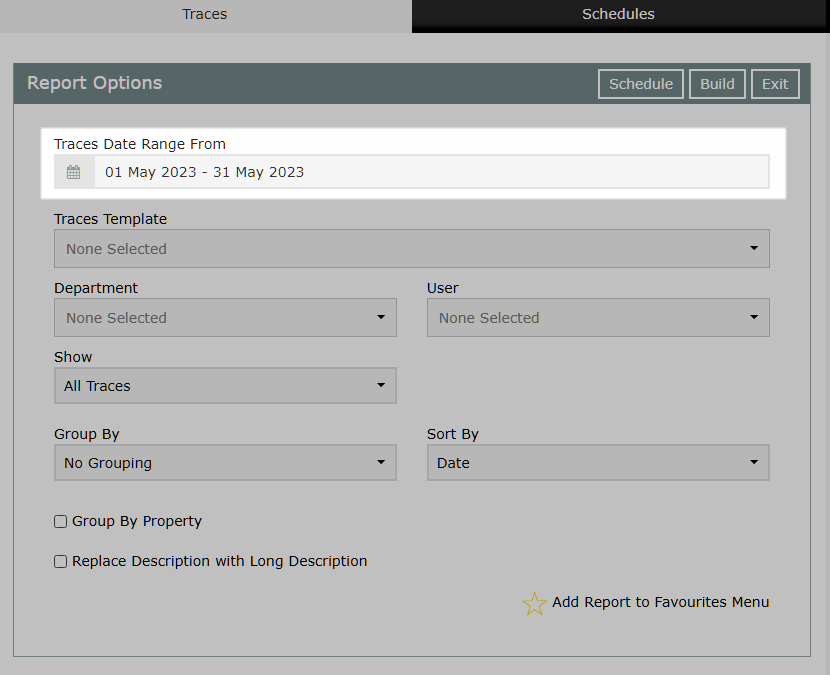
Select a Date Range.
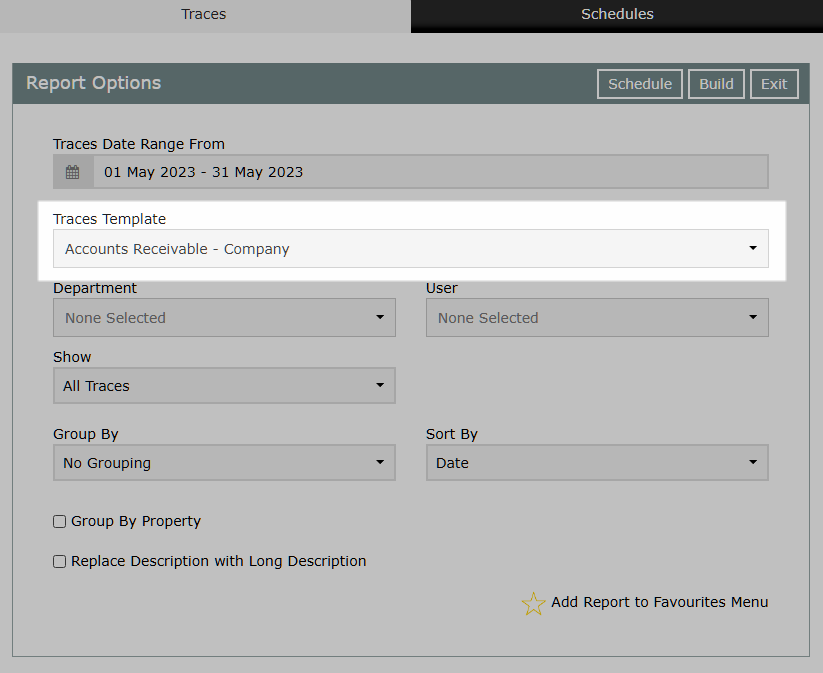
Optional: Select a Trace Template.
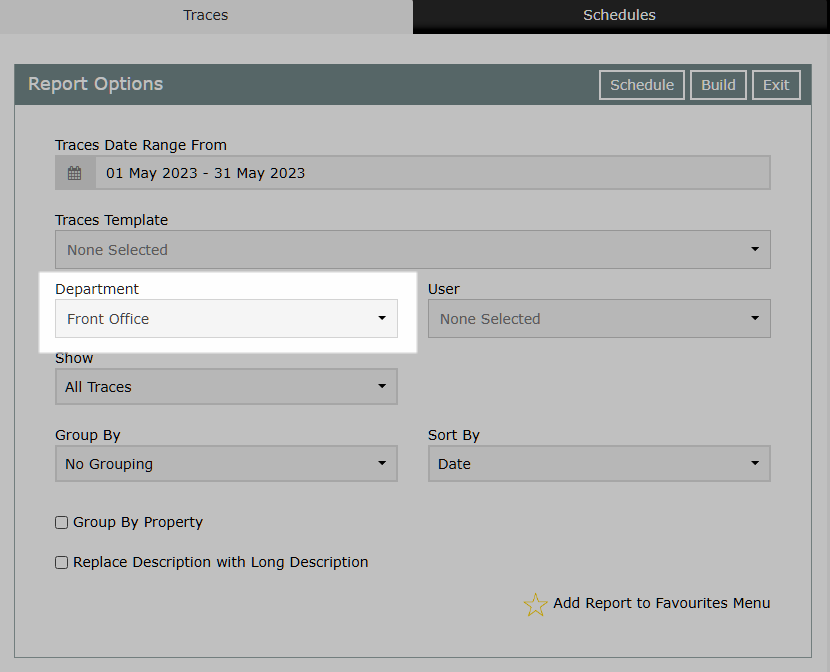
Optional: Select a Department.
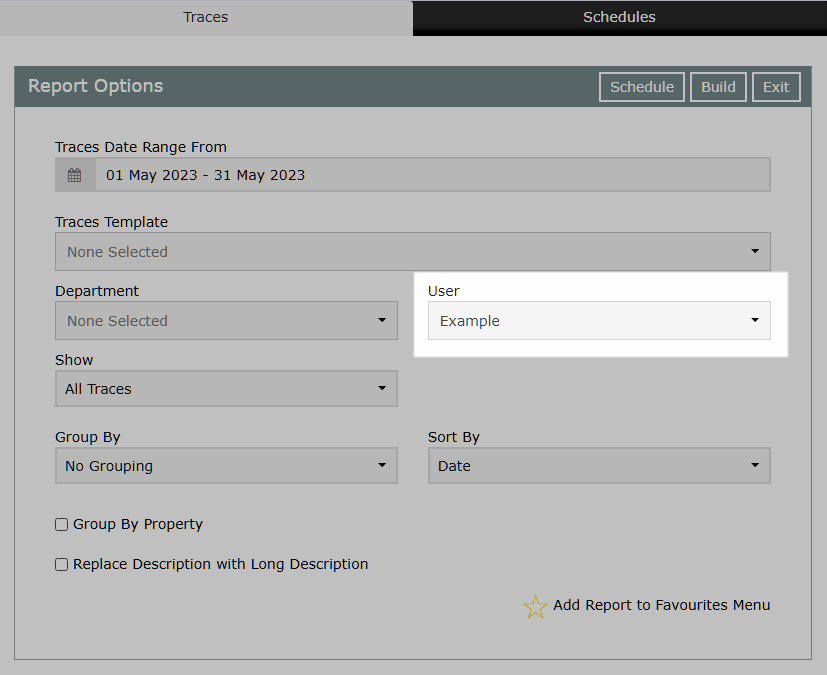
Optional: Select a User.
Select a Show Trace option.
Select a Group By.
Select a Sort By.
Optional: Select the checkbox 'Group by Property'.
Optional: Select the checkbox 'Replace Description with Long Description'.
Select 'Build' to generate the report using the selected options.
The Traces Report will list all Traces within the selected date range using the filters and grouping option selected.
Use
- Go to Reports > Daily > Traces in the Side Menu of RMS.
- Select a Date Range.
- Optional: Select a Trace Template.
- Optional: Select a Department.
- Optional: Select a User.
- Select a Show Trace option.
- Select a Group By.
- Select a Sort By.
- Optional: Select the checkbox 'Group by Property'.
- Optional: Select the checkbox 'Replace Description with Long Description'.
- Build.
The Trace Template, Department and User filter will limit the displayed Traces to only show Traces that match the selected options.
When the filter is set to 'None Selected' the Traces Report will display all Traces with or without a Trace Template, Department or User.
-
Guide
- Add Button
Guide
Go to Reports > Daily > Traces in the Side Menu of RMS.
Select a Date Range.
Optional: Select a Trace Template.
Optional: Select a Department.
Optional: Select a User.
Select a Show Trace option.
Select a Group By.
Select a Sort By.
Optional: Select the checkbox 'Group by Property'.
Optional: Select the checkbox 'Replace Description with Long Description'.
Select 'Build' to generate the report using the selected options.
The Traces Report will list all Traces within the selected date range using the filters and grouping option selected.
