Trace Templates
Create template Traces that can be selected on an Area, Company, Travel Agent, Reservation, Guest or Group in RMS.
The Traces Lookup Table can be used to create Trace Templates that can be selected on an Area, Company, Travel Agent, Reservation, Guest or Group.
-
Information
-
Setup
- Add Button
Information
The Traces Lookup Table can be used to create Trace Templates that can be selected on an Area, Company, Travel Agent, Reservation, Guest or Group.
Traces are inter or intra-departmental notes that can be tracked and managed on the To Do Chart, Area, Reservation, Company, Travel Agent, Guest or Group.
Traces can be added to an Area, Reservation, Company, Travel Agent, Guest or on the To Do Chart without selecting a Trace Template.
A Trace can be used to communicate or delegate tasks to a Department.
Department is a Lookup Table that can be used to associate the department of a staff member to the User in RMS.
The Department selected on 'Add Trace' will determine the available Trace Templates.
Traces and Requirements will appear together on the Reservation in the 'Requirements/Traces' section and on the  'Requirement/Trace' tab.
Requirements are extra items or services for the Guest that can be added to and tracked on a Reservation with the ability to include a Sundry Charge.
Reservation Messages can be used to relay information on a Reservation with an alert for other Users.
The Traces Report can be used to monitor or review all Traces for the selected date range.

Area, Company, Travel Agent, Reservation, Guest and Sundry are default System Labels that can be customised.

System Administrators will require Security Profile access to setup this feature.
-
Setup
- Add Button
Setup
Have your System Administrator complete the following.
- Go to Setup > Lookup Tables > Traces in the Side Menu of RMS.
- Select the
 'Add' icon.
 - Select a Trace Type.
- Enter a Short Description.
- Optional: Enter a Long Description.
- Select the 'Active' toggle.
- Navigate to the 'Department' tab.
- Select a Department and choose the
 button.
 - Save/Exit.

A Trace Template will be set to 'Inactive' by default.
More than one Department can be allocated to a Trace Template.
-
Guide
- Add Button
Guide
Go to Setup > Lookup Tables > Traces in the Side Menu of RMS.

Select the  'Add' icon.

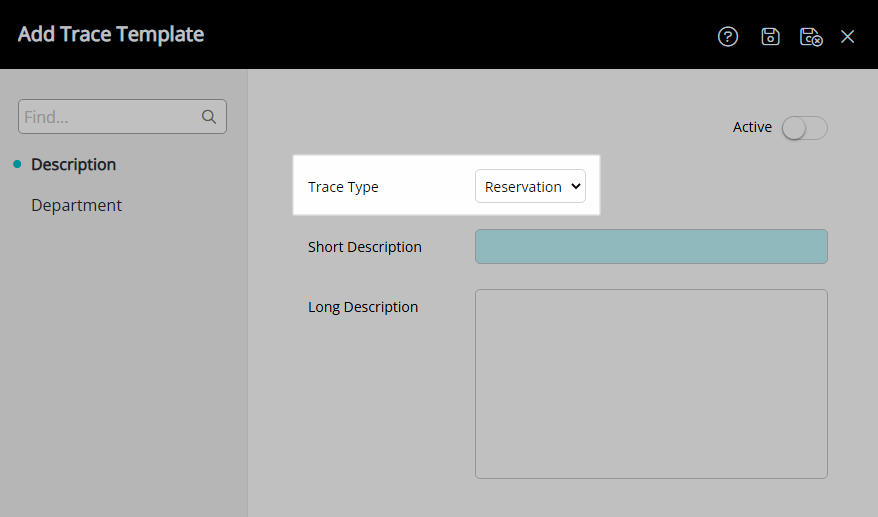
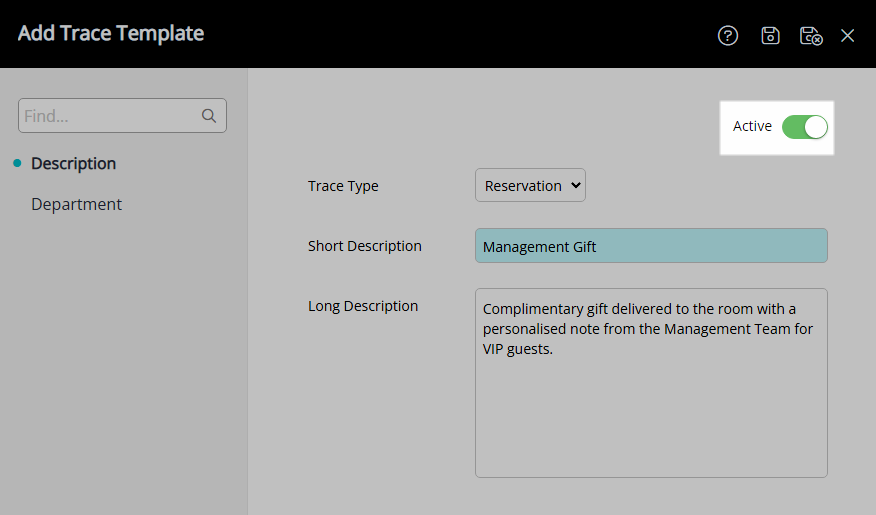
Select a Trace Type.
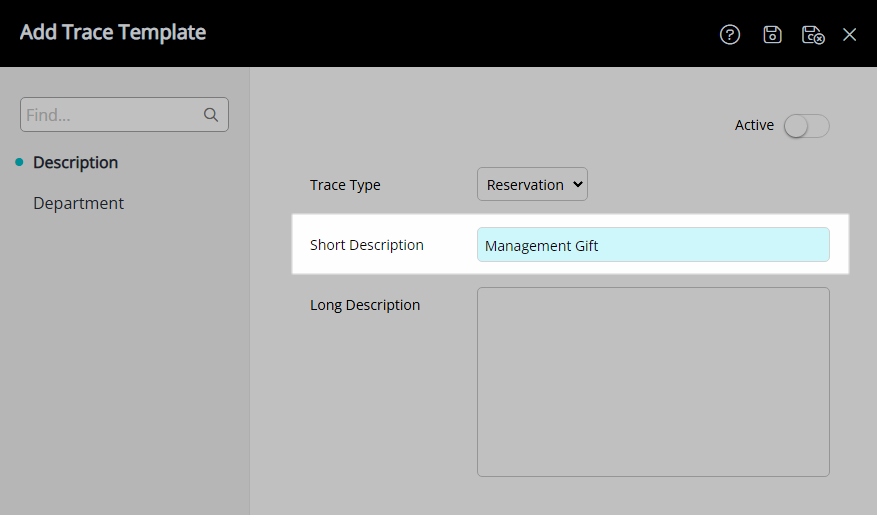
Enter a Short Description.
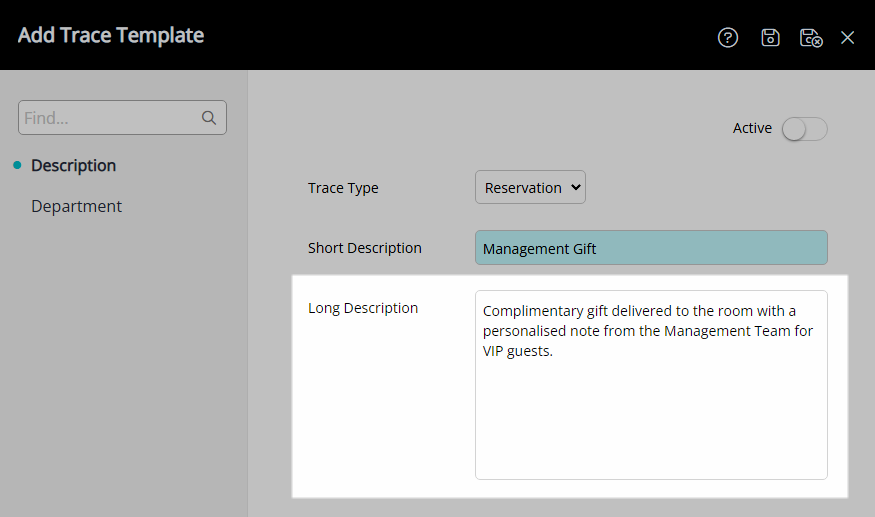
Optional: Enter a Long Description.
Select the 'Active' toggle.
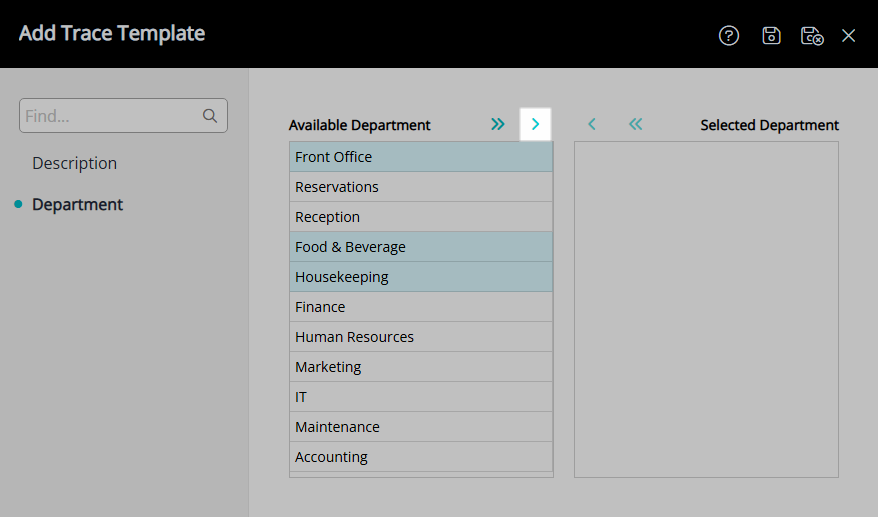
Navigate to the 'Department' tab.
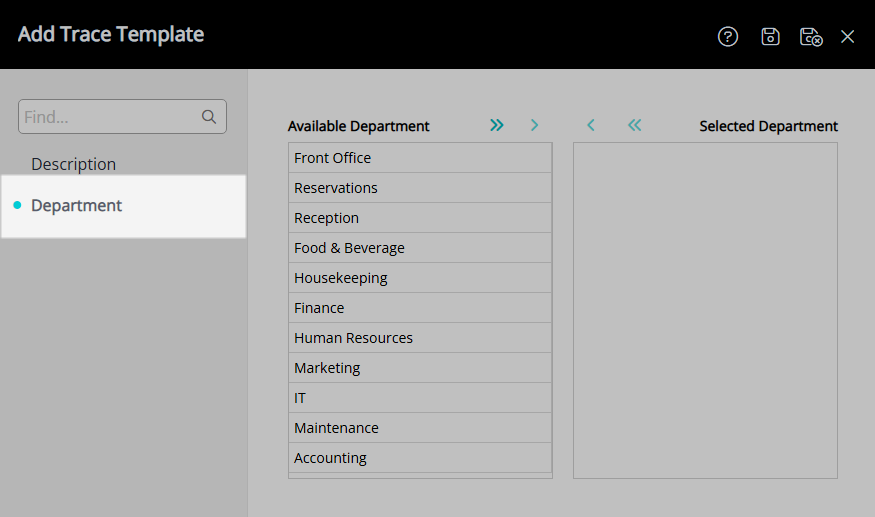
Select a Department and choose the ![]() button.
button.
Select the  'Save/Exit' icon to store the changes made and leave the setup.
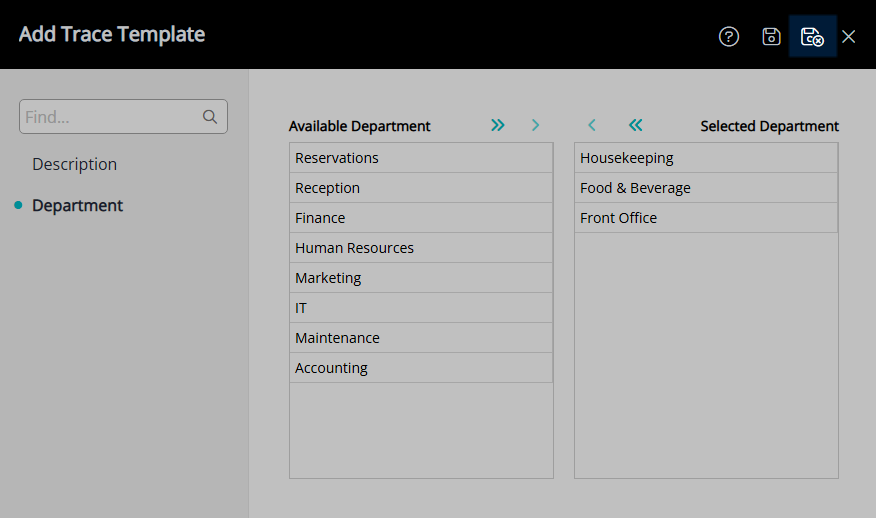
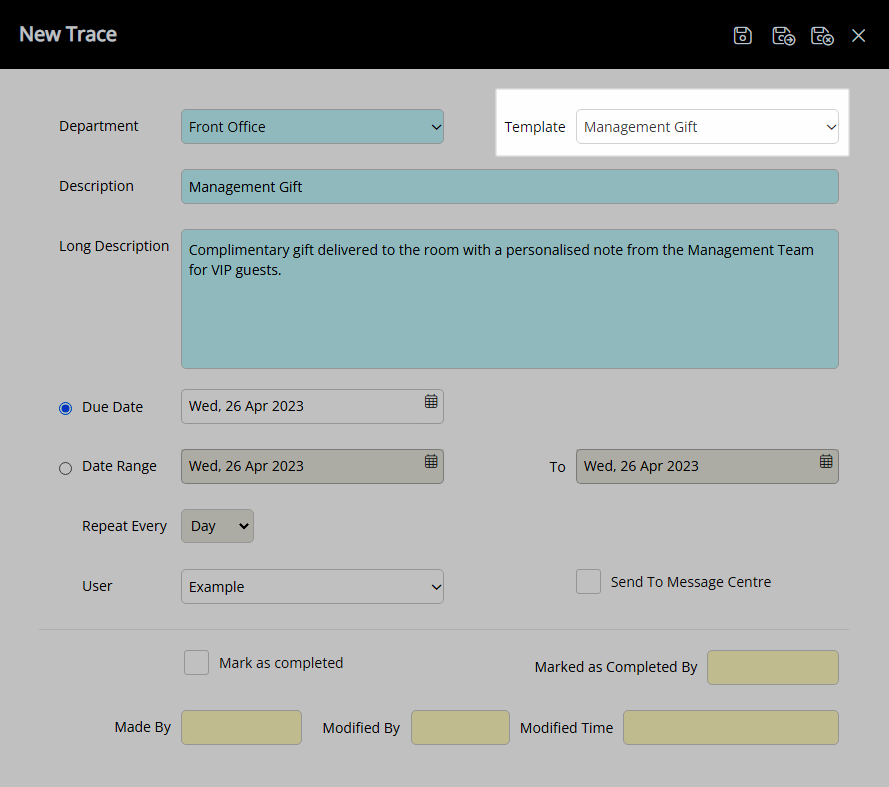
The Trace Template can be selected when adding a Trace to the entity selected as a Trace Type.

Setup
Have your System Administrator complete the following.
- Go to Setup > Lookup Tables > Traces in the Side Menu of RMS.
- Select the 'Add' icon.
- Select a Trace Type.
- Enter a Short Description.
- Optional: Enter a Long Description.
- Select the 'Active' toggle.
- Navigate to the 'Department' tab.
- Select a Department and choose the button.
- Save/Exit.
A Trace Template will be set to 'Inactive' by default.
More than one Department can be allocated to a Trace Template.
-
Guide
- Add Button
Guide
Go to Setup > Lookup Tables > Traces in the Side Menu of RMS.
Select the 'Add' icon.
Select a Trace Type.
Enter a Short Description.
Optional: Enter a Long Description.
Select the 'Active' toggle.
Navigate to the 'Department' tab.
Select a Department and choose the ![]() button.
button.
Select the 'Save/Exit' icon to store the changes made and leave the setup.
The Trace Template can be selected when adding a Trace to the entity selected as a Trace Type.