To Do Chart Trace
Add a Trace on the To Do Chart in RMS.
A Trace can be added to the To Do Chart to delegate a task to a Department not related to a Guest, Company, Travel Agent or Reservation.
-
Information
-
Use
- Add Button
Information
A Trace can be added to the To Do Chart to delegate a task to a Department not related to a Guest, Company, Travel Agent or Reservation.
Traces are inter or intra-departmental notes that can be tracked and managed on the To Do Chart, Area, Reservation, Company, Travel Agent, Guest or Group.
The To Do Chart provides a central overview and management of Packages, Requirements, Traces and Meal Plans at a Property.
The To Do Chart includes views for Reservation Requirements, Non-Reservation Requirements, Packages, Meal Plans, Traces or all and can be filtered to only display outstanding or completed Traces or Requirements.
Traces are inter or intra-departmental notes that can be tracked and managed on the To Do Chart, Reservation, Company, Travel Agent or Guest.
A Trace can be used to communicate or delegate tasks to a Department.
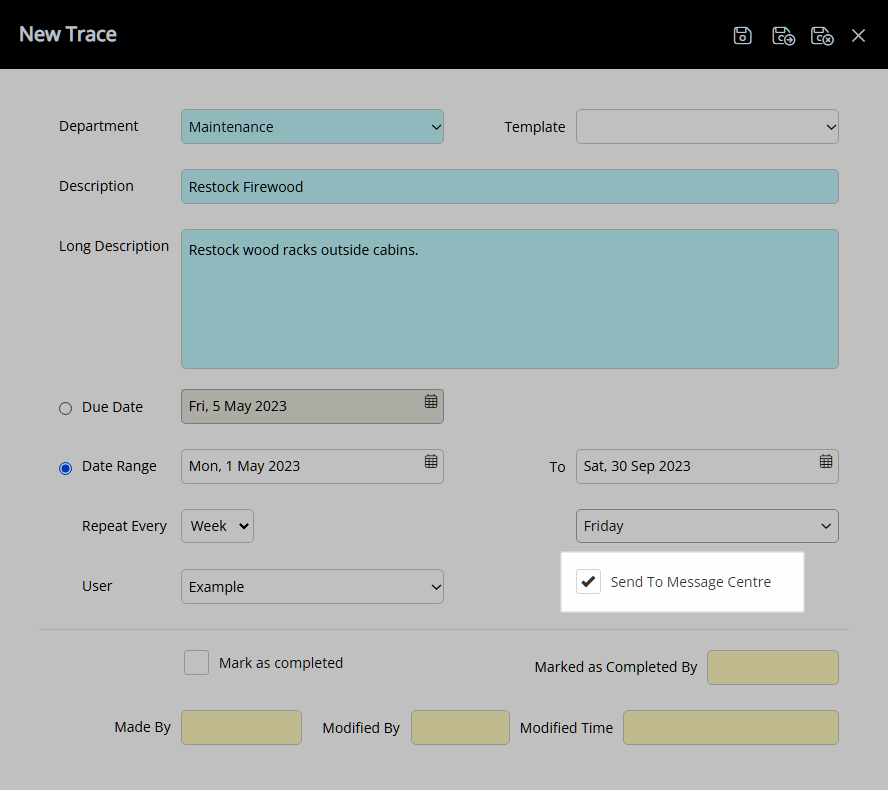
A Trace can be added for a Department with the option to select a User and send a notification to the Message Centre for the selected User to be notified.
Traces can be added with a Due Date or with a Repeat Frequency during a Date Range.
Traces can be marked as 'Completed' by a User with Security Profile access.
Requirements are extra items or services for the Guest that can be added to and tracked on a Reservation with the ability to include a Sundry Charge.
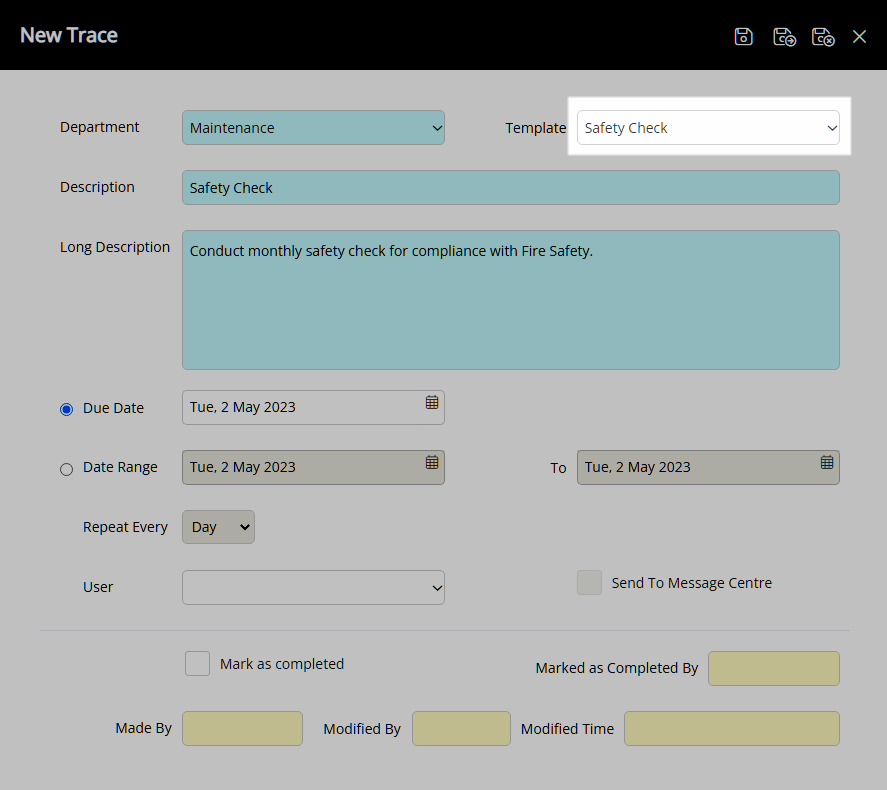
A Trace Template can be selected to pre-fill Trace details using the selected template.
Trace Templates can be setup for an Area, Company, Travel Agent, Reservation, Guest or Group.
Only Trace Templates for the selected Department will be available for selection.
The Traces Report can be used to monitor or review all Traces for the selected date range.

Category, Area, Reservation, Company, Travel Agent and Guest are default System Labels that can be customised.

Users will require Security Profile access to use this feature.
-
Use
- Add Button
Use
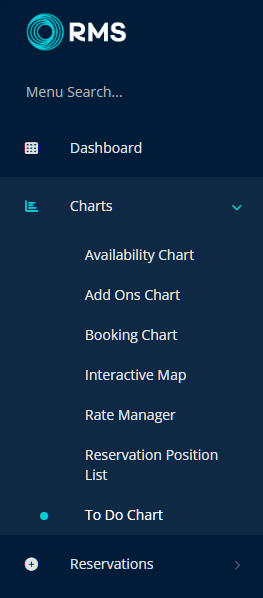
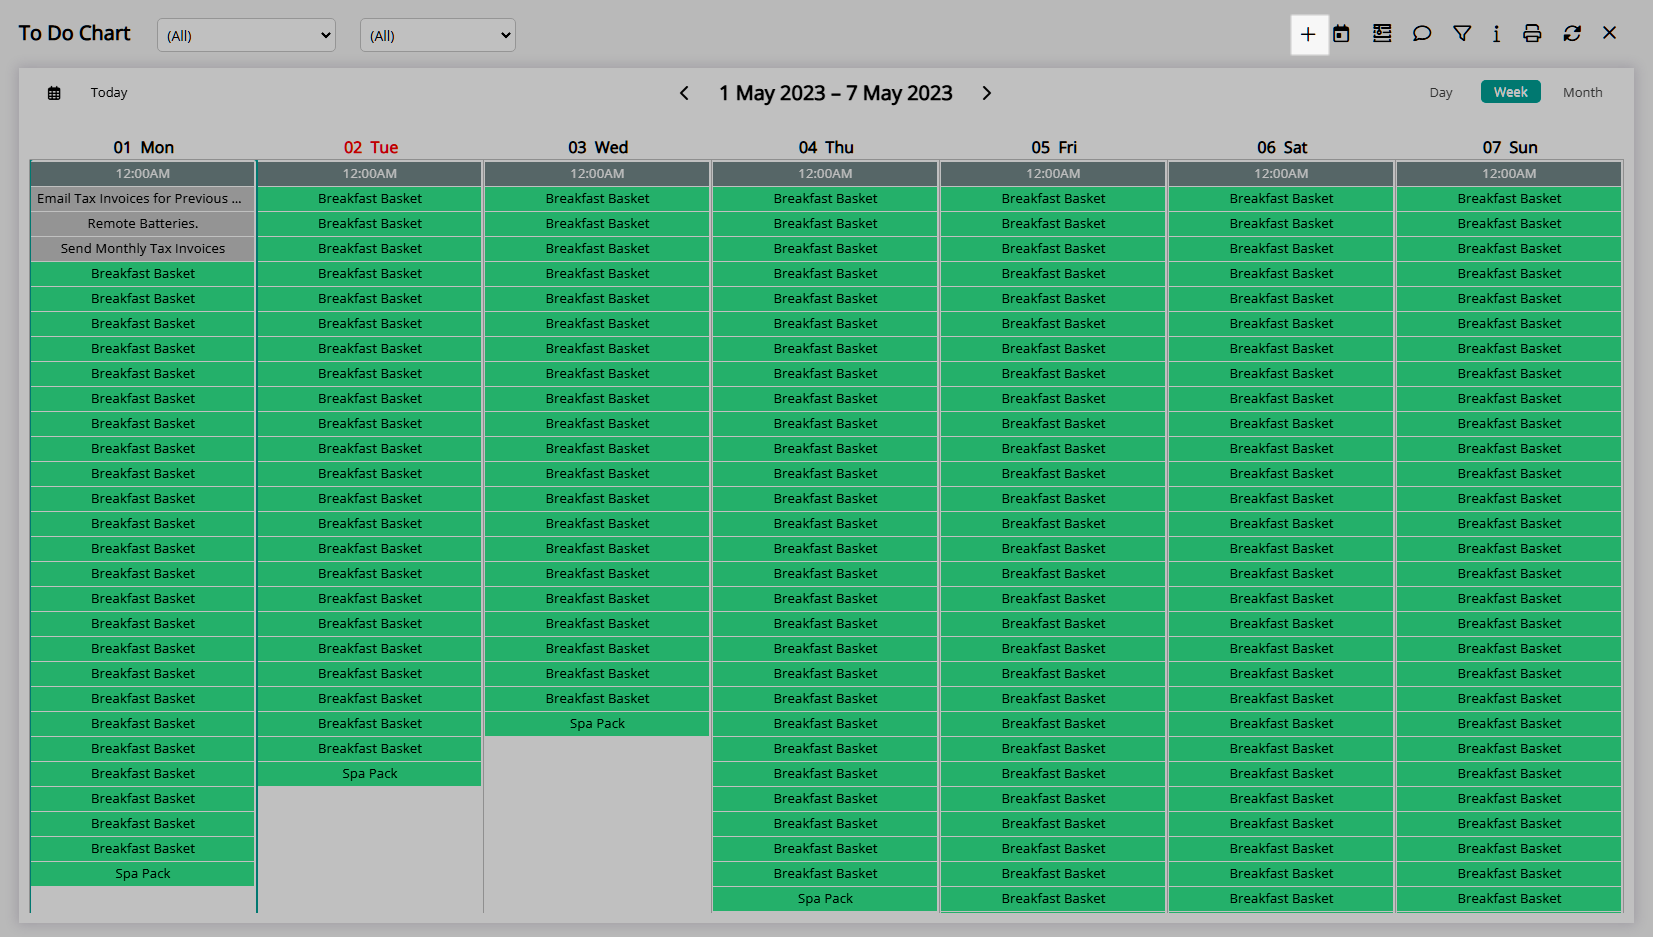
- Go to Charts > To Do Chart in the Side Menu of RMS.
- Select the
 'Add' icon.
 - Select 'Add Trace'.
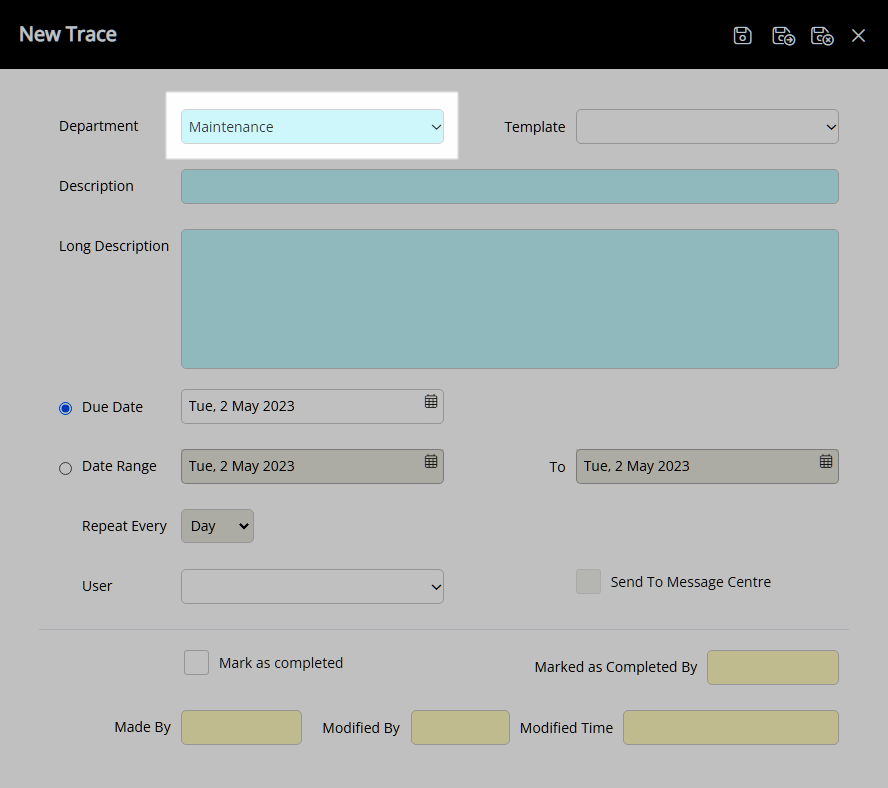
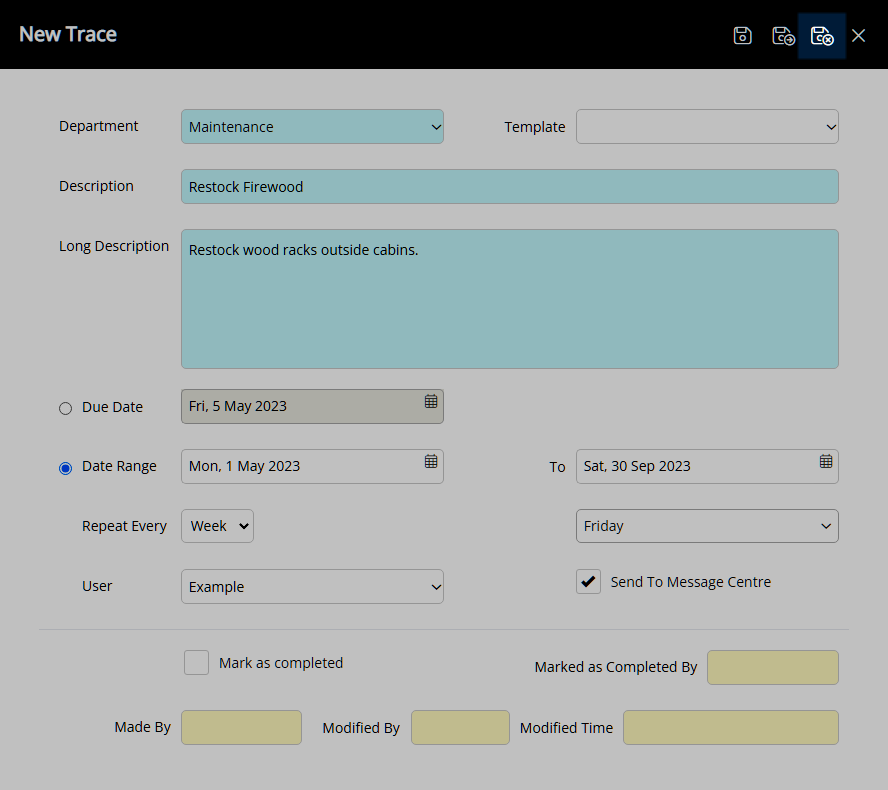
- Select a Department.
- Optional: Select a Trace Template.
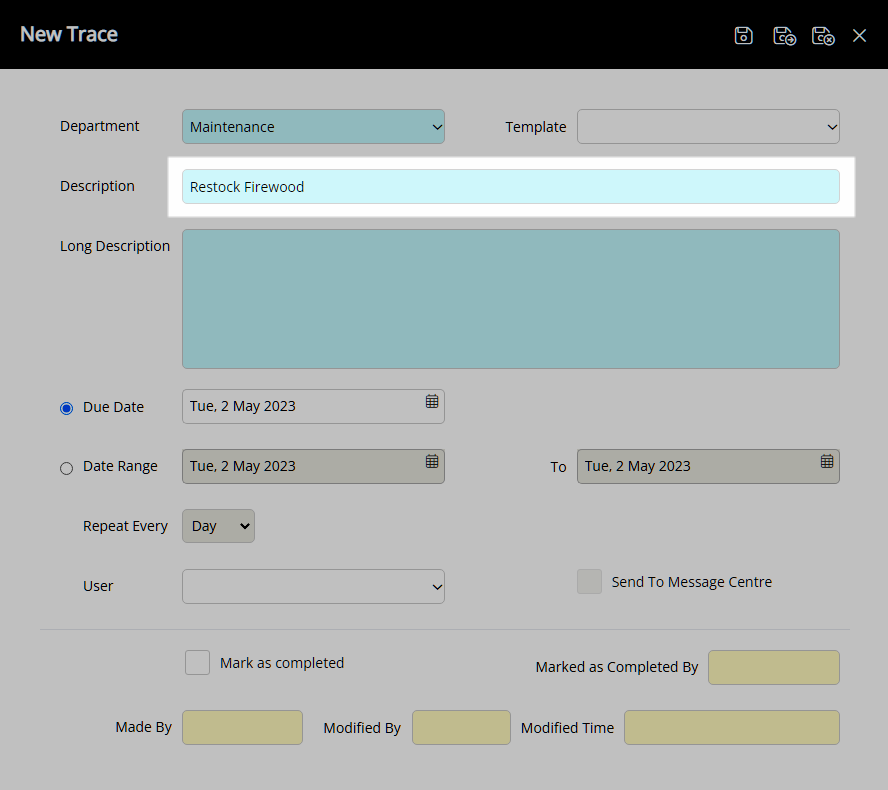
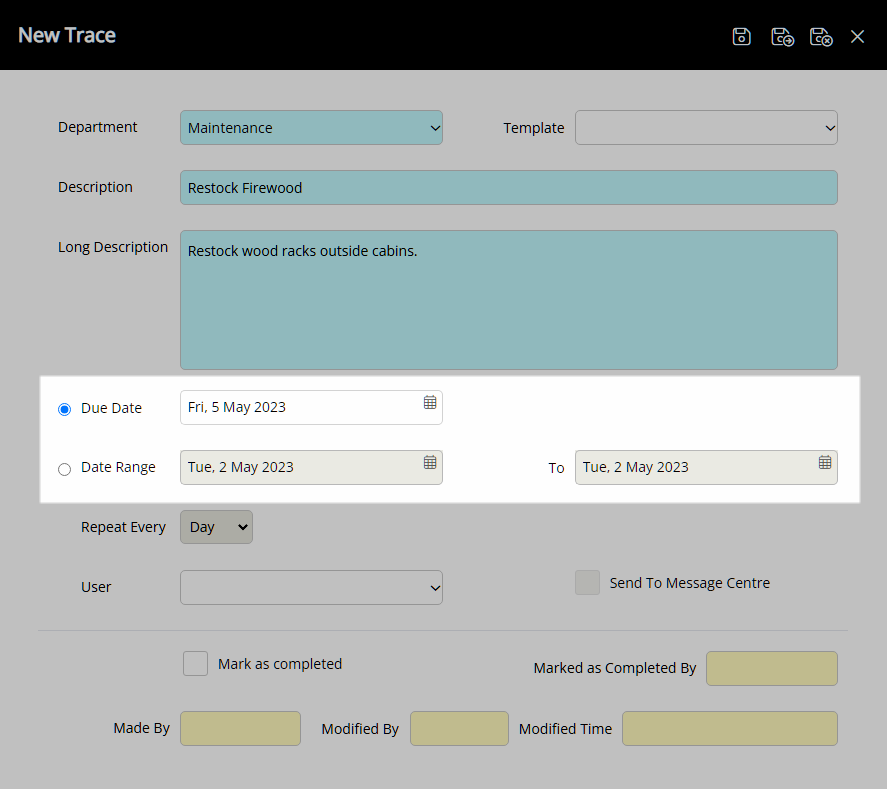
- Enter a Description.
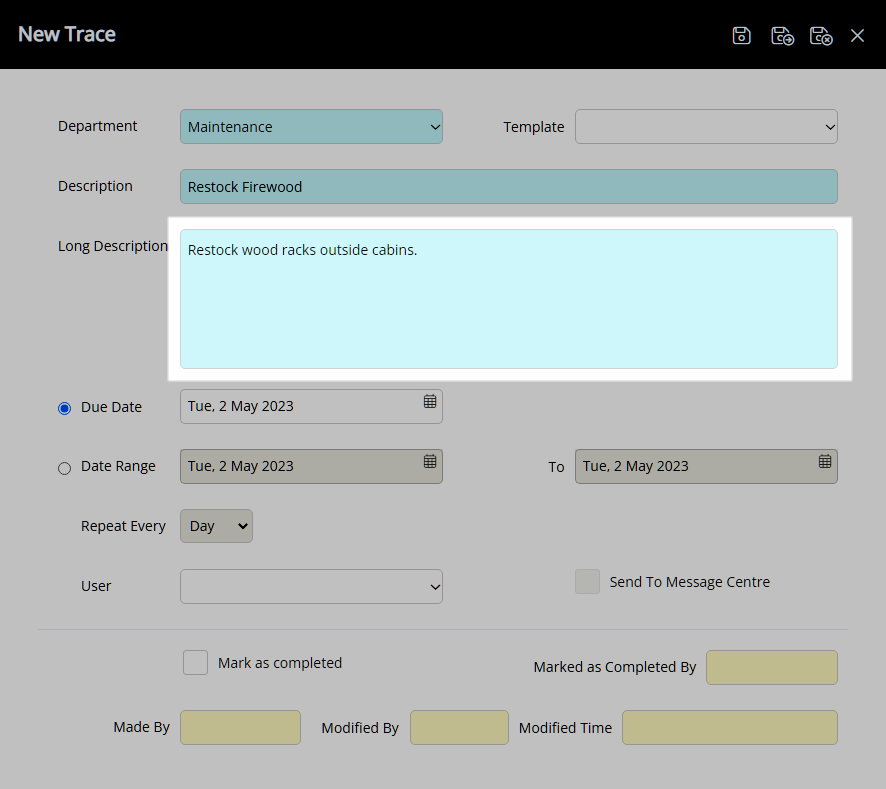
- Enter a Long Description.
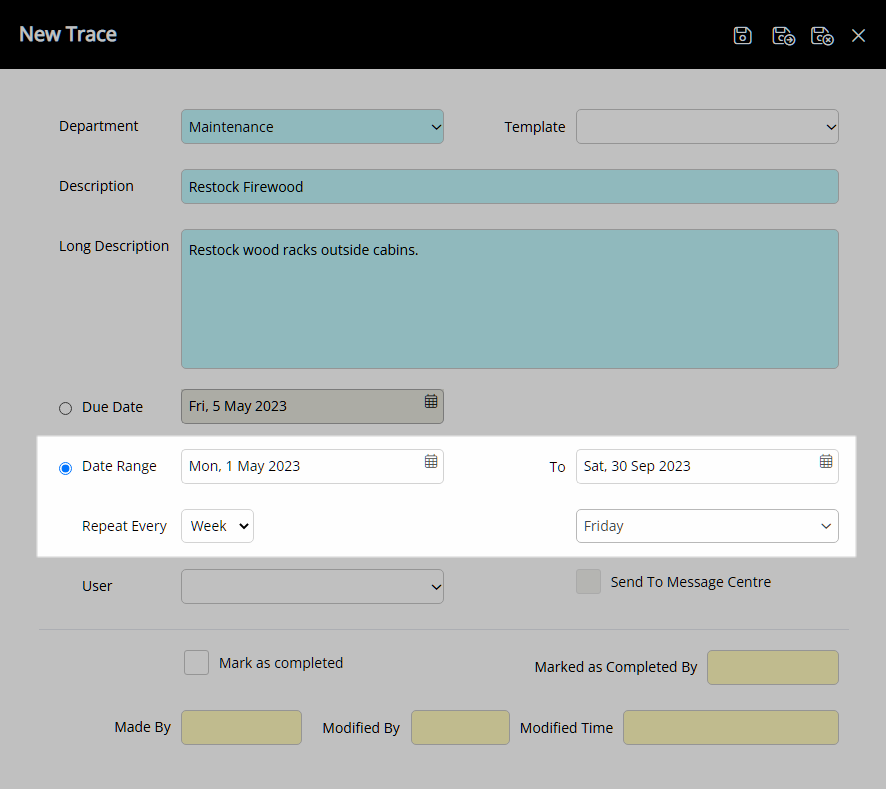
- Select a Due Date or a Date Range.
- Date Range: Select the Repeat Frequency.
-
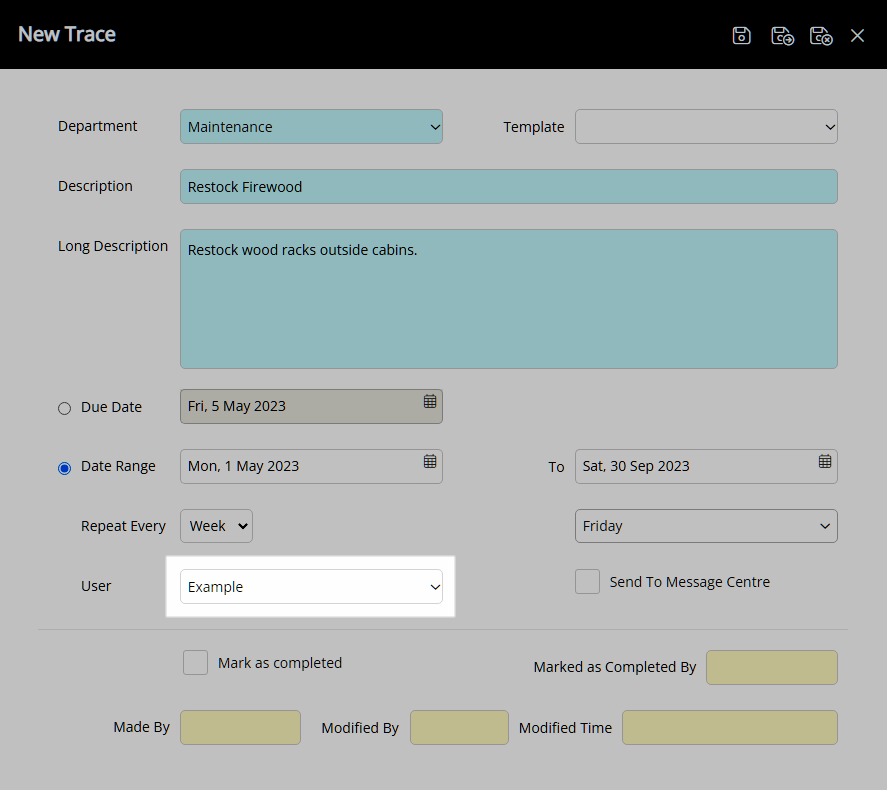
Optional: Select a User.
- Optional: Select the checkbox 'Send to Message Centre'.
- Save/Exit.

The Trace Description must be less than 50 characters and will appear on the To Do Chart.
The Long Description can be viewed by opening the Trace Details.
-
Guide
- Add Button
Guide
Go to Charts > To Do Chart in the Side Menu of RMS.
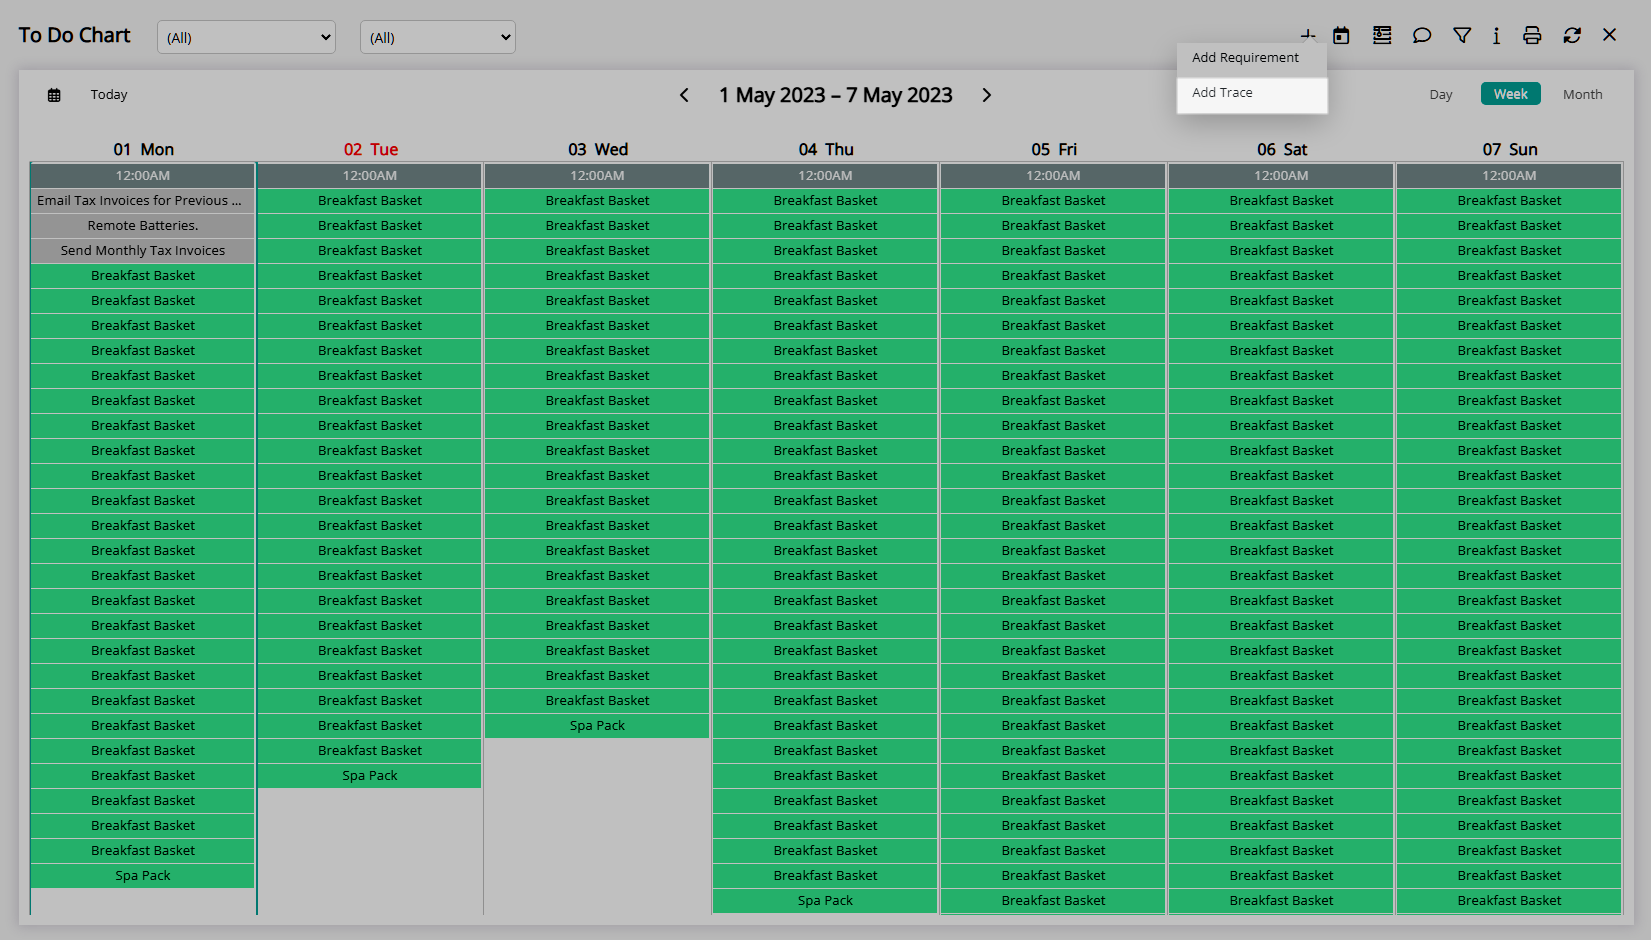
Select the ![]() 'Add' icon.
'Add' icon.
Select 'Add Trace'.
Select a Department.
Optional: Select a Trace Template.
Enter a Description.
Enter a Long Description.
Select a Due Date or a Date Range.
Date Range: Select the Repeat Frequency.
Optional: Select a User.
Optional: Select the checkbox 'Send to Message Centre'.
Select the  'Save/Exit' icon to store the changes made and return to the To Do Chart.
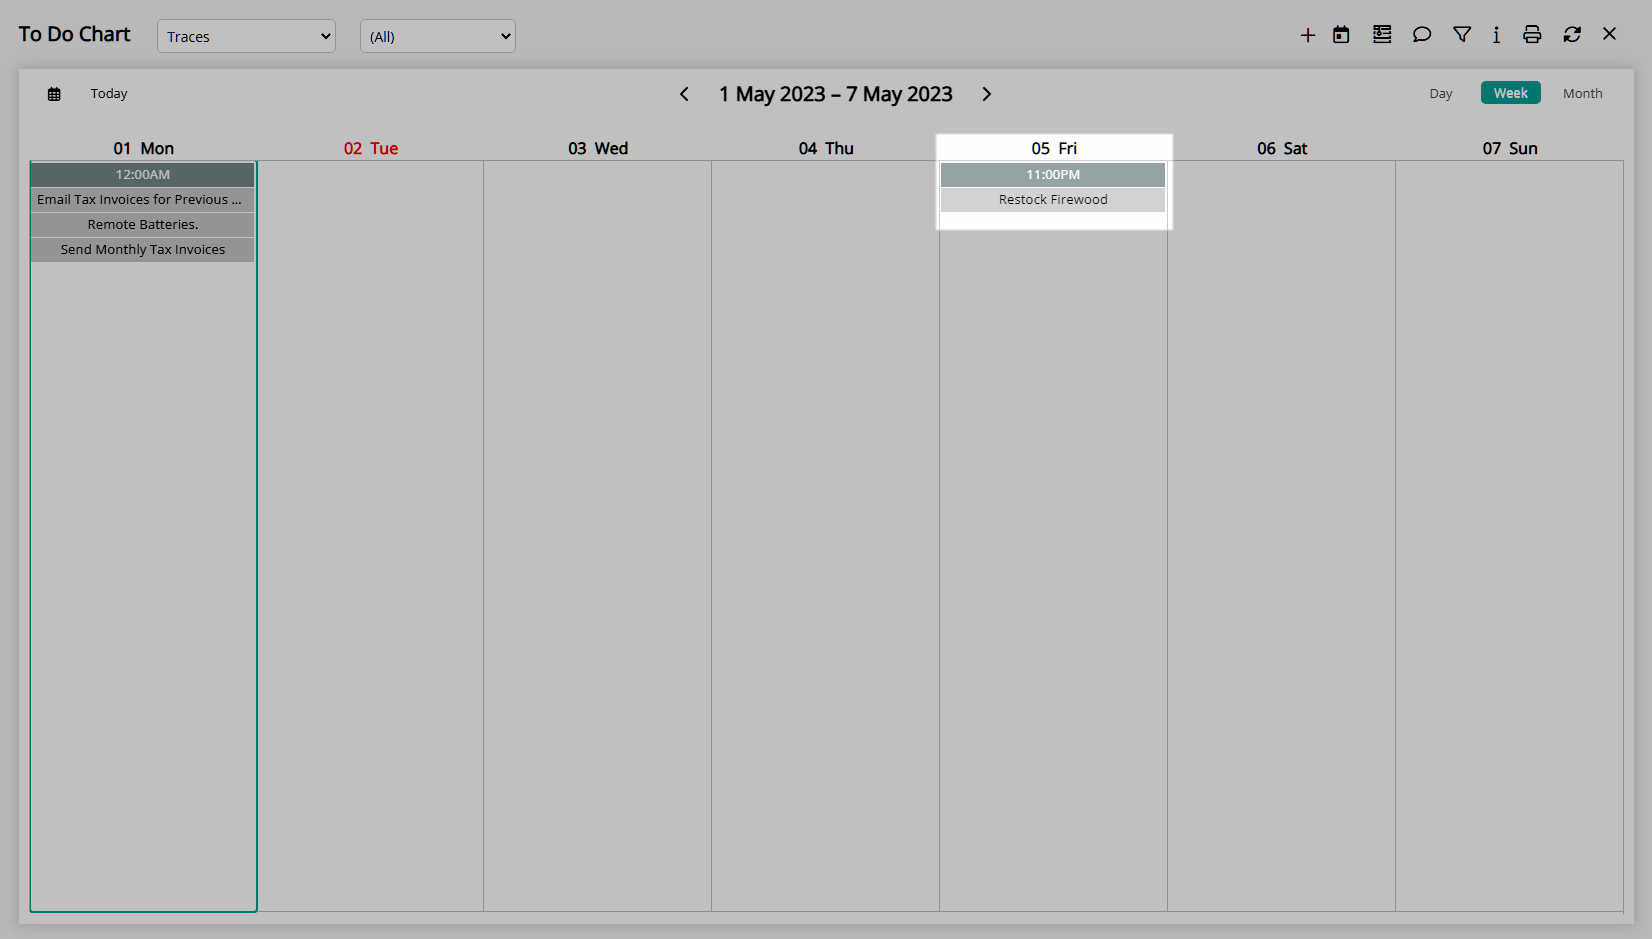
The Trace will be included for the selected date or date range.

Use
- Go to Charts > To Do Chart in the Side Menu of RMS.
- Select the 'Add' icon.
- Select 'Add Trace'.
- Select a Department.
- Optional: Select a Trace Template.
- Enter a Description.
- Enter a Long Description.
- Select a Due Date or a Date Range.
- Date Range: Select the Repeat Frequency.
-
Optional: Select a User.
- Optional: Select the checkbox 'Send to Message Centre'.
- Save/Exit.

The Trace Description must be less than 50 characters and will appear on the To Do Chart.
The Long Description can be viewed by opening the Trace Details.
-
Guide
- Add Button
Guide
Go to Charts > To Do Chart in the Side Menu of RMS.
Select the ![]() 'Add' icon.
'Add' icon.
Select 'Add Trace'.
Select a Department.
Optional: Select a Trace Template.
Enter a Description.
Enter a Long Description.
Select a Due Date or a Date Range.
Date Range: Select the Repeat Frequency.
Optional: Select a User.
Optional: Select the checkbox 'Send to Message Centre'.
Select the 'Save/Exit' icon to store the changes made and return to the To Do Chart.
The Trace will be included for the selected date or date range.