Reservation Area Move
Change the Area on a Reservation in 'Arrived' status when using Split Reservations in RMS.
A Reservation Area Move will accurately record the Reservation Stay Dates spent in each Area when using Split Reservations.
-
Information
-
Use
- Add Button
Information
A Reservation Area Move will accurately record the Reservation Stay Dates spent in each Area when using Split Reservations.
Split Reservations is an optional feature that must be enabled before it can be used and will apply to all Properties for Enterprise customers.
When Split Reservations is enabled the Area change on the Reservation is accurately recorded for the Reservation Stay Dates in each Area.
When Split Reservations is not enabled and the Area is changed on a Reservation in 'Arrived' status the Reservation will be moved to the new Area for the full length of stay.
When Split Reservations is enabled and a Reservation Area Move occurs when the Reservation is in 'Arrived' status the Reservation will be split to accurately record the time spent in each Area and will include a cover page linking each Split Reservation together for cohesive management of the Guest's entire stay at the Property.
A Reservation Area Move can be completed on the Booking Chart or directly on the Reservation and can be split in advance to secure the change of Area ahead of the Guest's move during their stay.
A Reservation Area Move with Split Reservations can be used for any Area including Interconnecting Areas.
The Area Moves Report will list all Reservations for the selected date range where the Area was changed when the Reservation was in 'Arrived' status.
Split Reservations is not available for Owner and Trust Accounting Properties.
Owner and Trust Accounting Properties or Properties not using Split Reservations can use a Master Reservation to manually split the Guest's stay between multiple Areas.

Arrive, Depart, Category, Area, Reservation, Guest and Rate are default System Labels that can be customised.

Users will require Security Profile access to use this feature.
-
Use
- Add Button
Use
- Go to the Toolbar Menu Reservation Search in RMS.
- Enter the Guest Name or Reservation Number and press 'Enter'.
- Navigate to the
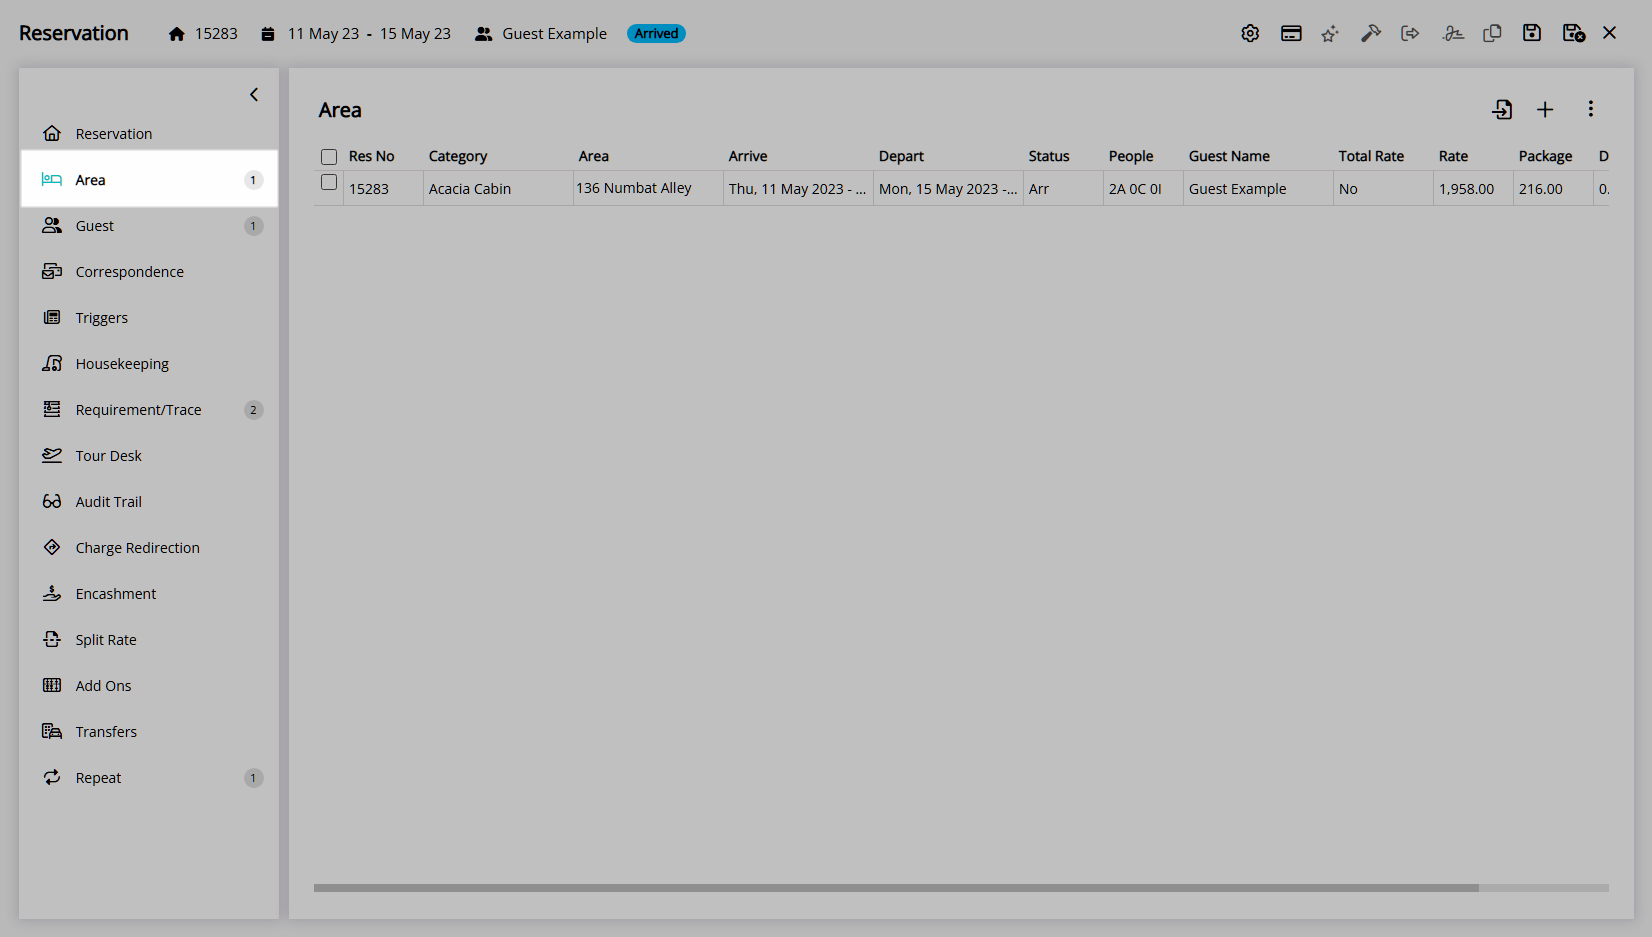
 'Area' tab.
 - Select the
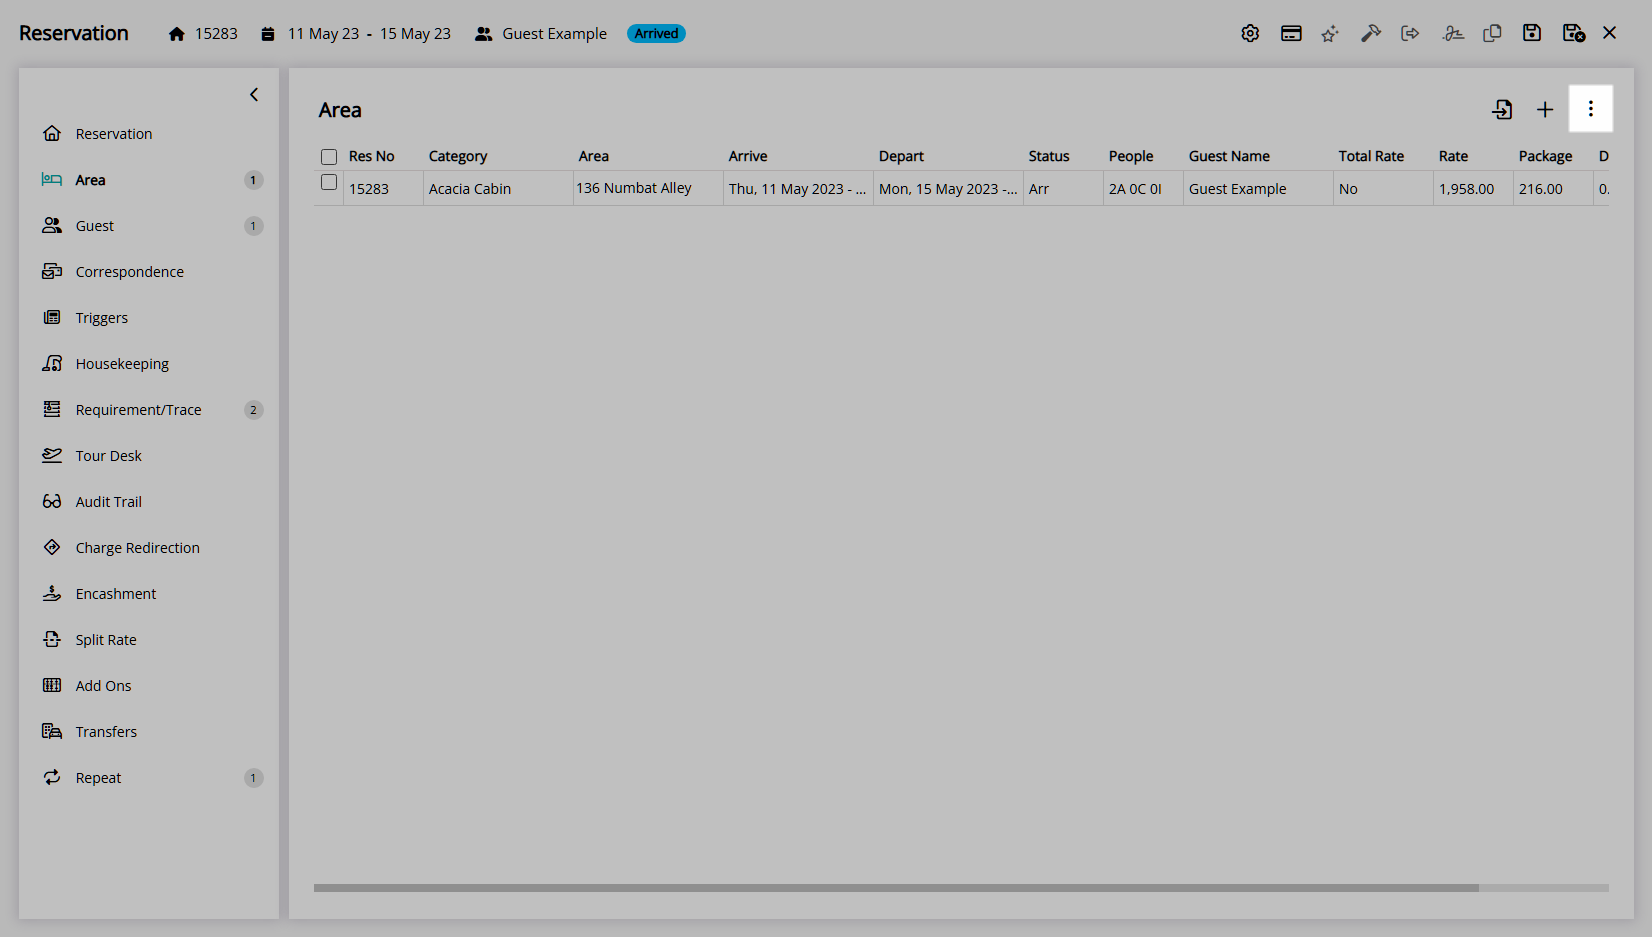
 'Options' icon.
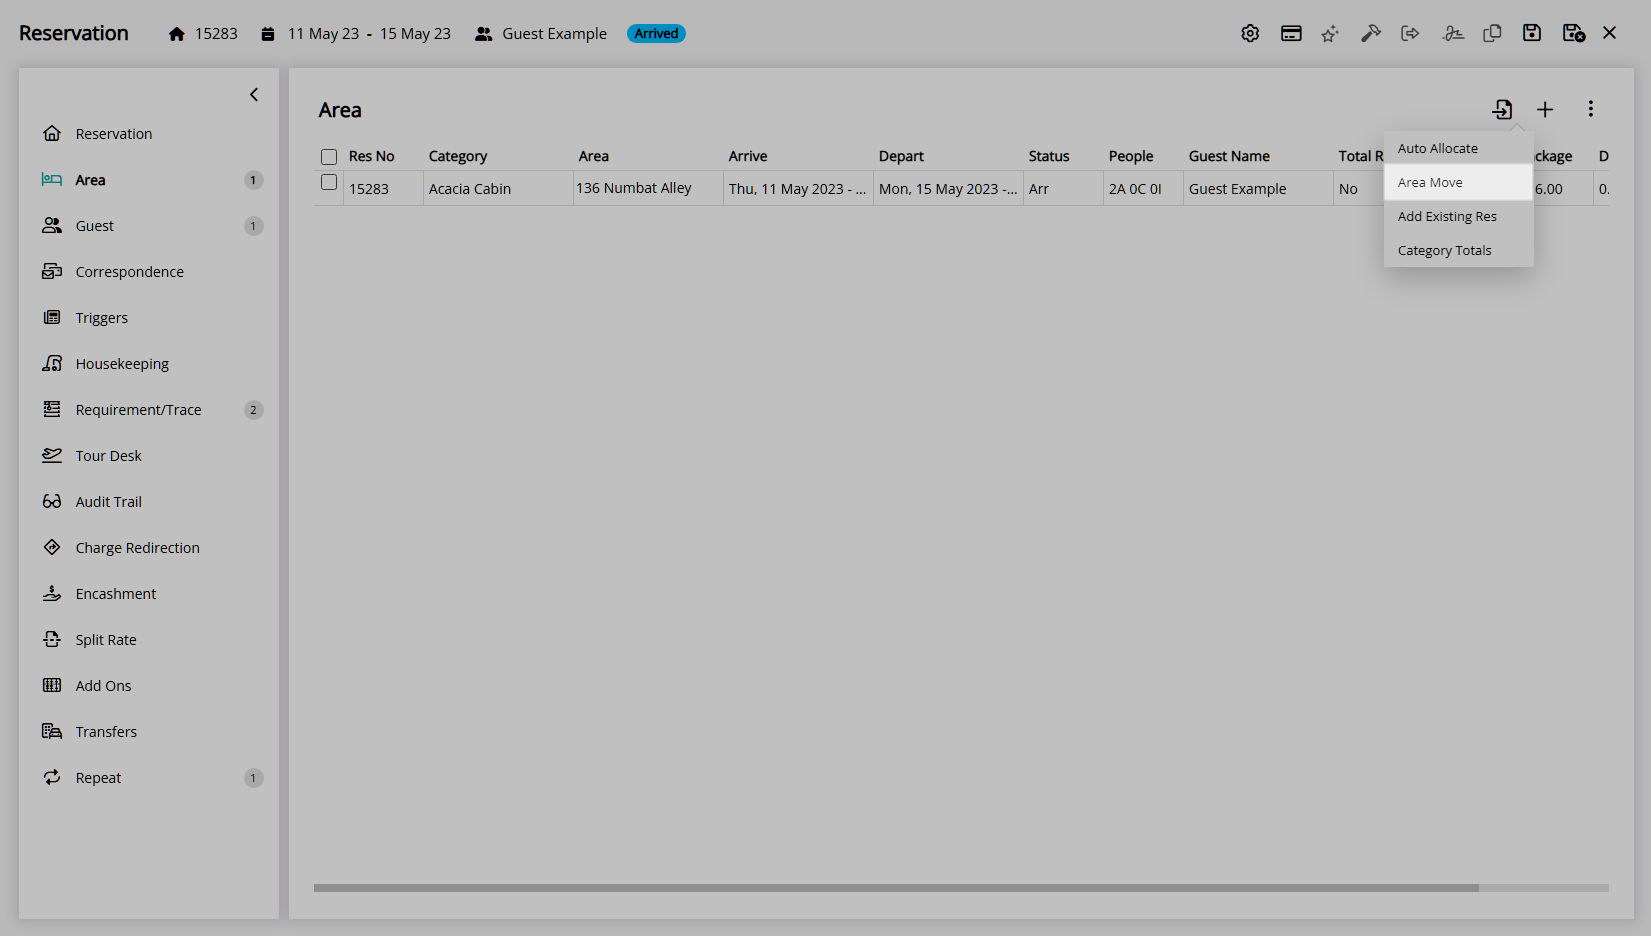
 - Select 'Area Move'.
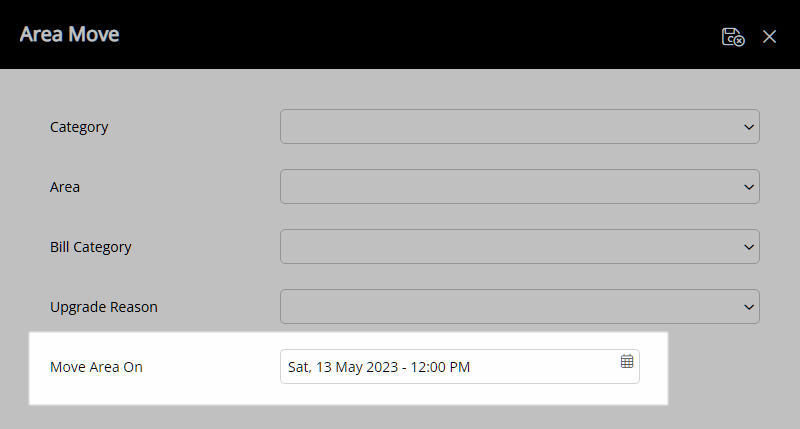
- Select the Area Move Date.
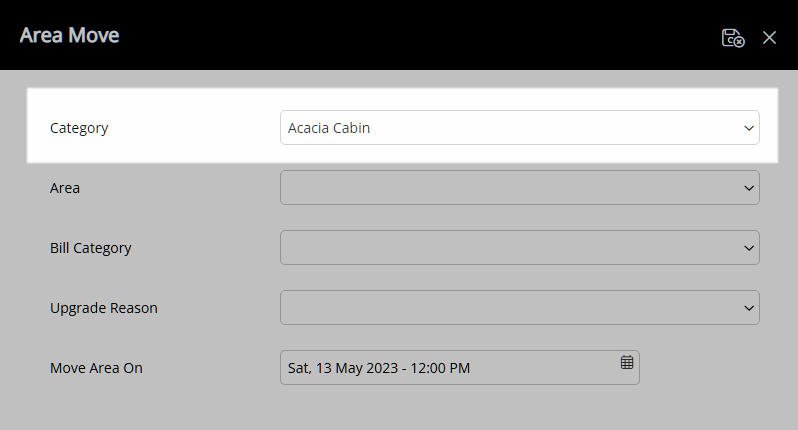
- Select a Category.
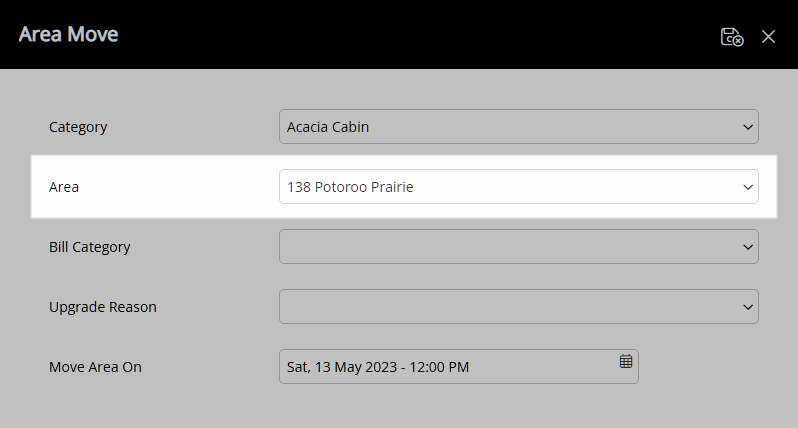
- Select an Area.
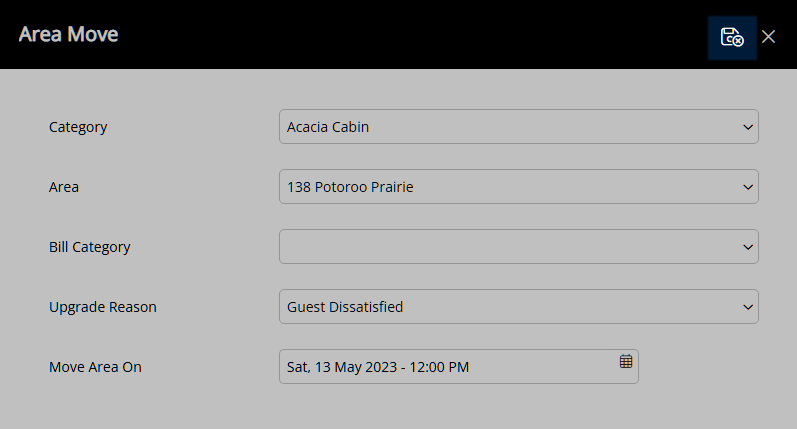
- Optional: Select a Bill Category.
- Optional: Select an Upgrade Reason.
- Save/Exit.

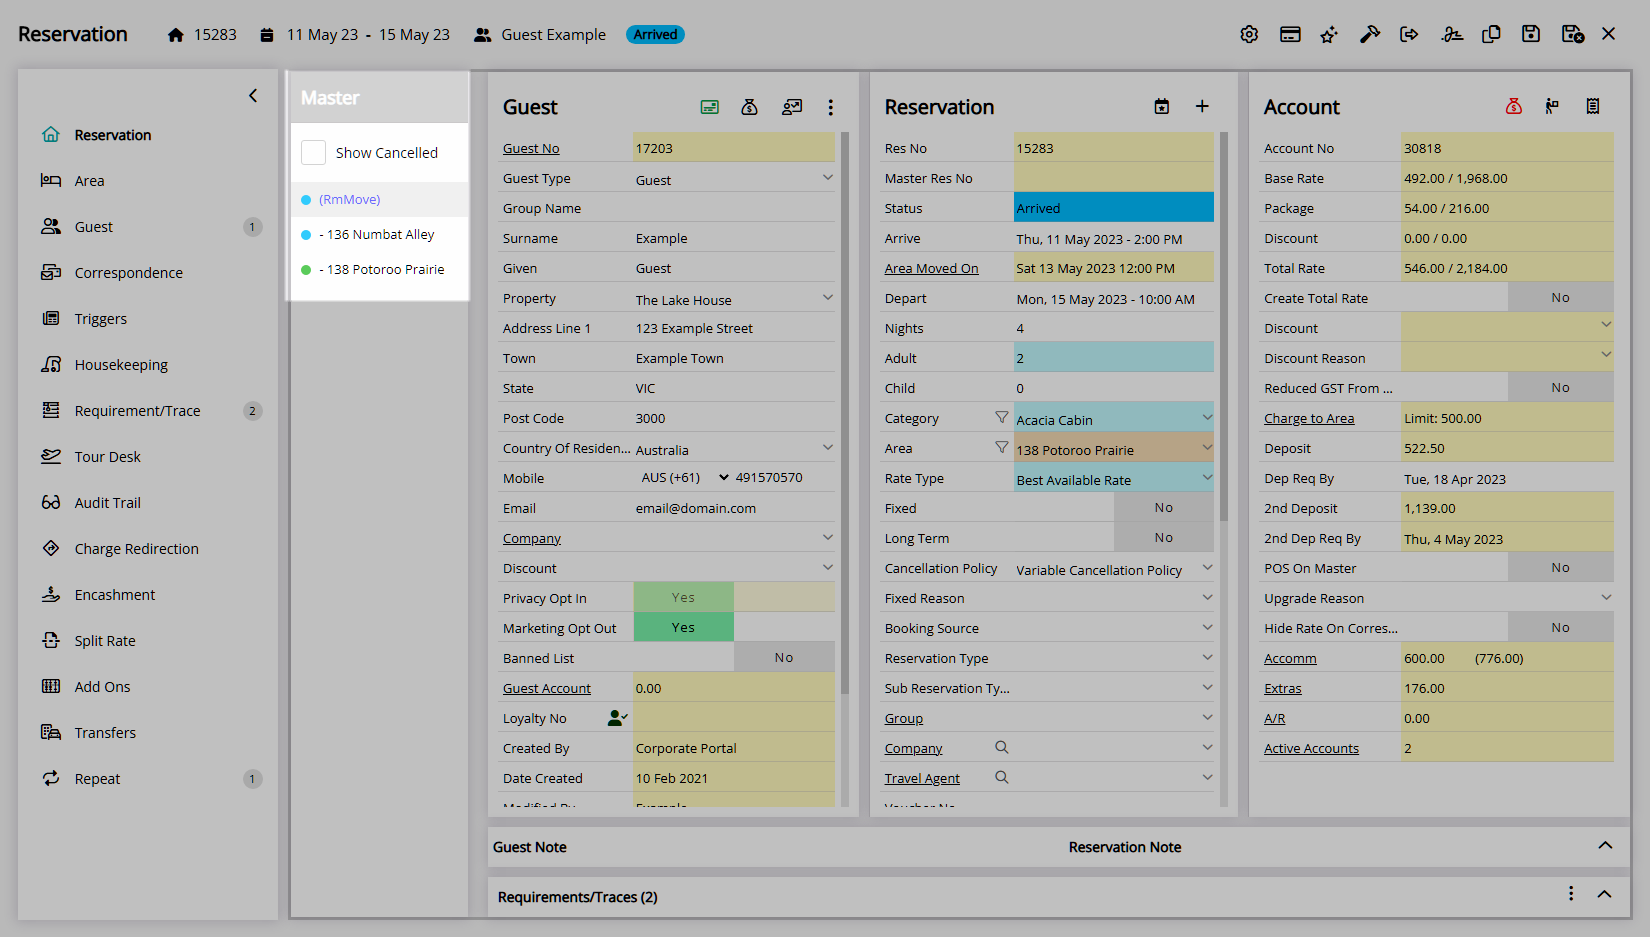
The Area Move Date will be used to set the Arrive Date on the new Area and the Depart Date on the old Area to accurately record the Guest's movement.
A Reservation Area Move can be scheduled in advance by selecting a future Area Move Date.
A Bill Category can be selected to set the Rate for the new Area using the selected Category.
An Upgrade Reason can be selected to record the reason for the Area change.
Owner and Trust Accounting Properties or Properties not using Split Reservations can use a Master Reservation to manually split the Guest's stay between multiple Areas.
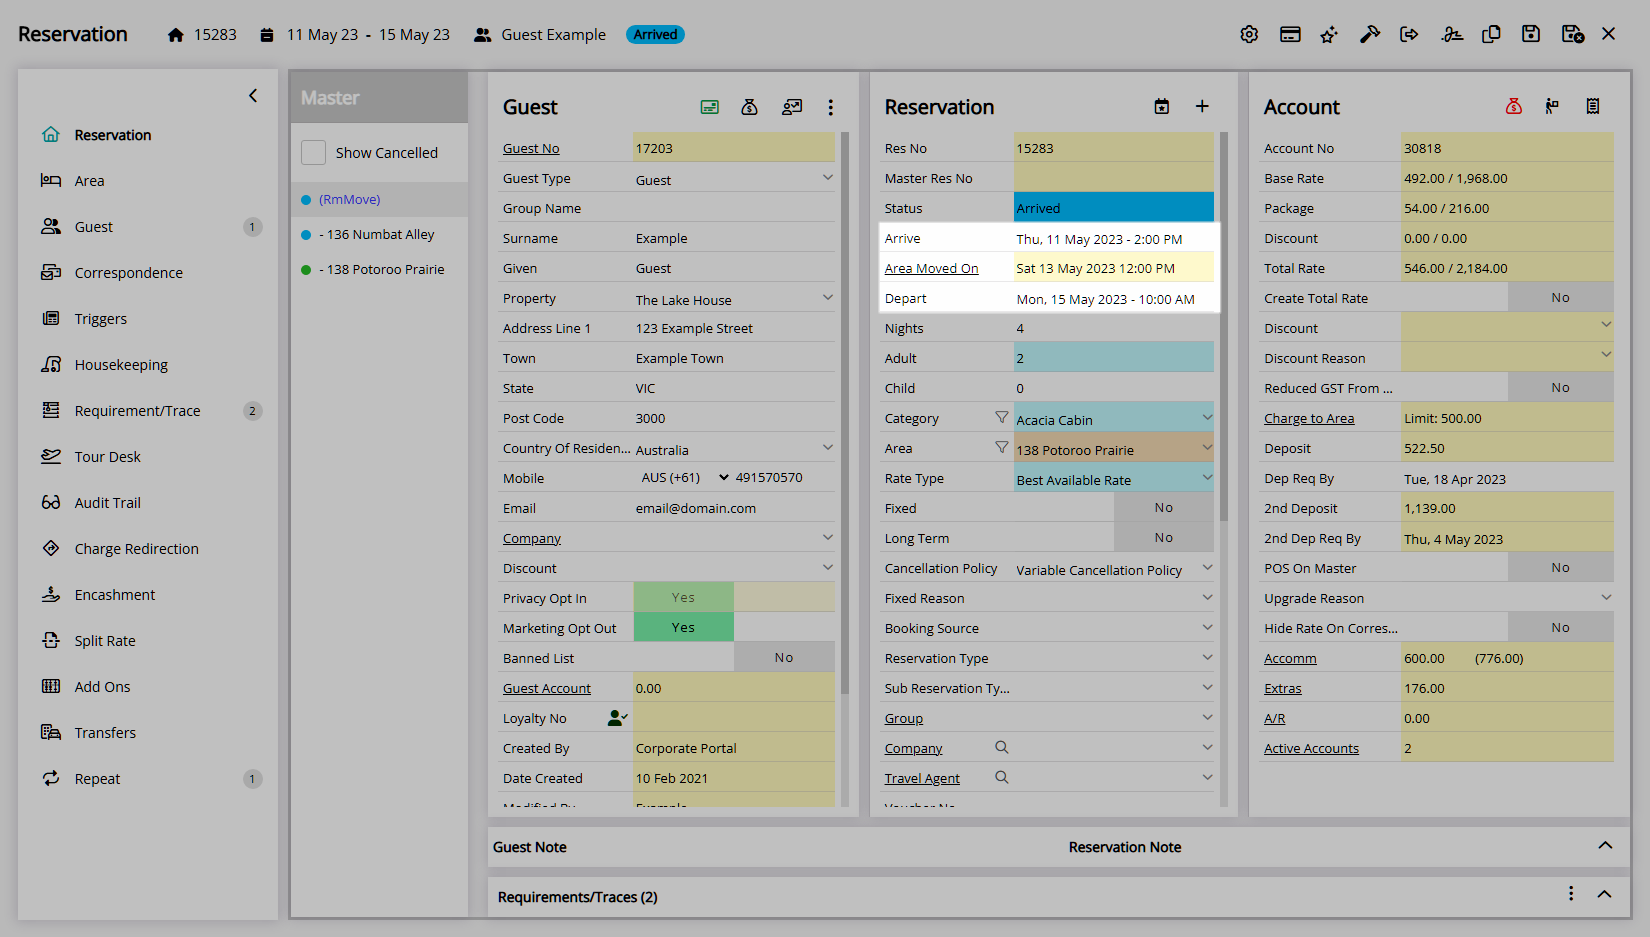
The Reservation will be converted to a Split Reservation which includes a cover page (RmMove) in the Navigator Pane to manage the full Reservation with each Reservation portion recording the Arrive Date and Depart Date in the selected Area.
An Area Move Date will be displayed between the Arrive Date and Depart Date to indicate when the change of Area occurred or is scheduled to occur.
The Departed portion or portion of the Split Reservation that the Guest will move from will be set as a Fixed Reservation.
-
Guide
- Add Button
Guide
Go to the Toolbar Menu Reservation Search in RMS.
Enter the Guest Name or Reservation Number and press 'Enter'.

Navigate to the ![]() 'Area' tab.
'Area' tab.
Select the ![]() 'Options' icon.
'Options' icon.
Select 'Area Move'.
Select the Area Move Date.
Select a Category.
Select an Area.
Optional: Select a Bill Category.

Optional: Select an Upgrade Reason.

Select the  'Save/Exit' icon to store the changes made and return to the Reservation.
The Reservation will be converted to a Split Reservation which includes a cover page (RmMove) in the Navigator Pane to manage the full Reservation with each Reservation portion recording the Arrive Date and Depart Date in the selected Area.
An Area Move Date will be displayed between the Arrive Date and Depart Date to indicate when the change of Area occurred or is scheduled to occur.
The Departed portion or portion of the Split Reservation that the Guest will move from will be set as a Fixed Reservation.

Use
- Go to the Toolbar Menu Reservation Search in RMS.
- Enter the Guest Name or Reservation Number and press 'Enter'.
- Navigate to the 'Area' tab.
- Select the 'Options' icon.
- Select 'Area Move'.
- Select the Area Move Date.
- Select a Category.
- Select an Area.
- Optional: Select a Bill Category.
- Optional: Select an Upgrade Reason.
- Save/Exit.
The Area Move Date will be used to set the Arrive Date on the new Area and the Depart Date on the old Area to accurately record the Guest's movement.
A Reservation Area Move can be scheduled in advance by selecting a future Area Move Date.
A Bill Category can be selected to set the Rate for the new Area using the selected Category.
An Upgrade Reason can be selected to record the reason for the Area change.
Owner and Trust Accounting Properties or Properties not using Split Reservations can use a Master Reservation to manually split the Guest's stay between multiple Areas.
The Reservation will be converted to a Split Reservation which includes a cover page (RmMove) in the Navigator Pane to manage the full Reservation with each Reservation portion recording the Arrive Date and Depart Date in the selected Area.
An Area Move Date will be displayed between the Arrive Date and Depart Date to indicate when the change of Area occurred or is scheduled to occur.
The Departed portion of the Split Reservation will be set as a Fixed Reservation.
The Departed portion or portion of the Split Reservation that the Guest will move from will be set as a Fixed Reservation.
-
Guide
- Add Button
Guide
Go to the Toolbar Menu Reservation Search in RMS.
Enter the Guest Name or Reservation Number and press 'Enter'.
Navigate to the ![]() 'Area' tab.
'Area' tab.
Select the ![]() 'Options' icon.
'Options' icon.
Select 'Area Move'.
Select the Area Move Date.
Select a Category.
Select an Area.
Optional: Select a Bill Category.
Optional: Select an Upgrade Reason.
Select the 'Save/Exit' icon to store the changes made and return to the Reservation.
The Reservation will be converted to a Split Reservation which includes a cover page (RmMove) in the Navigator Pane to manage the full Reservation with each Reservation portion recording the Arrive Date and Depart Date in the selected Area.
An Area Move Date will be displayed between the Arrive Date and Depart Date to indicate when the change of Area occurred or is scheduled to occur.
The Departed portion or portion of the Split Reservation that the Guest will move from will be set as a Fixed Reservation.